

•
Discover the cost to install washer and dryer hookups. Learn about price factors, labor, materials, and tips to save on your laundry room project.
Easily remove your oven door—and the grease


When it’s time to clean your oven, you’ll quickly realize that it’s awkwardly difficult to work around the open door to reach the back corners—where most of the grime seems to live. Cleaning your oven door while kneeling can also be a challenge. By removing your oven door before cleaning, you can work around both of these challenges. When you take the door off its hinges, you will be able to reach the back of your oven much easier and can clean your oven door comfortably even while standing.
While most oven doors pop off their hinges in a few minutes, some models may be a little more difficult to remove than others. You may also want to learn how to remove the oven door if you ever need to repair or move your oven or reduce the amount of weight you carry.
Complex, high-risk projects demand more than typical DIY projects. They require time, specialized tools, and trained expertise to make sure the job is done safely and correctly. We made it easy for you to find a local pro—with our skilled network, you'll get the job done without the stress of doing it yourself or significant safety risks.
Before removing the oven door, lay out a towel on your countertop or floor. Once the door is removed, place it on the towel to prevent scratches.

Open the oven door fully and look at the hinges near the edges of the bottom of the door. You may want to have a flashlight near you to help you inspect them.
You will almost always see one of three oven hinge designs.
The most common type of hinge will have a small bracket that connects the door hardware and hinge. It looks like a small piece of metal that sits horizontally across the hinge.
The latchless door will not have an obvious latch lined up across the hinge. You’ll only see the hinge.
This is the least common option, and it will have a hidden locked latch on the hinge. Rather than a bracket, you’ll see a small hole in the hinge. This design often has two pieces of metal side by side in the design of each hinge, and the hole is in the same position on both pieces.

The process for unlocking the bracket differs depending on your type of latch. The latchless door does not have a bracket.
If you have a latched door, open it fully. Grasp the bracket on one latch between your thumb and index finger. You should be able to rotate it forward or backward to unlock it. Repeat the process on the other latch.
The brackets should move easily. If you feel like you must force them, they could be stuck from an accumulation of grime. Use the flat-head screwdriver to gently pry them loose. Don’t gouge or jam the screwdriver into the hinge, or you could damage it.
With the latch door locked, open the oven door fully. Take an Allen wrench and slide it through the holes in both metal pieces that make up the hinge. The wrench does not have to fit tightly. You just need to make sure it will stay in place to unlock the hidden bracket as you move the door again. Repeat the process on the other side.

No matter what type of latch your oven door has, you will need to partially close it to pop it loose. Slowly rotate the door upward toward the closed position until it reaches the proper angle to pull it loose.
Do not hold the door by the handle as you rotate it, especially with a heavy door. Instead, grasp the door on either side as you move it.
The latched door should pull loose when it is about one-quarter to one-half of the way open.
With the latchless door, it should pull loose when it is about one-eighth to one-quarter of the way open.
The locked latch door should pull loose when it is about two-thirds to one-half of the way open.

When your oven door reaches the proper angle, pull upward and outward on the door simultaneously to remove it from the oven. Pull evenly on both sides to ensure a smooth removal. You may have to slightly wiggle the door back and forth to start the process, but it should eventually pull loose evenly.
You may feel the door’s weight slightly shift as the hinges loosen, so be prepared to support the weight of the door with your grip. If you feel this shift, you should be able to lift the door loose at this point.

After cleaning or repairing the oven door, follow the same steps you just did, but in reverse order to reconnect the door. Slide the brackets back into the slots carefully, so they go into place evenly.
Once you reconnect the hinges, inspect your door. Make sure it closes flush to the oven. If you have an edge that isn’t quite flush or looks out of place, your brackets might not be lined up properly, so you should try re-attaching your oven door again.
While most people will choose to remove an oven door as a DIY project, it may not be the project for everyone. If you think you may struggle to support the weight of your oven door, or can’t figure out the latches, you should call a local appliance installation service. You can expect to pay a minimum service charge, even if it only takes a few minutes for the pro to remove the door.
If your oven door needs a repair, you may want to call a repair person to do the entire job, including removing the door. Oven repair cost ranges from $100 to $600, but repairing only the door should be in the range of $100 to $400.
The decision to replace or repair the appliance will most likely come down to the most cost-effective option.
If you just want someone to come into your home and clean your oven and your oven door, you can always hire a local house cleaner. This professional will most likely remove the oven door and clean everything. Expect to pay $30 to $50 per hour for a professional house cleaner.
From average costs to expert advice, get all the answers you need to get your job done.
Discover the cost to install washer and dryer hookups. Learn about price factors, labor, materials, and tips to save on your laundry room project.
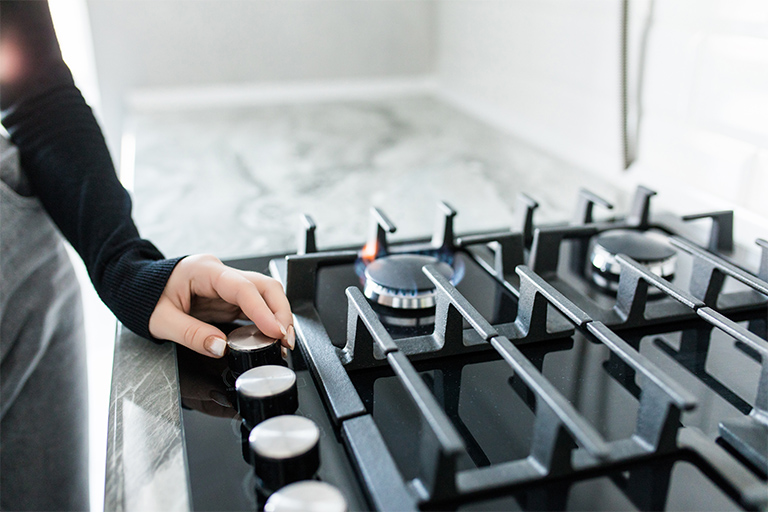
Discover the cost to install a gas cooktop. Learn about average prices, key cost factors, and tips to save on your gas cooktop installation project.
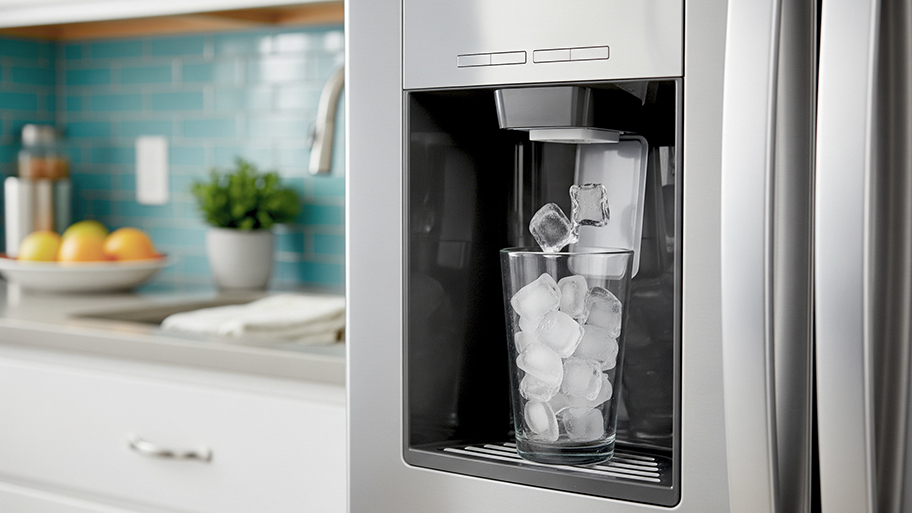
Discover the average ice maker repair cost, key price factors, and tips to save. Learn how to budget for your ice maker repair and when to repair or replace.

Learning how to determine washer box height in your laundry room will come in handy when you need to access your washer connections.

Wondering who to call to hook up a gas dryer? Call a licensed plumber or contractor to hook up your gas dryer and make sure it's venting properly.

Washing machine not spinning? Don’t panic—just because it appears to be broken doesn’t mean you can’t get your washer running again. Read on to learn how.