
•
Discover cabinet installation cost estimates, including average prices, key cost factors, and tips to save on your new kitchen or bathroom cabinets.
Removing cabinets doesn't have to mean destroying them


Whether you need to remove your lower kitchen cabinets for remodeling work, painting, or to make way for new equipment, taking them out doesn't require brute force and their destruction. Instead, learn how to remove lower kitchen cabinets without damage to lower cabinet painting costs, save the cabinets for other uses, or sell them. Here's how to remove lower kitchen cabinets without damage.
Depending on which cabinets you plan to remove or if adjacent cabinets share a countertop with a sink, it may be wise to call a local plumber to disconnect plumbing and drain lines. If your DIY skills allow, you may be able to perform the task yourself. Either way, be sure to disconnect the plumbing from the sink if your sink base cabinet is involved.
For safety purposes, it’s a good idea to turn off the electricity to nearby outlets and appliances at the breaker box when working with tools and moving large objects in the kitchen. A local electrician can help you move or disconnect any electrical wires or outlets within the cabinet structures if necessary. You should also place a temporary covering, such as a drop cloth, on the kitchen floor if it needs protection. Use caution when walking on any floor protection as it may not provide solid footing at all times.
If you choose to disconnect your plumbing under the sink, turn off the water supply and disconnect the faucet supply lines with an adjustable wrench. Also, disconnect the drain plumbing at the trap with a pipe wrench or by hand if possible.
Use your drill and screwdriver bit to unscrew the retainer clips under the sink that hold it in place. Next, use a utility knife and a putty knife to loosen the caulk, sealing the sink's edges. Continue to pry it with the putty knife until you can pull the sink out from its mounting hole and set it aside.
Your countertops stay in place using screws, adhesive, or both. From underneath the countertop, unscrew any screws going through the cabinet supports and into the underside of the countertop. Use a pry bar to pry the cabinet loose in several locations, breaking the bond of any adhesives. Once the top is loose, have a partner assist you in removing the countertop and setting it aside.
Using a combination of a putty knife, prybar, and light hammer taps, remove the base trim and quarter-round or base shoe trim work around or in contact with the cabinets you're removing.
Removing the doors on some types of kitchen cabinets is optional. However, removing them can make the job easier. Either way, you'll need to reach the frame screws that hold the cabinet fronts together. At the very least, remove drawers by pulling them out or using the release levers if they exist. Remove cabinet doors by unscrewing the hinges.
If you plan to reuse the hinges, place them and the mounting screws in a plastic bag, label it, and set them aside.
Between cabinets next to one another, screws through the face frame in the front of the cabinets will be holding them together. Locate each screw between cabinets and remove them with your drill and screwdriver bit. Screw heads may be hiding behind wood fill or stickers that conceal them.
Now, to remove cabinets without damaging them, locate and remove the screws through the back of each cabinet that secure them to the wall studs behind. If adhesive is also present, use a pry bar to nudge each cabinet from the wall gently. Once loose from the wall, slide each cabinet forward to remove it.
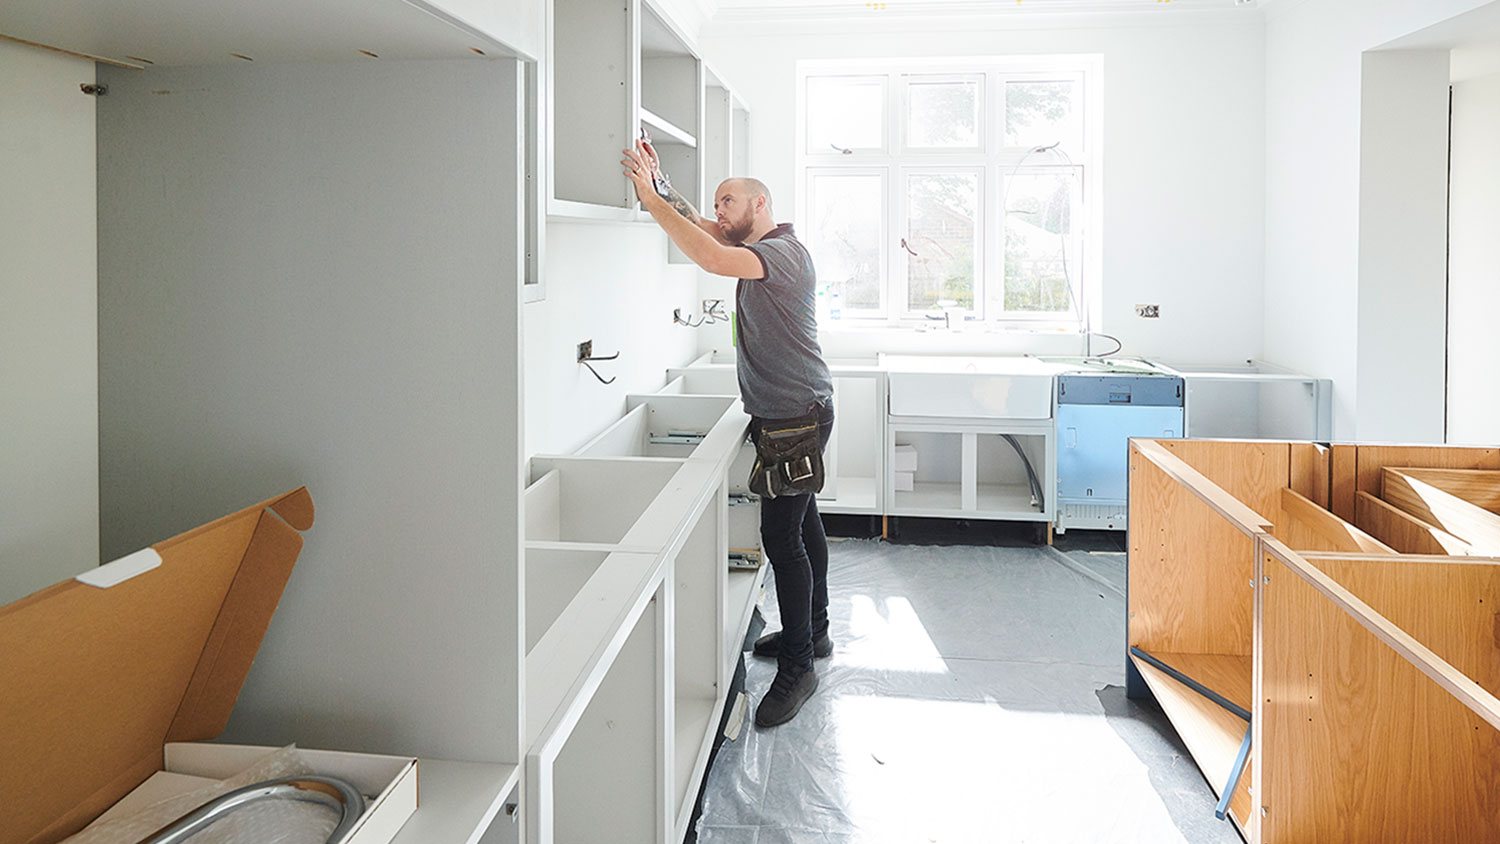
Part of the cost of installing new cabinets or remodeling a kitchen includes removing the existing cabinets. Often, kitchen demolition involves destroying the cabinets to remove them. However, if you wish to save them and maintain their working condition, the task makes an excellent DIY project.
However, the project will likely take the better part of a day to complete, and it can be hard, heavy work. If choosing to hire the work out is more your style, we understand. A local cabinet repair specialist can help in that situation, providing expert cabinet removal without damaging the pieces.
From average costs to expert advice, get all the answers you need to get your job done.
Discover cabinet installation cost estimates, including average prices, key cost factors, and tips to save on your new kitchen or bathroom cabinets.
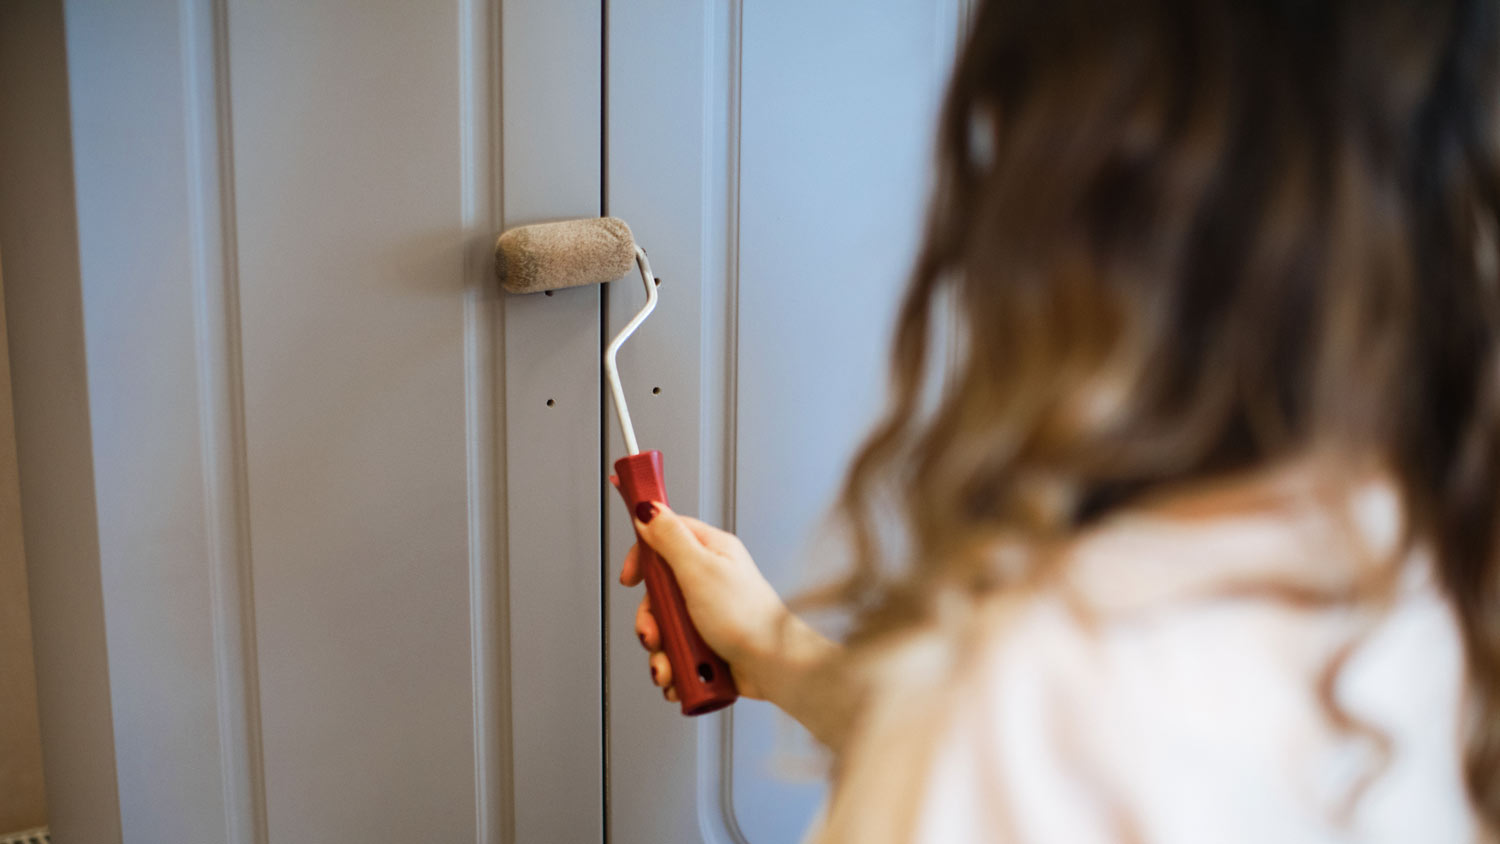
Discover the cost to paint kitchen cabinets, including average prices, cost factors, and tips to help you budget and save on your next kitchen update.

Discover the built in bookcase cost for 2025. Learn about price ranges, installation factors, and ways to save on your custom built in bookcase project.

Wondering who to hire for built-in bookshelves? Learn how to choose the best pro for the job with this informative guide.

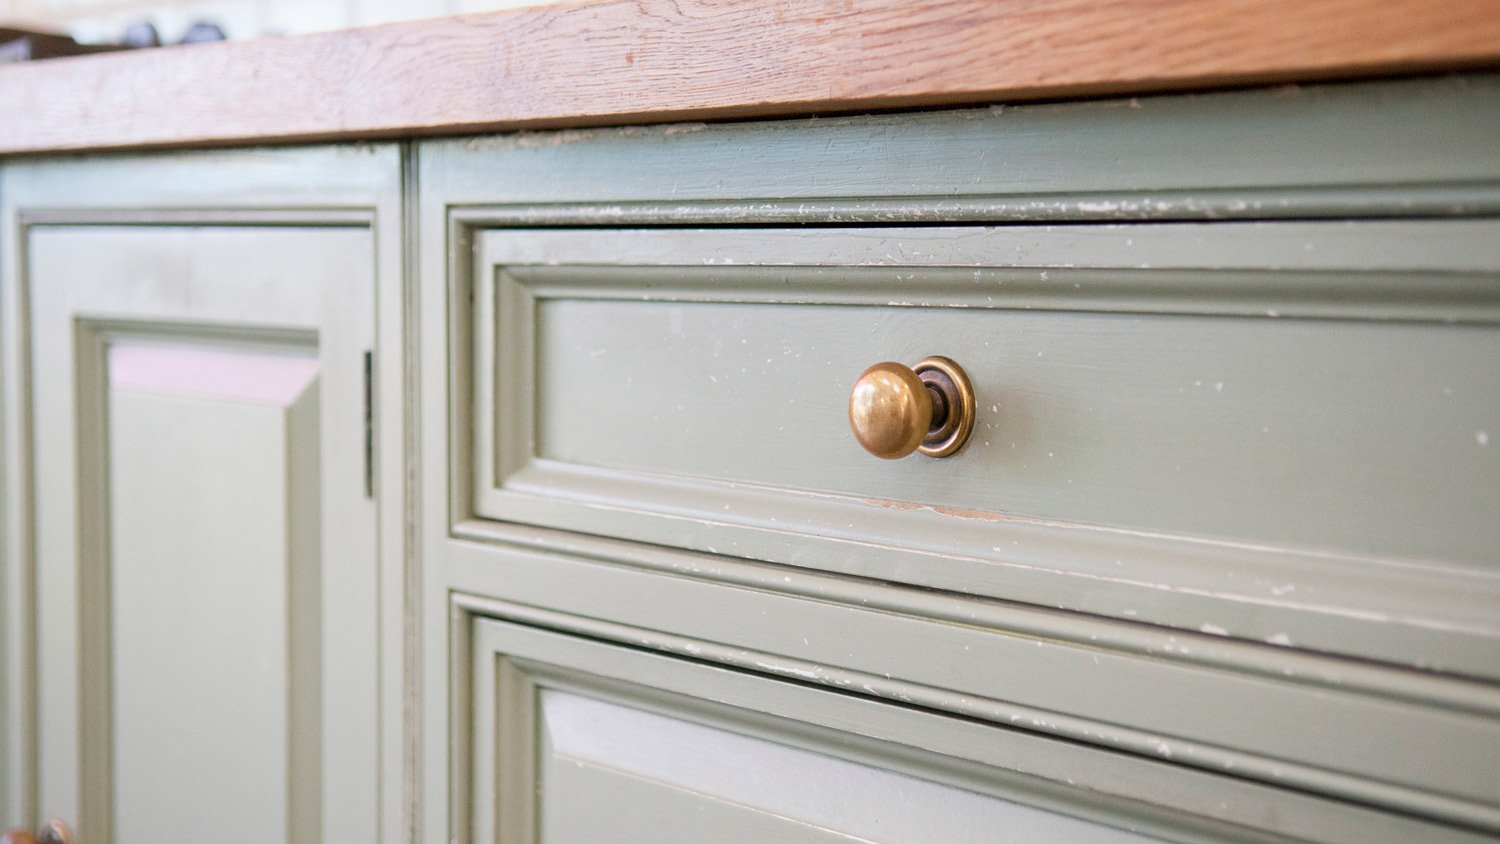
Master the art of centering knobs and drilling holes for handles. Here’s what you need to know about how to install kitchen cabinet handles.

Installing cabinet doors is a simple DIY project that can enhance your living space. Learn how to install cabinet doors with this step-by-step guide.