Kitchen Remodel Steps—From Start to Finish
Know what to expect, from planning to demo and installation


You should always have a firm plan in place before the remodel begins.
Kitchen remodels cost an average of $27,000.
More complex remodels require a building permit.
The final step of a kitchen remodel is the inspection phase.
Whether you’re taking on a small or extensive kitchen upgrade, the order of a kitchen remodel throughout is generally the same. Before you remove any walls or move plumbing, you’ll want to sit down and map out your expectations, sometimes with a contractor or interior designer, to give yourself a full picture of what the process looks like. From planning to budgeting, demolition and inspection, these kitchen remodel steps will ensure your project goes according to plan.
Preparing for a Kitchen Remodel
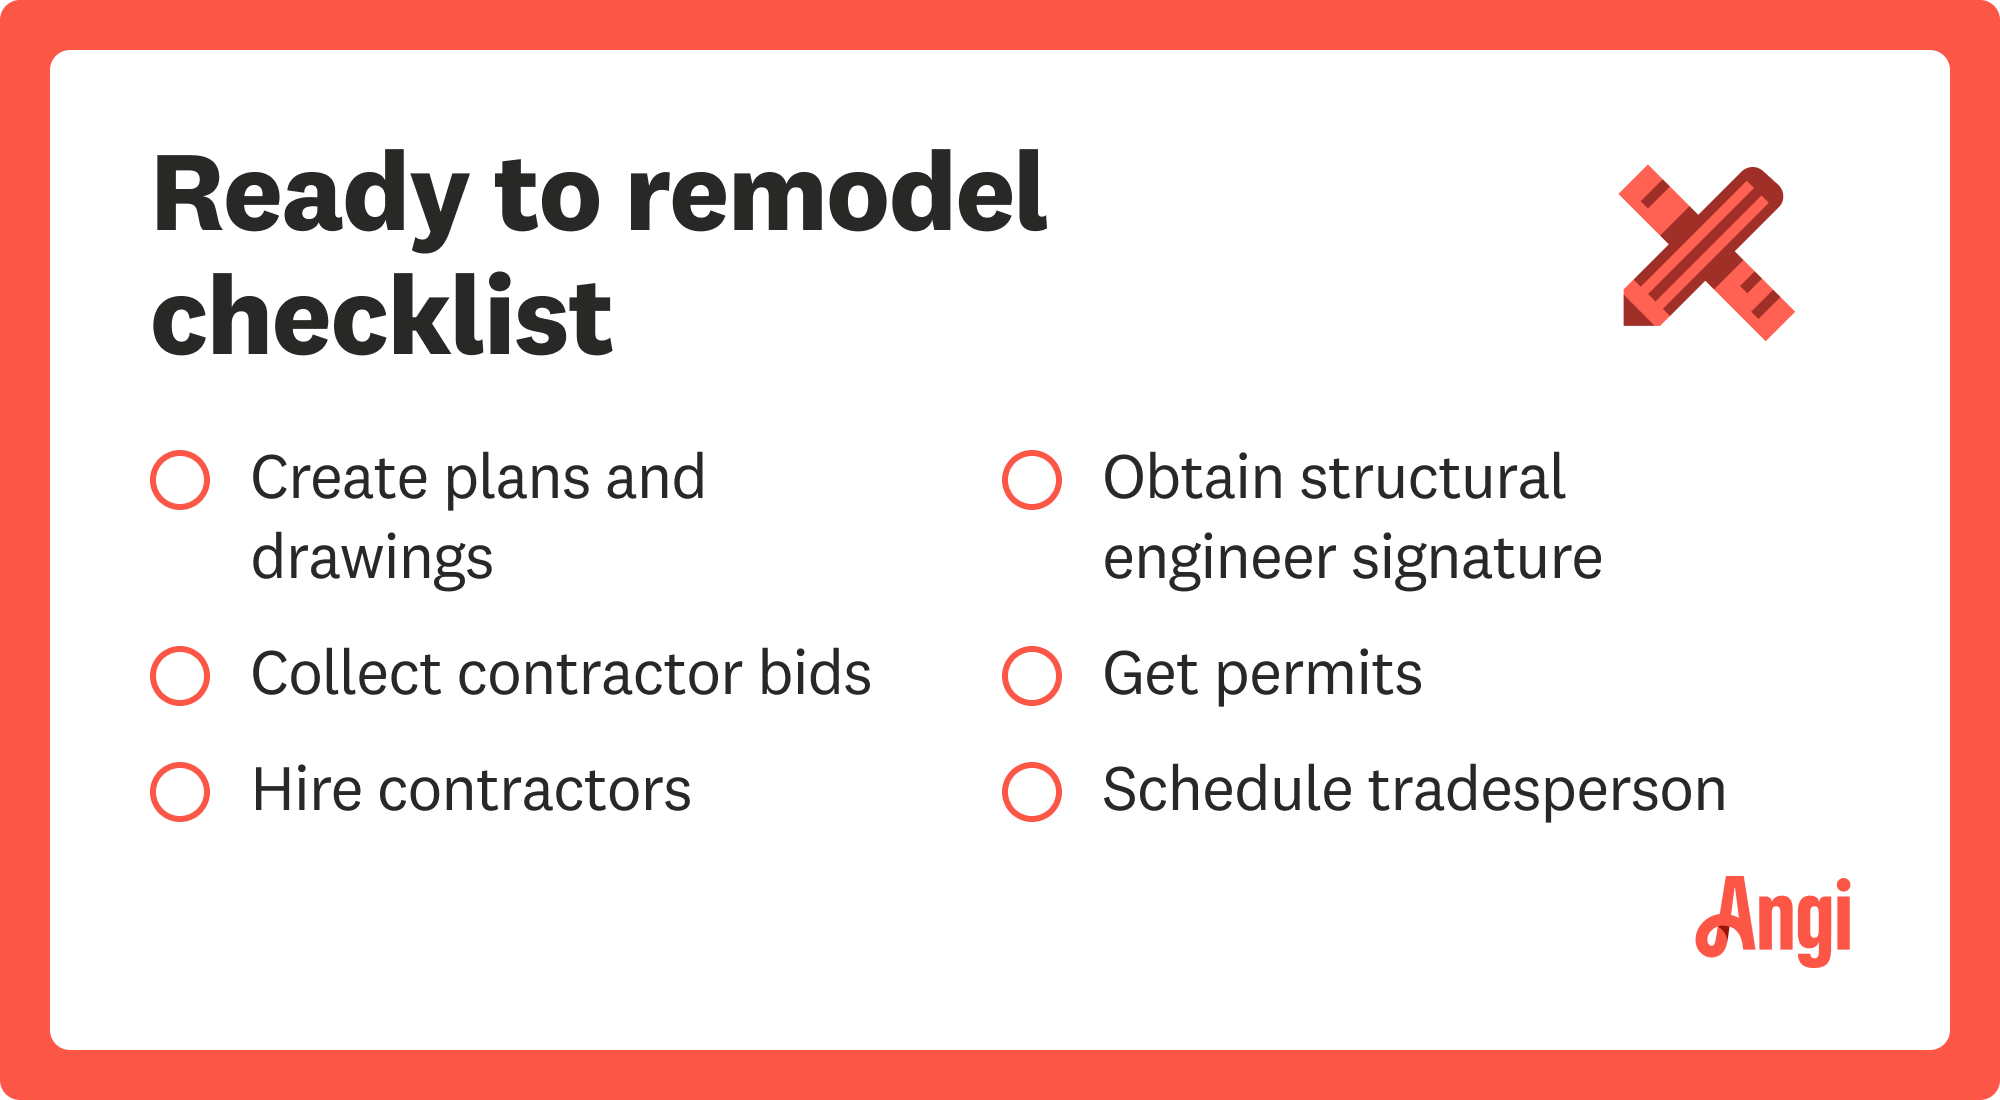
There’s quite a bit to do before you can begin your kitchen remodel construction, including design plans, hiring the right professionals, and setting up a temporary kitchen. Here’s everything you need to do before a project like this.
Determining project scope: In the early stages, take a moment to determine exactly what you want from your kitchen remodel. Ask yourself if you’re aiming to overhaul everything or just a handful of elements, as well as what’s possible to do yourself and what you’ll absolutely need a pro for. Doing this will give you a better look at what you can expect from the project as a whole.
Budgeting: Kitchen remodels cost an average of $27,000 for everything involved. If you’ve got less than that set aside, there’s still quite a bit you can do without spending a fortune, like replacing a backsplash or refinishing kitchen cabinets. It’s important to know what you’ll need to make it all happen before getting started so you don’t get caught off guard.
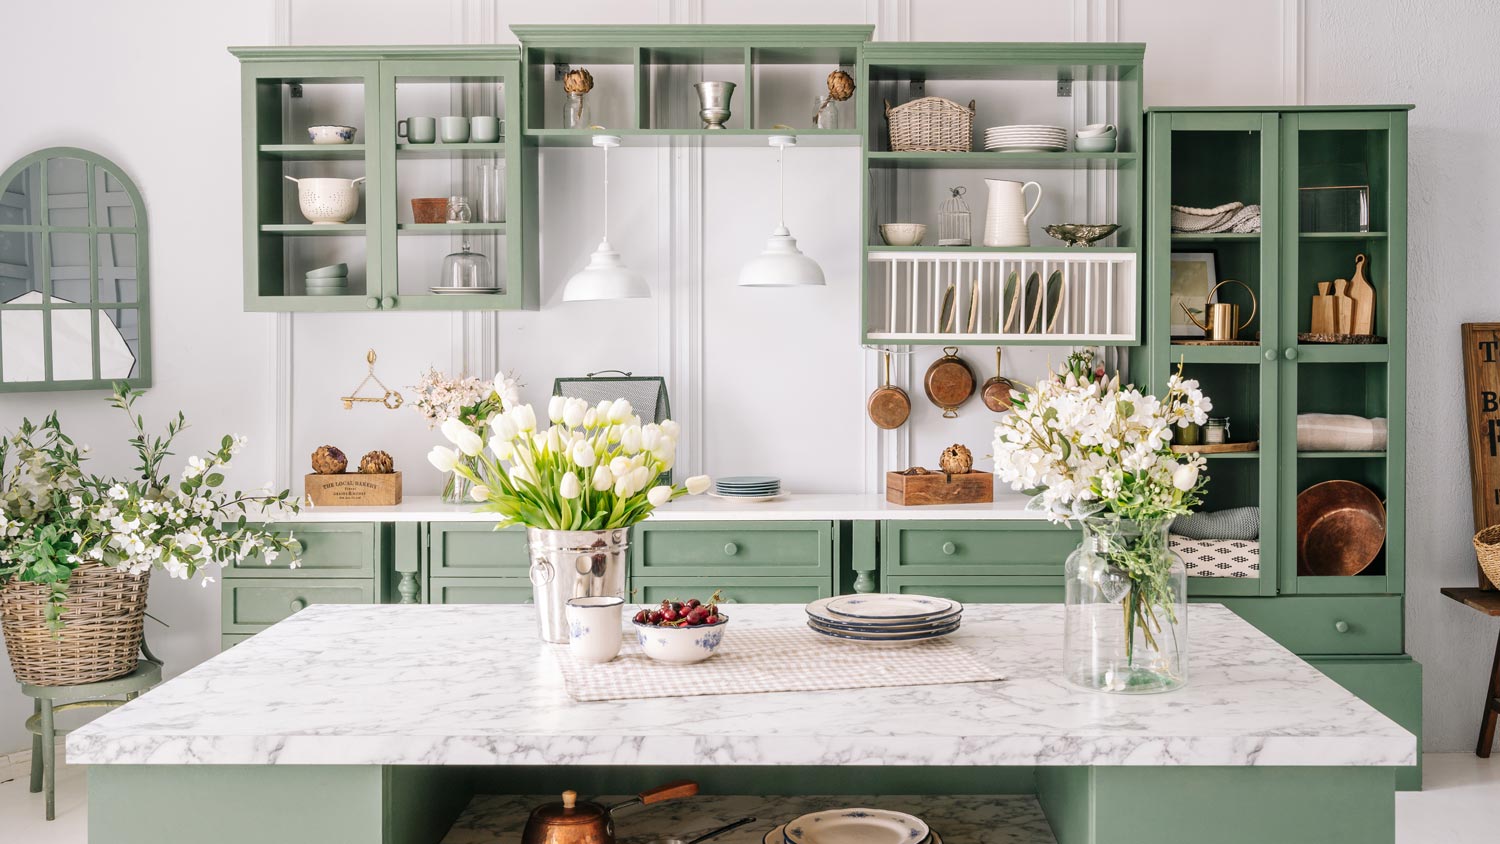
Designing a new layout: Just because your kitchen looks a certain way now doesn’t mean it has to stay like that. Use this project as an opportunity to reimagine your space completely and place everything where you always thought it should be—maybe that involves moving the sink to a center island or forgoing cabinets in favor of open shelving. It’s all up to you.
Applying for permits: If you’re planning large structural changes, like installing new plumbing or electrical wiring, you’ll need to apply for a permit for your kitchen remodel. Not sure how to go about doing that? Hire a kitchen remodeling pro near you to guide you through the process—or, better yet, take it off your hands entirely.
Hiring contractors: It takes more than just one pro to complete an entire kitchen remodel, though who you need to hire will depend on exactly what you’re doing. Everything from contractors to plumbers to HVAC technicians may be necessary, depending on the scope of your project.
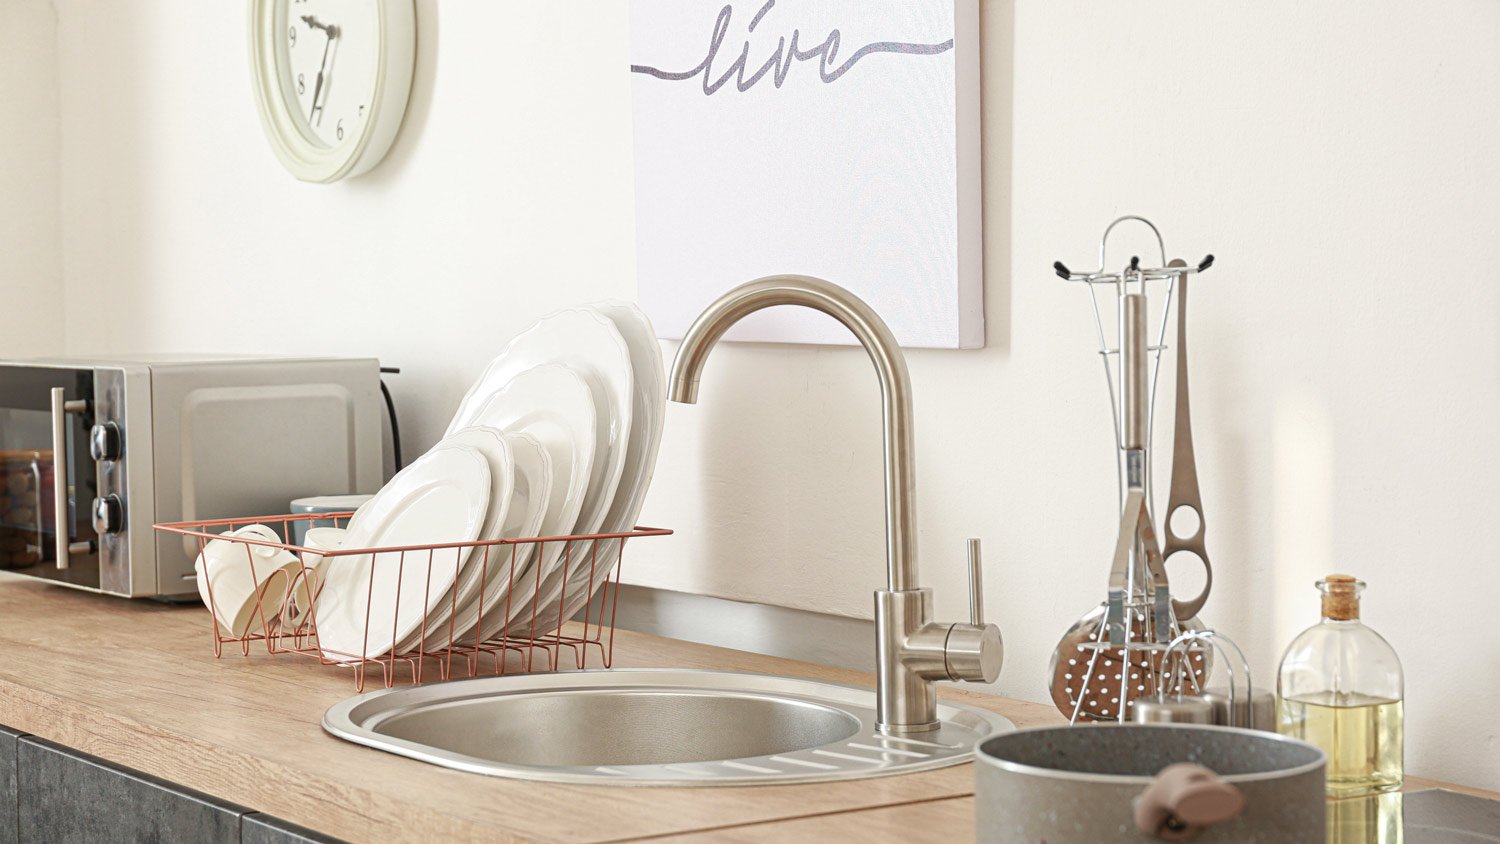
Setting up a temporary kitchen: Kitchen remodels take a long time to complete—anywhere from six weeks to four months in some cases. Setting up a temporary space for cooking will make it easier to adjust to living in a construction zone, and help you avoid ordering delivery (and the associated costs) day in and day out.
Ordering materials: It’s a good idea to order all the necessary materials for a kitchen remodel as soon as you know exactly what you need, because long delivery times and high demand can make them slower to show up. The last thing you want is to not have an essential item on hand on the day it’s supposed to be installed.
Once you’ve gone through your entire kitchen remodel checklist and crossed off everything, you’re ready to get started on the fun part: demolition and construction.
Most kitchen remodels take six to 10 weeks, so be ready to order takeout and spend a bit more time in your living room for a few months.

1. Demolition
If you hired a contractor to remodel your kitchen, you don't need to worry about the demo other than removing your belongings and packing them away in labeled boxes. This is also a good excuse to purge excess dishware and donate rarely used items.
If you’re handling the demolition yourself, you’ll want to check off the items below in this order:
Turn off the gas.
Turn off the electricity from your breaker box.
Use thick cardboard or thin plywood to cover and protect floors.
Remove appliances.
Once you’re ready to start the demo process, remove your old kitchen items in this order when applicable:
Garbage disposal
Sink
Countertops
Dishwasher and other appliances
Cabinets
Trim
Backsplash and drywall
Light fixtures
Flooring

2. Framing
This phase of the remodel allows your builder or contractor to put your kitchen’s structure in place to account for any new windows, doorways, or walls. This step will likely look like a slew of unfinished 2-by-4s to represent the layout of your kitchen before plumbing and electrical are complete and insulation and drywall go up.
3. Plumbing and Electrical
If you're installing a new sink or reorienting the drain system, you'll likely need to revamp the plumbing. It's helpful to figure out your basement or crawl space access challenges before installing the cabinets and flooring, as most plumbing is easiest to access when you're working with a blank slate. Plumbing mistakes can quickly make your project go haywire. So even if you’re planning to DIY your kitchen, bring in a licensed local plumber to address any plumbing needs.
Likewise, modern kitchens have many electrical requirements, so it's wise to hire a professional electrician to handle such complicated and dangerous work. The garbage disposal needs a dedicated plug beneath the sink and a switch on the wall. The dishwasher needs a dedicated plug behind it, as does the refrigerator. If the oven or stove is electric, you'll need a higher voltage wire to handle the load, high-amp circuit breakers, and different plug connections for each.
Plugs installed in the backsplash for coffee makers, mixing machines, or other commonly used kitchen items require a ground-fault circuit interrupter (GFCI) setup. New ceiling lighting or under-counter LEDs will often need to be placed on a new circuit, as well.
4. Insulation and Drywall
Once your plumbing and electrical elements are in place, it’s time to conceal the pipes and wires by installing insulation and drywall. This step is often the beginning of the “fun” part of a remodel, when you start to see your kitchen take shape and can envision what it will look like once the cabinets, appliances, countertops, and tile are in.
Depending on your kitchen size, insulation and drywall should take no longer than a week to complete. After your drywall receives mud and tape, you or your contractors will likely want to prime and paint the surface before your flooring goes in. Any touch-ups can be done once everything is in place.
5. Flooring
Whether you’re putting in new hardwood floors, luxury vinyl, tile, or another material, flooring usually goes in before your cabinetry. Then it gets covered so no scuffs or stains happen while other elements are installed. But before flooring goes down, it’s best to check with the flooring manufacturer to make sure your specific design is OK to install before cabinets, as some, like laminate, can be put down after cabinetry goes up.
This part of the project is also highly variable, as material costs on the best flooring type range from $0.60 per square foot on the lower end for laminate flooring to $25 per square foot for hardwood floors. Completing this step when the room is empty will save time on labor because you won't need to work around an island and cabinetry. However, it's still an intense process to ensure the floor is level and you get the finishing touches just right—a job for which you should hire a local flooring company.
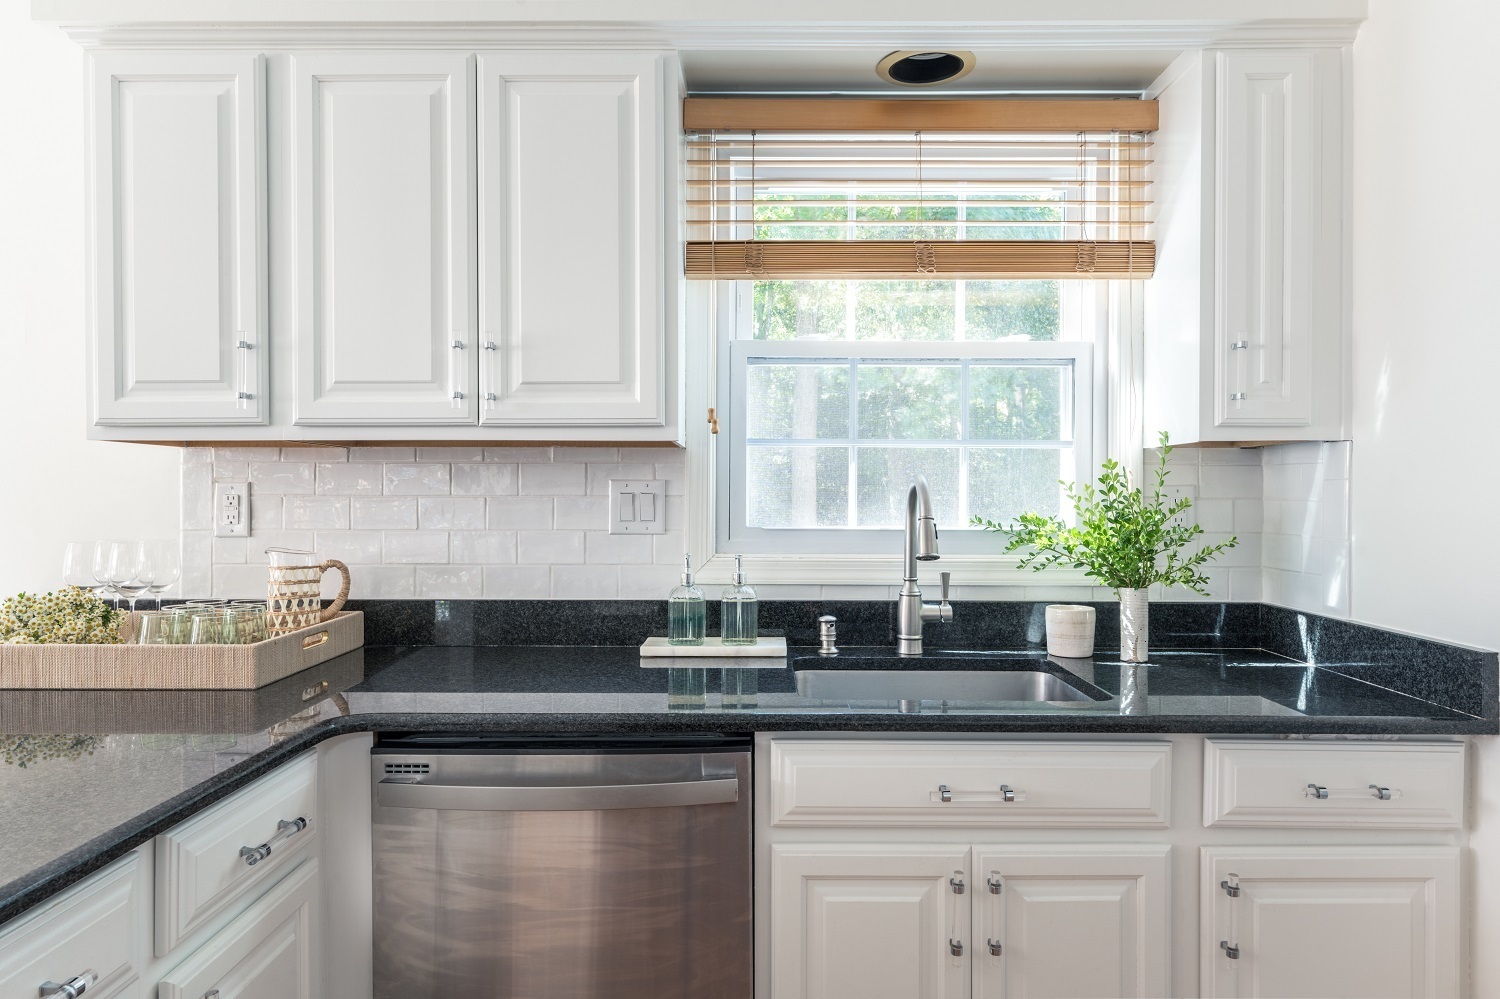
6. Cabinets and Countertops
Nothing makes your kitchen come together like adding cabinetry and countertops, which typically go in after flooring and before appliances. Cabinet installation should take about three to five days at most, while countertops may take up to a month since you have to measure, order the slab, and cut before it’s installed. You’ll also want to make sure you have your sink and your faucet on hand so you can factor the measurements into the cuts on the slab.
Because countertops can be quite heavy, you should hire a local countertop installer or have multiple people help during this stage to avoid damage and personal injury. Most stone-cutting shops include installation as part of the contract because of how difficult it can be for customers to do it themselves.
7. Backsplash
Installing a new backsplash is one of the last things you want to do during a kitchen remodel, mainly because doing so will help you avoid accidentally ruining your beautiful hand-picked tiles from construction debris, like paint splatters or scrapes from bumping heavy objects. That doesn’t mean you shouldn’t plan for it ahead of time, though. Determining where you want it to go, and ordering the materials in advance, will ensure you’re ready to put it up when the time finally comes.
Getting into the nitty gritty of a project like this, you can expect to spend $500 to $1,700 on everything involved. You may be able to save a bit by going the DIY route and by renting certain tools—like an automatic tile saw—rather than buying them outright, but a professional contractor will get the job done at twice the speed—just a day or two instead of three days or more—and in a way that sets up your space for long-term success.
8. Installing Appliances

The cherry on top of your kitchen is when you finally get to add the finishing touches—the appliances. Refrigerators will require a special dolly to get into the house, but it usually has wheels on the bottom for maneuvering once you're inside. Dishwashers and ice makers might require a plumbing reorientation, and you might need to connect ovens or stoves to natural gas in addition to their ventilation system. Bring in an electrician to help if you're DIYing your kitchen remodel.
9. Fixtures and Hardware
The final touches are what make the space feel like home, which is why waiting for this step makes it worth it. After countertops go in and appliances are in place, you can begin installing light fixtures or enlisting the help of a licensed electrician to put them up for you. You can also put any kitchen hardware, like knobs or handles on your drawers and cabinets to tie the design together.
10. Final Inspection
Although not every home will need a final inspection after a remodel, it’s a good idea to schedule one to be safe. This is typically the last step before you can unpack your kitchen essentials, decorate the space, and enjoy it with your friends and family. The final inspection is also an opportunity to identify any remaining issues that need to be addressed before your contractor or builder moves on to another project.
What to do before your final inspection:
Mark any unfinished work or problem areas with a piece of tape to bring it to your contractor’s attention.
Ask about a timeline for any additional work that needs to be completed.
Take photos of the work or problem areas so you can reference them if issues still aren’t addressed to your liking.
If you don’t come across any last concerns and the space passes inspection, it’s time to unload your plates, cups, silverware, and cookware and enjoy your new space!
Remodeling a Kitchen Yourself vs. Hiring a Pro
Doing a kitchen remodel on your own is possible if you’re willing and able to devote enough research, time, and effort to making it happen. But there’s no denying that a project like this involves a lot of work, and there’s no shame in leaving it to a pro (or several).
If you’re determined to go it solo, consider DIYing certain aspects rather than everything. Some projects, like demolition work, removing old appliances, and repainting cabinets, are easier for the average homeowner to do and more fun to boot. Plus: Leaving the aspects you’re less interested in to a certified pro will give you more time to focus on the parts you enjoy.
How Much Does a Kitchen Remodel Cost?
The average cost to remodel a kitchen is $27,000. However, costs are wide-ranging, with most homeowners paying between $14,500 and $41,500. The size of your kitchen, the scale of the remodel, the materials you use, and how much of the work you complete yourself are all significant factors that influence your final bill.
A light refresh of a small kitchen involving refacing cabinets, painting walls, replacing countertops, and installing new hardware might cost $10,000. In contrast, a complete overhaul of a large kitchen with new energy-efficient appliances, high-end, custom-made cabinets, countertops, and flooring could cost as much as $65,000.
Frequently Asked Questions
Contractors commonly install floors before cabinets during a kitchen remodel. It’s the standard option when installing hardwood, vinyl, and tile flooring. Installing flooring first helps prevent height misalignment, ensures a seamless appearance, and saves extra flooring work and costs if you plan to replace or remove any cabinets later.
Sometimes, it’s best to avoid putting flooring under cabinets or installing the cabinets first. Installing cabinets on top of the flooring can void the flooring warranty. This can be a costly problem, especially if accidental flooring damage occurs during installation. Also, it’s not a good idea to install cabinets over floating floors, such as laminate, that need room to expand and contract. Finally, avoiding installing flooring under kitchen cabinets is a more budget-friendly option as you will use fewer materials.
Cabinetry is usually the most expensive part of a kitchen remodel, frequently making up 30% to 40% of the overall costs. Cabinets require a lot of materials and are time-consuming to install. However, you can save significantly by refinishing or refacing existing dated cabinets that are still in good working order. Appliances, countertops, and flooring are the other costly elements to budget for.


- Bathroom Remodeling
- Kitchen Remodeling
- Shower Installation
- Stair Installers
- Bathtub Installation
- Shower Door Installers
- Kitchen Design
- Bathroom Design Companies
- Storm Shelter Builders
- Pre-Made Cabinets
- Kitchen Refacing
- Bathtub Replacement
- Ceiling Tile Installation
- Suspended Ceiling Companies
- Residential Designers
- Stair Builders
- Remodel Designers
- Shower Enclosures
- Home Renovations
- Kitchen Renovations
- Garage Remodeling
- Grab Bar Installation
- Walk-In Tub Installers
- Tub to Shower Conversion
- Balcony Contractors
Get our Angi-powered app


