
If your bathroom vanity top is damaged or cracked, removing and installing a new one can be an easy project to tackle. Learn the cost of replacing your vanity top.
Work on getting out with the old so you can welcome in the new

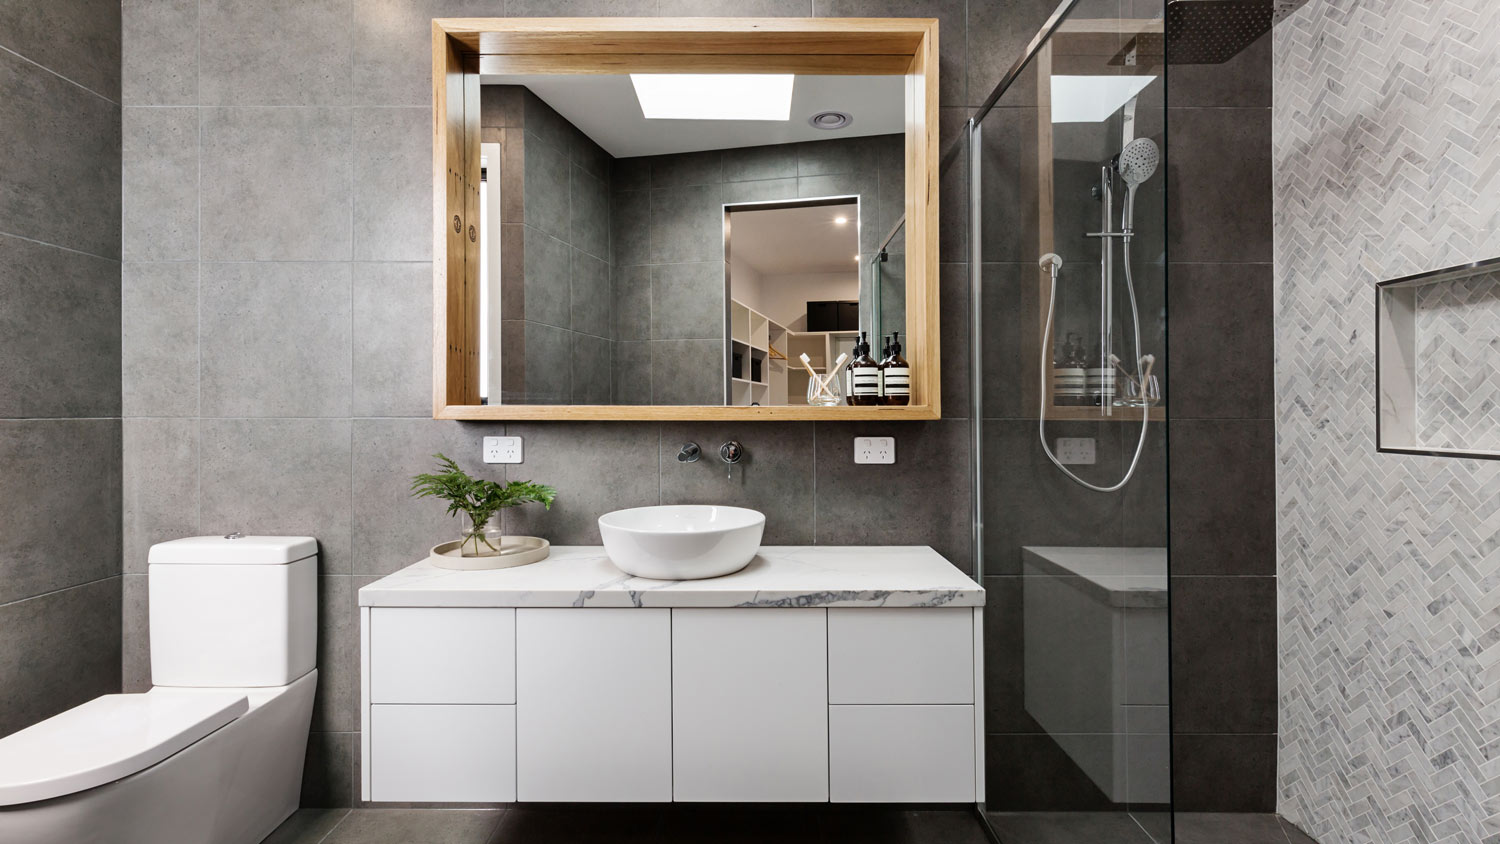
You have removed the old tile flooring and swapped out the showerhead. To complete the bathroom makeover, you will need to know how to remove a bathroom vanity without damaging the walls and floors. While taking out a vanity requires some TLC, you can learn how in nine steps and two hours.
Luckily, this project does not require a full bathroom demolition. Removing a bathroom vanity can be easy if you follow straightforward instructions and work gently around more vulnerable items, like the mirror. There are a few extra steps you can take ahead of time to make the process go as smoothly as possible.
You do not want a tile or piece of countertop to come loose and damage the nearby toilet or tub during the vanity removal, so take some precautions to protect nearby objects. Place a sheet of plywood over the tub if it is close to the vanity, and cover nearby objects with plastic sheeting for more protection.
You might find that your vanity is secured to the wall, making removing it more difficult. If this is the case, you may need to hire a local bathroom vanity installer for assistance with cutting the vanity into smaller pieces for removal.
There are two methods to shut off the water: turning off the valve in the cabinet beneath the sink or shutting off the main water valve to the house.
To shut off the water at the sink, open the cabinet under the sink and look for the water valves. The knobs are most likely silver and shaped like a flattened oval. There will be two of them mounted to the cabinet wall, one for the hot water and another for the cold water. Simply turn them all the way clockwise. You can do this by hand, but if the valves are too difficult to turn, use an adjustable wrench. Turn on the sink faucet to release any remaining water.
The other option is shutting off the main water valve to the house. The location of the main water valve varies with the home’s age and foundation type:
Basements: Within 3 to 5 feet of where the main water line enters the home, which is commonly in a utility room or near a water heater.
Crawl spaces: Near the water heater, under the kitchen sink, or inside the crawl space
Slab foundation: Near the water heater or under the kitchen sink
Once you locate the valve, turn it all the way clockwise. If you cannot shut off the water, call a pro to help you get the project started.

Place a towel and bucket beneath the pipes to collect any water that may release after you disconnect the plumbing. Tubes or water supply lines connect the water valves to the faucet. Use an adjustable wrench to loosen the water supply lines from the valves.
Turn the compression nut on the supply tube counterclockwise until the tube can come free from the valve. Watch for leaks. If the valve leaks water and does not stop, shut off the home’s main water supply (if you have not already).
Consider discarding the old water supply lines and replacing the tubes and fixture shut-off valves with new ones, as they only last about five to 10 years.
The drain trap, also called the P-trap, is the large pipe in the under-sink cabinet with an S- or U-shape. Place a bucket and a towel under the drain trap.
Use your hands, or channel locks for metal pipes, to turn the slip nuts on the sink tailpiece and the end of the drain trap connected to the wall counterclockwise. Slide the slip nuts away.
Gently pull the drain trap piece away from the wall and toward you. Water will release, so have the bucket handy. Stuff a cloth into the end of the pipe in the wall to trap unpleasant odors. Remove the drain trap and turn it over above the bucket to dump excess water.

For mirrors glued to the wall that you plan on keeping, you can skip this step. Otherwise, you should remove the mirror, or it could break during the vanity cabinet removal. You do not want the mirror to fall and break, so ask a friend to help steady the mirror as you use a screw gun to remove screws that attach the mirror to the wall. Gently remove the mirror from the wall with your friend’s help, as it may be heavy. Place it on a moving blanket or plastic sheet in another room.
With a utility knife, start cutting the caulk or sealant. You will find caulking along the edges of the vanity countertop where it meets the wall, along the cabinet sides that meet the wall, and on the edges between the countertop and the cabinet.

After cutting the caulk, the vanity is ready for removal. Have an extra set of hands in the room to help you lift and carry the vanity top away.
Look for any clips connecting the countertop to the cabinet, and use a screwdriver to remove the screws and clips. Take a putty knife and wedge it gently between the top of the vanity and the cabinet to loosen the vanity top. Work around the edges of the vanity top with a pry bar to fully disconnect the top of the vanity from the cabinet. Lift the vanity top away from the base.
Before you start pulling at the cabinet, look along the back edges and bottom of the vanity base. This will help you determine whether the cabinet is attached to the wall or floor.
Use a screwdriver to remove screws attaching the base to the wall or floor. For nails, you will need a pry bar. Place a wood block between the pry bar and the wall to prevent damage to the drywall.
Once you remove all screws or nails, carefully pull the cabinet away from the wall. Pull straight back and toward you, and keep any plumbing holes aligned with the valves to avoid accidentally turning them on.

You have successfully removed the old vanity, and it is almost time to install a new bathroom vanity—and maybe even install a bathroom sink. But your bathroom will be messy after pulling out the old mirror and base, so you will need to clean up before installation.
Use a putty knife to scrape away excess caulk on the walls. Patch holes or drywall damage with spackling paste and a putty knife, and repaint the wall as needed.
Before you roll up your sleeves and get to work, take a moment to note these tips for avoiding common mistakes when replacing a bathroom vanity:
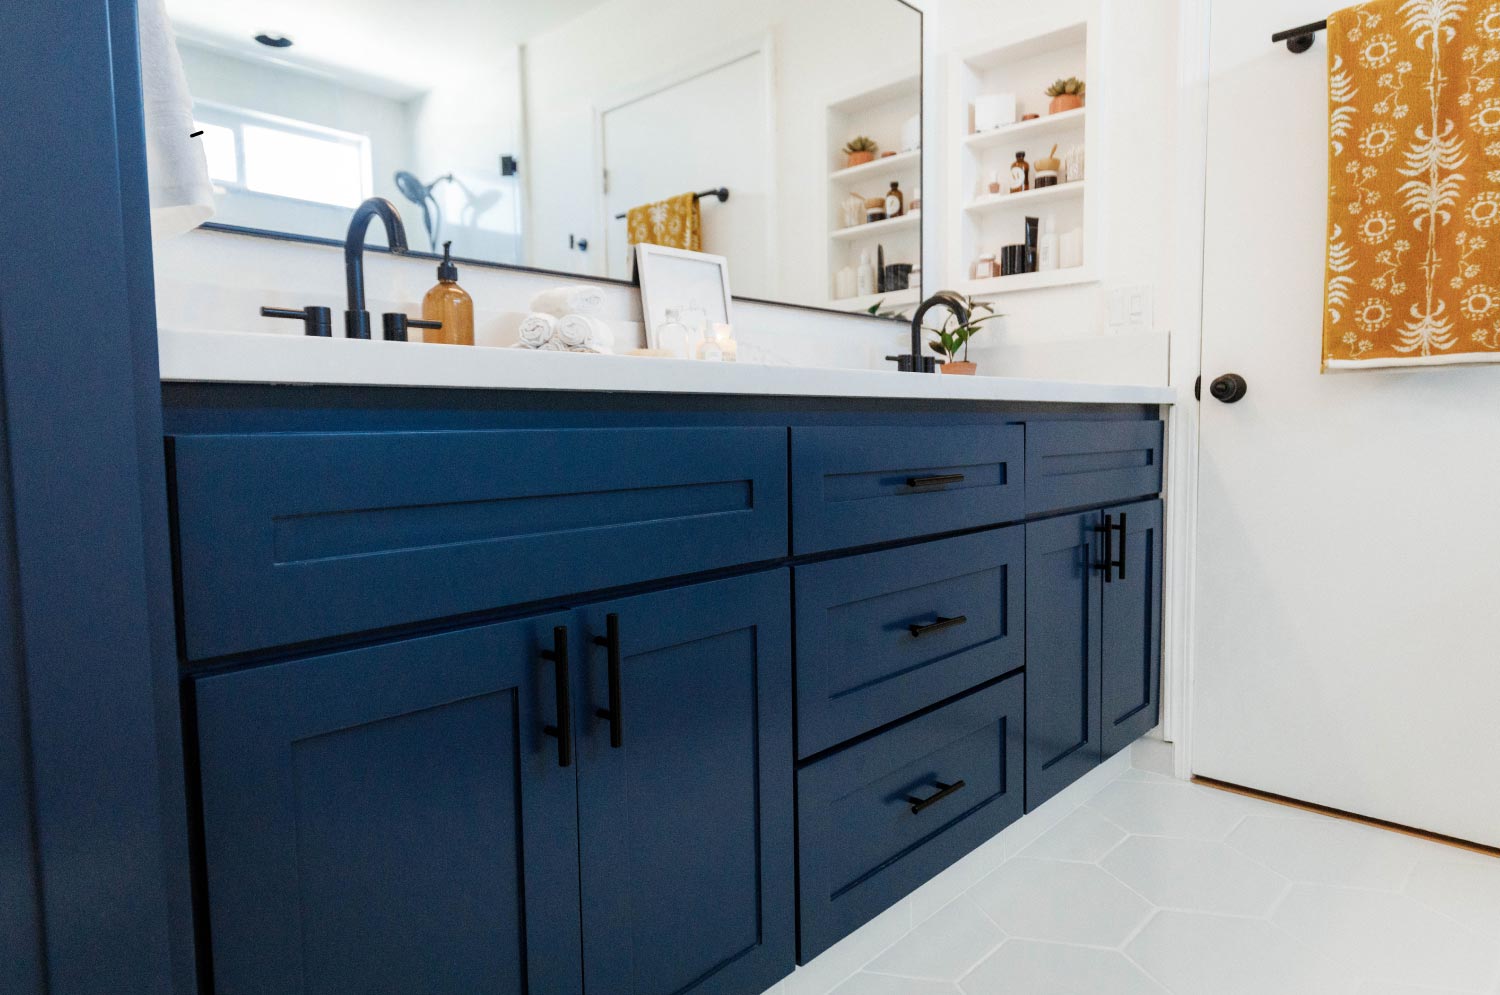
Choosing looks over function: A new vanity can transform the look of your bathroom, but be sure that the unit also meets your needs for organization and storage. If you have plenty of accessories and products to organize, get a vanity with enough cabinets and counter space.
Not matching the existing bathroom: While looks shouldn’t be your only priority, choose a vanity that matches the rest of your bathroom. Pay special attention to the finish and hardware.
Vanities that are the wrong size: Before purchasing the vanity, carefully measure the space so you get one that’s the right size. If your vanity is the wrong size, you might not be able to install it or it will look out of place in your bathroom.
A haphazard plumbing job: DIYing the plumbing for your new vanity is fine as long as you have the experience and know-how. Otherwise, a job gone wrong could cost you thousands down the road due to leaks.
Not installing enough lighting: A great vanity can’t reach its potential if the area is dim and dreary, so take this chance to upgrade your lighting. It will improve your bathroom’s aesthetics and make it easier to see your mirror.
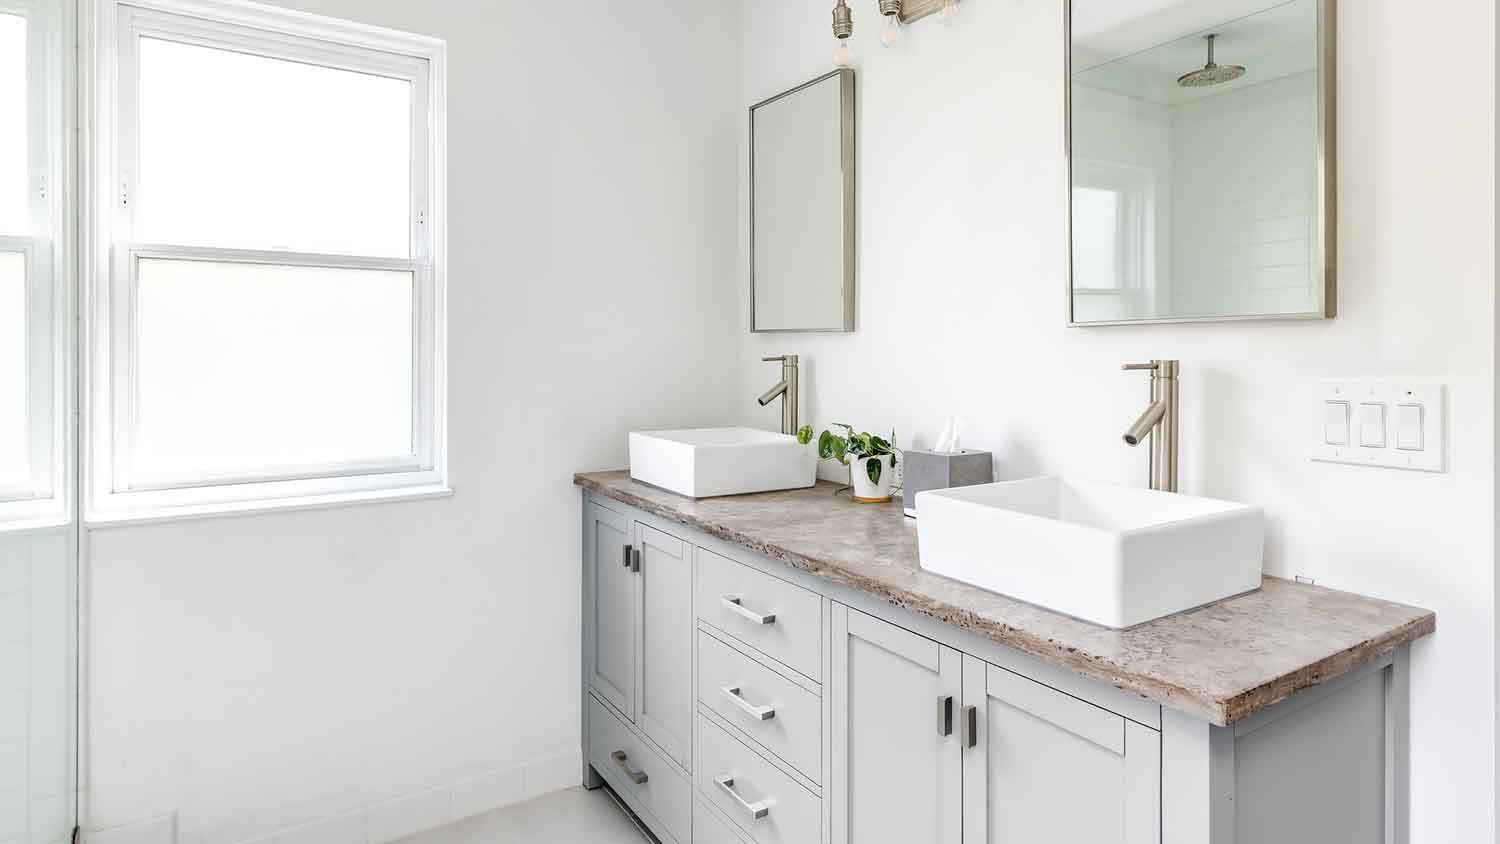
Expand the storage in a small bathroom by choosing a vanity with built-in drawers. You’ll be happy you did when trying to fit all of your hair accessories and cleaning supplies under the sink.

As long as you are comfortable shutting off the water supply and disconnecting the plumbing to the sink, bathroom vanity removal is a relatively simple DIY job. You will need to take the time to cut the caulk lines properly to make bathroom vanity removal easier and you may also want to remove the bathroom sink before removing the vanity top. Keep in mind that if you are inexperienced with home improvement projects, this may take longer than you think.
Hiring a pro can make the process go more smoothly. While their labor comes at a cost, they may be more efficient and get the bathroom back in working condition faster. If you are uncomfortable working with plumbing or do not have someone to help you with the heavy lifting, hiring a pro may be the way to go.
Jason has helped me with multiple household projects, with the most recent being new door installation. He has always showed up on time and organized and has done an incredible job! Jason is very professional and he's now my go-to for anything around my house that needs to be fixed or...
Cole has been handling plumbing and general contracting for our four properties over the past three years, and he’s always done a great job. Most recently, he installed a sink and countertop in our retail store where none existed before, and it turned out exactly how we needed. He’s...
 ANB Renovations LLC
1st Choice Renew is simply the best! We hired them for a complete home renovation, and they transformed our space into something truly amazing. The team attention to detail and commitment to quality were evident throughout the project. They were easy to work with, very responsive, and always...
This company went above and beyond with their work, chimney sweeps are usually pretty messy, but the clean up was spot on.!! Josh explained every thing that he was doing, and the things that he was checking to make sure the chimney was safe for me and my family. He was very professional,...
 Supreme brick & chimney
Custom Paint Jobs LLC turned our outdated bathroom into a modern masterpiece.
Excellent customer service and knowledge. I was recommend to him from my neighbour. My front door and window came in great and were installed beautifully perfectly, I m very satisfied with their excellent work, so decided to order one more big bow window for my living room. I cant wait for...
If I could give 10 stars for Kitchen Tune Up, I would. I cannot say enough good things about my experience with Kitchen Tune Up and the entire team involved in the process of my kitchen project. They went above and beyond as far as service and quality with my cabinets, paint, countertops, and...
It was wonderful working with Yordy and his team. They were very professional and are experts in what they do. They have completed the work on time, with better quality and with in fairly reasonable price. We just started with backsplash work , but liking his work, we went on to provide...
We were having 2”x 2” tile installed . There was a small installation error and the new additional replacement tile was from a different lot and the colors didn’t match. Joe assured us that he would rectify everything , which he did without hesitation. We decided to go with the 18” x 36” tile...
 CarifaTile
They work that 360 did on my kitchen cabinets is nothing short of amazing. I still cannot believe the difference from before and after. Jon and Jeff were both so incredibly professional throughout the whole process and their communications with me were constant and consistent. These guys...
 360 Painting Columbus
From average costs to expert advice, get all the answers you need to get your job done.
If your bathroom vanity top is damaged or cracked, removing and installing a new one can be an easy project to tackle. Learn the cost of replacing your vanity top.
If your bathroom needs sprucing up, a new vanity will make a big difference. Vanity installation costs depend on the size and type of the countertops and fixtures you choose.
Floor or wall—the floating vanity versus freestanding debate continues, but putting these two side by side can reveal which one is best for your space.

There are bathroom vanities for bathrooms of all sizes, from floating units to custom cabinetry. Find out which bathroom vanities are the best for your home.

You have built your dream bathroom, but do not stop there. Learn how to protect your bathroom vanity from water damage to avoid costly repairs.
Unskilled screwdriver users, fear not! You can learn how to mount a vanity top and transform a boring bathroom into your personal oasis.