Removing a hot tub costs an average of $400. Learn what factors affect hot tub removal costs, including size, type of hot tub, and disposal method.
Don’t freeze up when faced with this task


Whether you’re moving house or simply reorganizing your home, you may wonder how to move a freezer. These tips will prevent injury to you and your appliance. With careful preparation and the assistance of a friend or two, your freezer will be up and running in its brand-new spot in no time.

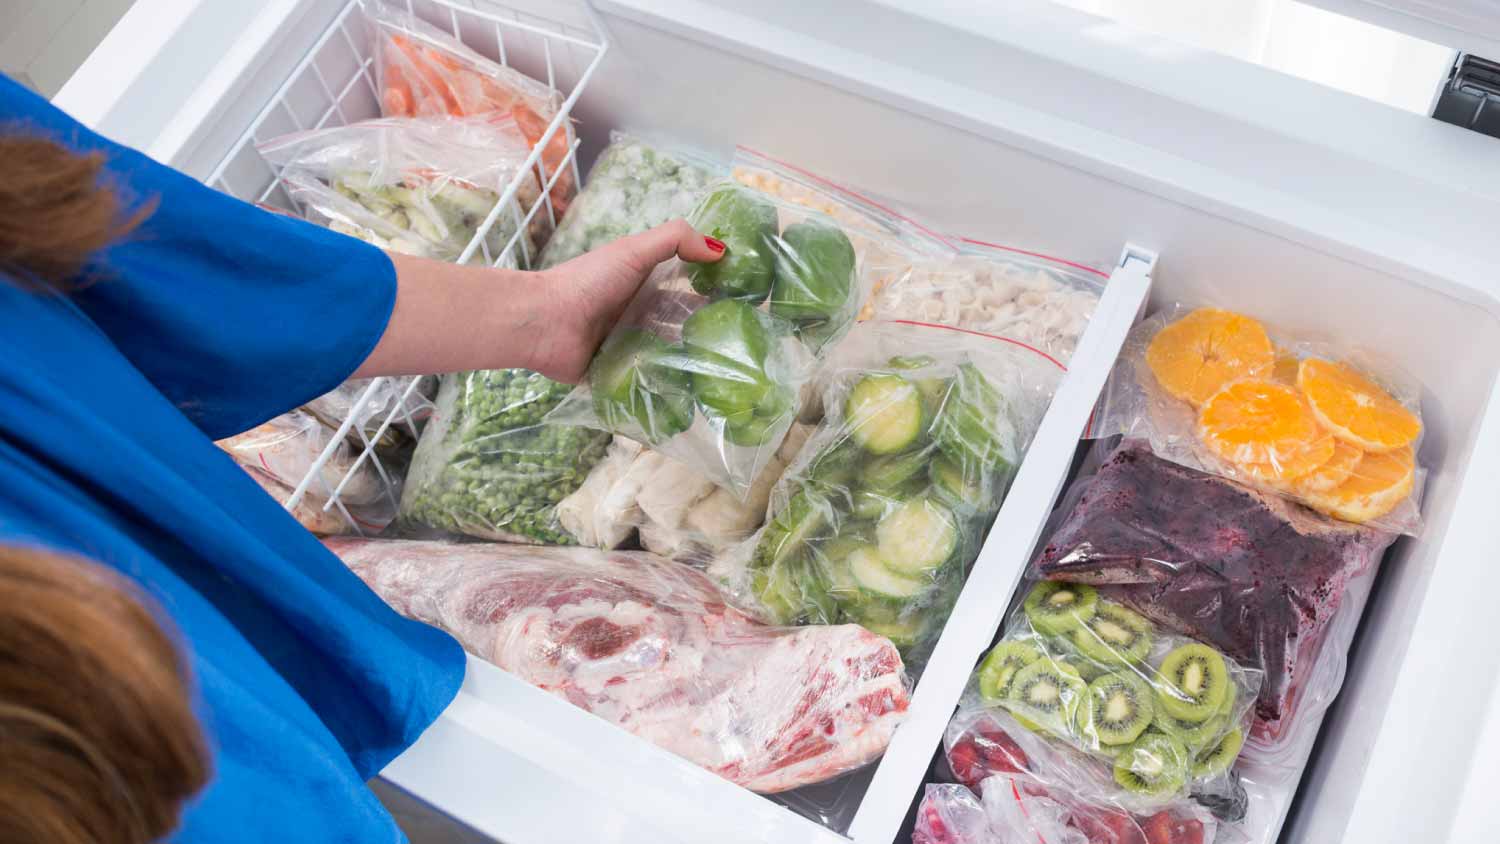
Before starting, you want to lighten your load by emptying your freezer. This includes removing food, ice packs, and any loose parts that may fall off and get lost when transporting, like shelves or drawers. Alternatively, tape these items in their current place so they don’t dislodge when moving.
Remember, moving a fully stocked appliance increases the chances of accidents caused by leaks and spills. To prevent spoilage, store perishable items in a cooler packed with ice.
If your freezer has ice buildup, defrost it after you empty it. The appliance will feel lighter, and you won't have to deal with a drippy mess while moving it.
Unplug the freezer at least 24 hours before moving it. While defrosting, grab some old towels, rags, and pans and use them to catch melting ice. Afterward, thoroughly wipe your freezer dry.
Like moving a refrigerator, you should measure your freezer against doorways, stairs, hallways, and other pathways to understand the obstacles you may encounter when moving your appliance. For unobstructed and smooth moving, you may need to remove rugs, hinges, and doors.
Protect your freezer with moving blankets or any thick material on hand to prevent scratches and dents. Secure the blankets in place with packing or duct tape. This step is essential for moving your freezer in tight spaces or loading it onto a truck.
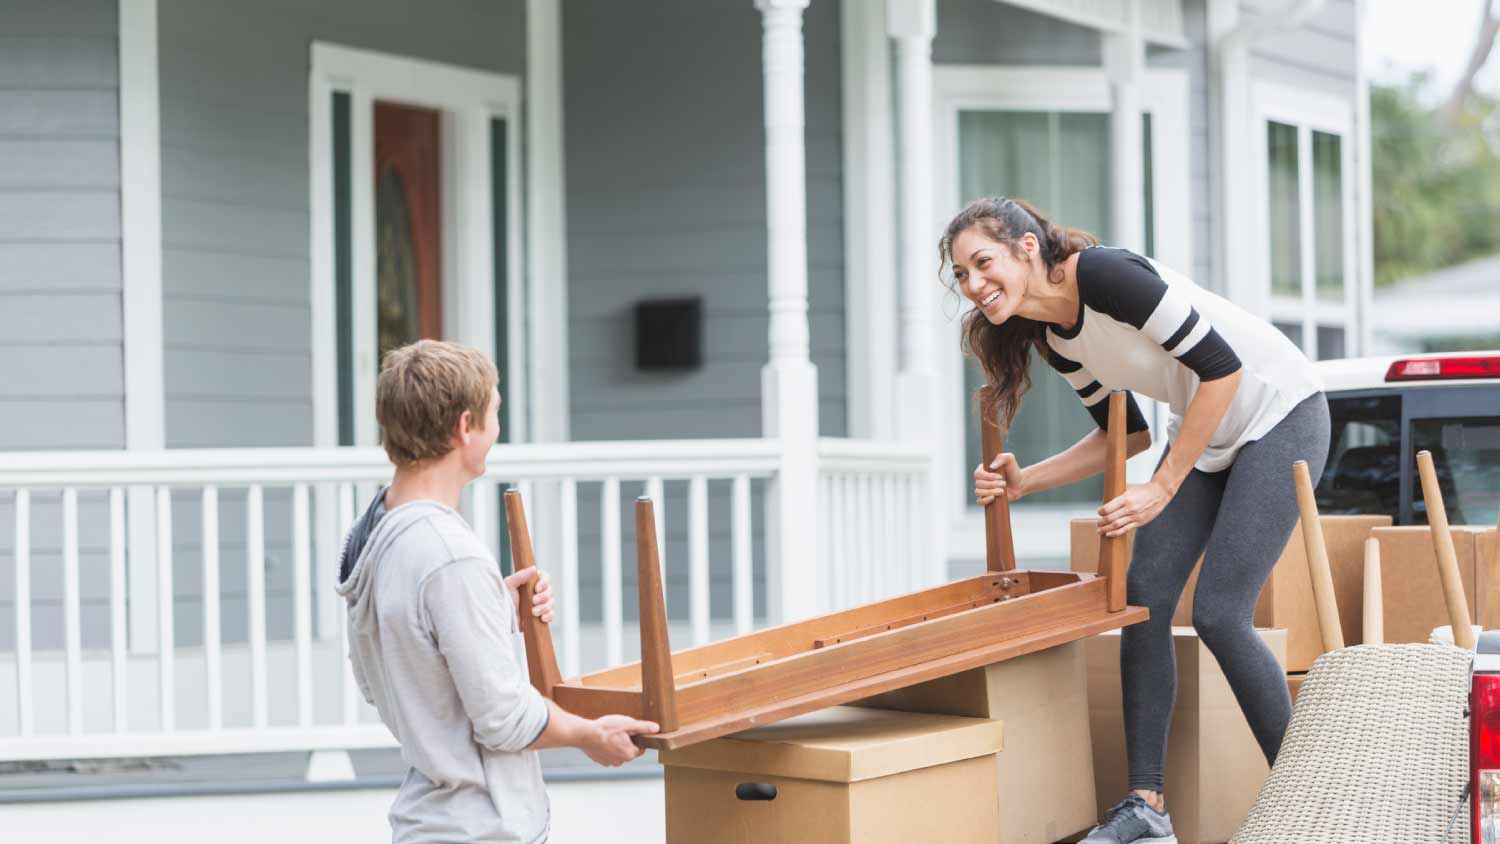
Freezers are large and heavy, so moving one without assistance may be impossible. Recruit as many helpers as you need, particularly if navigating stairs is part of the journey. As with many things, teamwork will make the entire process safer and more manageable.
You can also decide to work with a local appliance removal company. These professionals have experience moving heavy appliances and can even assist with proper disposal if the freezer is no longer needed.

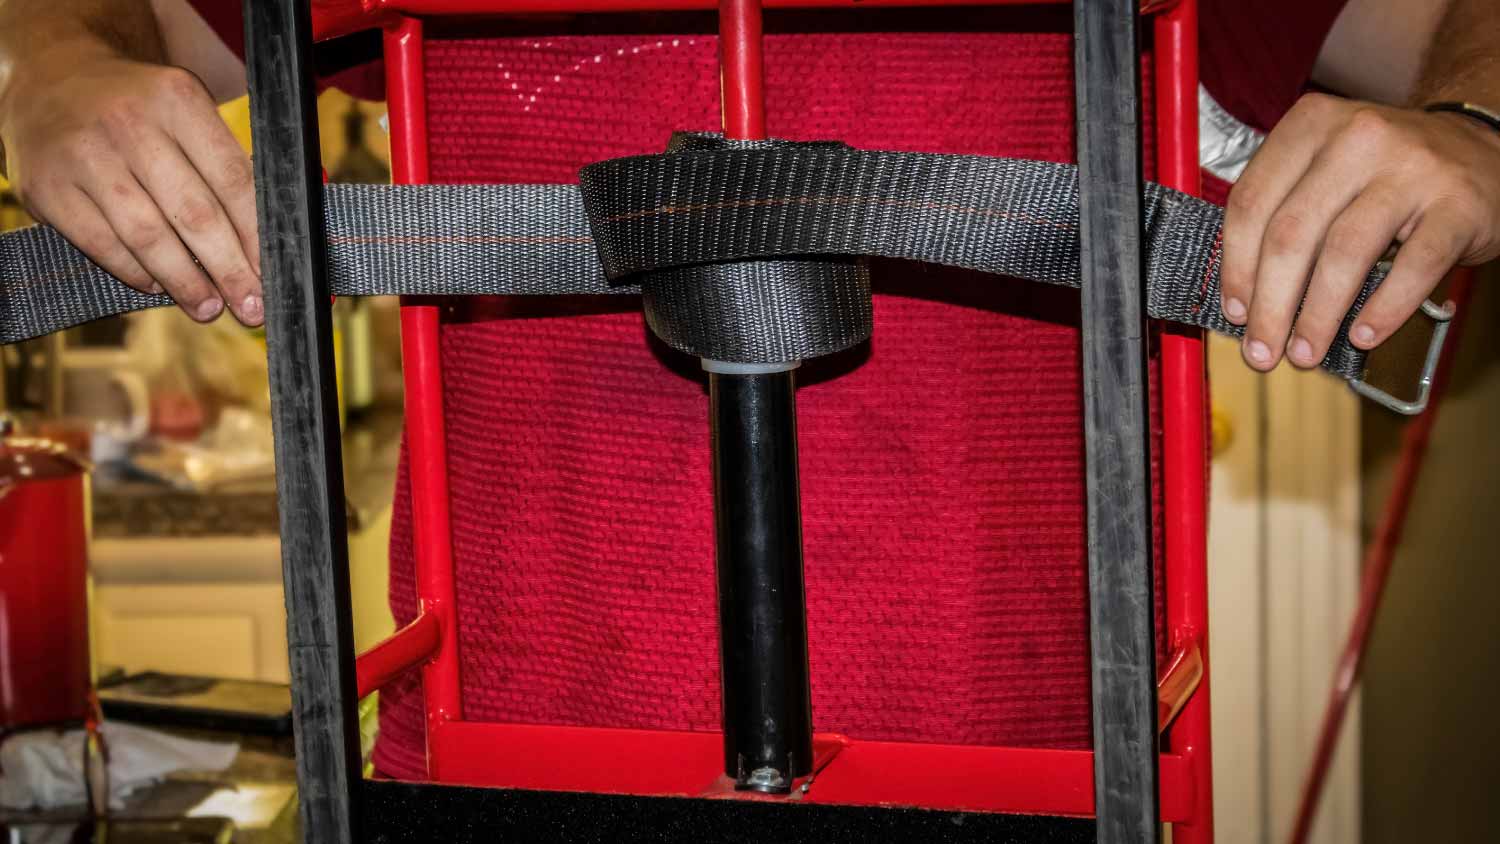
A dolly and moving straps will spare you backaches later. The moving straps will help you and your pal lift the freeze onto the dolly together. But remember to position the straps securely around the freeze and share the load evenly between you and the other lifter.
The trick for using moving straps is to avoid having them touch any exposed coils. It’s best to position them snuggly under the freezer. Next, ensure the straps are correctly positioned around you and your lifting partner on opposite freezer sides. Keep your back straight, lift with your legs, and move slowly for stability.
When moving, it's important not to jostle the compressor and other internal components. The best way to do that is to keep the unit upright throughout the move. Tilting the freezer or placing it on its side can cause the lubricating oils in the compressor to leak onto other parts, causing malfunctions.
Ensure the unit is on a stable and flat surface. Use straps and bungee cords to anchor and secure it upright in transit.
After moving your freezer to its new location, allow time for the compressor oil to settle. Let your appliance sit for around 6 hours or follow the manufacturer's instructions. Afterward, you can plug it in. Don’t skip this step—it can prevent serious damage.
It will take most freezers roughly 8 hours to reach freezing temperatures again. So once you plug it back in, let it run for the appropriate amount of time according to the manufacturer’s instructions. This is also a good time to ensure you’ve set the appliance to the correct temperature. Once you’ve hit the ideal temp, you are ready to restock your freezer.
From average costs to expert advice, get all the answers you need to get your job done.

Removing a hot tub costs an average of $400. Learn what factors affect hot tub removal costs, including size, type of hot tub, and disposal method.

Appliance removal costs can vary widely. Learn the average cost of appliance removal and the factors that affect how much you pay.

Junk removal costs depend on the volume and type of waste you need removed, but paying a professional saves you time and energy over hauling it yourself.

Ensure your old mattress is disposed of legally and responsibly by hiring a junk removal service.

From that old gas grill to piles of torn-up linoleum, you may be wondering, "Who can haul my junk away?" Here's who to call when your junk is piling up.

Old washers and dryers can be difficult to dispose of. Learn how to dispose of a washer and dryer with as little hassle as possible.