How to Install a Smart Light Switch
It’s a cinch to switch off your lights when you install smart technology


When you’re sitting comfy on the couch and want to create a cinema-style atmosphere, nothing beats being able to stay where you are and dim the lights at the touch of a button. Installing smart light switches in your home is a relatively inexpensive swap and, with some extra electrical know-how, one that savvy DIYers can tackle.
If you want the convenience and extra security of controlling your lights from any location, read on to learn how to install a smart light switch safely and swiftly.
Why Would I Install Smart Light Switches in My Home?
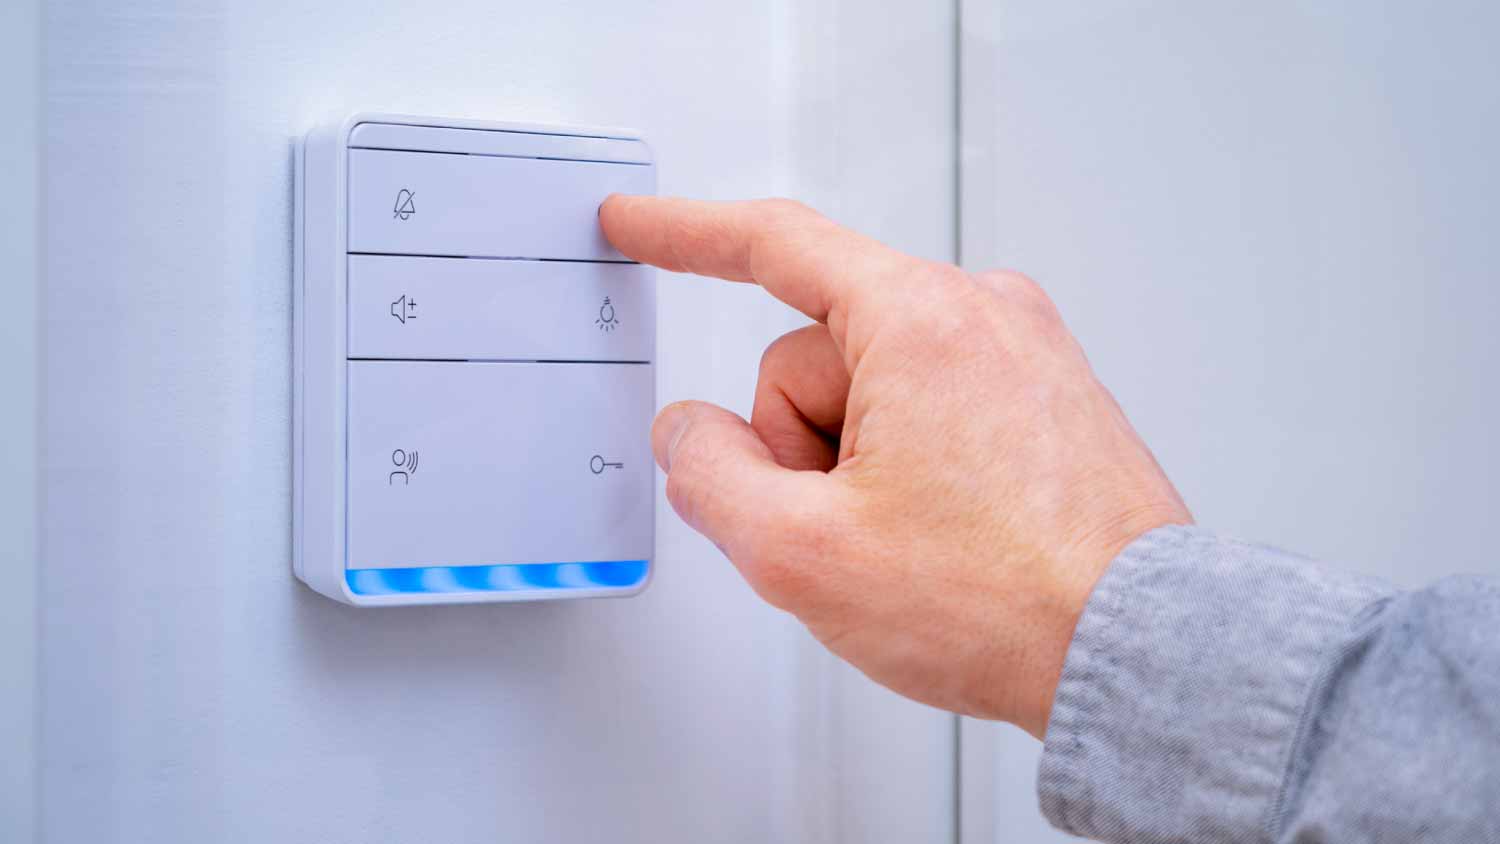
Home automation and associated smart technology are constantly advancing in sophistication and popularity. A WiFi-connected smart light switch is a beneficial bit of home tech that won’t break the bank. These allow you to remotely control your lights through a phone app or voice assistant, like Alexa. Some benefits of smart light switches include the following:
Energy-saving: If you’re looking for ways to reduce your energy bill, smart light switches can help. You can set lights on a timer and flick the switches remotely if your kids forget to turn the lights off when they leave the house or go to bed.
Security: The ability to set your lights on a timer and turn them on from a remote location is a great way to help protect your home from robbery.
Convenience: It is a handy luxury to turn switches on or off or dim them through voice activation or from your phone without moving from your work desk or bed.
How to Prep to Install Smart Light Switches
Before you take the plunge with purchasing your smart switches, there are a few things to consider.
Wired or Wireless?
Wired smart switches are the usual go-to. They work like a normal light switch and are hooked up directly to your home’s electrics. However, you’ll need some electrical know-how to install them yourself.
Wireless smart switches are battery-operated options that you simply stick or screw onto a wall, and they still connect to your Wifi and apps. However, these aren’t widely available and typically have to pair with already installed compatible light bulbs or existing smart switches.
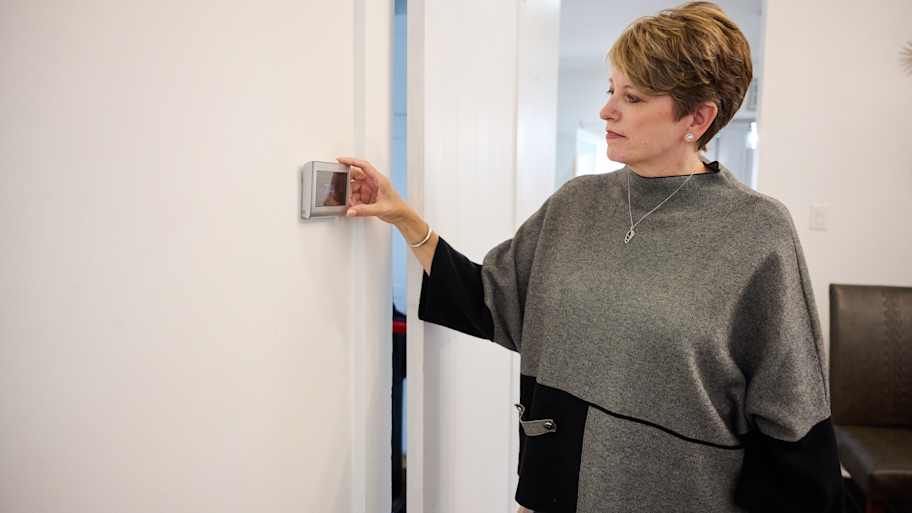
Consider Existing Smart Technology
Do you already use smart technology in your home? Check the smart switches are compatible with your existing devices and voice assistants.
What Features Do You Want?
How high-tech do you want your smart light switch to be? The more features the switch has, the more it will cost. Weigh up which of the following you want:
Timer: Do you want to be able to program your lights to go on and off at certain times
Activation: Do you want to be able to control your switches from the wall panel, an app, and voice-assisted technology, or are just a couple of these options enough?
Dimmers: Some smart light switches have the ability to dim rather than just turn on and off. If you opt for this feature, make sure the bulbs you pick allow for dimming.
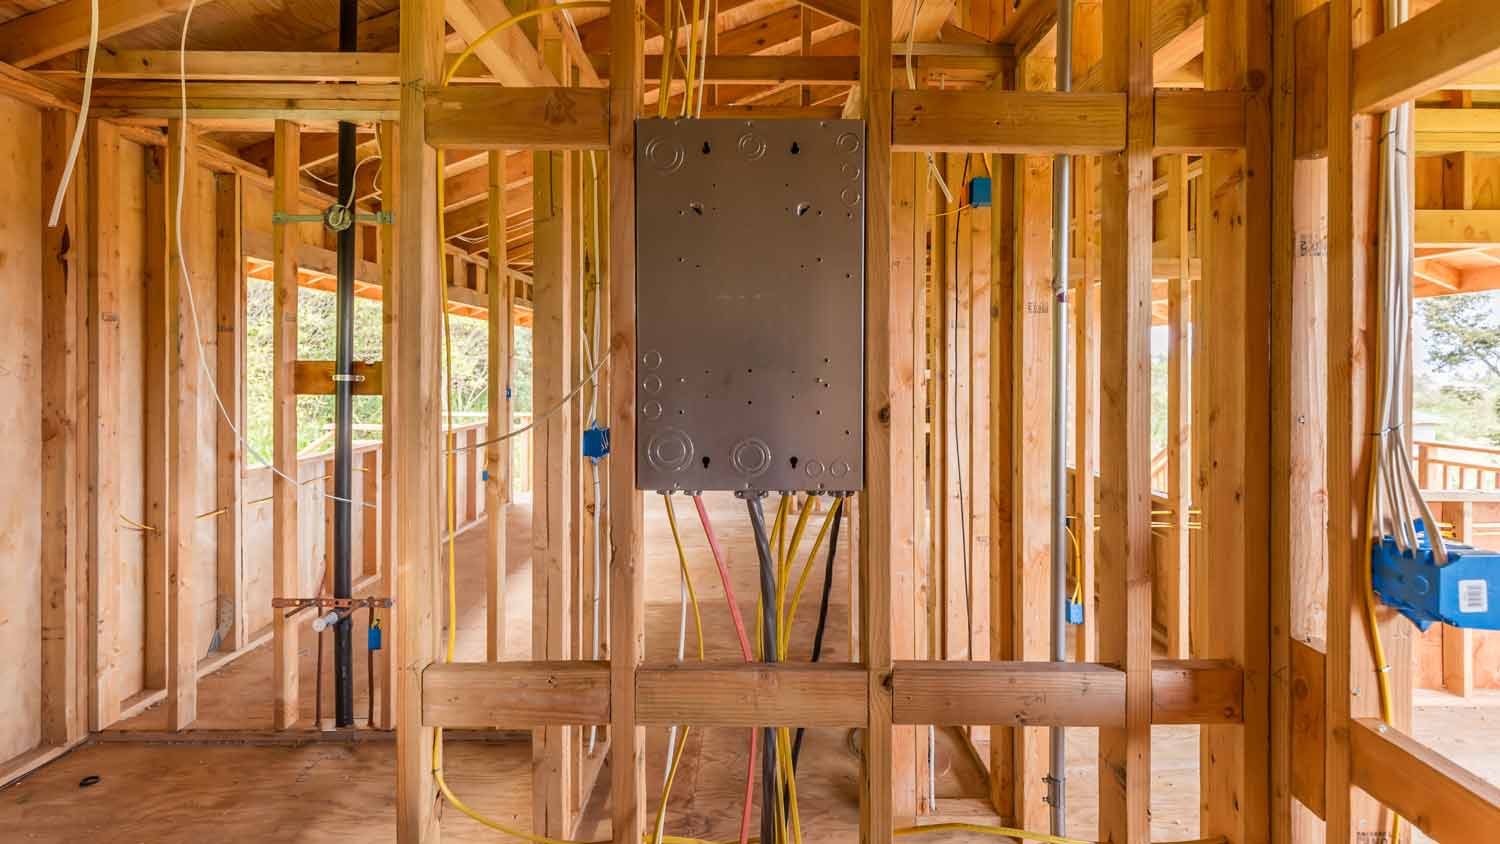
Do You Have the Right Wiring for a Smart Light Switch?
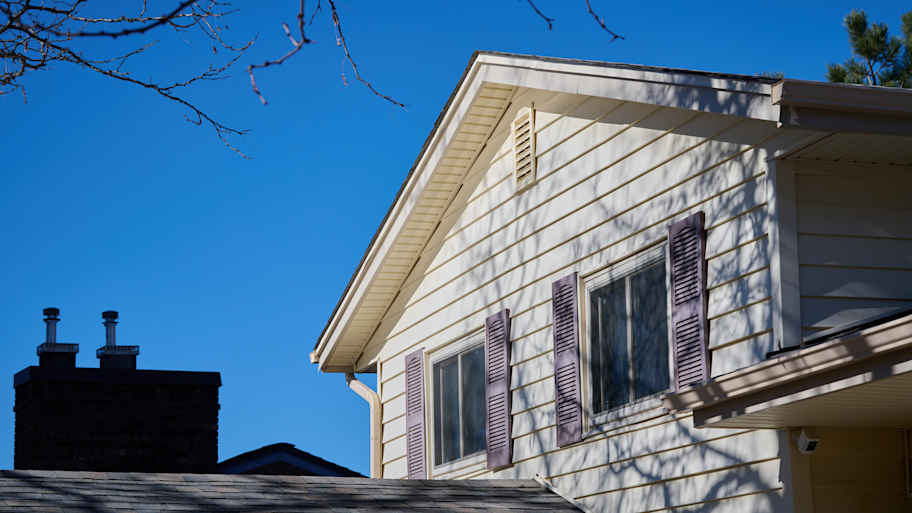
Many smart light switches need a neutral wire to connect to. If your home is modern, built after 1985, neutral wiring is likely already in place. For older homes, you’ll need to check—in the US, they are white or gray. If there isn’t neutral wiring, you’ll either have to get an electrician to install it or select smart switches that don’t need neutral wiring for installation.
Single-Pole or Three-Way Switches
Single-pole light switches control the power to the bulb from a single switch. If you can control the light from two switches (common in hallways), it operates on a three-way switch system. This type of electrical switch requires different wiring (you need an additional traveler wire), and you’ll need to pick a smart multi-switch system that will work for this setup.
How to Install a Smart Light Switch
Follow these steps if you are installing a wired, single-pole smart light switch. And don’t forget to check the manufacturer's instructions for design variations.
1. Shut Off Power and Remove Wall Plate
Go to your breaker box and flip the switch to turn off the power to the circuit that connects to your installed light switch.
Just in case there is any breaker mislabelling, test the switch using a multimeter to ensure there is no voltage. Remove the existing switch wall plate using a screwdriver (usually a flathead variety).
2. Disconnect the Old Switch
Carefully disconnect the existing switch from the wires making up the circuit. Single-pole switches typically attach to three color-coded electrical wires (the black load wire, white neutral wire, and copper ground wire). Sometimes, the wires are tightly coiled together, and you might have to loosen them with specific wire-twisting pliers.
3. Check and Prep the Wires
Check for any damage to the wires. Have a flashlight handy for this job if the lighting isn’t great. If you spot frayed ends, trim them away with wire cutters to ensure a good connection. For serious damage, like rodent biting or scorch marks, put down the tools and call a local electrician for a further electrical inspection.
For any wires you did a bit of trimming on, use wire strippers to peel away around half an inch of insulation to leave adequate bare wire exposed.
4. Connect the New Switch Wires
You’re now ready to connect the new smart switch to the wires. Carefully connect each wire, securing them with wire connectors. To avoid any mix-ups or loose connections, follow the steps below:
Create a U-hook shape at the end of each exposed wire.
Wrap the black load wire around the brass terminal screw on the right side in a clockwise direction.
Wrap the white neutral wire around the same terminal.
Wrap the green or copper ground wire around the matching ground terminal screw on the left side.
Use a screwdriver to tighten the screws to secure the wires fully.
5. Insert the New Switch
You don’t want the wires to bend awkwardly inside the box. To prevent this, wrap electrical tape around the switch's body, fully shielding the terminals. Gently tuck the wires into the switch box—even if it’s a tight fit, don’t be tempted to force them in—and, if you’re sure the wires are neatly fitting inside, screw the switch into place.
6. Fit the New Switch Wall Plate
Secure the switch wall plate in place with the screws provided for a neat finish. If you use a custom wall plate to match your decor, steer clear of metal ones, as they can interfere with the smart light switch WiFi signal.
7. Test the Switch
Now comes the moment of truth. If you’ve done everything correctly, the light should come on when you press the switch after turning the power back on at the breaker box. Don’t panic if it doesn’t work the first time—it could just be a loose connection. Turn the power off again at the breaker box and double-check you connected all the wires correctly and securely.
If you still can’t get the new smart switch to work, contact an electrician to help you solve the problem.
8. Connect the Switch to App or Other Device
Now’s the time you can let technology take over. Check the manufacturer's instructions hooking your smart light switch up to the brand app to get connected to WiFi and voice-assisted technology. You’ll usually have to download the app, create an account, and enter your WiFi details.
Electrical Safety Tips For Installing Smart Light Switches

Feeling nervous about the task ahead? If you don’t have solid electrical know-how or are unsure, let a certified electrician tackle this task. But, even if you're confident with electrics, prevent the risk of shocks or fire by running through a recap of the safety basics:
Wear rubber electrical gloves and rubber-soled shoes.
ALWAYS turn off the power before installing smart light switches.
Use a circuit voltage tester to ensure no power is running through the circuit you are working on.
Don’t have liquids near your work zone.
Keep a flashlight to hand—you don’t want to go wrong with rewiring because you can’t properly see what you’re doing.
Keep kids, kitties, and canines away while you work.
Have a fire extinguisher nearby as an extra precaution when testing the connection.
Use the right tools. Don’t try to cut wires with scissors. You’ll need needlenose pliers, wire cutters, and wire strippers.
Don’t try to install a smart light switch if wires are visibly damaged, scorched, or smoking. Call out a licensed electrician to prevent fire or shock risk.

DIY vs. Hire a Pro
While installing smart light switches is something discerning DIYers should be able to tackle, because it involves handling wiring, it’s better to hire a licensed electrician near you if you don’t have the know-how or confidence. That way, you eliminate any risk of worst-case-scenario shocks or electrical fires. You might also want to call in the pros if you don’t already have neutral wiring, there are signs of electrical problems, or you’re installing a three- or four-way switch.
The cost to install a light switch featuring smart technology yourself is typically between $20 and $100, depending on the brand and switch features. The additional cost to hire an electrician typically ranges from $85 to $200, but it’s money well spent if it offers peace of mind.
Frequently Asked Questions
Smart switches work with pretty much any light. However, if you plan on using a dimming feature on your smart switch, any LED bulbs you use need to be the dimmable kind. It’s more the wiring of your existing lights that can be a problem. Some smart light switches need a neutral wire, and old houses (built before 1985) don’t always have these. Always check if the model you want needs neutral wiring to operate.
Basic smart light switches are available for as little as $20. If you can install them yourself, it’s a home upgrade that won’t break the bank. Many homeowners view them as a worthwhile investment for the additional convenience and security they can offer. However, they are a little more tricky to install than standard light switches, so if you don’t have the electrical knowledge to do a DIY job, unless you need a lighting upgrade, remember these are a nice-to-have rather than a necessary purchase.
If you don’t want the hassle of installing smart light switches, you might consider replacing all your bulbs with smart ones. Simply screw in the smart bulb and download the app to allow you to switch the lights on and off remotely. You can even change the bulb color to create a certain ambience in a room. However, these LED bulbs are pretty pricey, especially if you already have specialty light fixtures, and you won’t have to just replace them once like you will with the switches.


.jpg?impolicy=leadImage)
- Home Generator Repair
- Lamp Repair
- Electric Repair
- Generator Installation
- TV Antenna Services
- Emergency Electricians
- Commercial Electricians
- Attic Fan Installation
- Attic Fan Repair
- Exhaust Fan Installation
- Electric Inspectors
- Subcontractors
- Electrical Construction
- EV Charger Installer
- Chandelier Installation
- Doorbell Installation
- Bathroom Fan Installation
- Ring Installers
- Electrical Panel Upgrade
- 20 Types of Light Switches: What’s Right for Your Home?
- What Is a Three-Way Switch and How Does It Work?
- Why Are My Lights Out But the Breaker Is Not Tripped?
- 3 Reasons Why Your Light Switch Won’t Turn Off
- How Do 4-Way Switches Work?
- Can a Light Switch Go Bad?
- Wire Color Code: Decoding Electrical Wire Colors
- Home Electrical Repairs: Basic Wiring and Electrical Repairs
- Are Smart Homes Worth It in 2024? Here’s What to Know
- How To Install Under-Cabinet Lighting: Step-by-Step Guide
Get our Angi-powered app


