How to Install Sheet Vinyl Flooring Like a Pro
Sheet vinyl installation is all about finding the perfect fit


If you’re looking to install a new floor, sheet vinyl isn’t just affordable. This popular flooring material is a doable DIY for anyone with some home improvement experience—you don’t even have to demo your old floor. This guide will show you how to install sheet vinyl flooring in two different ways.
What Is Sheet Vinyl Flooring?

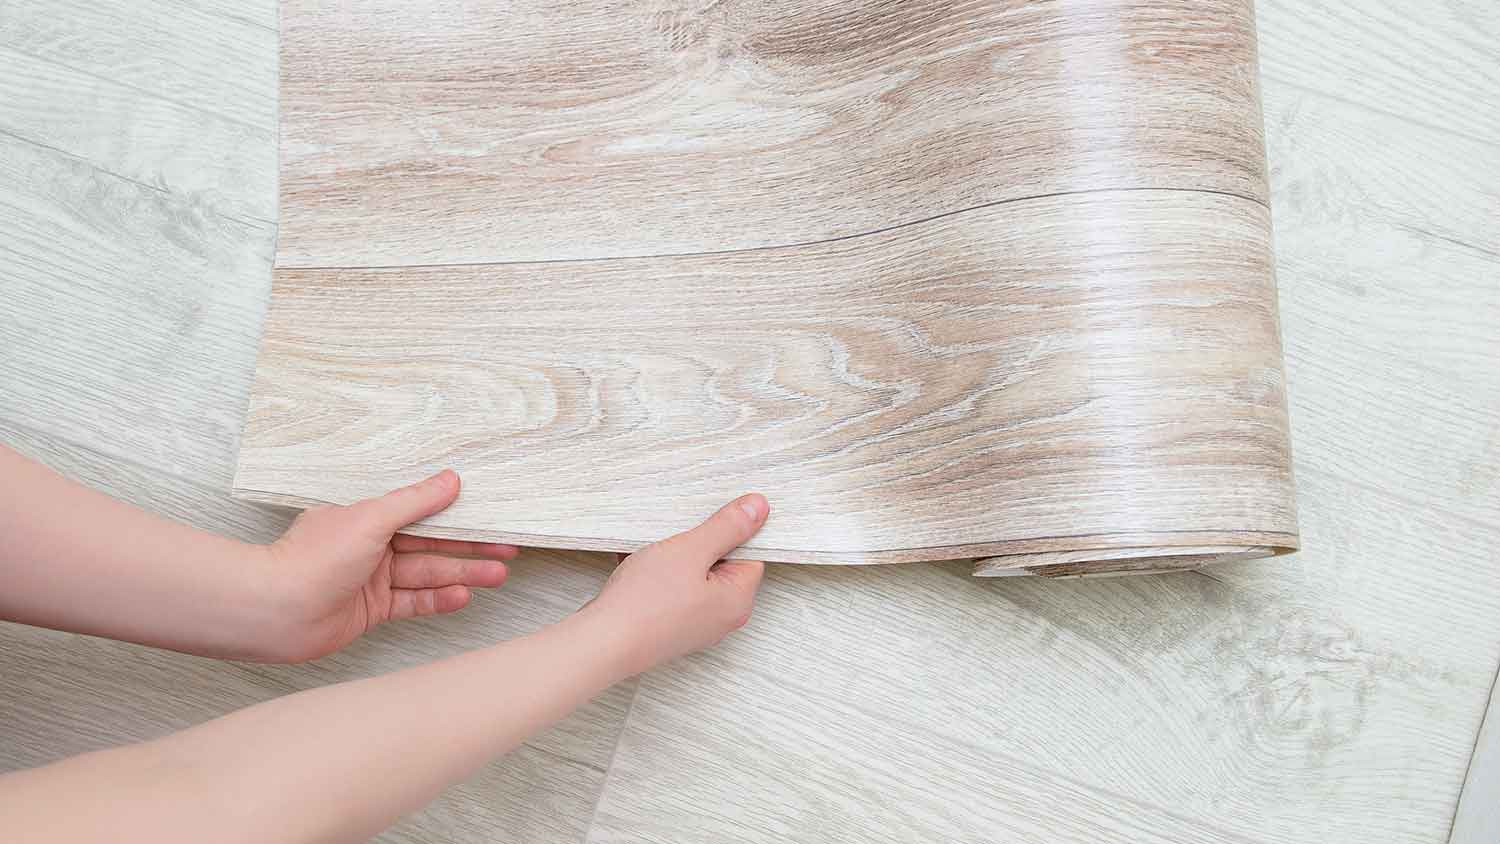
Sheet vinyl is a synthetic floor covering that comes in 6-or 12-foot rolls. Like the name suggests, it’s made from PVC that’s bonded to a felt, foam, or fiberglass backing. The top layer is printed in a number of different designs and textures, many of which mimic natural materials like stone or hardwood. Some of the main benefits of sheet vinyl include its cost-effective price tag and water resistance, which makes it a popular choice for areas like kitchens and bathrooms.
As far as installation goes, vinyl sheet installation can be similar to vinyl flooring plank installation. You’ll have to cut it to size and adhere it to the floor. It does not click and lock into place like some types of vinyl plank or laminate flooring.
How to Prep for Sheet Vinyl Installation
Before you begin, you’ll need to prep your existing floors and clean them thoroughly. You can lay vinyl over your existing flooring as long as it is level and in good condition. Remember: vinyl sheets will show the texture of the floor beneath if you don’t install an underlayment.
Concrete Flooring: Grind down high spots and remove bumps with a masonry chisel. Repair cracks and holes with a concrete patch kit. If concrete is moist, vinyl may not adhere. Check by taping a small piece of vinyl to the floor. If you can easily pull it up after 72 hours, it’s too moist and you’ll need to use an underlayment.
Linoleum or Vinyl: You may want to remove your existing vinyl or linoleum flooring if it is damaged or loose. If it only has minor bumps and imperfections, apply a coat of embossing leveler before installing your new floors.
Epoxy Floors: Your vinyl should adhere directly to epoxy floors as long as they’re in good condition. Use an underlayment if they’re damaged and uneven. Fill low spots with an embossing leveler.
Hardwood or Tile: You may want to use an underlayment to smooth out bumps and dips that are naturally part of your floor—particularly if your hardwood floors could use refinishing or your tile has large grout lines.
Keep in mind, laying vinyl flooring over your existing floor will increase the floor’s overall height—especially if you use 1/4-inch plywood underlayment, which is usually recommended. You may have to pay for the cost to plane your door or raise your cabinets to accommodate.

How to Install Sheet Vinyl Flooring by Cutting in Place
The first method of installing sheet vinyl flooring involves cutting it to an estimated size, then trimming it once you lay it in place. This method works best in rooms without many corners or obstacles, since it can be difficult to cut around toilets and cabinets.
Make sure to check the manufacturer’s instructions for specifics about glue and underlayment before you begin.
1. Clear the Room
The first step is to clear the room so you have full access to the floor. You may need to remove the following items:
Carpets
Baseboard molding
Thresholds
Trim
Furniture
Toilet
Pedestal Sink
Doors
If it’s too difficult to lay vinyl around your door jamb, you can saw off the bottom of the jamb. Lay a handsaw on its side over a small piece of underlayment and vinyl to get the correct spacing, then saw as necessary.
2. Install the Underlayment
Measure your room and cut your underlayment to size using a circular saw and jigsaw. If you’re installing an underlayment, make sure to stagger the plywood in a pattern similar to how you’d lay bricks. Leave a 1/32-inch space between panels and a 1/8-inch space from the wall because the plywood will expand.
There are different methods of installing underlayment depending on the type of floor, but generally you can use an underlayment stapler or flooring adhesive to secure it.
3. Cut the Sheet Vinyl
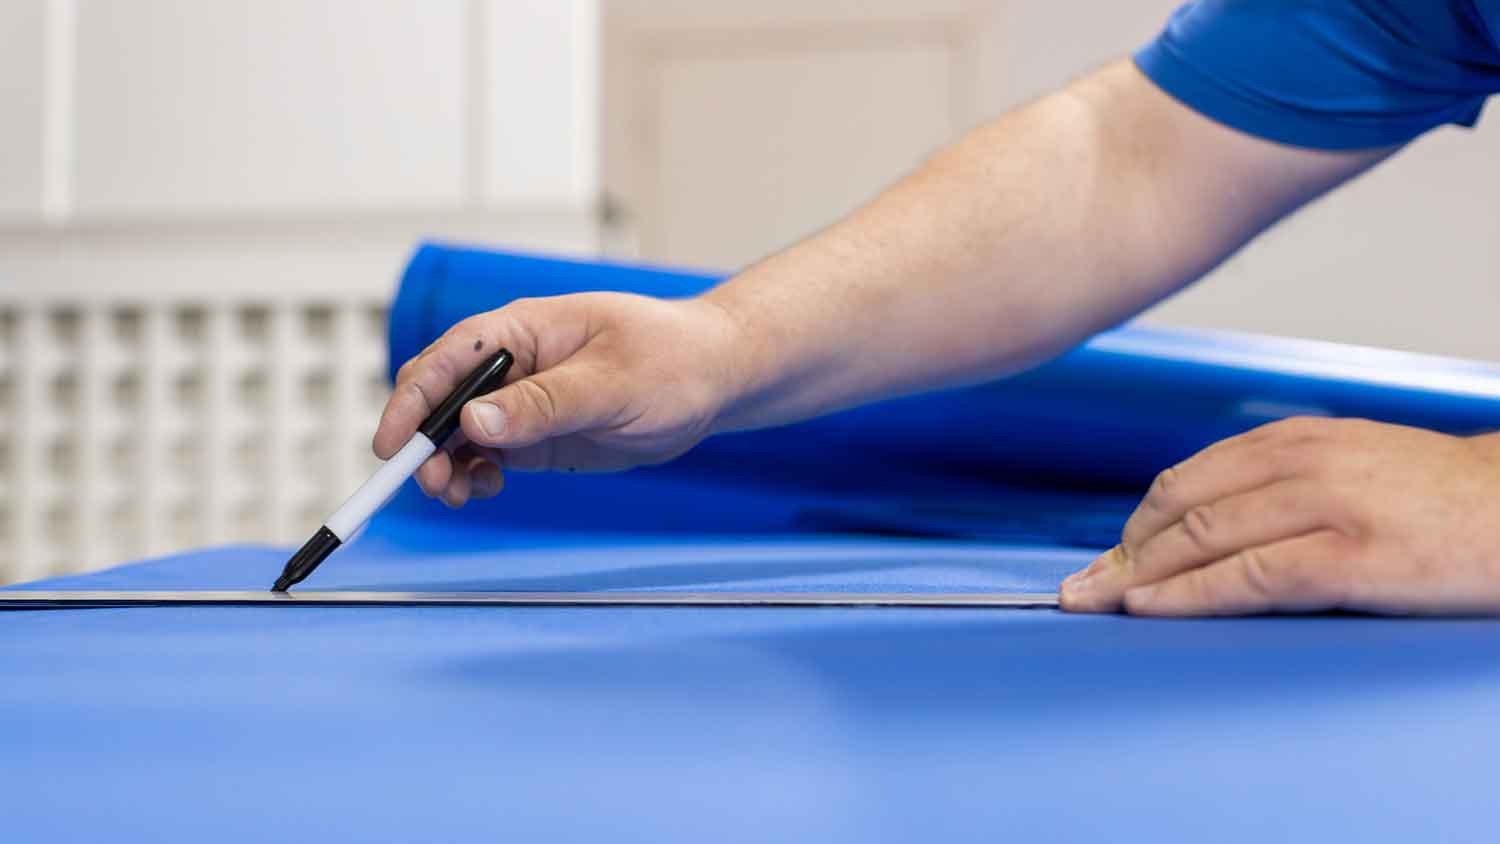
Bring your vinyl to a large, flat area like a garage floor so you can shape it to fit the room. Use a washable marker to draw an outline of your new floor on your vinyl—but add 4 inches all the way around. You need the excess to get a perfect fit. Use a cutting blade to cut around the outline.
4. Install the Sheet Vinyl
Lay the sheet vinyl over the floor of the room. The excess should run up the side of the walls or any obstructions. Let it sit for a couple hours to sink to the shape of the room. Alternatively, you can use a two-by-four plank to press it into place and create a fold. Then use the following steps:
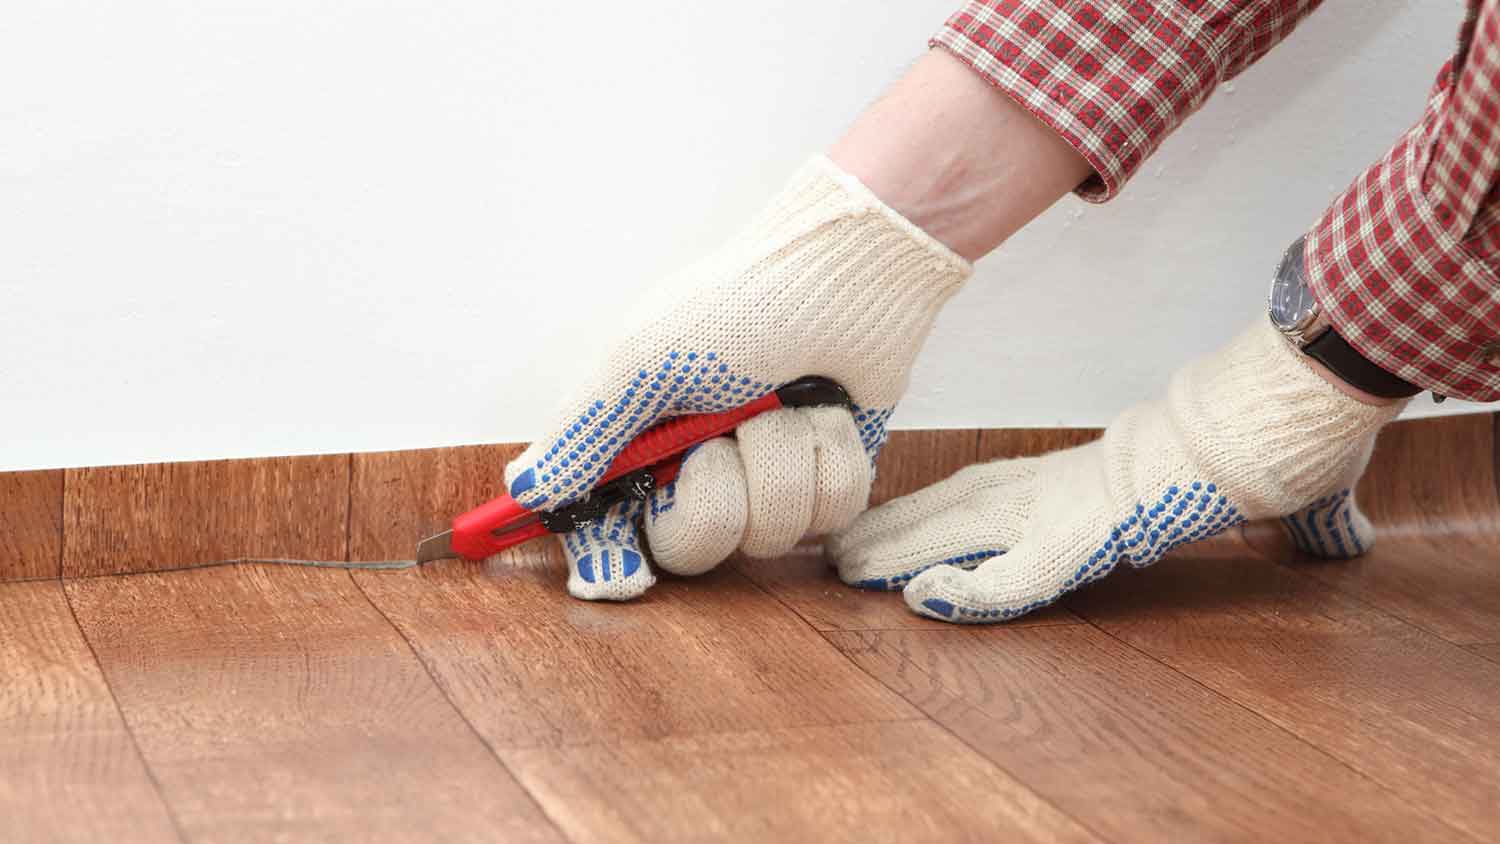
Add relief cuts: If your floor bunches up in the corners, make relief cuts with a utility knife. Start on the outside and go toward the ground. This should help the flooring fit into place.
Trim the sides: Carefully cut the excess vinyl as close to the edge as possible.
Cut around obstructions: If there are any obstructions, like a toilet flange or vanity, cut around them.
5. Secure It With Adhesive
Once your vinyl is perfectly in place, carefully roll half of the vinyl away from the floor. Spread an even layer of flooring adhesive across the exposed floor or underlayment using a notched trowel. Slowly unroll the vinyl flooring and secure it in place over the adhesive.
Repeat this step for the second half of the vinyl sheet.
6. Reattach the Molding and Baseboards
Once the glue has dried per the manufacturer’s instructions, you can reattach baseboard molding and thresholds. Also reinstall anything else you removed like plumbing fixtures, carpet, or furniture.
How to Install Sheet Vinyl Flooring With a Template or Kit
This method involves making a paper template to help you cut out an exact outline of your floor layout. You can purchase an installation kit that comes with instructions and everything you need to make the template.
1. Clear the Room
Like the previous method, clear the room of any obstructions—including baseboards, thresholds, appliances, and plumbing fixtures.
2. Make a Paper Template
To make the template, use any type of heavy paper. Masking paper works well and is available at most hardware stores. Then, follow these steps:
Tape together enough pieces of heavy paper to cover your bathroom floor.
Place the paper on the floor, leaving a 1-inch perimeter where you can see your old floor.
Tape the paper to the floor so it can’t shift.
Cut out holes for pipes or any other obstructions.
Use a straightedge to guide you as you outline the shape of the floor on your paper.
Make sure you draw your lines on the inside edge of the straightedge (the edge closest to you).
Outline curves using a compass that’s set to the same width as your straightedge.
3. Cut the Underlayment
Next, you’ll need to cut the underlayment per the template. It’s best to work in a large area like a garage floor. Follow these steps:
Lay your underlayment in the rough shape of your new floor.
Center the template on top, taping it in place.
Use a straightedge as a guide by placing the inner edge of your straightedge on the edge of the template.
This time, use a pencil to mark the outer edge of the straightedge (the edge furthest from you).
Use a compass to outline the curves.
Repeat this process around the template until you have a full outline of your floor.
Cut the template along your outline using a circular saw and jigsaw.
4. Install the Underlayment
Lay your underlayment in place over the floor to make sure it fits. Install the underlayment using an underlayment stapler or flooring glue. If you use an underlayment stapler, make sure you use a mallet to pound down protruding staples. Level any pounded out areas with an embossing leveler.
5. Cut the Sheet Vinyl
Once the adhesive on your underlayment dries per the manufacturer’s instructions, you can cut your sheet of vinyl with a utility knife. Use the same template method to outline a guide as you did with the underlayment.
If you have any seams, temporarily tape them together. Keep your vinyl’s specific seaming requirements in mind. Every vinyl is different, so follow the manufacturer’s instructions.
6. Install the Sheet Vinyl
To install the sheet vinyl, set it into place on the floor of your room. Roll half of the vinyl up to expose the floor or underlayment. Apply an even layer of flooring adhesive to the floor or underlayment, then carefully roll back the vinyl over the adhesive. Repeat this process with the other half of the vinyl.
7. Reinstall Plumbing Fixtures and Molding
Allow the adhesive to dry per the manufacturer’s instructions, then reinstall your plumbing fixtures, molding, thresholds, and anything else you removed from the room.
Tips for Installing Sheet Vinyl Flooring
Vinyl floor installation can be a little bit tricky, especially if you’re not experienced in home renovations. These tips can help you DIY like a total pro.
1. Acclimate Your Sheet Vinyl and Underlayment
Both vinyl and plywood are vulnerable to thermal expansion. Before you start your floor installation, let the materials sit for 24 hours in the room where you plan to install them. This will help you get the most accurate measurements and prevent vinyl from warping after you install it.
2. Allow 1/8 of an Inch for Expansion
Leave a 1/8-inch space between your new flooring and the wall. This will ensure that when the materials expand, your floor stays flat.
3. Buy Extra Vinyl
Purchase an extra 5% to 10% of sheet vinyl as a precaution. It’s better to have too much than too little.
4. Skip Seams in a Small Room
If your space is less than 12 feet wide, you can usually avoid a seam. Most vinyl sheet rolls are at least 12 feet wide.
5. Watch Out for Asbestos
Old vinyl flooring can contain asbestos. If you have vinyl floors that were installed before 1986, you should test for asbestos before attempting to remove them. As long as they’re not pulling up or degrading, you should be able to install your new vinyl flooring right on top.
6. Caulk Areas That Need Waterproofing
If you’re laying sheet vinyl in a bathroom or kitchen, make sure to caulk around bathtubs, toilets, and showers after installation. You can use silicone caulk.
DIY vs. Hiring a Pro
For most homeowners, a new vinyl floor costs about $1,000 to $4,000 if you hire a professional. The majority of the cost is labor, since sheet vinyl itself costs around $1 to $2 per square foot. In other words, you can save a significant amount of money by doing this job on your own. That said, it’s not always the easiest DIY.
Vinyl flooring can be a bit finicky, particularly sheet vinyl varieties because they show the imperfections of the floor beneath them. You’ll need to make sure your old floor is in pristine condition to avoid lumps and bumps. Unless you’re ready to really roll up your sleeves and make some repairs, you may want to hire a vinyl floor company near you.
Frequently Asked Questions
You don’t always need to glue down sheet vinyl. You can install it with a method called loose laying as long as you choose a variety with a heavy fiberglass backing. Standard sheet vinyl is much lighter and more pliable. It tends to slip or curl over time, so you should glue it in place for longevity.
You can install sheet vinyl flooring over your existing floor, but you may want to use an underlayment in certain instances. Since vinyl is thin and molds to the shape of your floor, it will show the texture of your existing floor. In other words, if there are lumps and bumps—including tile grout lines or divots—you may want to use an underlayment.
If you have experience with other home improvement projects that involve measuring and cutting materials, you can probably DIY your sheet vinyl floor. It really depends on the state of your existing floor. You may want to hire a pro if your existing floor needs repairs or you’ll need to use an underlayment, which requires cutting plywood with a saw.

.jpg?impolicy=leadImage)


- Learn the Pros and Cons of Vinyl Siding
- The Unfortunate Signs of Mold Under Vinyl Flooring
- Can You Steam Clean Vinyl Floors? Why You Should Be Cautious With This Flooring Type
- The 3 Best Underlayments for Metal Roofs
- What Types of Flooring Can Be Installed Over Ceramic Tile?
- How to Insulate a Floor for Minimum Drafts and Maximum Comfort
- 3 Roof Underlayment Types to Consider
- Estimate Your Flooring Cost With These Factors
- Wood Siding vs. Vinyl Siding: Pros, Cons, and Costs
- The Best Types of Flooring for Your Home Gym
Get our Angi-powered app


