
Under-deck drainage costs can be pricey. Your final quote will depend on labor, materials, and the size of your deck. Start budgeting with this guide.
Create a sleek under-decking look by following the right steps

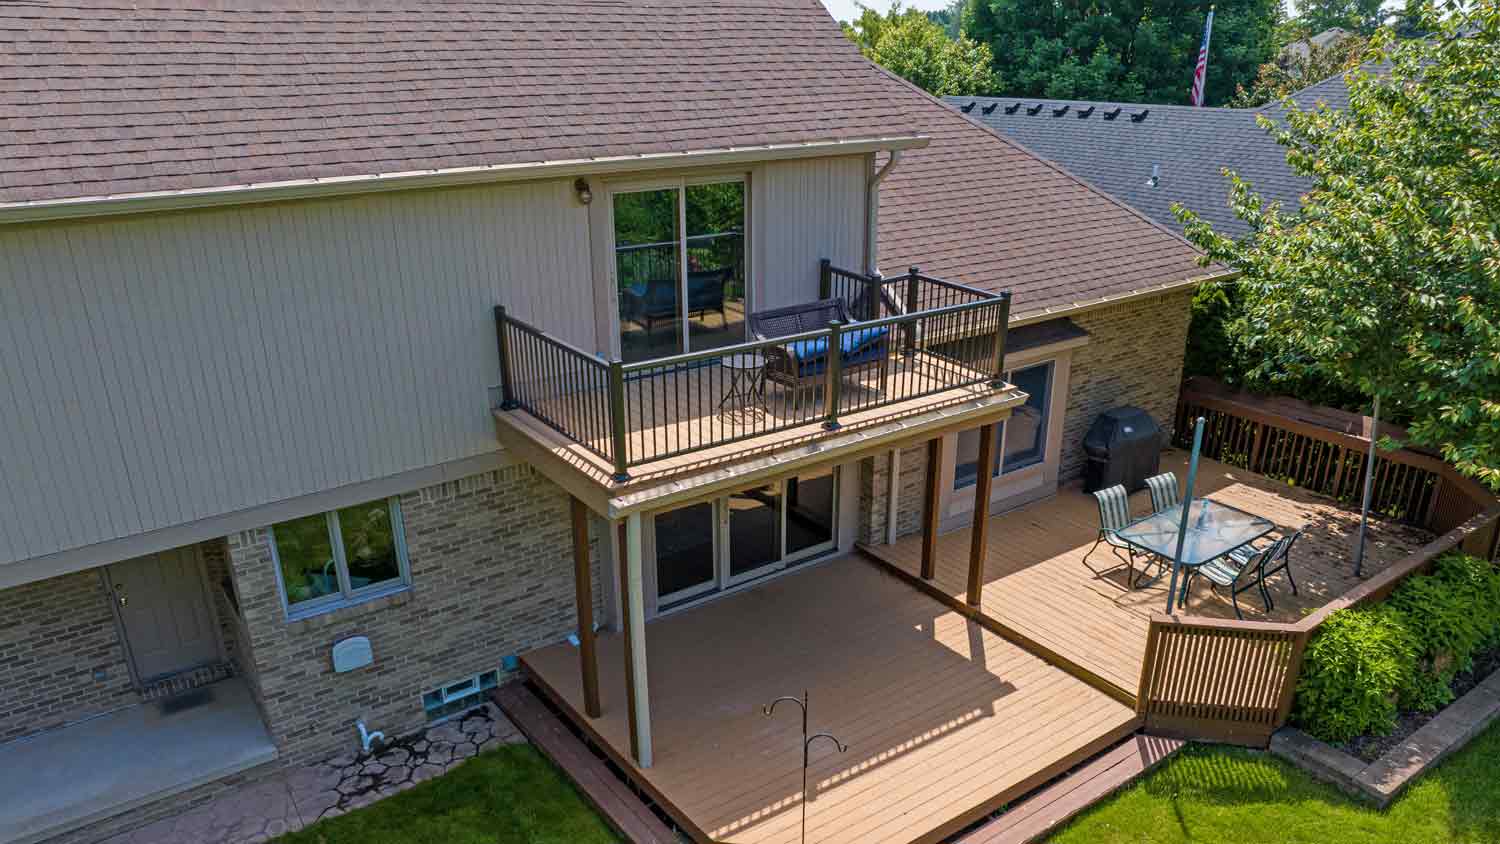
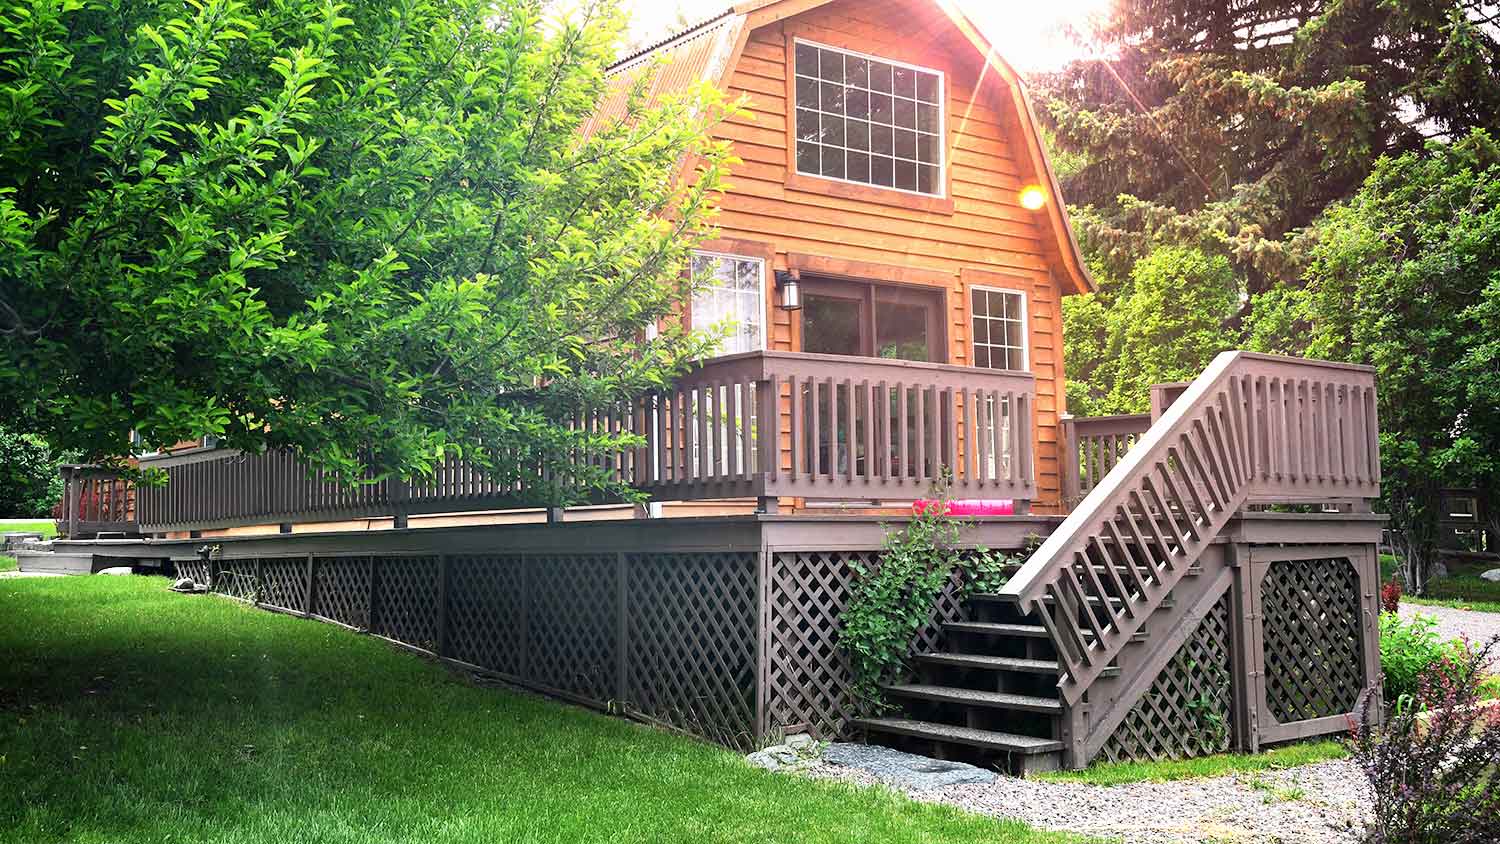
Lattice skirting provides both aesthetic appeal and practical benefits for your deck, including concealing framing, preventing debris buildup, and keeping animals from nesting underneath.
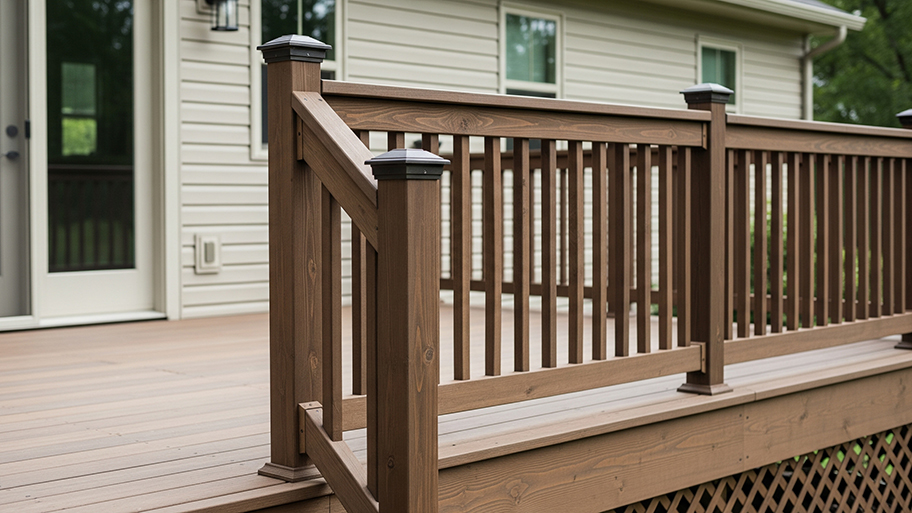
Building individual frames for each lattice section with 1x4 boards before installation creates a polished, professional look that hides rough edges and forms an intentional design.
Securing lattice panels to 2x4 framing members between deck posts ensures your installation stays sturdy, with bottom boards positioned 3 to 4 inches above ground for proper airflow.
Hiring a local deck building professional removes the guesswork from framing, cutting, and securing lattice panels while keeping your weekend free for relaxing on your newly finished deck.
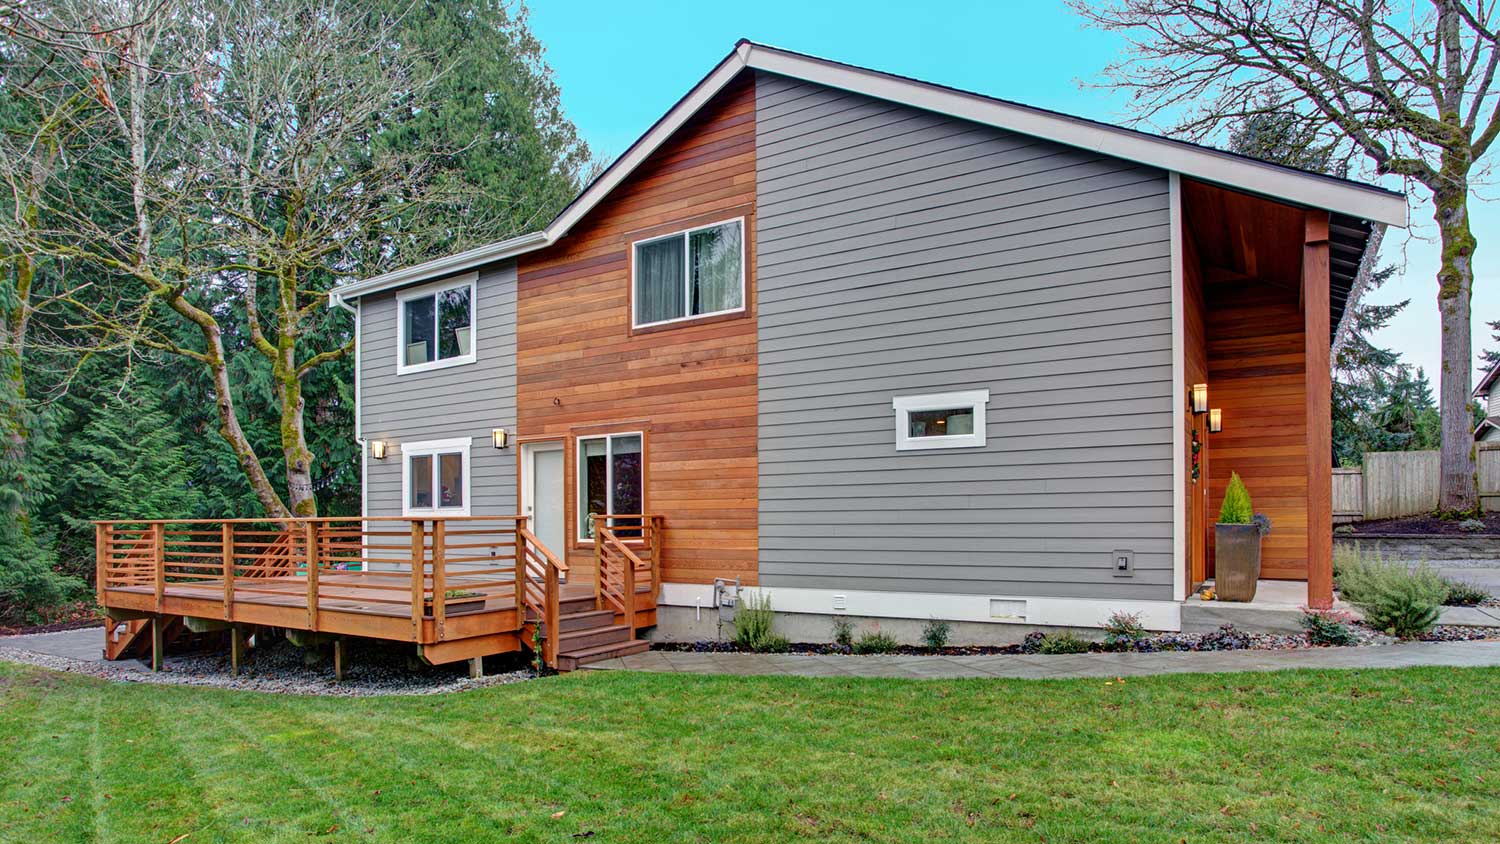
Learning how to install lattice under your deck or porch can give your home a much-needed refresh. To achieve a finished look, it’s best to build a frame for each lattice section before securing it to your home. Here’s how to install lattice under a deck or porch, no matter the height of your space.

While most homeowners are interested in adding lattice under their porch or deck for aesthetic reasons, it can serve a useful purpose, too. Installing lattice skirting under your deck or porch offers these benefits:
Provides a fresh, unified look
Conceals the framing of your house, such as floor joists and posts
Keeps debris out
Creates hidden under-deck storage
Allows for proper air ventilation, keeping your framing dry and rot-free
Prevents animals from living underneath it
Amping up your outdoor space with lattice makes for a great weekend project. Tackle a few preparation steps for a smooth DIY: plan your design, buy your lattice, and get your tools ready.
For your lattice to look polished, it’s best to frame the sides of each lattice section with 1x4 boards. The framing hides rough edges and forms an intentional design. Study photos of aspirational homes with lattice to create a vision for your own home. Similar to building deck stairs, it’s helpful to draw a rough sketch on a piece of paper to create a design plan.
Select the type of lattice you want: pressure-treated wood, composite, or synthetic lattice made of vinyl or plastic. Pressure-treated lumber offers a classic look, while composite and synthetic lattice is lower maintenance and more durable.
Lattice comes in a traditional diamond pattern or decorative styles with botanical and leaf designs. You can stain or paint your wood lattice or choose a colored lattice that complements your home’s exterior. Lattice is usually 2 or 4 feet in width and 4 or 8 feet long. Opt for the lattice size that requires the fewest number of cuts for your space.
Most local building codes require one access spot under your deck or porch. An access panel also allows you to get under your porch or deck for repairs, cleaning, and storage without detaching a permanent section.
You can create a fully removable section or attach your access panel with a hinge. Decide where your access spot will be—perhaps a more hidden location or one with higher height clearance.
If you have an existing lattice structure under your deck or porch that’s rotting, outdated, or broken beyond repair, remove each piece with a flat pry bar. Use gentle force so you don’t damage the porch fascia, support columns, or wood surface. You can cut the lattice into pieces with a reciprocating saw and pry off small nails with a carpenter cat's paw. Then, you can prepare to start fresh with a brand-new lattice.
Before installing lattice, ensure no animals, rodents, bees, or wasps are living underneath your porch or deck. Animals tend to like dry, dark places to nest, so you can humanely get rid of rodents under your deck by running your hose next to the deck and allowing light to enter the space. That should encourage them to leave.
If you're having difficulty relocating animals, contact your local animal control office. Gentle approaches to relocating animals and bees is best, as traps and poison can harm other wildlife.
Since you'll be working with a circular saw to cut your lattice, ensure you wear eye protection, ear plugs, and work gloves. You should also check to see if installing lattice requires a building permit in your city or county. Review any building and construction guidelines. Get your tools ready, including a power screwdriver, circular saw, and tape measure.
You’ll also need supplies such as:
Pressure-treated 2x4 boards
Lattice
3½ inch flat corner braces
6-inch mending plates
4-inch T-plates
1 inch panhead galvanized screws
Washers
Gate hardware kit

Create a beautiful lattice design you can be proud to show off. From measuring and cutting your lattice to securing the pieces, here’s how to install lattice skirting under your deck or porch.
Start by constructing solid framing between your deck posts to give your lattice a sturdy structure to adhere to. 4-foot lattice pieces should fit nicely into the framing structures.
Measure the horizontal distance from one deck post to another. Your bottom 2x4 framing member should sit 3 to 4 inches off of the ground to reduce the risk of rot and termites. Cut your 2x4 board, then screw each side in place. If you’re attaching your framing to a concrete foundation or post, use a masonry bit.
Measure the vertical distance from the bottom 2x4 framing member to the underside of the deck. Cut 2x4 framing pieces that will run vertically every 4 feet. Screw the vertical pieces in place, 48 inches on center. Be aware that the height of each vertical 2x4 might differ slightly due to sloping in the ground or deck.
For each section of lattice, build a decorative frame with 1x4 boards first. After you build your frames, you'll attach your lattice to the back. Building your frames is easiest when done on a flat surface.
Measure the four sides of your first opening and write it down. You want the lattice to be flush with or tucked behind your deck fascia (the horizontal skirt board) and be flush with the 2x4 framing at the bottom.
Due to ground sloping, the frame might be a rectangle, trapezoid, or other shape. Cut your 1x4s to match the opening (the structural framing can be your guide). If you have two open sections next to each other, create a larger frame that encompasses the whole area (with two or more panels of lattice connected). Cut a 1x4 to be a center stile and attach it in the centerpoint of your frame with 4-inch T-plates. Then, secure the corners of your frame with flat corner braces and mending braces.
With a circular saw, cut your lattice piece to fit the frame you built. Your lattice should overlap the backside of the frame by approximately three and a half inches on all sides.
On a flat surface, pre-drill clearance holes in the lattice every 12 inches. The holes should be slightly larger than the screw shanks so the lattice can expand and contract with the weather. Secure the lattice to the back of the frame with galvanized screws driven through washers.
If using a center stile and more than one piece of lattice, secure your lattice to the center stile seam with screws and washers. Your lattice pieces should line up in the middle of the stile on center.
Use galvanized screws to attach your finished panels to the framing under your deck or porch. Ask a neighbor or friend to hold the piece while you screw the lattice frame to your structural framing.
The important final step: Making an access spot. For the access panel, use outdoor gate hardware or hinges. Screw the hinges to the frames first, then attach the panel to the deck. A gate hardware kit should include all of the screws and washers needed. Check to make sure the panel swings up and down without issue. You may need to remove some dirt in front of the panel.
Creating a lattice skirt involves proper measurement and planning. Here are a few tips to make the job easier.
Build your frames first on a flat surface, then attach your lattice to the backside.
Work one section at a time to ensure the lattice panel matches the unique shape and size of that opening.
Double check your measurements before cutting your lumber and lattice to avoid waste.
Consider attaching composite or vinyl lattice pieces first, then adding molding to create a clean finish.
While adding a lattice skirt isn’t as extensive as building a deck, the project could take you a half day or longer, depending on the size of the space, your building experience, and the intricacy of your design. With careful attention to detail, the right tools, and patience, you can install lattice under your deck and get a beautiful, polished result.
But if you’d rather not give up a free weekend or don’t have a circular saw, hire a local deck builder to construct a lattice skirt for you. They can ensure a seamless, sturdy design and likely complete the project faster.
One of my old tall evergreen trees was suddenly leaning toward the busy street in front of my house. I submitted a request for an emergency tree inspection, and Alejandro, owner of Cajete Tree Service, contacted me immediately and arrived to look at it just 20 minutes later. We agreed the...
1 tree was cut down and 5 others including a large willow tree were trimmed. The Grant Tree Service men were professional and cleaned up afterwards. The cost of the 6 trees were affordable. I am very happy with the results. I would hire them again.
Archie did a good job cleaning up the driveway before he laid down the sealer. It looks good. He was gracious and even helped me bring up my groceries. His rate was comparable to another company who came out to give me a quote and he talked to me personally rather than just text me a quote...
We have bought and sold numerous times over the past 50 years. Sherman Hall and Top Line are top notch. Thorough and detailed, he explains every possibility, probability, and eventuality. High class and pleasant. The best.
 Top Line Home Inspections, LLC
D1 Roofing delivers outstanding service from beginning to end, backed by a strong warranty and expert teams. I highly recommend them for their excellence in meeting and surpassing expectations with unmatched communication. Choosing D1 Roofing was flawless decision
Couldn't ask for a better company. Josh and Dee were Very professional, efficient, courteous and takes major pride in their work. They will travel to come to your home and will still give you a fair price. They are honest and trust worthy. Their focus is on their work and their work is...
 Supreme brick & chimney
Window Depot did an amazing job on my deck. I wasnt sure what I wanted to do, but their composite decking was affordable and will last a long time. I am excited to have family over, and I am no longer embarrassed by my backyard. Jeff and the ground crew were polite, respectful, and caring for...
Wonderful. I am going to have them remove and replace my driveway in the spring.
 All Star Paving and Sealing
We were having 2”x 2” tile installed . There was a small installation error and the new additional replacement tile was from a different lot and the colors didn’t match. Joe assured us that he would rectify everything , which he did without hesitation. We decided to go with the 18” x 36” tile...
 CarifaTile
Maple Tree Service should serve as a mentor for other business! Customer service was superior and beyond expectation. Response to request was prompt. The representative was very courteous and proud of the company. Quote was given during initial visit and work date established. A follow up...
 Maplewood Tree Service
From average costs to expert advice, get all the answers you need to get your job done.
Under-deck drainage costs can be pricey. Your final quote will depend on labor, materials, and the size of your deck. Start budgeting with this guide.
A deck skirt can improve the form and function of a deck. Find out what it could cost to install deck skirting in your backyard with this guide.
The average cost of a deck railing depends on size, type, material, and labor in your area. Check out this guide to determine what works for your budget.

You may be wondering how to start a deck building business. Our guide outlines everything to know about starting your own deck building company.
Unstable deck stairs can lead to serious injury. Learn how to attach stairs to a deck to keep your outdoor living space safe, cozy, and secure.
Homeowners may wonder what to put under a deck for moisture. Avoid potential issues for your home’s foundation by protecting the area—here’s what to put under decks for moisture.