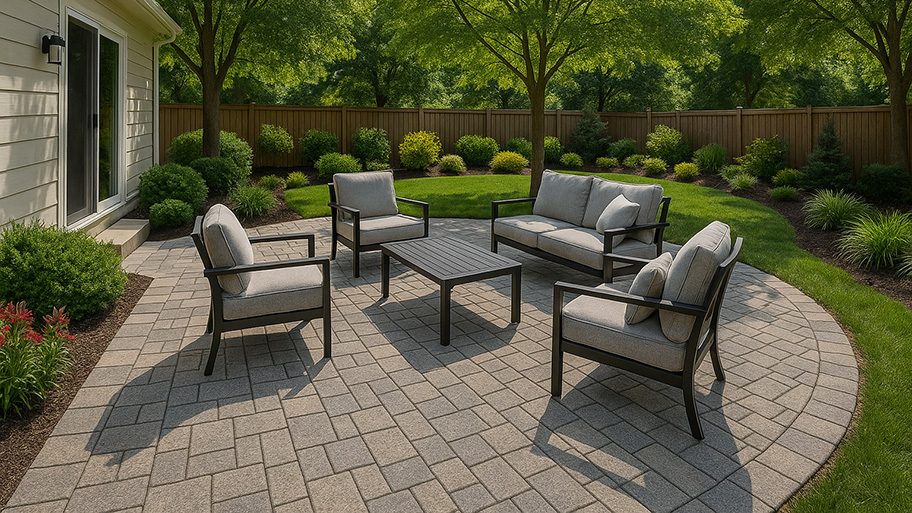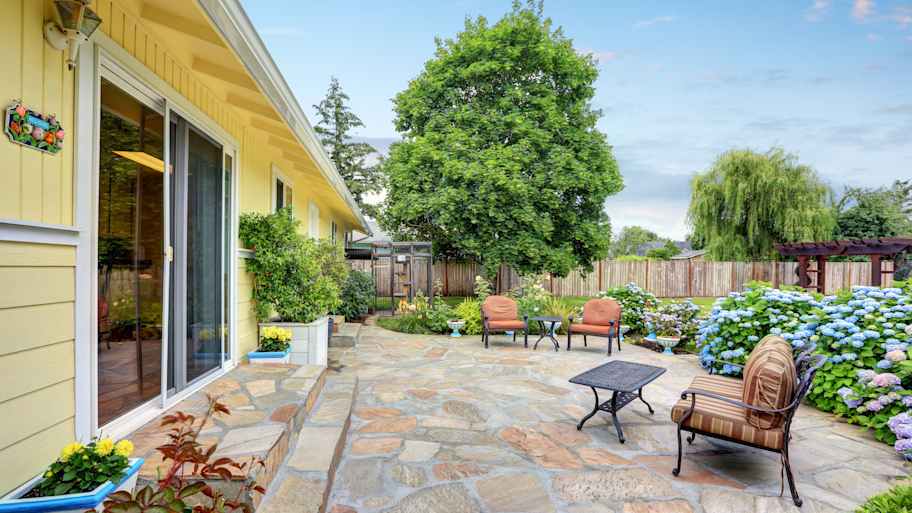
Thinking about installing concrete or brick pavers for a walkway or patio? Learn the cost of interlocking pavers in this informational guide.
You're just a hop, skip, and a jump away from pavers in your lawn


Be a kid again and vault from stone to stone, avoiding the "hot lava" grass when you create a paver walkway across your lawn. This guide shows you how to lay pavers on your grass lawn without digging, saving you time and energy.
Before you dig in, consider whether no-dig pavers are right for you. If your yard suffers from erosion and shifting soil, this may not be the best option; the ground may shift beneath the paving slabs, causing unevenness over time.
You'll also need to choose the right pavers. There are an array of paver choices. For a natural look, choose from:
Fieldstone
Flagstone
Limestone
Bluestone
Travertine
Brick pavers give a high-end feel, while concrete pavers are ultra-modern.
The first step is to create the layout for your walkway. Use a measuring tape and string tied to stakes to mark where each paver will go. Alternatively, use cardboard cut down to the same size as your pavers. Once you've completed the draft layout, take a step back and ensure you've got the look you want.
Does it meander pleasingly with a free-spirited feel through your country garden? Is it a no-nonsense pathway that moves smoothly from point A to point B to suit a small, urban space? Ask yourself, would it benefit from the addition of a gentle curve? Should the walkway be more contemporary and straightforward?
Once you finalize the layout, walk the path while avoiding tripping over the string. See if it feels comfortable walking from step to step. Are the pavers spaced close enough together to make traversing them easy and safe for older adults and young children?
Once you've done these tests, you can adjust your layout and retest until you get it right. It might take you several attempts, but better to take the time now than to try to correct a problem after installation.
Now that you're happy with the layout, you've got to prepare the area. This will take some time because you won’t be digging. Cut thick, black plastic, like a heavy-duty pond liner, about 6 inches bigger than your pavers, and lay each piece over the area where each paver will sit.
Weight the plastic down with rocks and leave it in place for at least four weeks. This is known as soil solarization or soil sterilization. It works best if you do it in hot weather, as this heats the soil and essentially cooks roots, seeds, and pests. The process will also smother out any growing weeds.
Now that the grass is dead, the next step is to remove the black plastic and rake over the area to remove the dead grass and weed remnants.
Take a look at the patches you've cleared for your stones. Test their levelness with your level, and fill in any gaps or grade each patch with sand until they're all level. If you skip this step, your pavers can shift and crack quickly.
Tamp down the area with a tamping tool or paver compactor to get the surface hard and solid. Go over the base layer several times to create a hard base that will make a good bed for your pavers that won’t shift too quickly.
Take your no-dig paver edging and line the spaces for your pavers. Follow the manufacturer's directions. Usually, this involves laying down the edging and using a mallet or club hammer to drive the anchor spikes through the holes in the edging.
Adding a layer of sand and tamping it down helps raise the pavers slightly over the height of the surrounding mowed lawn, creates a weed barrier, and acts as a level base to ensure stability.
Now lay the pavers inside the edging to bring your walkway to life. A DIY walkway is just one of the many ways you can use pavers in your landscaping.
If your walkway includes lots of small pavers butting up against one another, you'll need to break out the sand again. Pour sand over the top of your pavers, then take the broom and brush it into the gaps. This helps prevent weeds from pushing up and gives the walkway a nice, finished look.
In terms of material cost, pavers are more expensive than basic concrete. But while laying pavers is DIY-friendly, pouring concrete almost always requires hiring pros for the labor and equipment.
Instead of solely comparing costs, consider the project's size, complexity, and longevity. Pouring concrete is great for big projects, like an entire patio or driveway. However, concrete is less durable and can crack and wear down over time, especially in cold climates. Pavers are absorbent, which makes them more durable, and repairs are easy because if one gets damaged, you can pull it up and replace that section alone. That said, pavers work best for simple projects like a walkway or a small patio.
Laying a paver walkway on grass is a job you can tackle yourself with a few basic paver tools and minimal skill to save yourself the cost of hiring a landscaper or the cost of hiring a handyperson.
Plus, you'd likely be charged a premium for a job like this because if they were to solarize the area rather than spray a chemical flora killer, they'd need to make two separate visits.
Keep in mind that this project does require a lot of bending and lifting, even though it’s no-dig. It'll also take you longer than it would a pro, so if time or your DIY prowess is limited, hire a landscaper to tackle it for you. If you follow the steps above, you can save on labor costs and only pay for materials and supplies.
You have a few options for hiring a pro to lay pavers on grass in your outdoor space. You can hire a landscaper for a small, simple project like this at $50 to $150 per hour. If you only need one set of hands, you can hire a handyperson at an average cost of $400 per project. Either professional route will get the job done, but it often helps to cut costs of laying pavers to bundle jobs together, so think about what else needs doing around the house or yard.
From average costs to expert advice, get all the answers you need to get your job done.

Thinking about installing concrete or brick pavers for a walkway or patio? Learn the cost of interlocking pavers in this informational guide.

Pea gravel is a good-looking, versatile landscaping stone that's a favorite of the pros. Read about how much pea gravel costs for both installation and the stone itself.

Porcelain pavers are a high-end option for your home’s hardscaping that can completely transform your outdoor space. Here’s how much porcelain pavers cost.

From bricks to blocks and stone projects, our mortar calculator can help you figure out just how much mortar you need so you don’t run out or overdo it.

Have you noticed your pavers sinking or would you like to forget about the stains on your driveway? Here are common paver problems and what to do about them.

Create a beautiful, long-lasting path by learning how to lay stepping stones using our guide and a bit of sweat equity and muscle power.