Tankless water heater costs in Atlanta, GA depend on the size of your water heater, location, fuel type, and more. Keep reading to calculate your expenses.
Expand your horizons with this DIY boiler guide


If you’re a boiler owner, you may wonder how to install an expansion tank on a boiler to provide additional flexibility and water pressure. The boiler expansion tank (also called an expansion vessel) is an integral part of most home boiler systems. It uses a sealed pocket of air and a flexible diaphragm or similar method that allows the air to contract or push back based on the pressure of the system. However, expansion tanks can break or wear out after years of use while the rest of the boiler remains functional, which calls for a replacement project.
With previous plumbing experience, an expansion tank replacement is a DIY job, as long as you have a few hours to safely shut down and drain the boiler. However, if you don’t have plumbing or piping experience, it’s best to hire a local boiler professional for this project.
For this guide, we’re assuming you already have a compatible expansion tank of the right size for your boiler system. If you don’t, you can research your boiler model to find and order compatible tanks. If your boiler requires an expansion tank, do not try to run it without the tank, which could cause many problems. Expansion tanks can be heavy, so you may want to request some assistance from a household member at certain steps. Don’t forget to consider hiring a boiler installer if you don’t feel comfortable completing this addition.
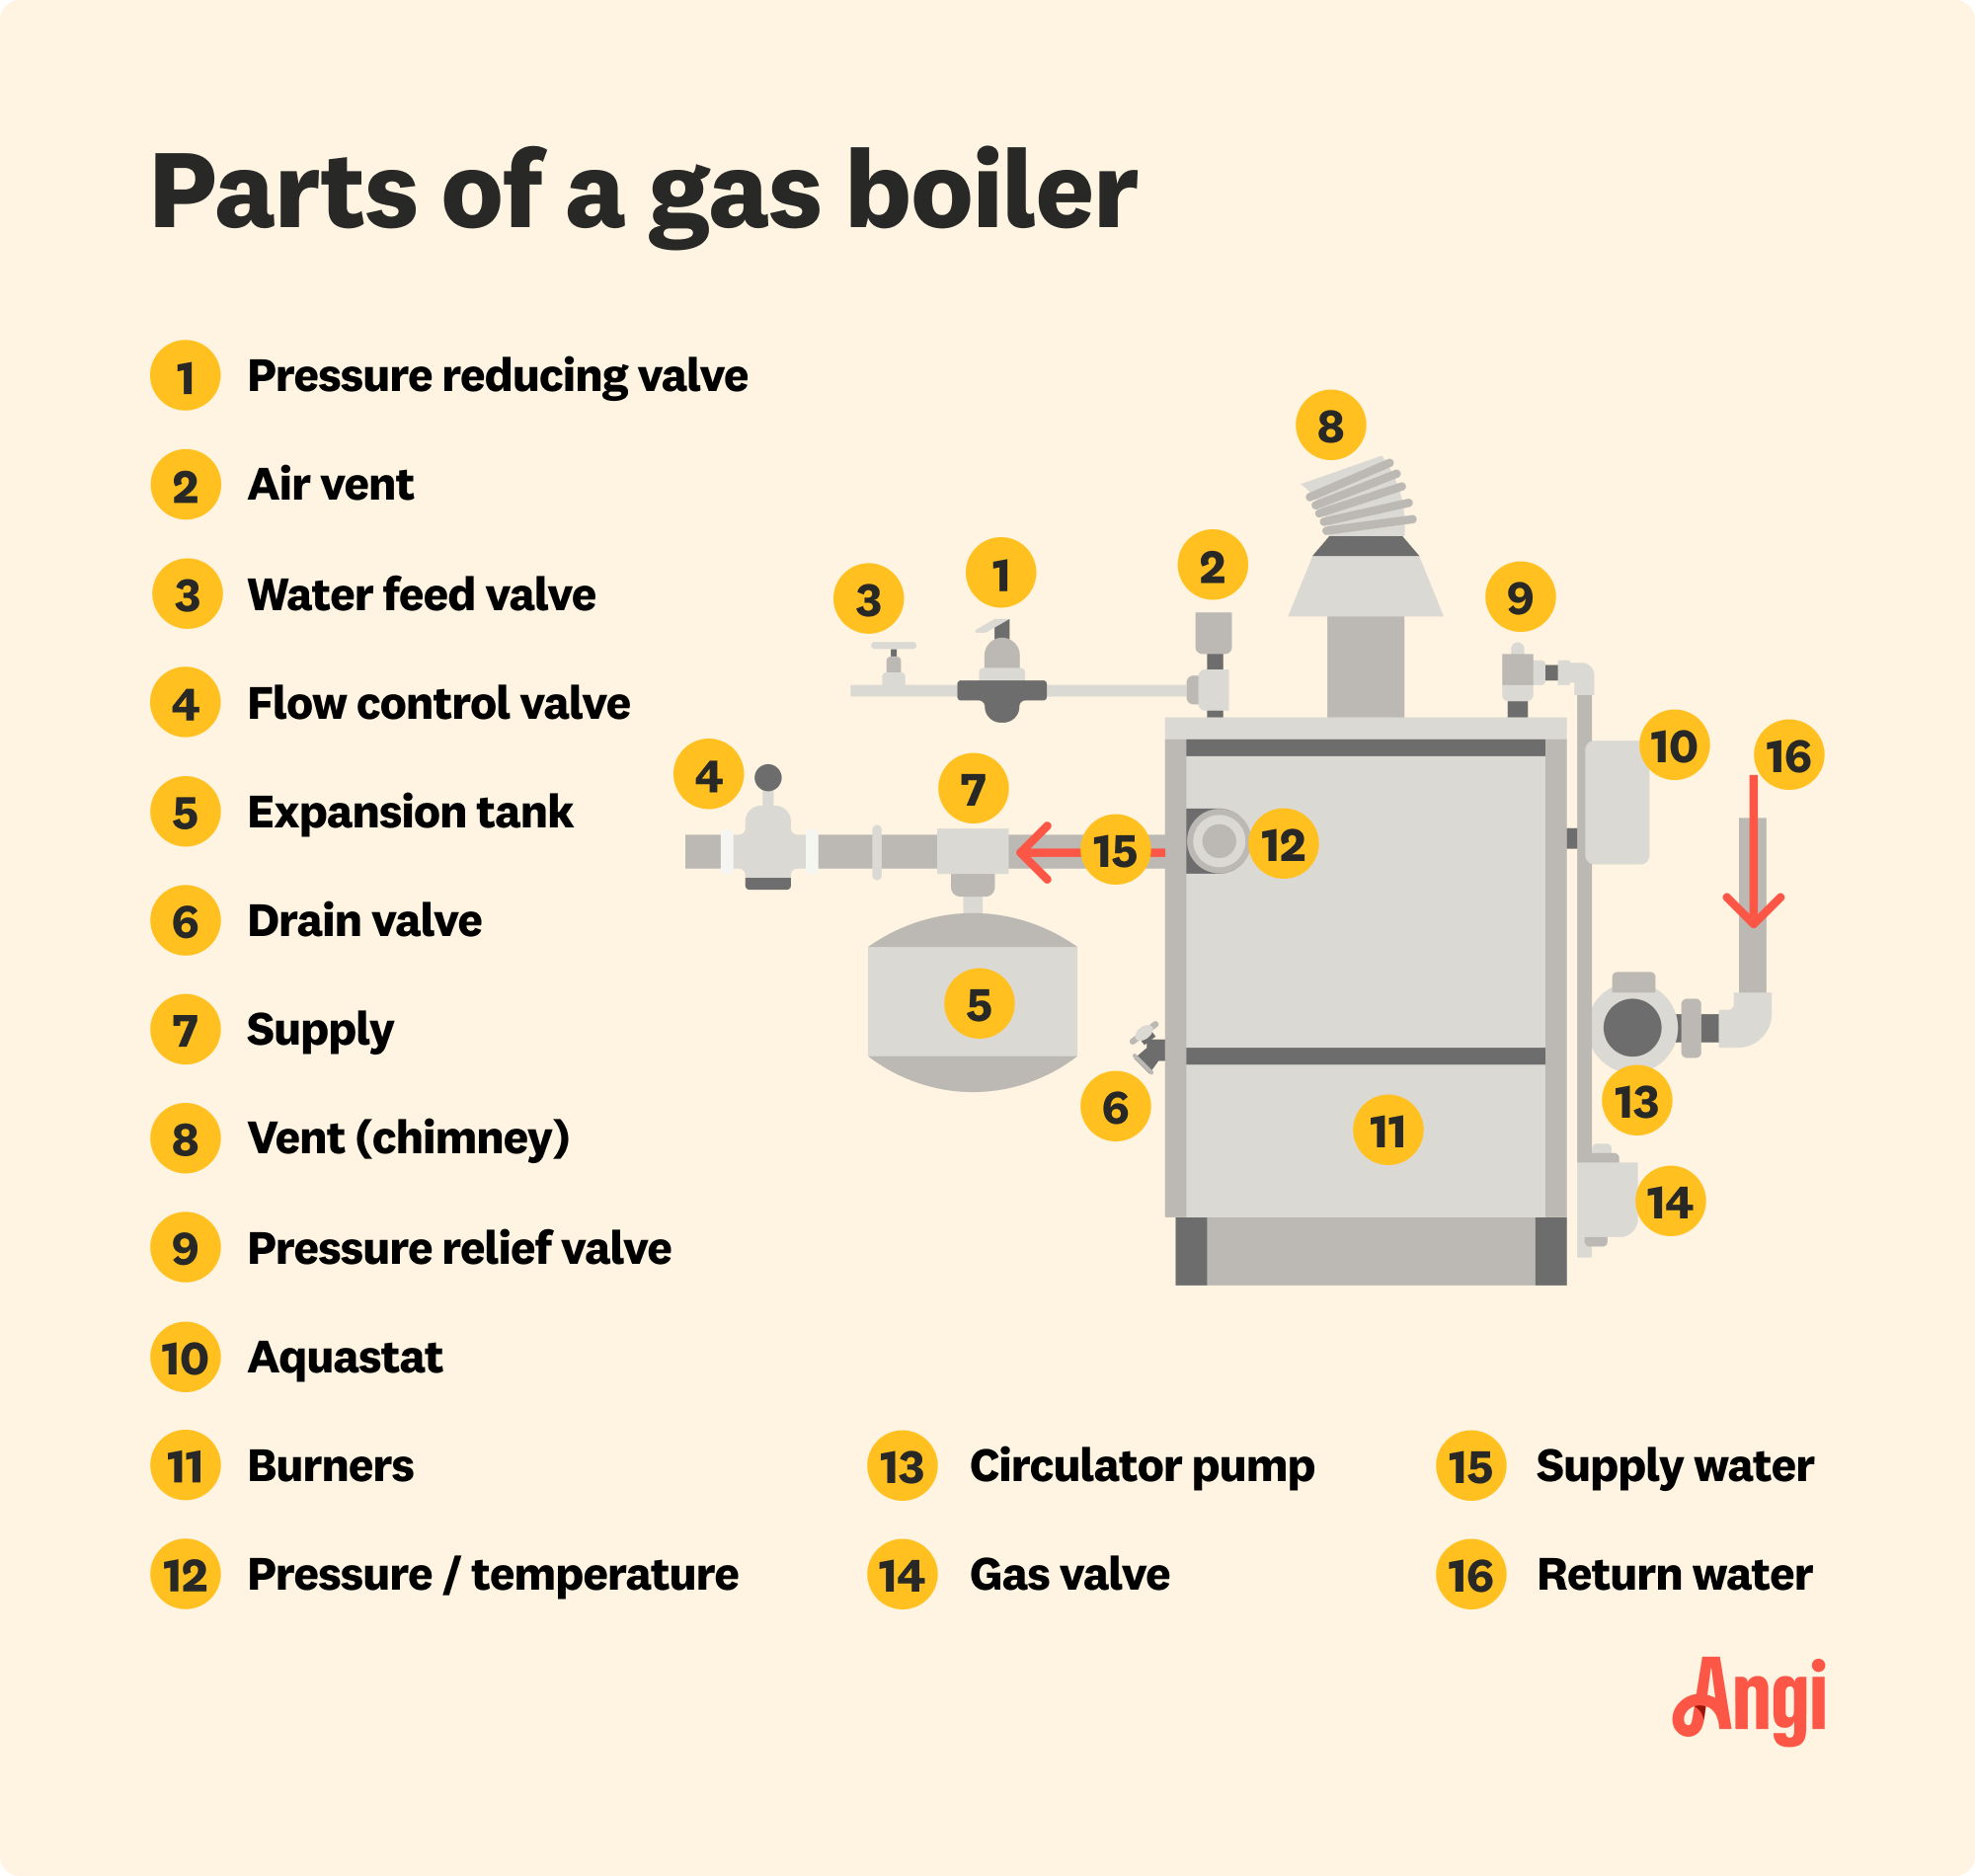
If your new expansion tank is a different shape or size, make sure it will fit next to your boiler. If your previous expansion tank was installed horizontally, check that the new model can also be placed on its side—many models are required to be installed upright. You may be able to install the tank in a slightly different position if necessary, or make related changes. Keep in mind that an expansion tank must be:
Placed on the supply side of the boiler, where it supplies hot water to the home system
Above the relief valve
At least 18 inches or so from the vent connector
On the suction side of the circulator, or before the supply-side water reaches the circulator
After the feed line of the boiler, if included
If you need to purchase new pipes to fit your expansion tank or a different placement, find the size of your pipes and order them. Most expansion tanks fit onto pipes with a basic tee-fitting, but other components may be required. Replace any worn-out components during the installation. You may also want to install a separate shut-off valve specifically for the expansion tank, although this step isn’t necessary.
Follow these steps to install an expansion tank safely and efficiently.
Give the boiler and its nearby components a quick dusting, then shut off power to the boiler. Find the water valve and shut off water to the boiler. If your boiler supplies water for your faucets, use a hot water faucet to drain the boiler completely.
Next, shut down the pipe connections to the boiler. Use the relief valve to carefully release pressure inside the boiler. When pressure is fully released, connect a hose to the drain valve in the boiler and place the other end of the hose in the bucket. Release the drain valve and drain the remaining water in the boiler off into the bucket. (This is a good time to check for sludge or high amounts of sediment, too.)
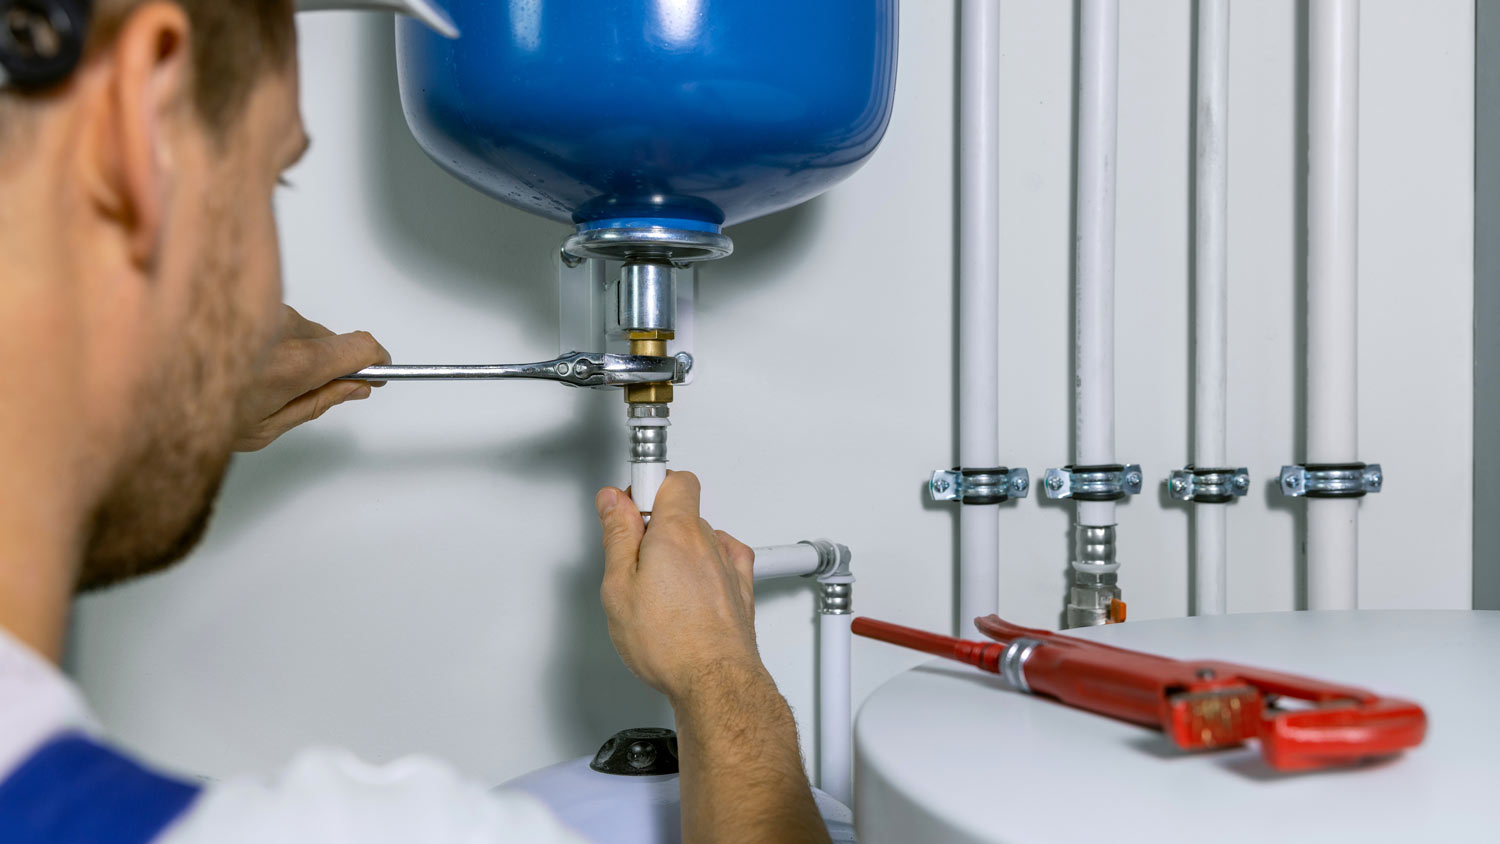
Position your ladder by the boiler and climb up to examine the expansion tank’s fittings. Use your wrench to carefully disconnect the tank’s fittings. If the tank is mounted with brackets or supported, keep those supports on until the tank is completely disconnected. Then, carefully unscrew any mounting screws and ease the old tank down from its position.
Expansion tanks can weigh up to 30 to 40 pounds, so you enlist the help of another person for this step. Move slowly and follow ladder safety guidelines.
Connect any new or replacement piping or valves, making sure they are tight and properly sealed with thread sealant. Lift the new expansion tank into place (again, a friend is very helpful) and use its mounting brackets or supports to take the load off while still giving it some wiggle room. Then, carefully connect the tank to the boiler’s pipes, using thread sealant to seal the connection.
Note: Most home expansion tanks come already pressurized to a specific setting designed for a certain size of boiler or heater. If you need to pressurize the tank manually, hire a boiler professional to complete that task.
Keep the boiler's supply and return valves closed, and refill it with clean, soft water. When the boiler is full, re-open the return and supply-side valves.
Use the pressure relief valve on the boiler or the bleed valves to release any accumulated air trapped in the system.
Turn power to the boiler back on, and start the boiler again. Monitor it closely as the water heats and pressure builds. Make sure the pressure stays within the healthy zone, and adjust settings as necessary. If pressure is out of control, that’s a sign that the boiler was not installed correctly and you should hire a boiler professional to assess the damage and find a solution.
If you have previous experience with plumbing and HVAC systems, then installing an expansion tank should be a doable DIY job. It also gives you time to inspect the condition of your boiler.
However, if you don’t have any experience in plumbing or working with components like expansion tanks, it’s much better to hire a boiler professional for a fast, easy installation.
You can expect to pay between $150 and $500 for a boiler pro to install an expansion tank, depending on your location, boiler size, and any internal issues.
From average costs to expert advice, get all the answers you need to get your job done.

Tankless water heater costs in Atlanta, GA depend on the size of your water heater, location, fuel type, and more. Keep reading to calculate your expenses.

Running out of hot water too quickly or hearing strange noises when you call for hot water? Use this water heater repair cost guide to see what a fix will cost in Atlanta, GA.
Learn all the factors that influence the cost to install a heat pump water heater at your home.
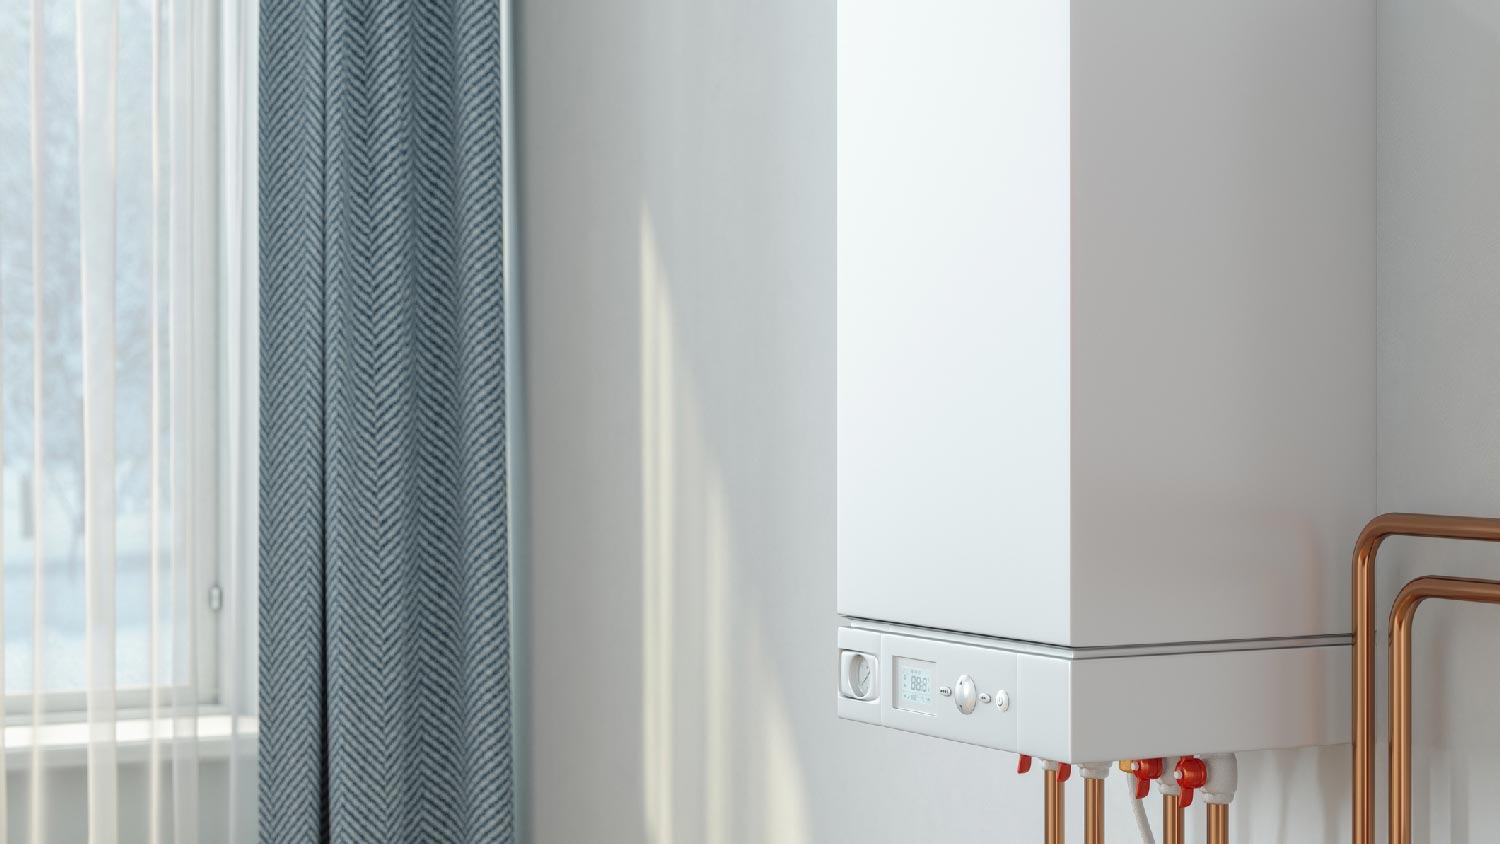
If your gas hot water heater isn't working, you want to fix the issue quickly to prevent safety risks and major damage. Here's how to troubleshoot.

Are you having a lot of water heater problems? Our guide highlights the most common issues and how to solve them.

Learning how to change the temperature on your water heater takes just a few minutes and the help of a screwdriver. Find out how easy it really is in this guide.