Find out how much retractable awnings cost. Learn about installation, materials, labor, and ways to save on your new retractable awning.
Make your backyard shine in the shade


Awning installation gets you a ton of extra shade on your backyard deck or patio on those hot summer days and even a little shelter when it drizzles. And it’s not just a modern convenience—installation of retractable awnings dates back to the Roman Empire when they covered theatres and amphitheaters. But today, motorized awnings that extend and retract with the push of a button have become a popular solution for maximizing backyard enjoyment or sprucing up patios and decks. Read on to learn how to install an awning yourself.
There isn’t a long list of things to do before installing a retractable or fixed awning on your home. However, attaching one requires using a ladder and power tools. Understand the safety requirements for both items before diving into the project.
Check with your municipality or homeowner association for any permit requirements or restrictions. Also, if painting your house’s exterior or installing new siding is in the near future, consider doing those tasks before putting up an awning to avoid having to work around one.

Determining the awning’s height can decide which installation method you’ll need to use.
Choose a height that allows standing room under the awning. Most retractable awnings require 7-1/2 to 8 feet of clearance from the deck, patio, or ground.
Allow 12 to 14 inches of clearance above windows.
For outswing exterior doors, provide enough clearance for them to open fully.
Consider soffit, fascia, or roof mounting options if clearance height isn’t available on a wall.
Discreetly make a mark identifying the height location.

Marking the exact location of the installation brackets allows you to envision the results and adjust if necessary before creating holes in your house.
Measure the length of your awning and note the distance to its center by dividing its length by half.
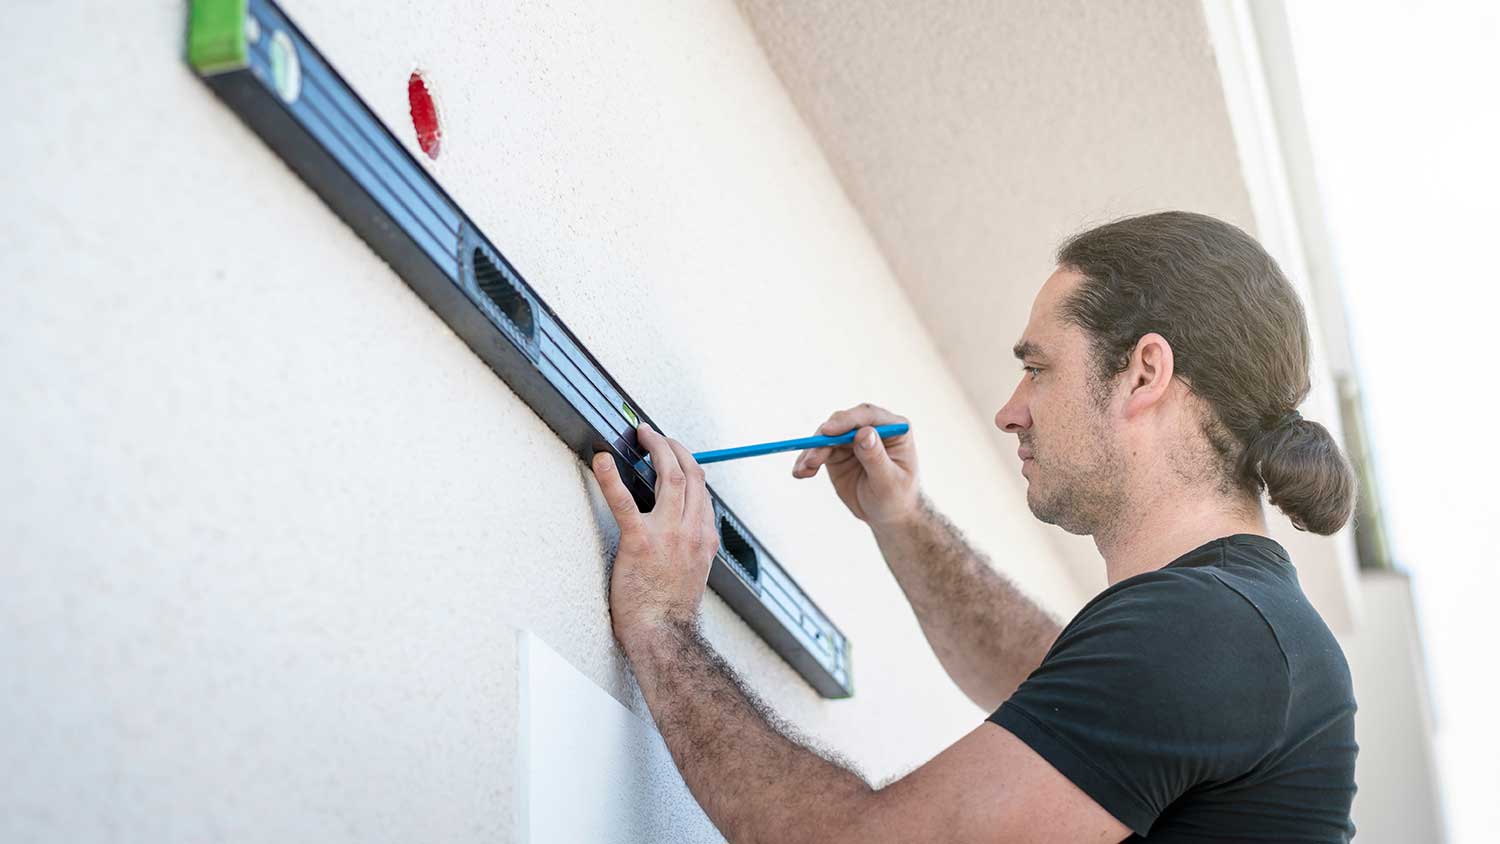
If you’re centering the awning over a particular house feature, such as a door, window, or patio, mark the object's center and use a level or plumb bob to transfer the spot to the height location.
If one of the end locations is more important than centering the awning, make a mark at the endpoint you desire. Measure from the spot to half the overall awning length and make another mark. The second mark will indicate the center point of the installation.
Measure half the awning length from your center mark on the wall, soffit, fascia, or roof at the installation height.
Choose the appropriate installation brackets for a wall, roof, soffit, or fascia.
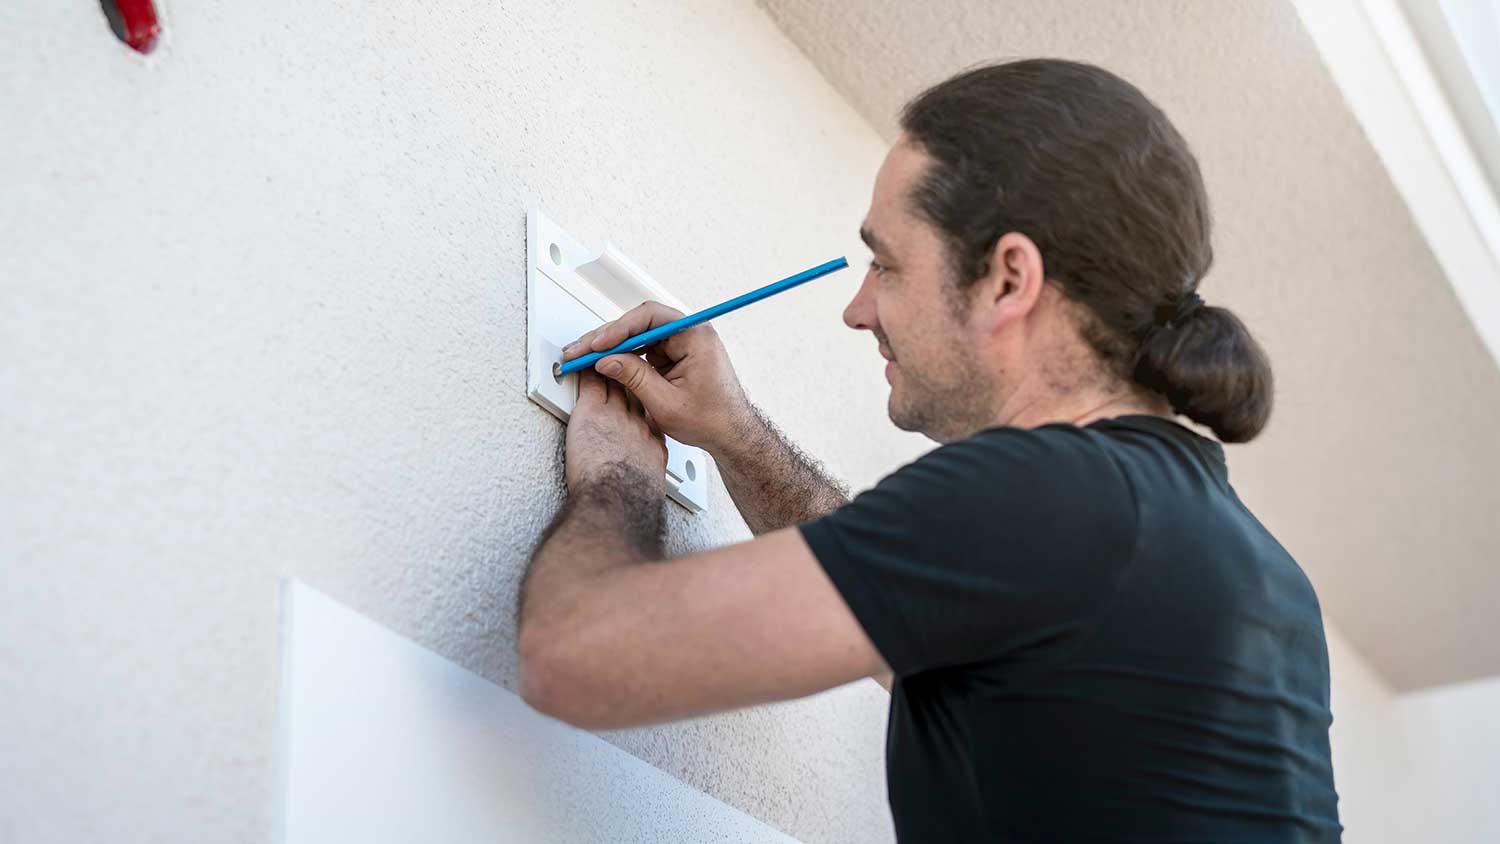
Use the awning's end brackets as templates to mark the hole locations for the installation bolts.
Use a stud finder or drill a test hole to ensure there’s a stud, rafter, header, or sufficient material into which you can drill into and support your awning. If necessary, find studs on indoor walls and use a measuring tape to transfer the location to the exterior.
Use the remaining brackets to mark their installation holes by centering them between the end bracket locations and depending on the quantity and installation instructions. Be sure to align the hole marks with structural components underneath for support.
Use a bubble or laser level to ensure the installation marks are level and in a straight horizontal line.

The support brackets you use will depend on whether you’re installing your awning on a wall, soffit, fascia, or roof.
Refer to the installation instructions with your awning to determine the correct drill bit size.
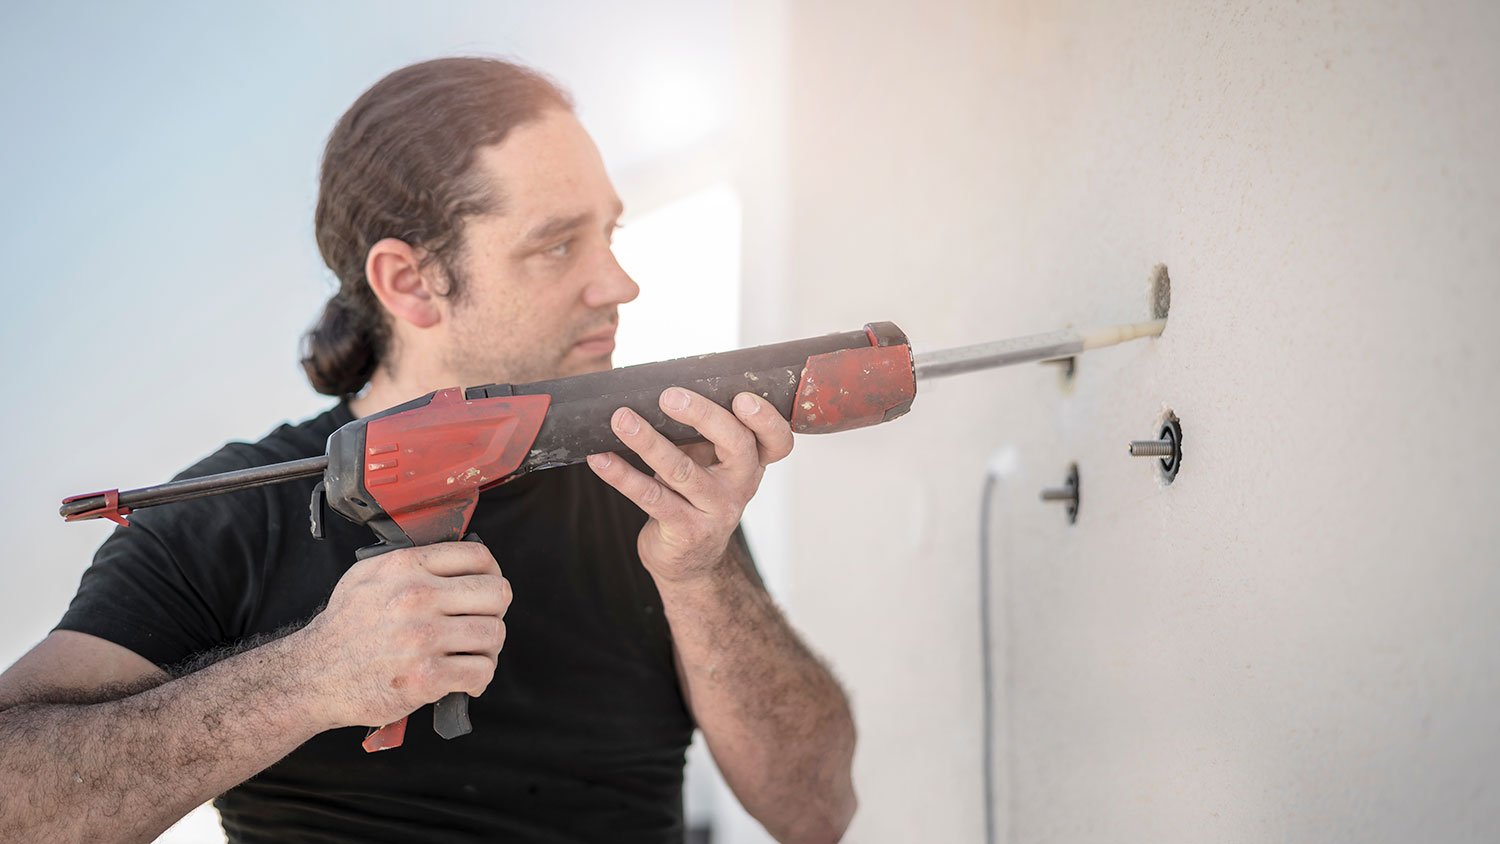
Drill the installation holes. Use a masonry bit for brick, mortar, or stucco surfaces. Create the initial hole through the vinyl siding by operating the drill in reverse until you reach the material below the siding to avoid cracking the vinyl.
Use the suggested size bolts and hardware to fasten the brackets in place.

Regardless of the awning’s size, have a helper assist you in lifting and holding the awning in place until it’s secure and self-supporting.
Lift both ends simultaneously and hook them into the support brackets.
While your helper holds the awning in place, insert the securing bolts through each of the three or four brackets and tighten the end nuts.
Your helper can now let go. Double-check each bolt to ensure they’re secure and tight.
Installing the side support components will vary depending on your awning’s style. Follow the manufacturer’s instructions to install any additional support brackets or arms with your awning.
Plug in your motorized awning or install the manual crank or cord and begin enjoying your new outdoor living space.

Your new awning can provide up to 15 years of dependable shade protection when it receives moderate maintenance.
Keep your awning clear of fallen tree debris.
Extend and hose off your awning every several weeks, allowing it to air dry.
Follow your manufacturer’s cleaning instructions for other cleaning requirements.
Protect your awning from extreme heat by not operating a grill underneath the fabric.
Lubricate your awning according to manufacturer requirements.
Never retract your awning for storage while it’s wet.
Periodically inspect your awning’s fabric and hardware for wear, holes, or loose fasteners and repair if necessary.
Awnings retail for between $250 and $3,500, depending on the size and details of the one you choose. Various accessories can add up to $350, while installation charges will range from $100 to $400 on average if you hire a pro. Overall, the cost of an awning runs between $400 to $7,000 or more.
Although there aren’t any tricky secrets to installing an awning yourself, large ones are cumbersome and hard to manage for one person. Always have a helper to assist with lifting and mounting, particularly for large or fixed awnings with heavy frames.
If you’re uncomfortable working from a ladder or would just rather not pursue awning installation as a weekend pastime, a nearby awning contractor can do the job any time of year.
From average costs to expert advice, get all the answers you need to get your job done.

Find out how much retractable awnings cost. Learn about installation, materials, labor, and ways to save on your new retractable awning.

Discover awning fabric replacement costs and learn about materials, labor, and additional factors to budget your awning upgrade with confidence.

Discover the true awning installation cost for your home. Learn about average prices, cost factors, and ways to save on your project.

Need an awning that provides shade, comfort, and maybe some privacy from nosy neighbors? Use this guide to find the best awning for your home and lifestyle.

Discover the average patio cover installation cost, key price factors, and expert tips to help you budget and plan your project with confidence.

A retractable patio awning creates a comfortable outdoor space that can insulate and protect your home. Here's a look at its pros and cons.