Get transparent shrub removal cost info. Learn average prices, key cost factors, and tips to save on your next shrub removal project.
How to Hollow Out a Tree Stump
Your tree stump can have a whole new life with some clever DIY work


Hiring a pro to hollow out a tree stump costs between $175 and $550, but it saves you the physical exertion and time required for the task.
A DIY job requires supplies such as a chainsaw, fire, chisel, and/or drill.
This task also requires the skill and physical ability to use tools properly.
When you hire a stump removal company near you, you ensure the job is done both safely and properly.
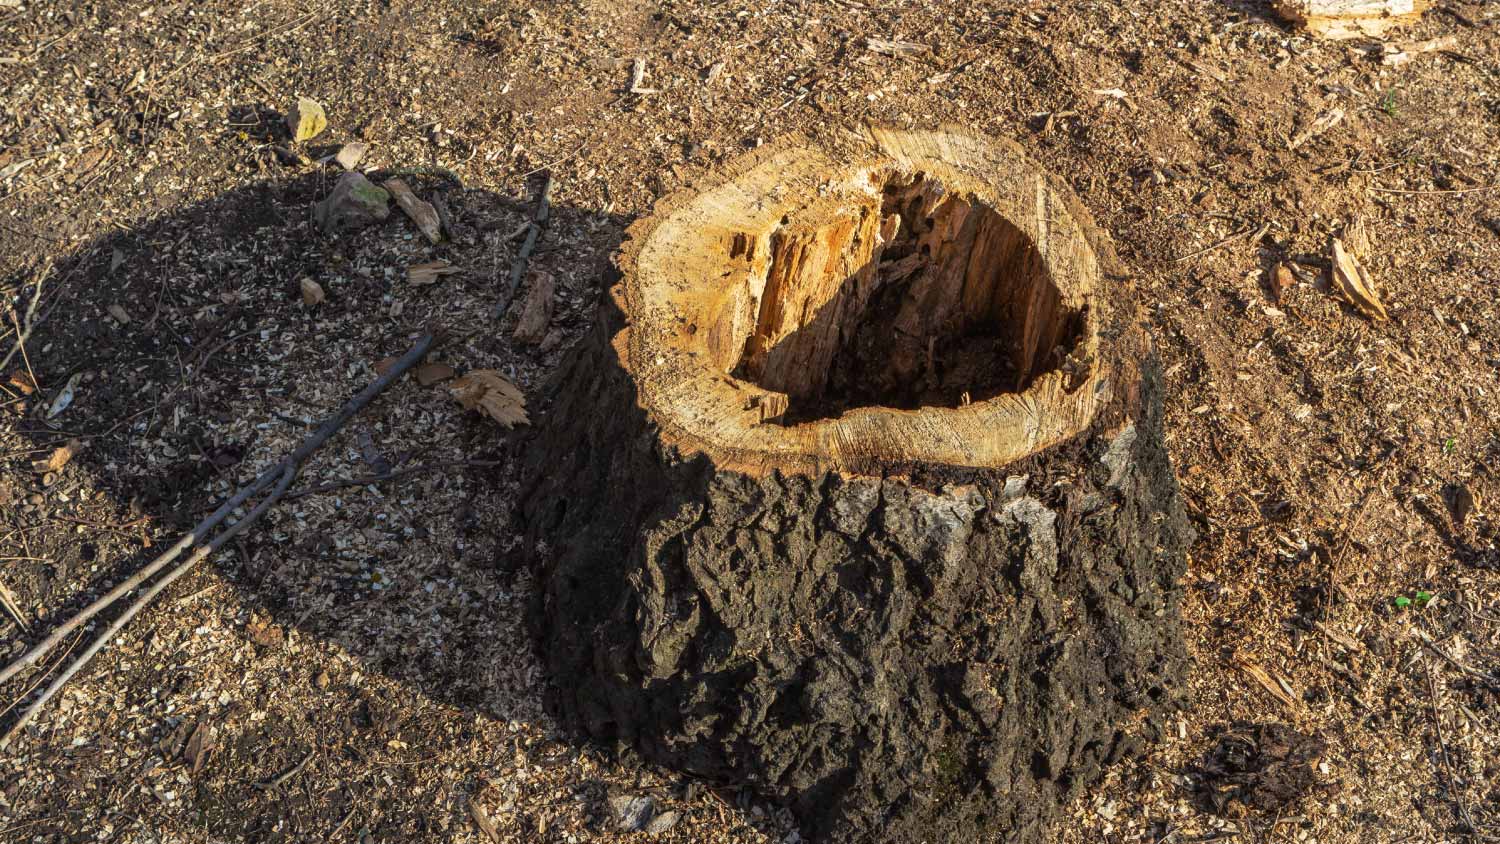
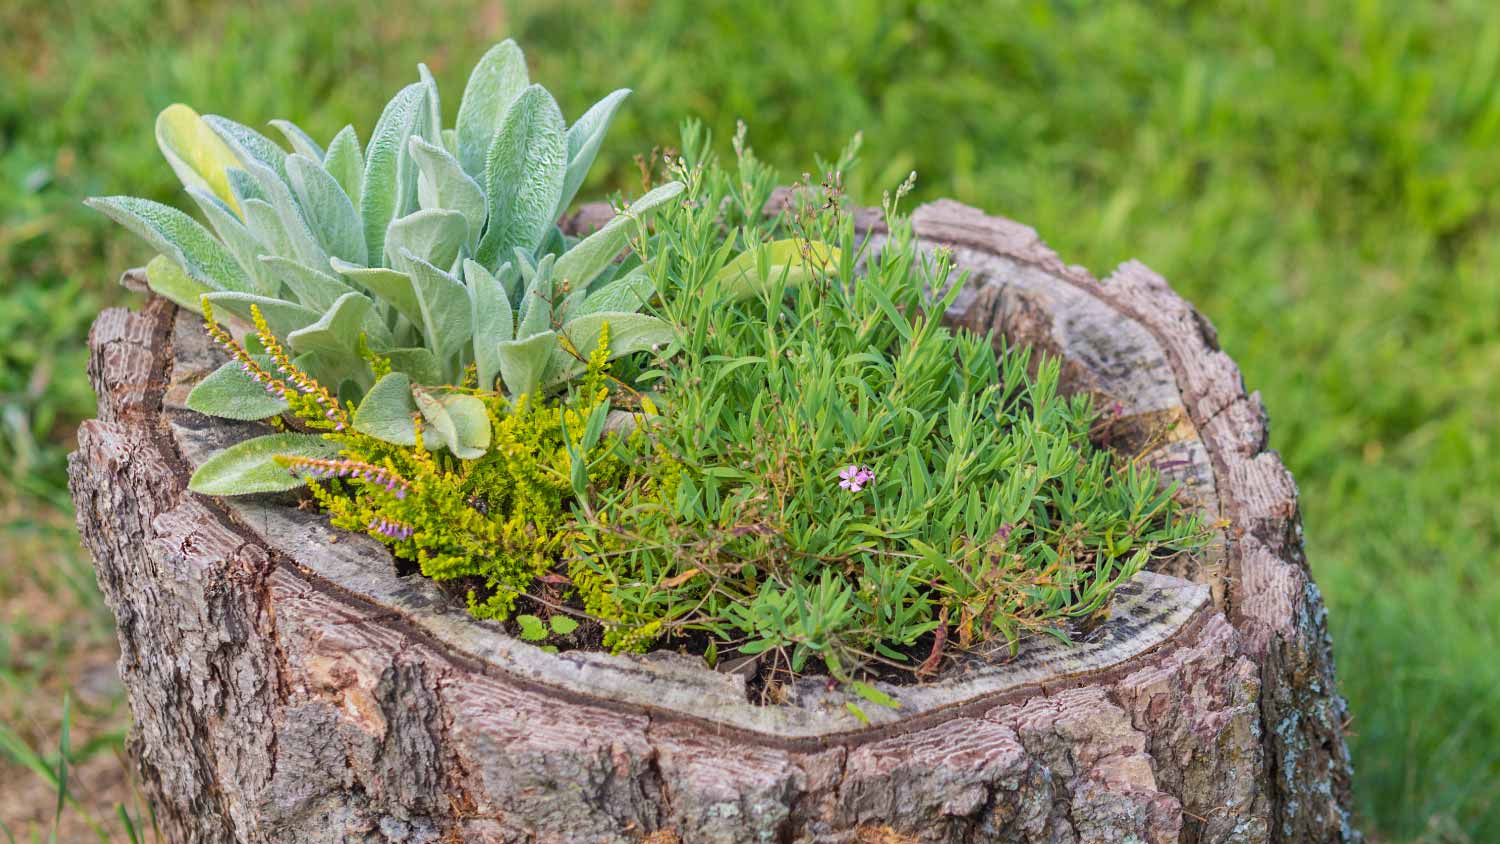
While there are many reasons not to chop down trees in your yard, removing dying, damaged, or dangerous specimens might be unavoidable to protect your family and property. However, you can learn how to hollow out a tree stump to repurpose it into a planter. We’ll show you how to take on this project using your choice of a few different methods to hollow out a tree stump and give it a second life.
Why Would I Need to Hollow Out a Tree Stump?

After saying timber to a tree in your yard, the stump remains. You might leave a deep-rooted stump in your landscape to save costs and time. Instead of leaving it to be an eyesore or a tripping hazard, there are plenty of creative ideas for using tree stumps in your yard.
However, not every stump is suitable for hollowing out. You’ll need to make sure the stump:
Wide enough to hold desired plants or flowers
Isn’t decaying
Doesn’t have a pest infestation or tree fungus (If it does, it’s best to remove the stump to prevent spread to other plants)
Comes from a tree with durable wood, such as oak, redwood, and cedar
How to Hollow Out a Tree Stump

There are four main methods for hollowing out a tree stump. Choose the method that best fits the amount of time available, your tools, and your skillset.
Hollow Out with a Drill
Hollowing a tree stump out with a drill is time consuming compared to using a large tool like a chainsaw, but it is doable.
1. Measure for the Holes
Measure three or more inches from the outer bark, which is where the holes will go.
2. Drill the Holes to Form a Circle
With each hole angled about at 45 degrees toward the stump’s center, drill four or five holes, spaced equally around its bottom, angled upwards for drainage.
3. Gouge Out the Wood
Using a hammer and chisel, chip away at the wood between holes, working inward until you hollow out the stump to your chosen depth.
Hollow With a Chainsaw
Firing up the chainsaw might be the quickest way to hollow out the wood in a tree stump, but if you’re a newbie using this kit, it carries the most risk. Only give this one a whirl if you already have an appropriately sized chainsaw you’re confident wielding.
1. Pick a Dry Day
Although a chainsaw won't have any problem cutting wet wood, using an electric variety in rainy conditions is a safety no-no. Wait for a dry day.
2. Gear Up
Get on your gloves, goggles, and maybe even a face shield to prevent splinters from flying into your face. Long-sleeved shirts and full-length pants are sensible attire too.
3. Carve Out the Stump’s Center
Working from the center, start carving out easy-to-remove chunks from the stump. Precision isn't a chainsaw's forte, so go slow, and make small cuts, taking care not to go too close to the stump edges.
If you're worried about cutting into the edges, finish carving them out with a chisel after removing most of the stump’s center with your chainsaw. Leave a perimeter edge of a few inches. If you hollow out too much, the sides will bow or crack more easily.
4. Tidy the Edges
Even if you're a chainsaw maestro and cut most of the center out without the aid of a chisel, you'll still want to smooth off the rough sides for a neat finish with this tool.
Hollow With Fire

If you don't have a chainsaw or aren't a whiz at wielding it, another option is to hollow a thick stump using fire. But this combustible course of action isn't without its risks, so always take appropriate safety precautions and pick a still day with little to no wind.
Avoid this method altogether if you live in a region prone to wildfires, if the stump is very close to your property (within 15 feet) or utility lines, or if the wood is very damp (as it won't burn so easily).
You'll also need to check with your local municipality if it's even legal to burn tree stumps. Some local authorities prohibit their burning altogether.
1. Prep the Area
Clear up any flammable trash, leaf litter, and other debris from around the stump and dampen the surrounding ground. As an extra precaution, have a water hose or fire extinguisher on hand.
2. Drill Some Holes
Unless you want to be at it for hours, you’ll want to use a power drill with a wood-boring bit.
Start by drilling a hole in the stump's center at a 30-degree angle. Drill down around 8 inches deep.
Continue to drill holes around the central one, spacing them a couple of inches apart.
Get rid of the drill debris from each of the holes.
Don’t drill right out to the edges of the stump. Leave a few inches between the edges and the drill holes.
3. Fill the Holes with a Flammable Substance
To encourage the stump to burn successfully, you’ll need to fill the holes with flammable material. Potassium nitrate (saltpeter) is a popular accelerant option.
When handling this chemical white crystalline salt, always wear gloves, a mask and protective goggles.
Fill each hole with the powder to around 1/2 an inch from the top. Using a fine-tipped trowel makes it easier to target each hole accurately.
Pour hot water into the holes from a spouted jug. This method dissolves the product, spreading it through the stump and making it easier to light.
After handling the potassium nitrate, wash your hands well.
Store any leftover potassium nitrate in a sealed container in a well-ventilated area.
4. Ignite a Fire
Lay something like light, dry scrap wood, leaf litter or cardboard on the top of the stump and light this. This kindling helps ignite the potassium nitrate and burn through the holes in the stump. Be patient; it can take some minutes for the stump to catch fire. Steer clear of using gas to light the wood. This can encourage the fire to be too wild or even trigger a mini explosion.
Supervise the fire the entire time it is alight. You don’t want it to burn right through the stump, and you may need to add additional kindling to prevent it from burning out too early. If the fire is getting out of control, have the hose or fire extinguisher ready.
5. Douse the Fire
Once the fire has hollowed out most of the stump's center, pour water or sand over it to thoroughly douse the flames.
Allow the stump to cool down fully and dry out before doing anything further. This process could take a week or two, depending on the weather. Use the trowel and a dustpan brush to scoop and sweep out the ash and charred wood.
Hollow by Hand
This option is the most time-consuming and labor-intensive, but you only need a simple hammer and chisel. It’s the safest approach. Still, come armed with thick gloves and goggles to protect against wayward splinters.
1. Choose the Right Chisel
Ideally, the chisel will be a wood carving gouge with a rounded rather than pointed tip. This makes it much easier to smoothly and neatly scoop out chunks of wood.
2. Start When the Stump Is Soaked
Unlike the other two methods, doing this after rainfall or dousing the stump in water makes carving less effort.
3. Drill Some Holes (Optional)
The job will also be faster and easier if you can drill some holes in the stump center around 8 inches deep and a couple of inches apart.
4. Chisel Out Chunks
Work with the chisel at a 45-degree angle from the stump’s flat surface. Tap the hammer on the top of the chisel to scoop out pieces of wood from the center. Make sure you leave a few inches around the full edge of the stump.
5. Smooth Out the Edges
Tidy up any jagged, sharp edges once the stump is suitably hollow.
Tips for Preserving Your Hollowed-Out Tree Stump

If you want to get a few more years out of your tree stump planter, you can take steps to preserve it from pests and moisture.
Ensure the hollow stump is fully dry before further preserving—this can take up to one month.
Drill a few drainage holes into the sides of the bottom of the stump. This step stops plants from getting soggy bottoms and reduces the chance of wood rot.
Place charcoal chunks or gravel in the stump base, which minimizes odors and promotes better air circulation, reducing problems with rot and pests.
Strip the bark if you don’t want such a rustic aesthetic. You can do this with a flat-head screwdriver and a hammer.
Remove any dirt, ash and sawdust, then sand the outer wood down. You want to work with a smooth and clean surface.
Fill any cracks with epoxy and tape up to prevent any leaks. Let this dry overnight.
Apply a wood stabilizer to the surface of the hollowed tree stump. Two coats offer better protection.
When to Remove a Tree Stump

There are some scenarios that call for removing a tree stump completely. If you have a leftover tree stump in your yard that falls under the following conditions, consider using one of the best stump removal methods to get rid of it safely.
The tree stump is diseased.
The tree stump is infested with pests.
The tree stump has been untreated for more than 10 years.
The tree stump is located in an inconvenient or dangerous location.
DIY vs. Hire a Pro
Hollowing out a stump is typically a creative DIY project. It’s not normally something you would hire a pro for unless you plan on something particularly unique and artistic.
If you don’t want to use a stump or it’s causing a problem in your yard, booking a local stump removal service makes sense. They can either grind the stump down or remove the tree stump and its roots, depending on the evaluation by the stump removal professionals.
Cost to Hollow Out a Tree Stump
The cost to DIY hollow out a tree stump is relatively low because hollowing by hand or chainsaw doesn’t require many tools or materials, but it’ll cost some serious sweat equity. However, if you choose to hollow with fire or have a particularly stubborn stump, you should hire a stump removal service to tackle the task. Stump removal costs between $175 and $550, depending on the removal method, stump size, and other factors. You can consider renting a stump grinder to remove the stump yourself, but it costs about $240 per day and can be hazardous for inexperienced users. However, it’s likely worth the peace of mind knowing that it’s done correctly and you’ll be able to reuse the stump for your next project.
The homeowners guide to tree services
From average costs to expert advice, get all the answers you need to get your job done.
- •
 •
•Get a clear estimate of palm tree maintenance cost, including trimming, fertilization, and pest control, so you can keep your palms healthy and your budget on track.

Find out how much it costs to plant a tree based on the number of trees, their size, where you want to plant them, and DIY versus professional costs.

What’s the best tree stump killer? Learn how to kill a tree stump using these seven effective methods.

Will a topped tree grow back? It’s possible, although this aggressive pruning can sometimes kill a tree. Here’s what you need to know about tree topping.

If your palm tree looks dead, there are several ways to bring it back to life. Our guide will show you what to do with a dead palm tree.

