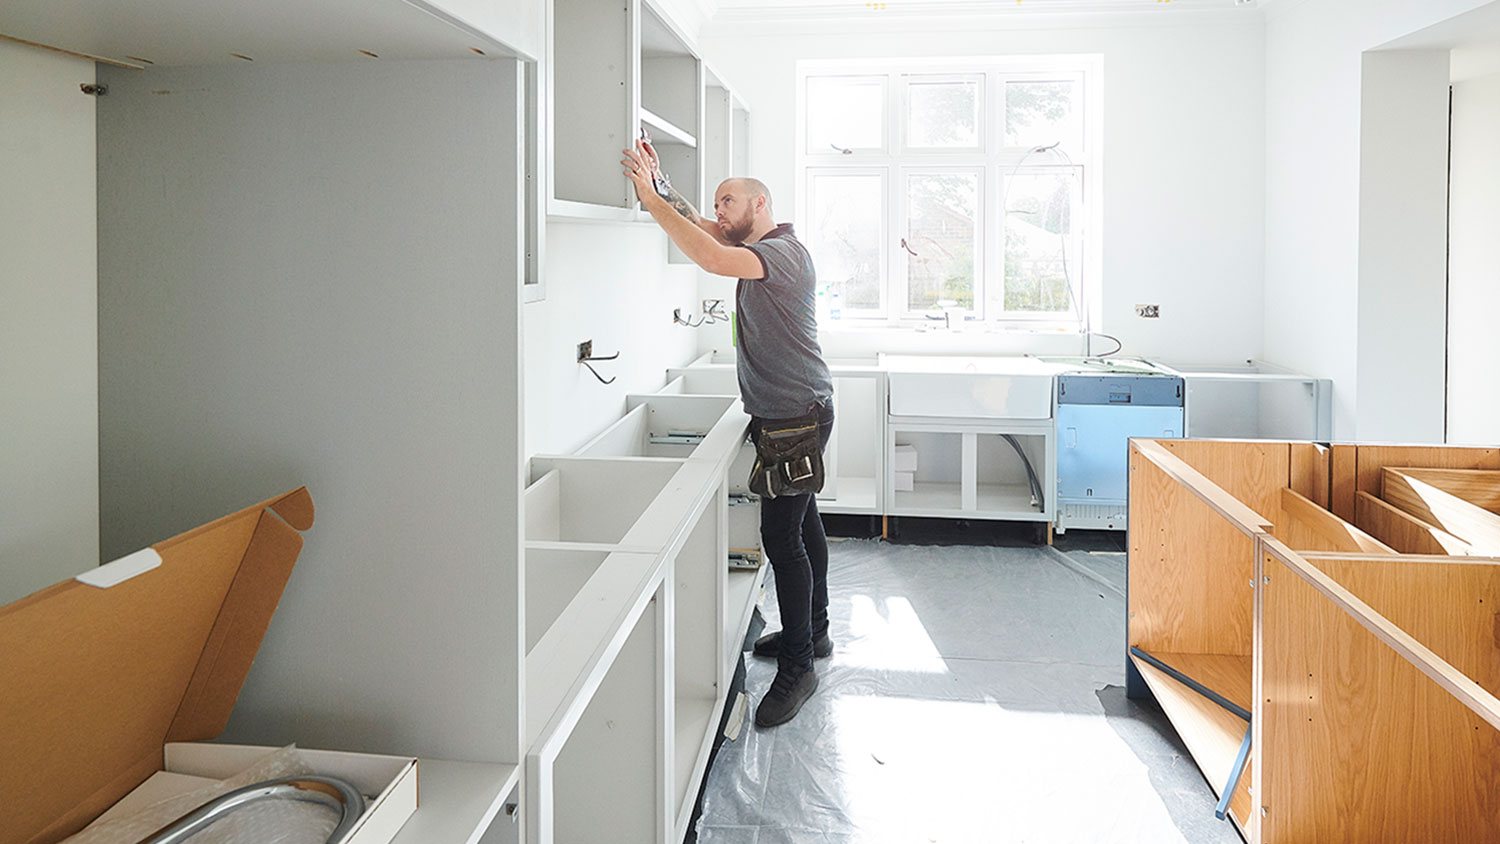
Discover cabinet installation cost estimates, including average prices, key cost factors, and tips to save on your new kitchen or bathroom cabinets.
Slide into the best solutions for your stubborn cabinet drawers


Most parts of a drawer can be repaired or replaced.
Replacing drawer slides is an easy DIY job.
Adhesive bumpers can help protect a drawer from future damage.
When your cabinet drawers are working properly, you probably don’t give them much thought. But when they break, basic daily tasks can become incredibly aggravating. Cabinet drawers are subject to a number of issues, including warping, sagging frames, and the classic drawer jam. Luckily for all of us, there’s usually a way to put things right again. Let’s go over how to fix a cabinet drawer with the best solutions for common problems.
According to 10,400 Angi customers, drawer issues are a frequent repair need, representing 25% of cabinet repair requests. This emphasizes the importance of proper maintenance and using durable materials to keep drawers working smoothly.
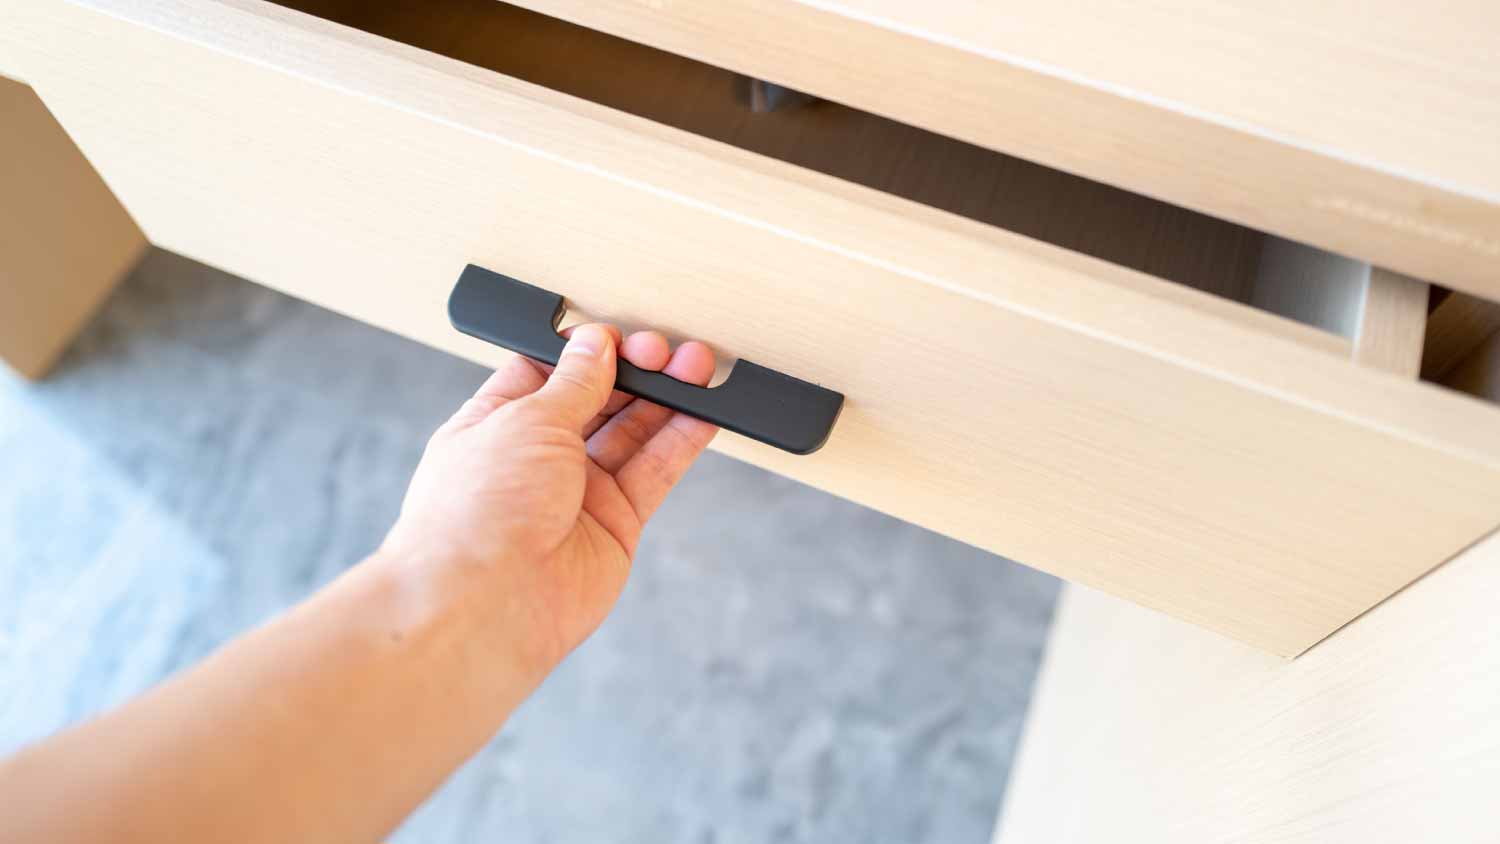
Before planning for a repair, start with some important basics. Gently remove the drawer from the cabinet and set it on a level surface. Take everything out of the drawer (it’s a good time for a little organizing, too). Use a damp cloth to wipe down the drawer, cleaning every side, with particular attention to the tracks. Do the same for the cabinet box where the drawer belongs, focusing on its slides.
As you clean, watch for any grimy build-up or obstructions that may have been causing problems like a stuck or slow drawer. While drawers have different designs, most use slides, tracks, or glides to make pushing and pulling easier. A little dirt built up in these sections can cause serious traction issues.
Sometimes, a light cleaning is enough to get a drawer functioning well again. In other cases, a small spray of lubricant can help the tracks move smoothly. Or you may find that the drawer slides have warped or cracked, causing a more extensive problem, which we’ll discuss below.
This is also a great opportunity to check if the drawer’s weight is causing problems. Over-filled drawers can cause a drawer to get stuck or fall off the slides. Re-distributing the contents of packed drawers can help fix minor problems.
A serious jam makes it impossible to open a drawer enough to deal with the problem or even see what’s causing it. Silverware holders and cooking implements are especially notorious for creating this pickle. Many jams can be fixed by carefully fishing around with a ruler or rod to dislodge the problematic object. If that doesn’t work, try removing the drawers directly below and above the stuck drawer to see if you can access and remove the obstruction that way.
A wobbly or sagging drawer may be the result of loose screws or other fasteners. Check all fasteners connecting the drawer tracks and slides. Tighten any loose screws that you find. Be careful not to overtighten screws, as this can warp slides and cause other types of damage. In your inspection, you may find that some fasteners are damaged; these should be replaced entirely to get your drawer working again.
Drawers that have a habit of slamming shut are more likely to sustain damage. Cabinet bumpers, which are small, clear adhesive bumpers, help ensure that drawers connect more softly with the cabinet, preventing wear and tear. You can readily find them at hardware stores or online.
Nylon tape specifically designed for drawer slides and other sliding mechanisms helps recalcitrant drawers open and close smoothly and can fix small annoyances like slightly dented slides. Take the drawer out and apply a layer of the nylon tape to the slides where they come into contact with the drawer. If necessary, you can also put nylon tape on both the drawer’s tracks and the cabinet slides.
If a drawer isn’t closing properly, you may notice in your inspection that the tracks or slides are slightly dented. This doesn’t always mean you have to replace these components entirely. Take a few minutes with a sturdy pair of pliers to see if you can straighten out the bent section to get the drawer in working order again.
Some drawers don’t use metal or plastic slides. Instead, there are grooves cut into the drawers that are meant to slide along wooden rails inside the cabinet box. While simple, this design can cause lots of jammed drawers, especially when the wood expands in humid conditions. You may be able to fix this by lightly sanding down portions of the wooden tracks and/or applying a wood lubricant.
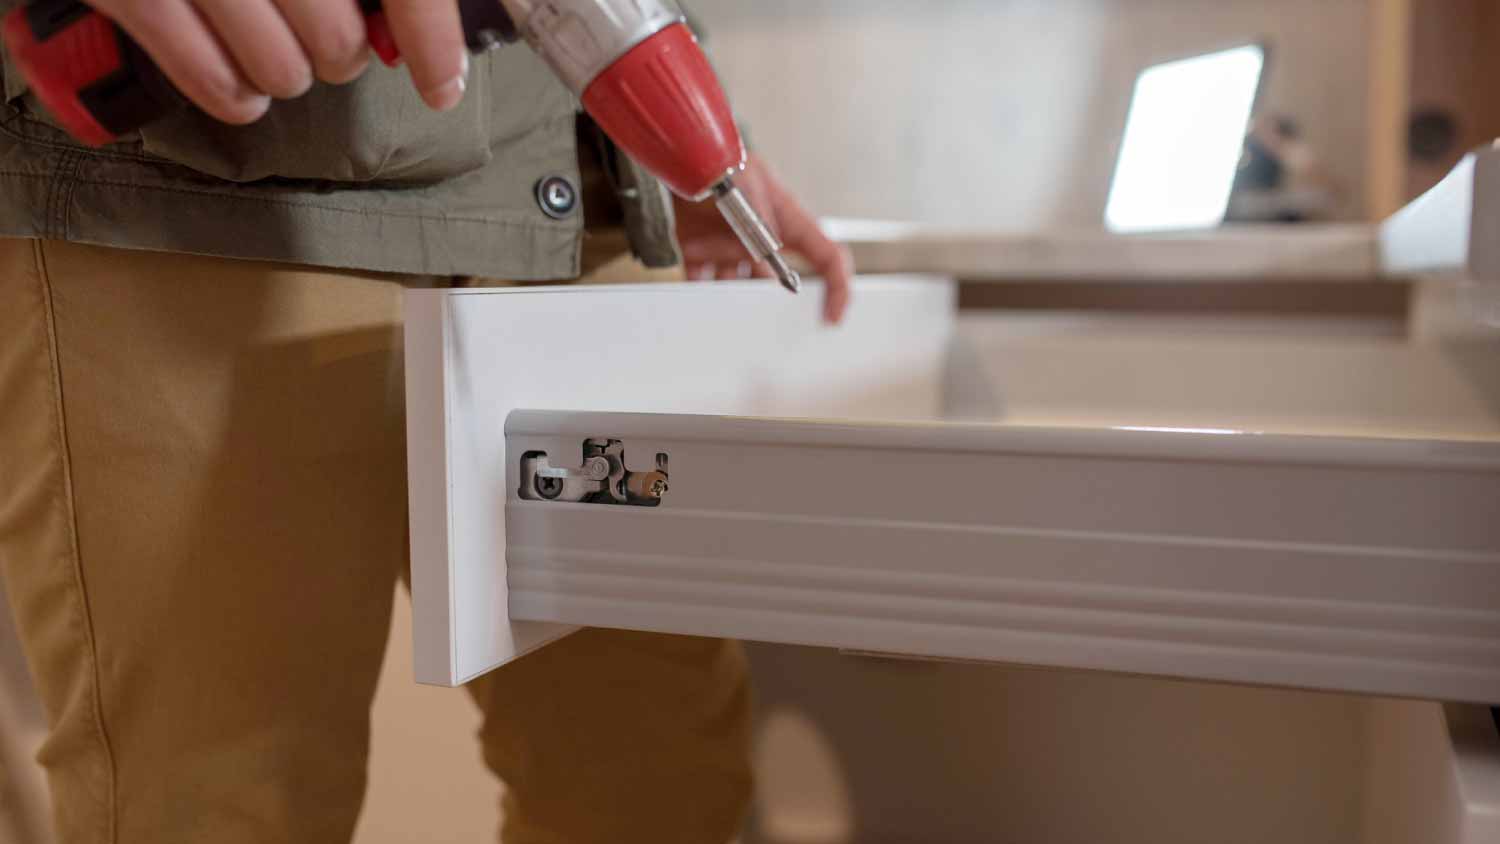
If the above steps don’t solve your problem, you may need to replace the drawer slides. Fortunately, this is a quick DIY task that typically doesn’t require much more than a screwdriver and a flashlight.
We suggest taking the old slides or tracks with you when you purchase new versions (usually available for around $10 to $15) so you can get a match—or at least snap a photo and take measurements. New slides can do more than fix broken drawers: You can look for “soft close” replacements that keep drawers from slamming shut.
The exterior face of the drawer often gets the brunt of wear and tear and may become damaged while the rest of the drawer is fine. If this happens, you may be able to replace the front. Examine the drawer carefully to see if the front face can be carefully separated (if it was attached with wood glue, for example) or unscrewed. If it can be removed, you can look up your cabinet model or find similar drawers in a showroom and order a new front.
Sometimes the front face of the drawer is fine but the drawer box itself gets damaged. If the box sustains water damage, for example, it can warp or start to fall apart.
In these cases, you can take measurements of the drawer box and purchase a new box at a home improvement store or a specialized cabinetry store. With careful work, it’s often (but not always) possible to separate the drawer’s face from the old box and attach it to a new box.
If replacing only the drawer box isn’t an option, you may need to replace the entire drawer.
If your cabinet drawer is sagging but isn’t overloaded with contents, it could be that it lacks a crucial runner or similar framework inside that keeps the drawer aligned and propped up even when pulled out all the way. Check other drawers that open correctly and see if they have runners or other cabinet box components that your problematic drawer does not.
In many cases, adding a simple runner is a DIY project that utilizes a single board, some careful measurements, and a saw. You can place a well-fitted board with wood glue and let it cure without the need for nails or screws. But for a larger cabinet box add-on, you may want to enlist the help of a cabinet repair pro near you.
If your drawer has cosmetic damage, you may be able to glue broken pieces back on. This project is slightly more complex than the other steps above, but it’s still well within DIY territory. You’ll need reliable, cabinet-friendly wood glue and a clamp.
If the drawer has minor nicks and dents, you may be able to camouflage them with a touch-up pen. Deeper marks can be lightly sanded and repaired with wood filler; after, you’ll need to apply a new coat of paint or stain and varnish.
From average costs to expert advice, get all the answers you need to get your job done.

Discover cabinet installation cost estimates, including average prices, key cost factors, and tips to save on your new kitchen or bathroom cabinets.

Your cabinet removal cost will depend on kitchen size and labor expenses. Find out what your budget could look like.
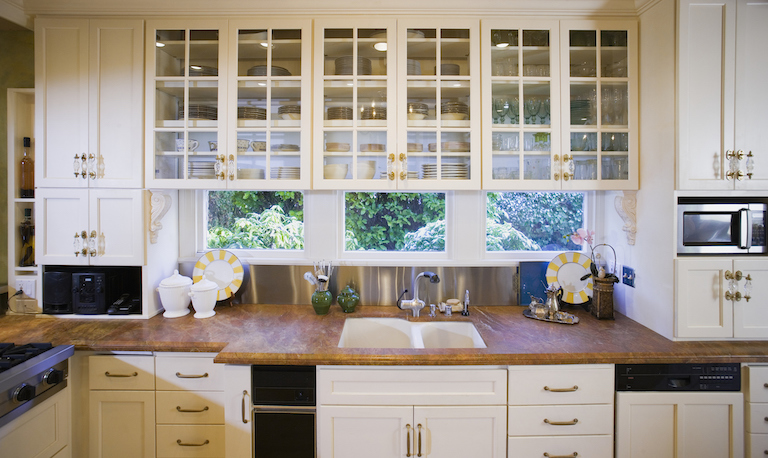
Discover custom cabinets cost for your home. Learn about average prices, installation factors, and ways to save on your custom cabinetry project.
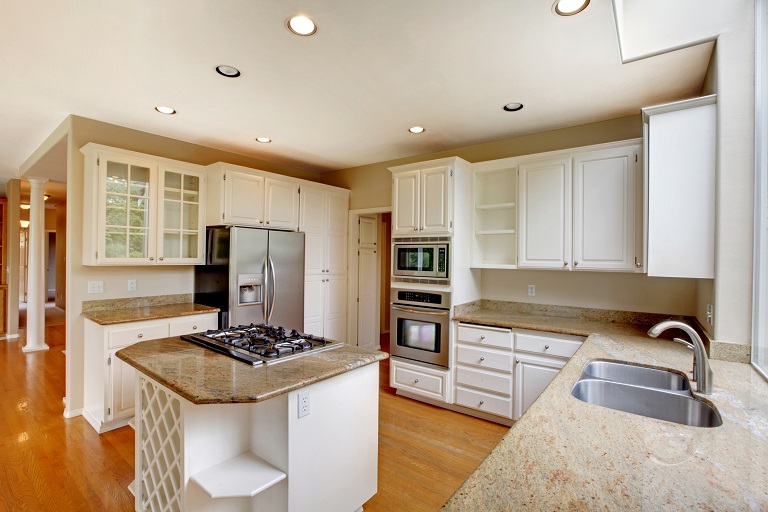
Discover built-in cabinets cost. Learn average prices, key cost factors, and tips to save on your custom built-in cabinetry project.

Do you install cabinets or flooring first when remodeling your kitchen? We explain why it depends, breaking down the pros and cons of each approach.
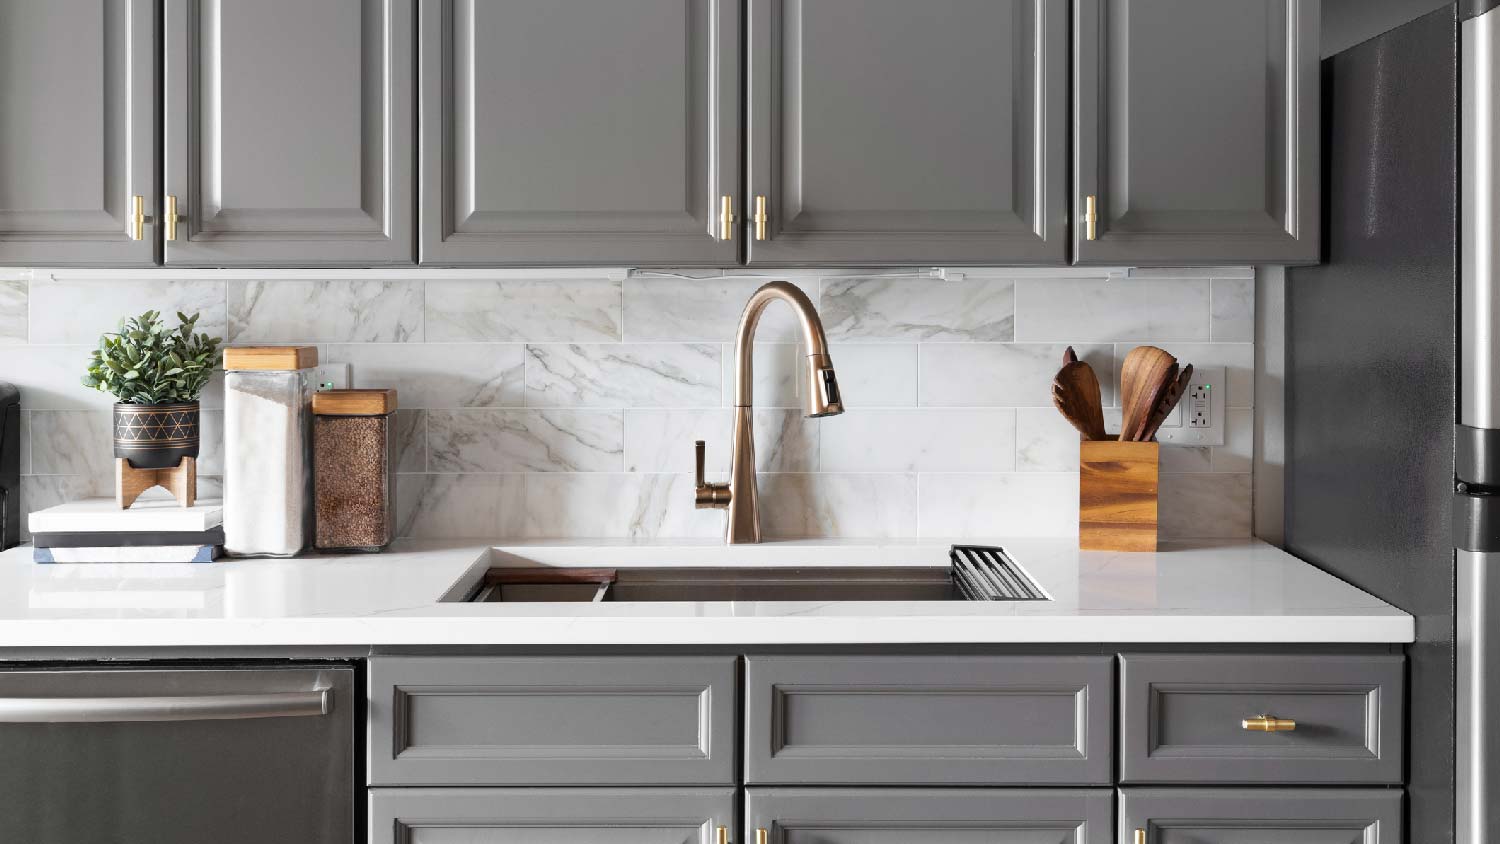
Get a clear estimate of cabinet repair costs. Learn what impacts pricing, compare repair types, and find ways to save on your next cabinet repair.