How to Locate Hidden Wires in Your Walls
Keep your next DIY project safe with this guide to locating wires


A simple DIY can turn dangerous if you don't know how to find wires in walls. When drilling holes into walls to mount items, there's always a risk of hitting a live wire. That's because your home's electrical system runs like a labyrinth through your walls. Don't make a dent until you read this guide to detecting wires.
Why Do I Have to Find Hidden Wires in My Walls?
Knowing how to find wires in walls is essential for anyone taking on even the smallest of DIY tasks. Everything from mounting a new television to a wall to installing built-in bookshelves could be hazardous if you're not fully aware of your home's wiring setup. Drilling holes into any wall in your home poses major risks.
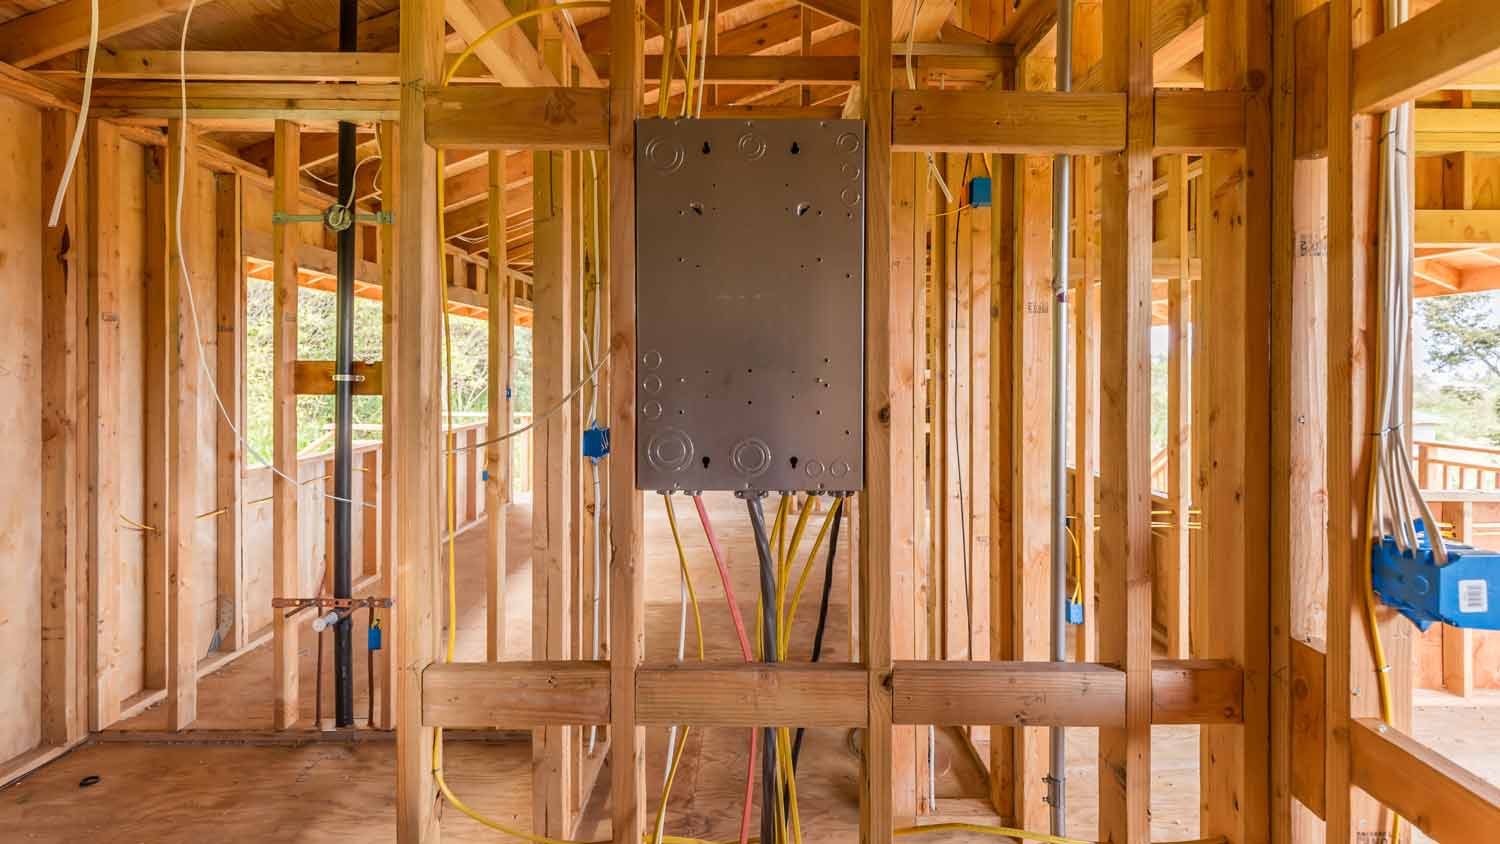
Located inside your walls, the wires belonging to your home's electrical system weave from room to room. When penetrated by a drill, they can cause electrical fires, short circuits, and electrocution. You need to know where all hidden wires are located to avoid hitting them.
Getting a read on where your home's wires are hidden can also help you to determine which outlets are attached to which circuits. This is essential for spacing power-chugging appliances throughout your home to avoid overloading your system.
How to Prep for Finding Hidden Wires in Your Wall
There's no way around the fact that locating hidden wires in your home can feel like a daunting task. In fact, a reality check is needed prior to a wire check. That's because this task is considered a high-risk project that only a professional with the necessary experience and knowledge to handle electrical systems safely tackle. For this reason, we strongly advise bringing in a licensed electrician to perform all wire-finding duties at your home.
By the time a homeowner has purchased a stud finder, wire detector, wire/circuit tracer, and voltage detector, the cost of tools and materials may be close to $250. A voltage detector alone can cost around $80. If you want to purchase a scope camera for this task, that will add another $40 to $80 to your budget.
With an electrical home inspection costing between $150 and $350, it's important to determine if sinking money into tools for a project not every homeowner can get through is worth it.
Best Methods for How to Find Wires in Walls
Here's a look at the standard methods for finding and tracing wires.
Use a Stud Finder
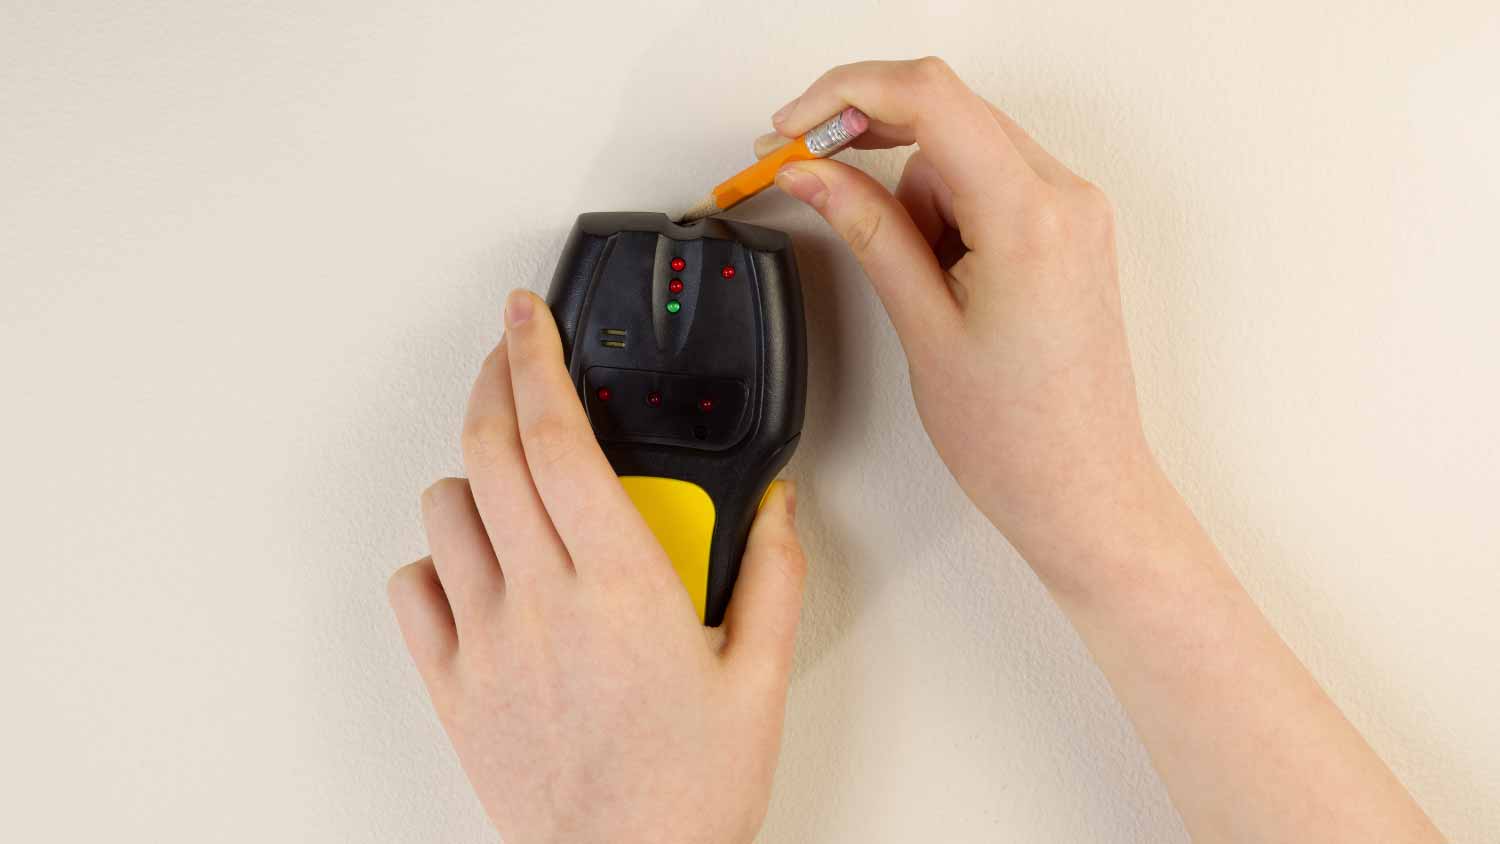
Your home's wires were likely placed along studs when your home was built. Studs are metal or wood beams that help to form the supportive structure of your wall frames. We recommend you purchase magnetic and electronic stud finders to be thorough. Your magnetic stud finder will detect metal nails that have been pushed into studs. Your electronic stud finder will show you where dense fields of electricity are located within your walls.
The need-to-know information with this step is that wires are situated horizontally inside walls. As a result, a stud finder should be guided horizontally along a wall when looking for wires. A stud finder will either light up or produce an alarm when placed over wiring.
Once you get a "positive" from the stud finder, mark the area on the wall with a pencil or painter's tape. The next step is to turn off the power supply to the area using your home's main breaker. You will use the markings to drill holes into the wall to get a visual of the wires.
Keep in mind you will have to patch up any hole you make once you're done. One tip for making the smallest hole possible is to use a scope camera that lets you see "inside the wall" without necessarily tearing much of it away. Electricians use cameras for this very reason.
Use a Wire Detector
A wire detector can be a good supplement to a stud detector when you want to confirm the presence of live wires in an area. A basic wire detector consists of a transmitter and receiver. Certain models will also help you identify plumbing within the walls to avoid a catastrophic leak. Consider one of these models when locating wires near a bathroom or kitchen.
To use a wire detector, plug the transmitter into an electrical outlet within 6 feet of the area you'll be searching. The product manual should provide instructions on how to hold the receiver when guiding it against the wall. The transmitter will emit a signal when electrical currents are detected. Once a signal is detected, mark the area with a pencil or painter's tape to indicate "live" spots.
Use a Wire/Circuit Tracer
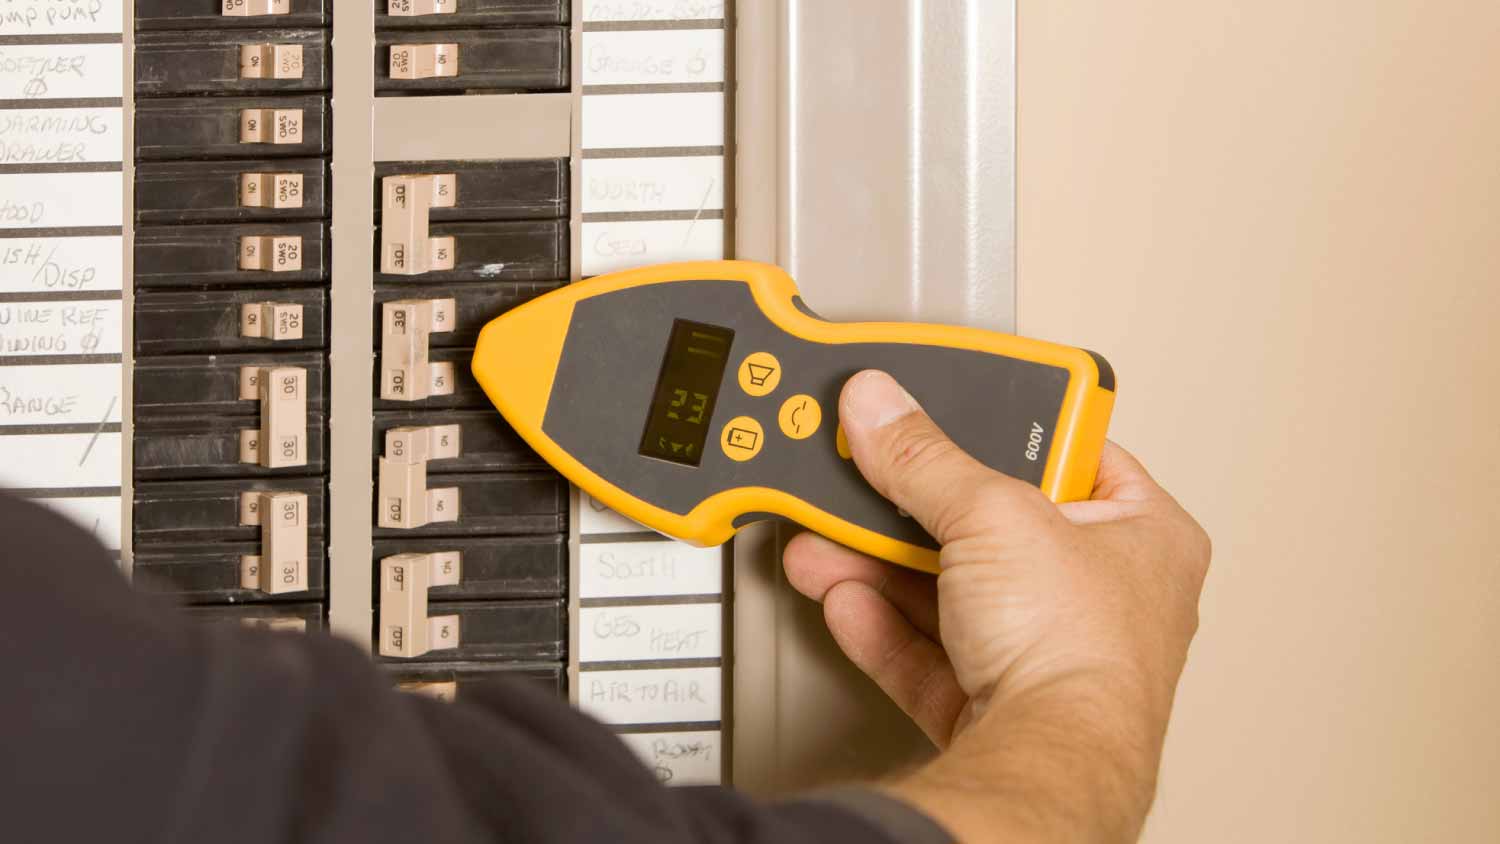
A wire tracer is a versatile option because most models can even find broken wires. While each product differs, a wire tracer generally consists of a receiver and transmitter. After plugging your transmitter into a socket, hold it against the wall to slowly move it horizontally until it starts beeping to indicate the presence of wiring. Mark the spot with a pencil or painter's tape.
Use a Voltage Detector
Once wires have been located, it's important to check to see if they are live using a voltage detector. This tool is essential for confirming that a circuit is working correctly. Additionally, a voltage detector makes it possible to determine which wires go where when you have tangled wires.
You should also use a voltage detector to confirm your wiring has been turned off before you begin making any modifications.
How to Prevent Hazards When Finding Wires in Your Home
The potential for something to go wrong when attempting to find wires on your own cannot be overstated. These tips will help you to reduce common risks:
Always wear gloves and safety glasses.
Unplug all appliances in the work area before shutting off the circuit breaker.
Avoid contact with wall interiors unless you can 100% confirm that wires are not live.
Keep a flashlight and headlamp close by to provide light as you work.
Use non-conductive tools when working on wiring.
It's always helpful to get a hold of your home's blueprints. This is something that your local government can provide you with if blueprints from your home's builder are long gone. Blueprints display all wire placements and connections. Of course, a home that has been updated or remodeled by a previous homeowner may not match the original design. That's why your blueprints will only provide a guide to supplement the steps above instead of replacing them.
Always work with at least one other partner when handling any kind of electrical work at your home. This is not a job to do when nobody else is around. A partner is also essential for successfully testing circuits because one person can flip the switch at the breaker box while the other observes which outlets are being powered.
DIY vs. Hiring a Pro
Due to the high risk associated with handling your home's electrical systems, hiring a pro is highly recommended. Having your wiring inspected might cost as much as $350, and gathering all the detection tools needed for this project can easily reach $250 to $300. Call a local electrician to look at your wiring setup if you are unsure about any wiring in your home.
Frequently Asked Questions
To avoid drilling into wire, you will need to trace your home's wiring using a stud finder, wire detector, circuit tracer, or voltage finder. Since locating wires in your home can be difficult for some homeowners, hire a professional electrician with the experience and knowledge needed to safely handle electrical systems before drilling into any walls in your home.
No, you don’t need an inspection camera to find wires in walls. But it can be a valuable tool for getting a view of the wiring inside your walls without the need to tear up more of your house than needed when cutting drywall. You insert an inspection camera into a small opening to see what's behind your walls. Most electricians use this tool when tracing wires to avoid the need for major demolition.


.jpg?impolicy=leadImage)

- Home Generator Repair
- Lamp Repair
- Electric Repair
- Generator Installation
- TV Antenna Services
- Emergency Electricians
- Commercial Electricians
- Attic Fan Installation
- Attic Fan Repair
- Exhaust Fan Installation
- Electric Inspectors
- Subcontractors
- Electrical Construction
- EV Charger Installer
- Chandelier Installation
- Doorbell Installation
- Bathroom Fan Installation
- Ring Installers
- Electrical Panel Upgrade


