
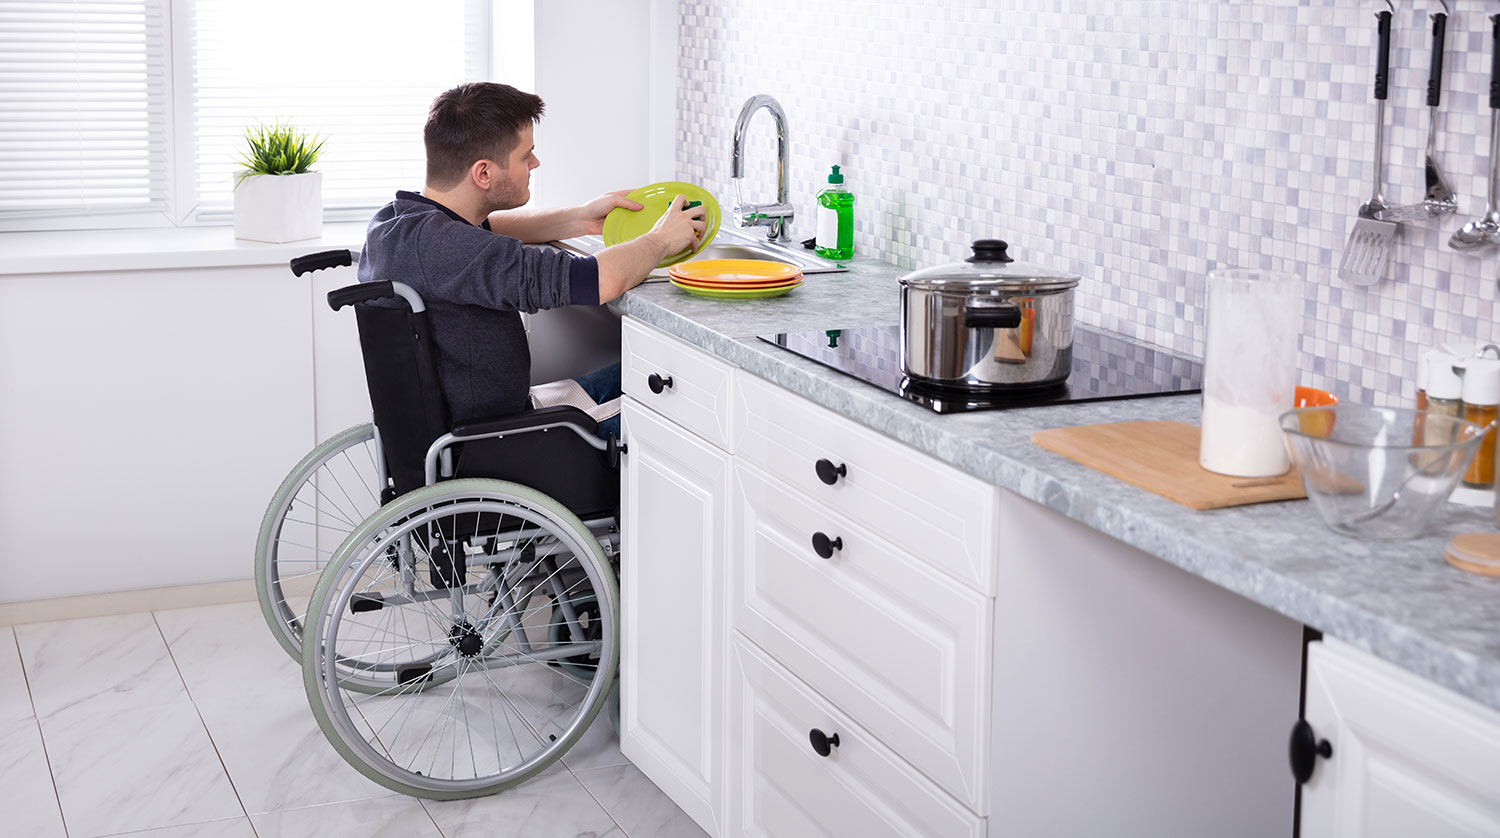
Making your house more accessible is a must for many homeowners, especially those with disabilities or older adults. Here’s what to expect when planning for accessibility improvements.
Ramp up your home

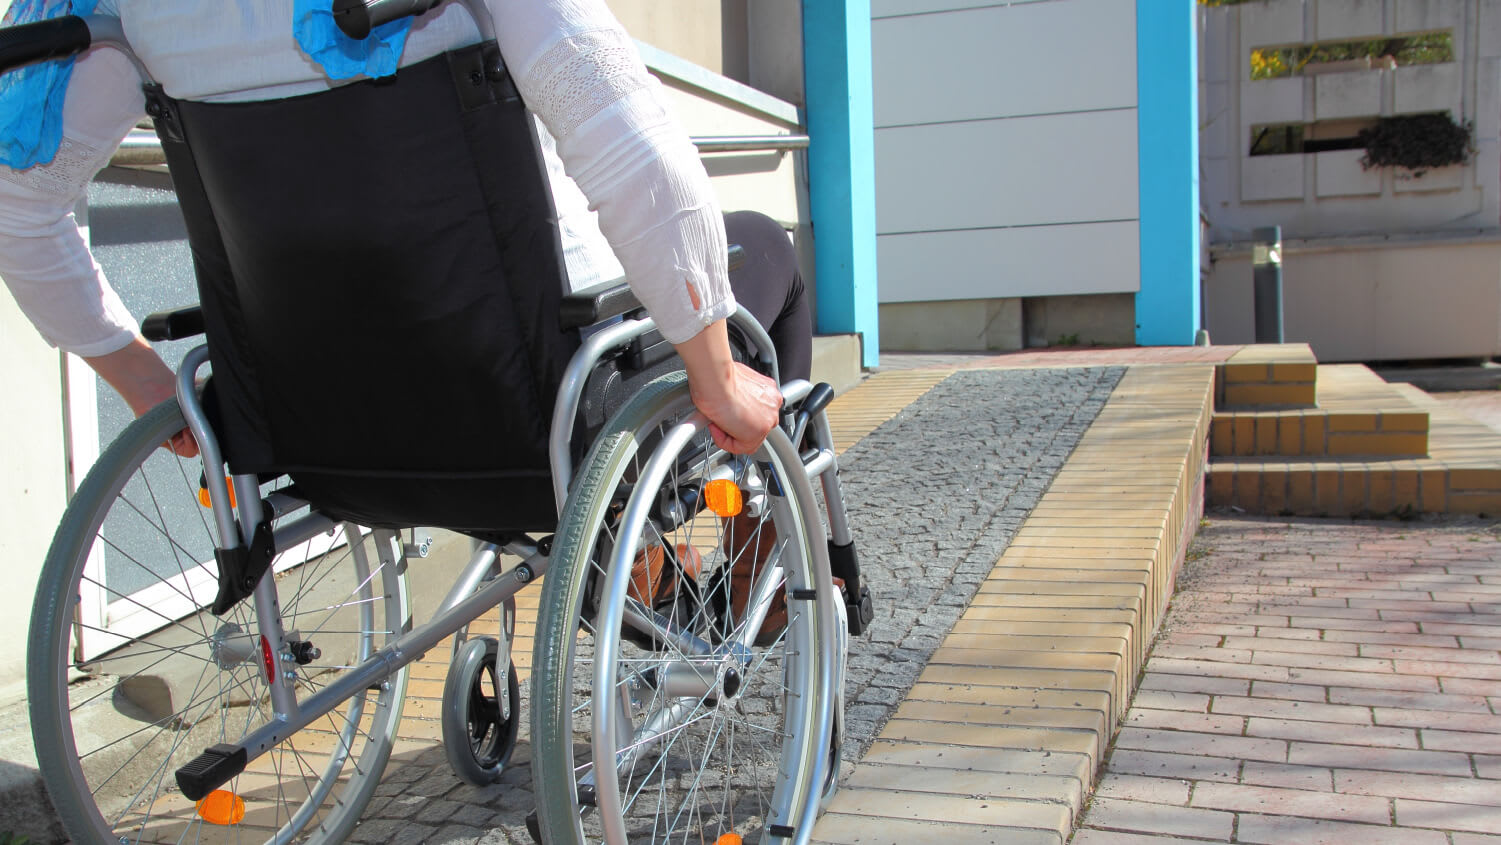
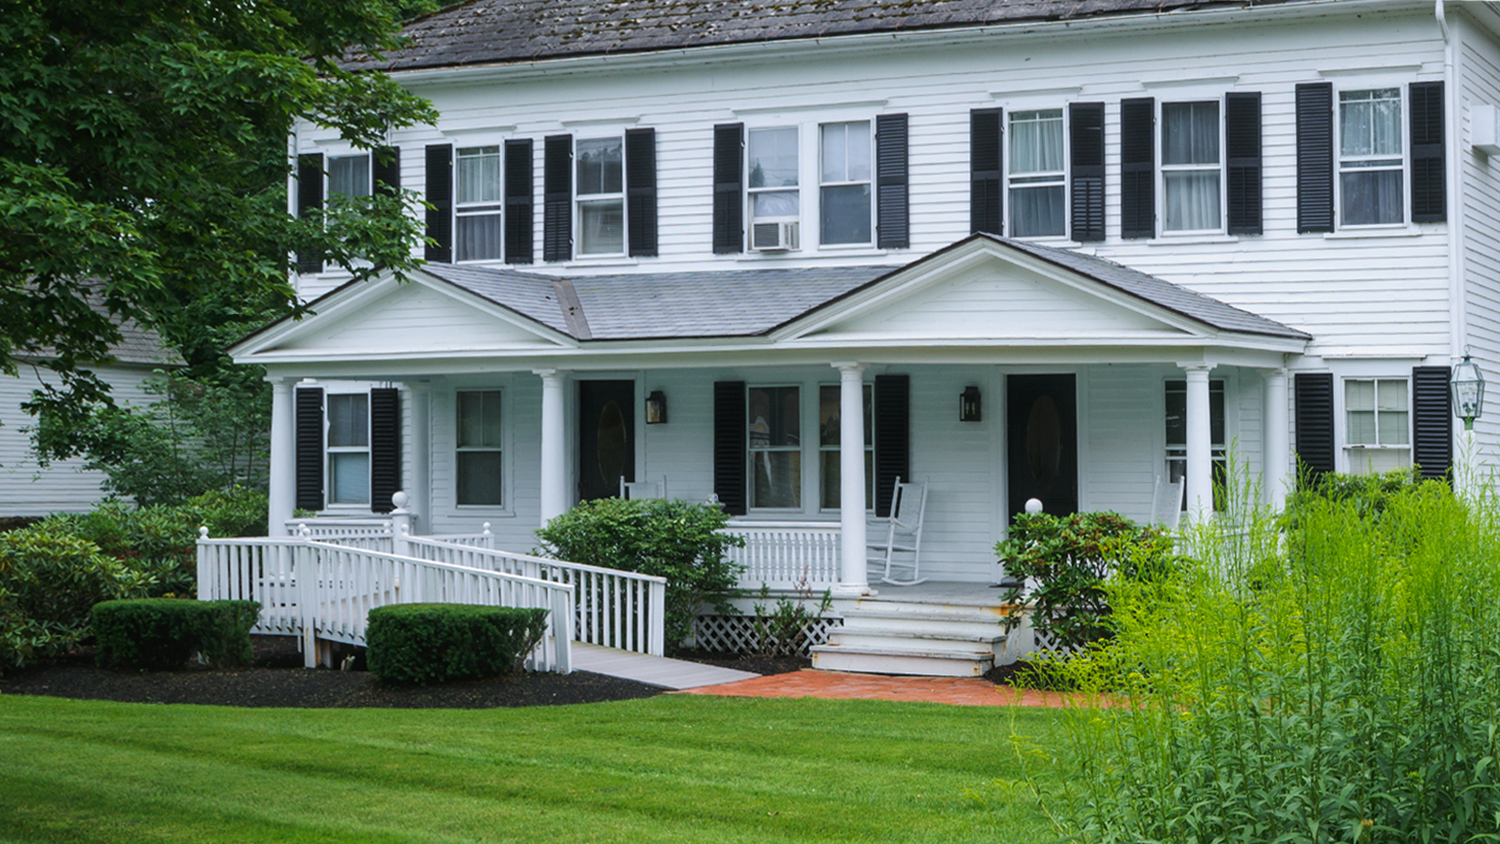
Building a wheelchair ramp requires careful planning for your entry point, available space, slope ratio, and ADA compliance before starting construction.
Wheelchair ramps cost $50 to $250 per linear foot, with most permanent installations averaging around $2,280 including materials and labor.
Your ramp construction involves setting footings below the frost line, installing posts and decking, and adding handrails that meet ADA height requirements.
Hiring a local wheelchair ramp professional ensures your ramp meets ADA standards and local building codes, giving you confidence in safety and compliance.
According to the Journal of Internal Medicine, 10.1% of noninstitutionalized U.S. residents have at least some type of mobility impairment. However, the 2019 American Housing Survey found that less than 5% of the U.S. housing supply is adequately accessible to such individuals.
If you live with elders or are likely to age in your current home, building a wheelchair ramp now would help you prepare for the future.
Building a wheelchair ramp is a great way to prepare for the future. While most people associate mobility problems with aging, in reality, there are many other reasons why a wheelchair ramp could come in handy.
A wheelchair ramp is a core aging in place improvement, if your current home is likely to be your last. It also provides peace of mind in the case of illness and accident. Even when you don’t struggle with mobility, you can still use the ramp to lift heavy items using a dolly or a cart instead of lifting everything up the stairs. Usually, adding a wheelchair ramp can also improve your property’s value.
Most wheelchair ramps cost $50 and $250 per linear foot. The longer the ramp, the higher the cost. Ramp material, type, landing, and weight specifications also affect the cost. Most permanent wheelchair ramps also require a permit, which would yield additional costs if you want a contractor to take care of everything.
Placement is key to building your wheelchair ramp. Before you start the project, you must evaluate a few critical factors, including:
Point of entry: Most wheelchair ramps connect to stairs, decks, or porches. Check the entryway’s width and height and how accessible the rest of the home is from the entry point.
Space limitations: Space limitations affect your ramp’s design. Look for trees and other obstacles you may need to build around. For smaller spaces, a U-shaped ramp would work most efficiently.
Slope, length, and rise: The Americans with Disabilities Act (ADA) recommends a 1:12 slope ratio where each inch off the ground requires one foot in ramp length to compensate. A sharper slope means you may need to construct ramps in multiple sections to stay compliant with the ADA standards.
Width: The minimum distance between handrails is 36 inches, and the rails must be at least 1.5 inches from the wall. Therefore, your ramp needs to be at least 42 inches wide.
Handrails and spindles: Handrails are mandatory on ramps that rise more than 6 inches and or are longer than 72 inches. Ramps rising more than 30 inches must have spindles and a curb or crutch stop along both sides of the ramp.
Once everything is mapped out, apply for necessary permits and submit your building plan for review. You should never start building your wheelchair ramp before receiving approval.

The steps below outline the general process of building a permanent wheelchair ramp from scratch. Be sure to wear proper protective gear throughout the project and call your local utility providers before digging into the ground. Note that it’s easiest to construct your ramp in smaller modules instead of working with long spans for flexibility and accuracy.
Batter boards are temporary frames outlining your building area and are later used to hold the ramp. They ensure your ramp is level and well-aligned. Place batter boards 2 feet outside of the existing layout lines you made during layout planning. Tie a mason cord across each set of batter boards and make sure the last cord barely touches the top of the edge cords. This tells you the shape and area of your future ramp.
Locate the footings at mason cord crossings and mark the ground with stakes or spray paint. Dig until the footing reaches below the frost line. Refer to your local building code on the required footing dimensions. Once dug, pour the concrete, flatten out the surface, and set J-bolts in the center of each concrete slab. Leave about 3/4 inches of the threaded top for post attachment. Wait for the concrete to set.
Once the footings are hardened, you can connect the posts with the anchors to the J-bolt. They can be secured easily with a nut and washer. Then, brace the post and fasten it to the anchor. Make sure the posts are tight and straight.
Next, cut the decking to shape and place it on the frame you just built. The decking boards need to be screwed into the joists so they don’t lift over time. Regardless of your material, follow the manufacturer’s instructions regarding drainage gaps between boards.
Next, install handrails into the corner posts. Follow ADA requirements for handrail height and grapple width. Since handrails should not exceed 8 inches, you will need to install an intermediary post to the outer joist for longer ramps to ensure handrail stability.
Repeat steps 1 through 5 until your ramp is fully constructed. You can also construct the entire frame. Then, place the decking and railing section by section. As long as you break the decking into shorter spans, you will be able to build a smooth and seamless ramp.
The last step is to install a landing at the end of your wheelchair ramp. The landing should be made with concrete or the same material as the ramp decking. Door landings need to be wide enough for a wheelchair to open the door and roll onto it without touching the sloped ramp, plus any elbow room needed if entering through an out-swinging door. Most landings are at least 58 by 60 inches.
Proper maintenance goes a long way when it comes to keeping your wheelchair ramp functioning. Regular cleaning is crucial to keeping debris off the ramp. Clean your ramp once or twice a month by sweeping off any debris and scrubbing off any grime buildup. If you live where winters are harsh, be sure to shovel snow and ice off the ramp as soon as possible. Finally, check for loose joints and connections and tighten them up promptly so they don’t become safety hazards.
Wheelchair ramp construction is a highly challenging project, and it’s best to leave the job to a professional unless you’re experienced in the construction industry. A wheelchair ramp builder can save you the hassle of figuring out ADA regulations and local building codes.
However, if you’re not looking to build a permanent ramp, you can find prefabricated ramp kits available for those who’d rather tackle the project themselves. There are also portable ramps you can easily set up and break down. The project would be more manageable since non-permanent ramps typically do not require building permits. However, we still recommend you hire a professional unless you’re confident in your skills.
Exquisite workmanship from Custom Paint Jobs LLC. My home has never looked better.
We needed windows in our home, and we couldnt believe we got our entire home done for under $14,000. We have a lot of windows, and not only was it affordable, but it got done in a timely manner! Thanks guys, I truly appreciate you all!
Chris has been completing paint projects for me on flips, rentals, and even my personal home over the last 5 years. He always does an exceptional job, and is always responsive and easy to get ahold of. Great work, great communication. Iâ d definitely recommend him!
Working with Mike on our first home purchase was an absolute pleasure. Mike put us at ease and made the process of buying a home fun. Mike is knowledgeable, honest, professional, and punctual. He worked with our busy schedule and always made time for us. When a home came on the market that...
 Michael Marshall - Buyer's Resource Realty Svcs.
Clint was and is very Professional and takes pride in this company and his work. Definitely recommended him to everyone in my hi-rise building. Excellent proposal and no hidden charges or surprises. Don't find that in today's world.
From average costs to expert advice, get all the answers you need to get your job done.
Making your house more accessible is a must for many homeowners, especially those with disabilities or older adults. Here’s what to expect when planning for accessibility improvements.
The cost to install a wheelchair platform depends on size, type, labor, and other factors. See how much your wheelchair platform could cost.

Discover the cost to widen a doorway for wheelchair access, including average prices, key factors, and tips to help you budget your accessible home remodel.

Small backyard? Poor soil quality? You can still grow your own fruits, vegetables, and flowers at home with this guide on how to build a raised garden bed.
Unsure who to hire to make a home accessible for disabilities? See the pros involved, what to expect, and how to get started.
A home is for everyone. Apply these home accessibility solutions to make your space more comfortable and inviting for anyone who uses a wheelchair.