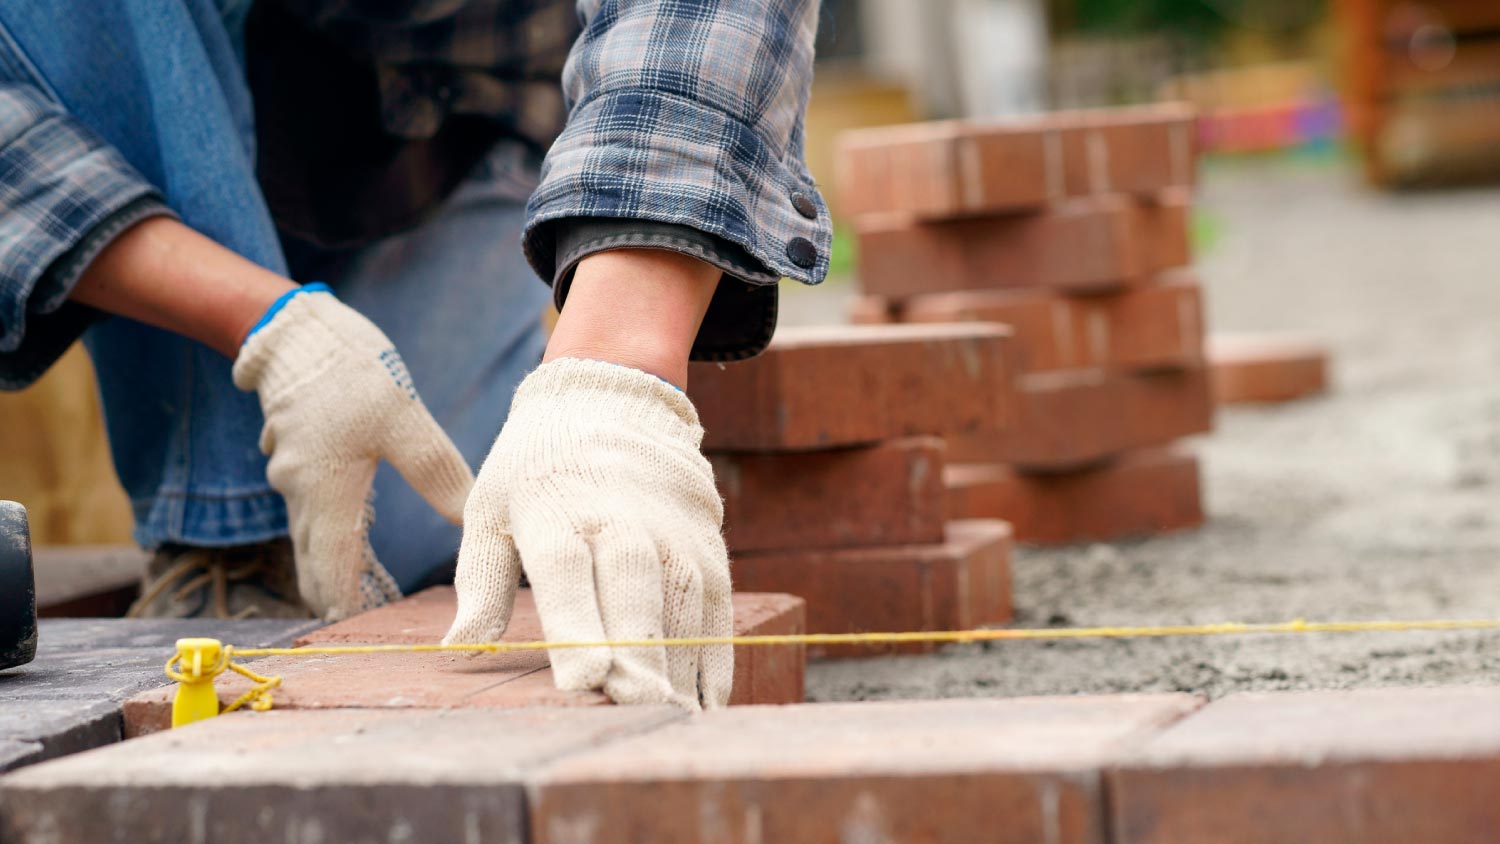
The Ultimate DIY Guide to Repairing a Damaged Brick Patio
Be the hero of your own patio


When you bought your house, the quaint brick patio was a big part of its landscaping charm. However, after a few delightful summers filled with barbecues on your gorgeous hardscape, you start to notice problems. Maybe some of the mortar between the bricks is cracked or missing, or perhaps you start to notice some areas sinking.
Your next best step is probably contacting a local mason. However, if you’re interested in taking the job on, read our guide below to understand the steps you can take to fix the problem yourself. For a confident DIYer or a relatively handy homeowner who wants to build their skillset, repairing a damaged brick patio is an approachable job.
How to Prepare for Brick Patio Repair
The first step is to determine the problem. With a damaged brick patio, you’re likely facing one of two issues: either parts of the brick have begun to sink, creating an uneven surface, or some of the mortar joints are missing or starting to chip away. If you’re dealing with a sinking patio, the steps you take to repair it will vary depending on whether or not it was set with mortar.
Whichever of these repair jobs you end up taking on, keep in mind that thoughtful staging is an important part of any brick patio repair job. The task requires some heavy materials and tools, so find a spot near the patio to keep everything, but not so close that it will get in the way of your work. Also, don’t be afraid to call on a buddy to help you, especially with the heavy lifting.
6 Steps to Repair a Sinking Brick Patio Without Mortar

Take these steps to re-level sinking areas in a patio that has been laid without mortar.
1. Remove Problem Bricks
Use a flat pry bar to remove all the bricks in the sinking area. The first brick will be the most difficult to remove. Find a brick with a relatively exposed corner or edge—and if one doesn’t exist, use a screwdriver and a hammer to create a gap into which you can fit the pry bar.
Once you remove the first brick, work outwards until you clear the whole problem area.
Use a crayon to number each good brick as you remove them before setting them aside. Doing this helps you know the right order in which to replace them.
2. Add Sand
Survey the sand bed beneath the bricks and determine the problem areas. There should be a fully even, 1-inch layer. Pour a bit of new sand onto the areas where the level dips. Be conservative—it’s easier to add more sand where there’s too little during the leveling stage than to remove it where there’s too much.
3. Level the Sand
Once you have spread the sand, use your two-by-four to spread and level the sand. You can also use a tamper to pack the 1-inch layer of sand tightly and evenly.
4. Place Your Bricks
Starting from a corner, set your bricks back into place. Line them up tightly up against one another and tap each one into place with a rubber mallet.
5. Fill the Cracks
Once all the bricks are in place, sprinkle a layer of sand—about half an inch—all over the patio surface. With your broom, sweep the sand over the cracks, allowing it to fill them in and keep the bricks level.
6. Wait for Rain and Repeat
Once you’ve filled all the cracks with sand, you’re done for the day—but there’s one more step. Wait until the next heavy rainfall. Once the rain has stopped and the patio has dried, you’ll fill the cracks one more time. Sprinkle another layer of sand over the surface and sweep it into any remaining cracks between the bricks.
4 Steps to Repair a Sinking Brick Patio With Mortar

If your patio is set in mortar, you’ll take slightly different steps to re-level any sinking areas.
1. Remove Problem Bricks
Remove all the bricks in the problem areas with a chisel, prying off the old mortar from the edges of each brick as you lift them and off of the bricks that lay around them.
2. Mix the New Mortar
Before relaying the bricks, you’ll need to mix your mortar in a wheelbarrow or mixing tub. Follow the instructions on the package, but it’s generally one part cement to three parts sand, adding water as you go until it takes a muddy consistency.
3. Lay the Base
Spread a layer of mortar about a half-inch thick onto the area left beneath the removed bricks. Level it with your trowel.
4. Lay the Bricks
Use your pointing trowel to apply a three-quarter-inch thick layer of mortar on the sides of each brick before pushing them into place on the base. Make sure each new brick is tightly packed against its neighbors. Once all the bricks are down, fill in any remaining gaps at the tops of each brick with mortar with the pointing trowel. Allow the mortar to cure and then sweep away any excess with a broom.
4 Steps to Repair Damaged Mortar in a Brick Patio
If there are gaps and cracks in the mortar between your patio bricks, replacing them is an easy DIY job.
1. Thoroughly Clean the Patio
First, carefully use a pressure washer to give the patio a thorough deep cleaning. This step is necessary to clear away any excess damaged mortar and to give you a clearer picture of the color of the mortar you’ll need.
2. Identify the Type of Mortar
To make repairs, you need to use a type of mortar that matches the original color and grain size.
3. Mix the New Mortar
Once you’ve got the proper kind of mortar, you’ll need to mix one part sand with one part cement, adding water as you mix them together in your tub. This ratio produces the stronger mortar required for a patching job. Fill your grout bag to the halfway point before proceeding.
4. Apply the Mortar
At each spot where there is missing, cracked, or damaged mortar, wet the existing layers with a small amount of water. Using the grout bag, fill each crack with the patching mortar until the layer is a bit higher than the bricks surrounding the joint. Let the mortar cure, and then use your trowel to scrape off any excess, leaving the joints level with the bricks.
DIY Brick Patio Repair vs. Hiring a Pro
Repairing a brick patio can be a tricky job, and the consequences of not getting it exactly right are sometimes frustrating and expensive. If you’re not confident in your ability to re-level your patio or repair the mortar—and you don’t have the patience or budget to stretch your skills with an ambitious project—you can always hire a local masonry repair contractor.
Mortar repair typically costs between $10 and $20 per square foot. The charge includes removal of the old, damaged mortar and tuckpointing or repointing. New bricks cost between $0.35 and $0.75 each. Nationally, homeowners pay an average of $1,200 for professional brick patio repair, though a smaller job might cost as little as $300. The good news is that you’ll pay significantly less than the cost of building a new patio.
FAQs
How much does it cost to resurface a patio?
The typical cost to resurface a patio is around $4 per square foot, or about $400 for a 100-square-foot patio.
How do you restore a brick patio?
You can restore patio bricks by first evenly and thoroughly pressure washing the bricks then letting them dry for a day or two. After they're dry, apply a polymeric jointing sand between the stones. Finally, sweep off the excess sand and apply a paver sealer to enhance the natural colors of the brick.
How do you fill in gaps in a brick patio?
You can fill in gaps in a brick patio by filling them with play sand, polymeric sand, or a mixture of four parts sand and one part concrete. Scrape dirt and debris out of the gaps then apply the sand or mix with a trowel. Then pack it down with a thin object, like a screwdriver. Sweep off any excess sand from your patio, then lightly spray the patio with water. It should take a few days to cure.


- How Do You Clean Mortar off Bricks?
- How to Build a Patio: 10 Steps to Elevate Your Outdoor Space
- 31 Paver Patio Ideas to Turn Your Backyard Into a Showpiece Oasis
- Tuckpointing vs. Repointing: Which is Right for Your Home?
- How to Clean Chimney Brick
- Brick Stain vs. Paint: Which One Is Better for Your Home?
- How to Repair a Chimney: A Guide to 5 Common Problems and Their Solutions
- Concrete Patio Thickness: Everything You Need to Know
- What is a Patio Home and Should You Buy One?
- What Is Brick Veneer Siding? Everything You Need to Know


