
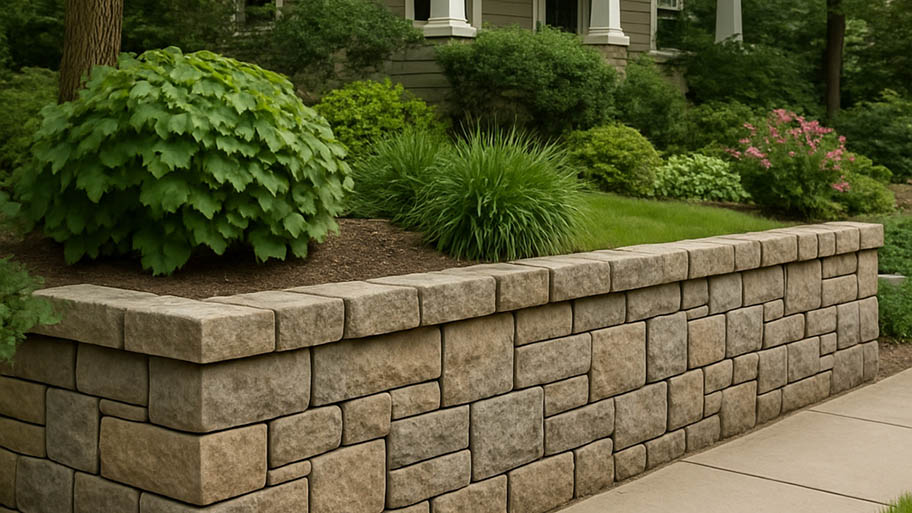
Kick erosion to the curb with an eye-catching retaining wall. Retaining wall costs vary based on the material, but this guide will help you budget.
Use these ten tips to help you maintain your brick-and-stone pavers for years to come


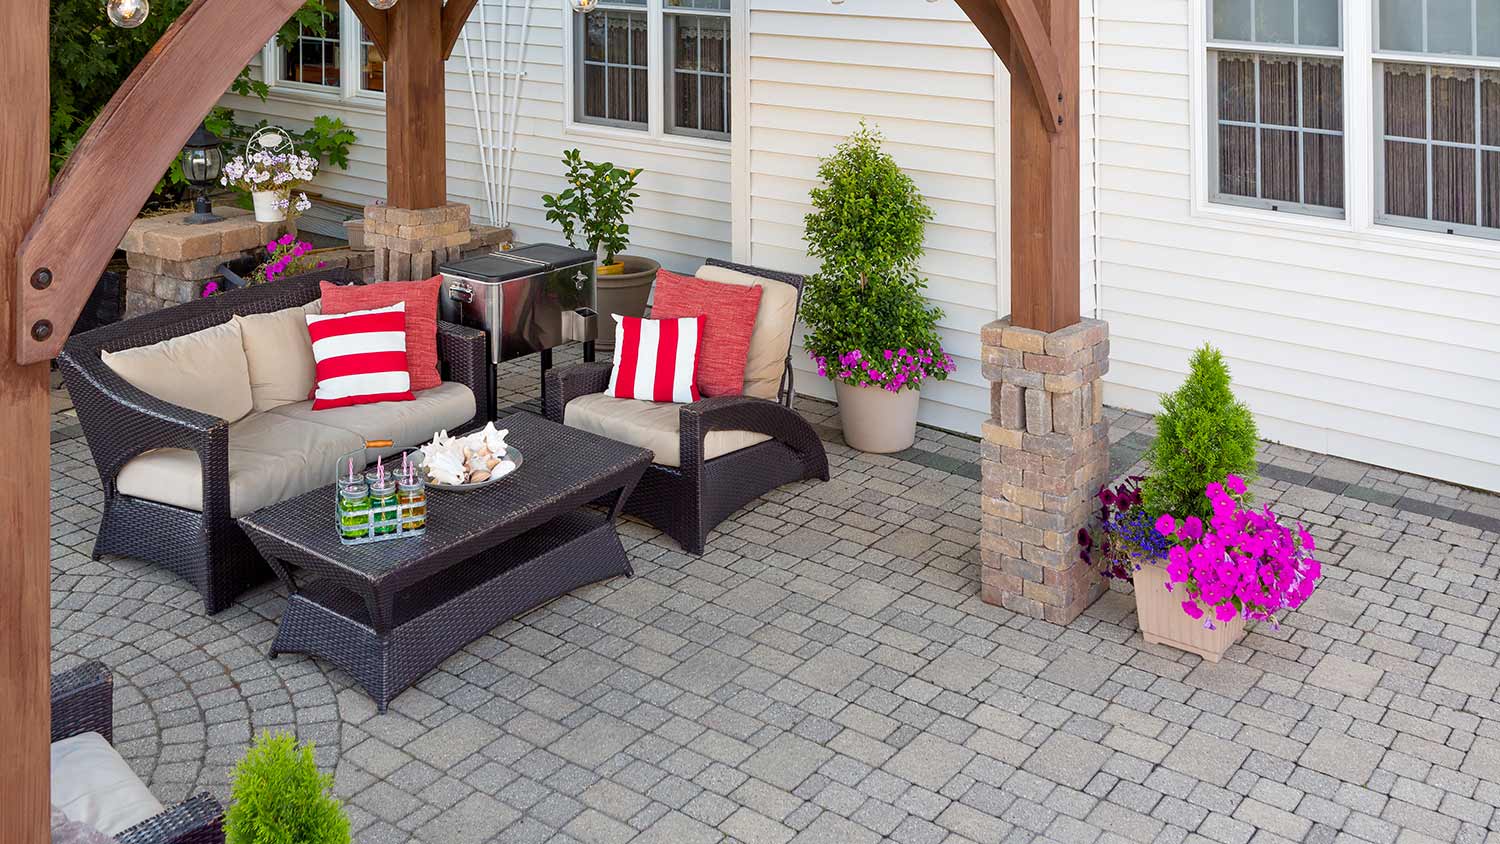
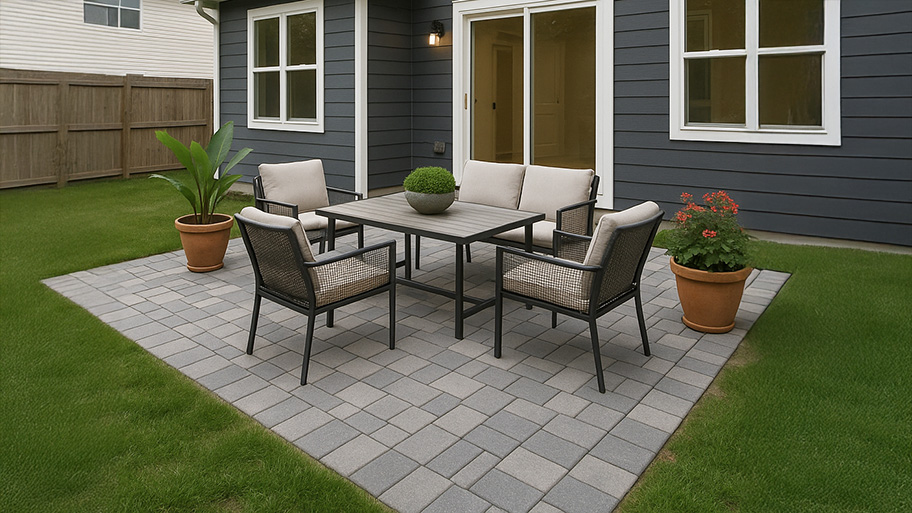
Your outdoor space is truly an extension of your home, and it deserves the same TLC that you lavish on your house interiors. Knowing how to maintain pavers will help you keep your patio and driveway looking clean and beautiful. Plus, maintaining your pavers couldn’t be simpler: All you need is a few minutes each day and, perhaps, a day or two of cleaning and refurbishing each year.
Below, we’ve listed the top ten paver maintenance tips that will help you keep them safe and beautiful for years to come.

One of the best things you can do to keep your pavers looking great is to sweep them daily with a standard broom or a push broom. Giving them a quick once-over will prevent the buildup of dust, soil, leaves, and other debris that can cause stains and collect in those tiny nooks and crannies.
It’s also a good idea to sweep your pavers if you’re expecting rain because this will make cleanup easier later on.
After you sweep your brick-and-stone pavers, it’s a good practice to give them a thorough rinsing with the garden hose. This way, you’re going to be clearing away the debris, rather than just moving it from one part of your driveway or patio to another.
And if your area is prone to mold or moss, hitting it with a power washer is probably your best bet, especially if there are uneven surfaces that are likely to collect standing water.
In addition to daily sweeping and rinsing, you’ll also want to routinely wash your brick-and-stone pavers with your preferred cleaning solution. You might prefer good old dish soap and water, or you might choose a gentle cleanser, such as Simple Green®, and clean with a rag or sponge.
Another solution that’s tough on dirt and debris and you probably already have in your cupboard is white vinegar and water. Remember, though, only to use white vinegar, as darker varieties can stain your pavers. You’ll also need to let the vinegar solution absorb into the stones for about an hour before washing away with soap and water.
No matter which cleaning method you choose, you’ll also want to scrub your driveway and patio pavers gently with a bristle brush. This bit of paver maintenance will ensure you’re clearing away the soil and gunk, especially in the crevices and other hard-to-reach areas.
A word of caution, though: If your driveway has oil stains, these methods won’t cut it. You’ll need to clean with an oil remover instead.
Harsh chemicals like industrial-level cleaners can damage your pavers, causing discoloration or other damage, depending on the type of paver you have. For example, if you use grass paver blocks, harsh chemicals can brown or kill the grass. For natural stone pavers, some chemicals can leave marks and spots, which damage the stones’ visual appearance. You should also avoid using bleach on your paver for similar reasons.
Sealing your brick-and-stone pavers is one of the very best ways to maintain them. In general, you should reseal them every one to two years, especially if you’re using pavers on a patio or driveway that both can see a lot of use. This will not only help protect them from the outdoor elements, but it will also make cleanup a breeze.
Here’s a quick look at paver sealant types:
Matte finish
Offers protection from the elements
Long-lasting
Gloss or semi-gloss finish
Enhanced protection from the elements
Needs to be reapplied more often than non-film-forming sealant
If you make sure to properly seal your pavers, then generally all you’ll need to do to keep them looking great is to give them a regular rinse with the garden hose. And, as a bonus, the sheen of a good sealant can make pavers that have been around for years look like new again.
Replacing your broken paving stones will probably be the most difficult part of paver maintenance. However, it’s essential not only for looks but also for safety. Uneven and broken stones will also collect dirt, debris, and even standing water—not to mention the risk to people, pets, and vehicles.
If you’re comfortable with DIY work, you can replace broken and stained paving stones in just a couple of hours. To install replacement pavers, you’ll simply need your replacement stone, some filler sand, and edging to keep the pavers in place while they cure.
Prepare the subsoil so that the paver rests on the same level as the surrounding stones, taking care to remove any debris, weeds, grasses, or roots that might displace or crack the stone. Position the stone and then use the sand to fill the spaces between the stones and your edging to keep the paver in place until it sets. Finally, apply paver sealant to make your brick paver maintenance a snap.
If you’re not comfortable replacing your pavers, though, or if your driveway or patio pavers have major damage, it may be time to replace them with new ones that better suit the space. Choosing the best pavers for your space will depend not only on the look you are going for but also on how you will use the area.
Driveway pavers, for example, are thicker and more durable, rated to be able to withstand the weight of firetrucks. On the other hand, poolside patio pavers are slip-resistant and made for the comfort of bare feet.
After cleaning and replacing broken pavers, using polymeric sand as the joint sand between your pavers will provide some benefits, including:
Deterring weeds and small pests like ants from making a home between pavers
Filling in cracks and fissures for a stronger surface
Locking out water
Prevent shifting by locking pavers together as the sand hardens
You can purchase durable polymeric sand in different colors to match your setup.
If you’re still feeling stuck, talk to someone from a local hardscaping company who can help you choose the right materials for your space and get your pavers back in tip-top shape.
If pesky weeds are popping up between your pavers, you can tackle this common paver problem simply by pulling them out by hand. While time-intensive and a bit tedious, pulling them out will help ensure they don’t come back.
To make this task easier, wet the area first and use weeding tools designed for pavers. You can also try an organic herbicide to kill weeds if you don’t want to pull them out by hand. Avoid ingredients like salt and vinegar, which can damage pavers.
If your paver grout has seen better days, it’s time to consider repairing it. Extreme temperatures, whether cold or hot, can wreak havoc on paver grout, causing it to discolor or even chip away. You may also see excessive wear and tear if you haven’t maintained your pavers over the years or if they see high traffic on a regular basis.
While you can do this project yourself, you may want to consider hiring a pro to ensure the end result has your pavers looking brand new.
If you choose to DIY grout repair, you’ll need a grout removal tool with a carbide blade, as well as a rotary tool for large areas.

Maintenance is the key to keeping your outdoor areas looking great. To ensure your pavers look their best and last for years, create a maintenance schedule.
Sweep and hose off your pavers every week or two, and add in weed removal as needed. Check for staining, grout chipping, and fading as you do this to determine how often your pavers will need additional care. If you regularly mow your lawn or have landscapers, you can easily add on this task to help spruce up your outdoor space.
You should also have a seasonal maintenance schedule. In the spring, inspect your pavers and clean them, removing any weeds and moss as you go. If you’re due for a resealing, the summer is the best time to do so. Once fall rolls around, check your pavers for any drainage issues and replace any gaps that lack sufficient sand.
During the winter, make sure to remove snow and ice from your pavers, as they can cause damage if left untouched. If you’re unsure that your maintenance efforts are enough, call in a pro to assess your situation and provide advice.
From average costs to expert advice, get all the answers you need to get your job done.
Kick erosion to the curb with an eye-catching retaining wall. Retaining wall costs vary based on the material, but this guide will help you budget.

Pea gravel is a good-looking, versatile landscaping stone that's a favorite of the pros. Read about how much pea gravel costs for both installation and the stone itself.
Discover travertine pavers costs to learn about installation, materials, and labor prices, plus tips to save on your travertine paver project.
Comparing concrete pavers versus brick pavers for your next project? See how the cost, appearance, maintenance, ROI, and more can impact your decision.
Discover the cost to install brick flooring in your home. Learn about installation, materials, labor, and ways to save on your next brick flooring project.
Grab a shovel, and maybe a few water bottles to stay hydrated, then learn how to install interlocking pavers DIY in this step-by-step guide.