The cost to paint the interior of a house in New York, NY depends on size, layout, type of surface, and more. Learn what factors can influence your total in this guide.
Step up your DIY painting skills


Learning how to paint stair railings adds a whole new and useful element to your DIY bag of tricks. While the process follows similar steps as any interior painting job, there are some extra details to consider to really nail the task. Painting your stair railing like a pro requires choosing the best materials for the job and a bit of patience.
Oil-based paints contain higher volatile organic compounds (VOCs) than latex paints. To limit your exposure to VOCs while painting indoors, keep the area well-ventilated, wear respiratory protection, and avoid the painted area for at least 72 hours once finished.

In addition to following solid home painting tips, pairing the task of painting your stair rails with choosing the best materials for the job is a must. Because stair railings must deal with heavy traffic that differs from your walls, completing the job with high-quality primer, paint, and poly finish will help ensure your work lasts.
Start by choosing a stain-blocking primer to help the paint stick. Match oil-based or latex-based primers to oil or latex-based paints. While oil paints have a reputation for durability, modern latex enamels come close to matching it, so choosing oil or latex is a matter of personal choice. However, latex dries faster and is recoatable sooner, which can reduce the project's time requirement.
The best paint for railings is enamel in satin, semi-gloss, or gloss varieties. Avoid low-sheen and flat-finish paints as they aren't as durable and tend to trap dirt more than shiny versions.
If your railing painting project is part of a larger painting job, choose between painting the walls or the handrail and trim first. Additionally, protect or remove any wallpaper borders or wallpaper that will be near your work. If you need to protect the wall where the railing meets it, use small pieces of painter's tape.
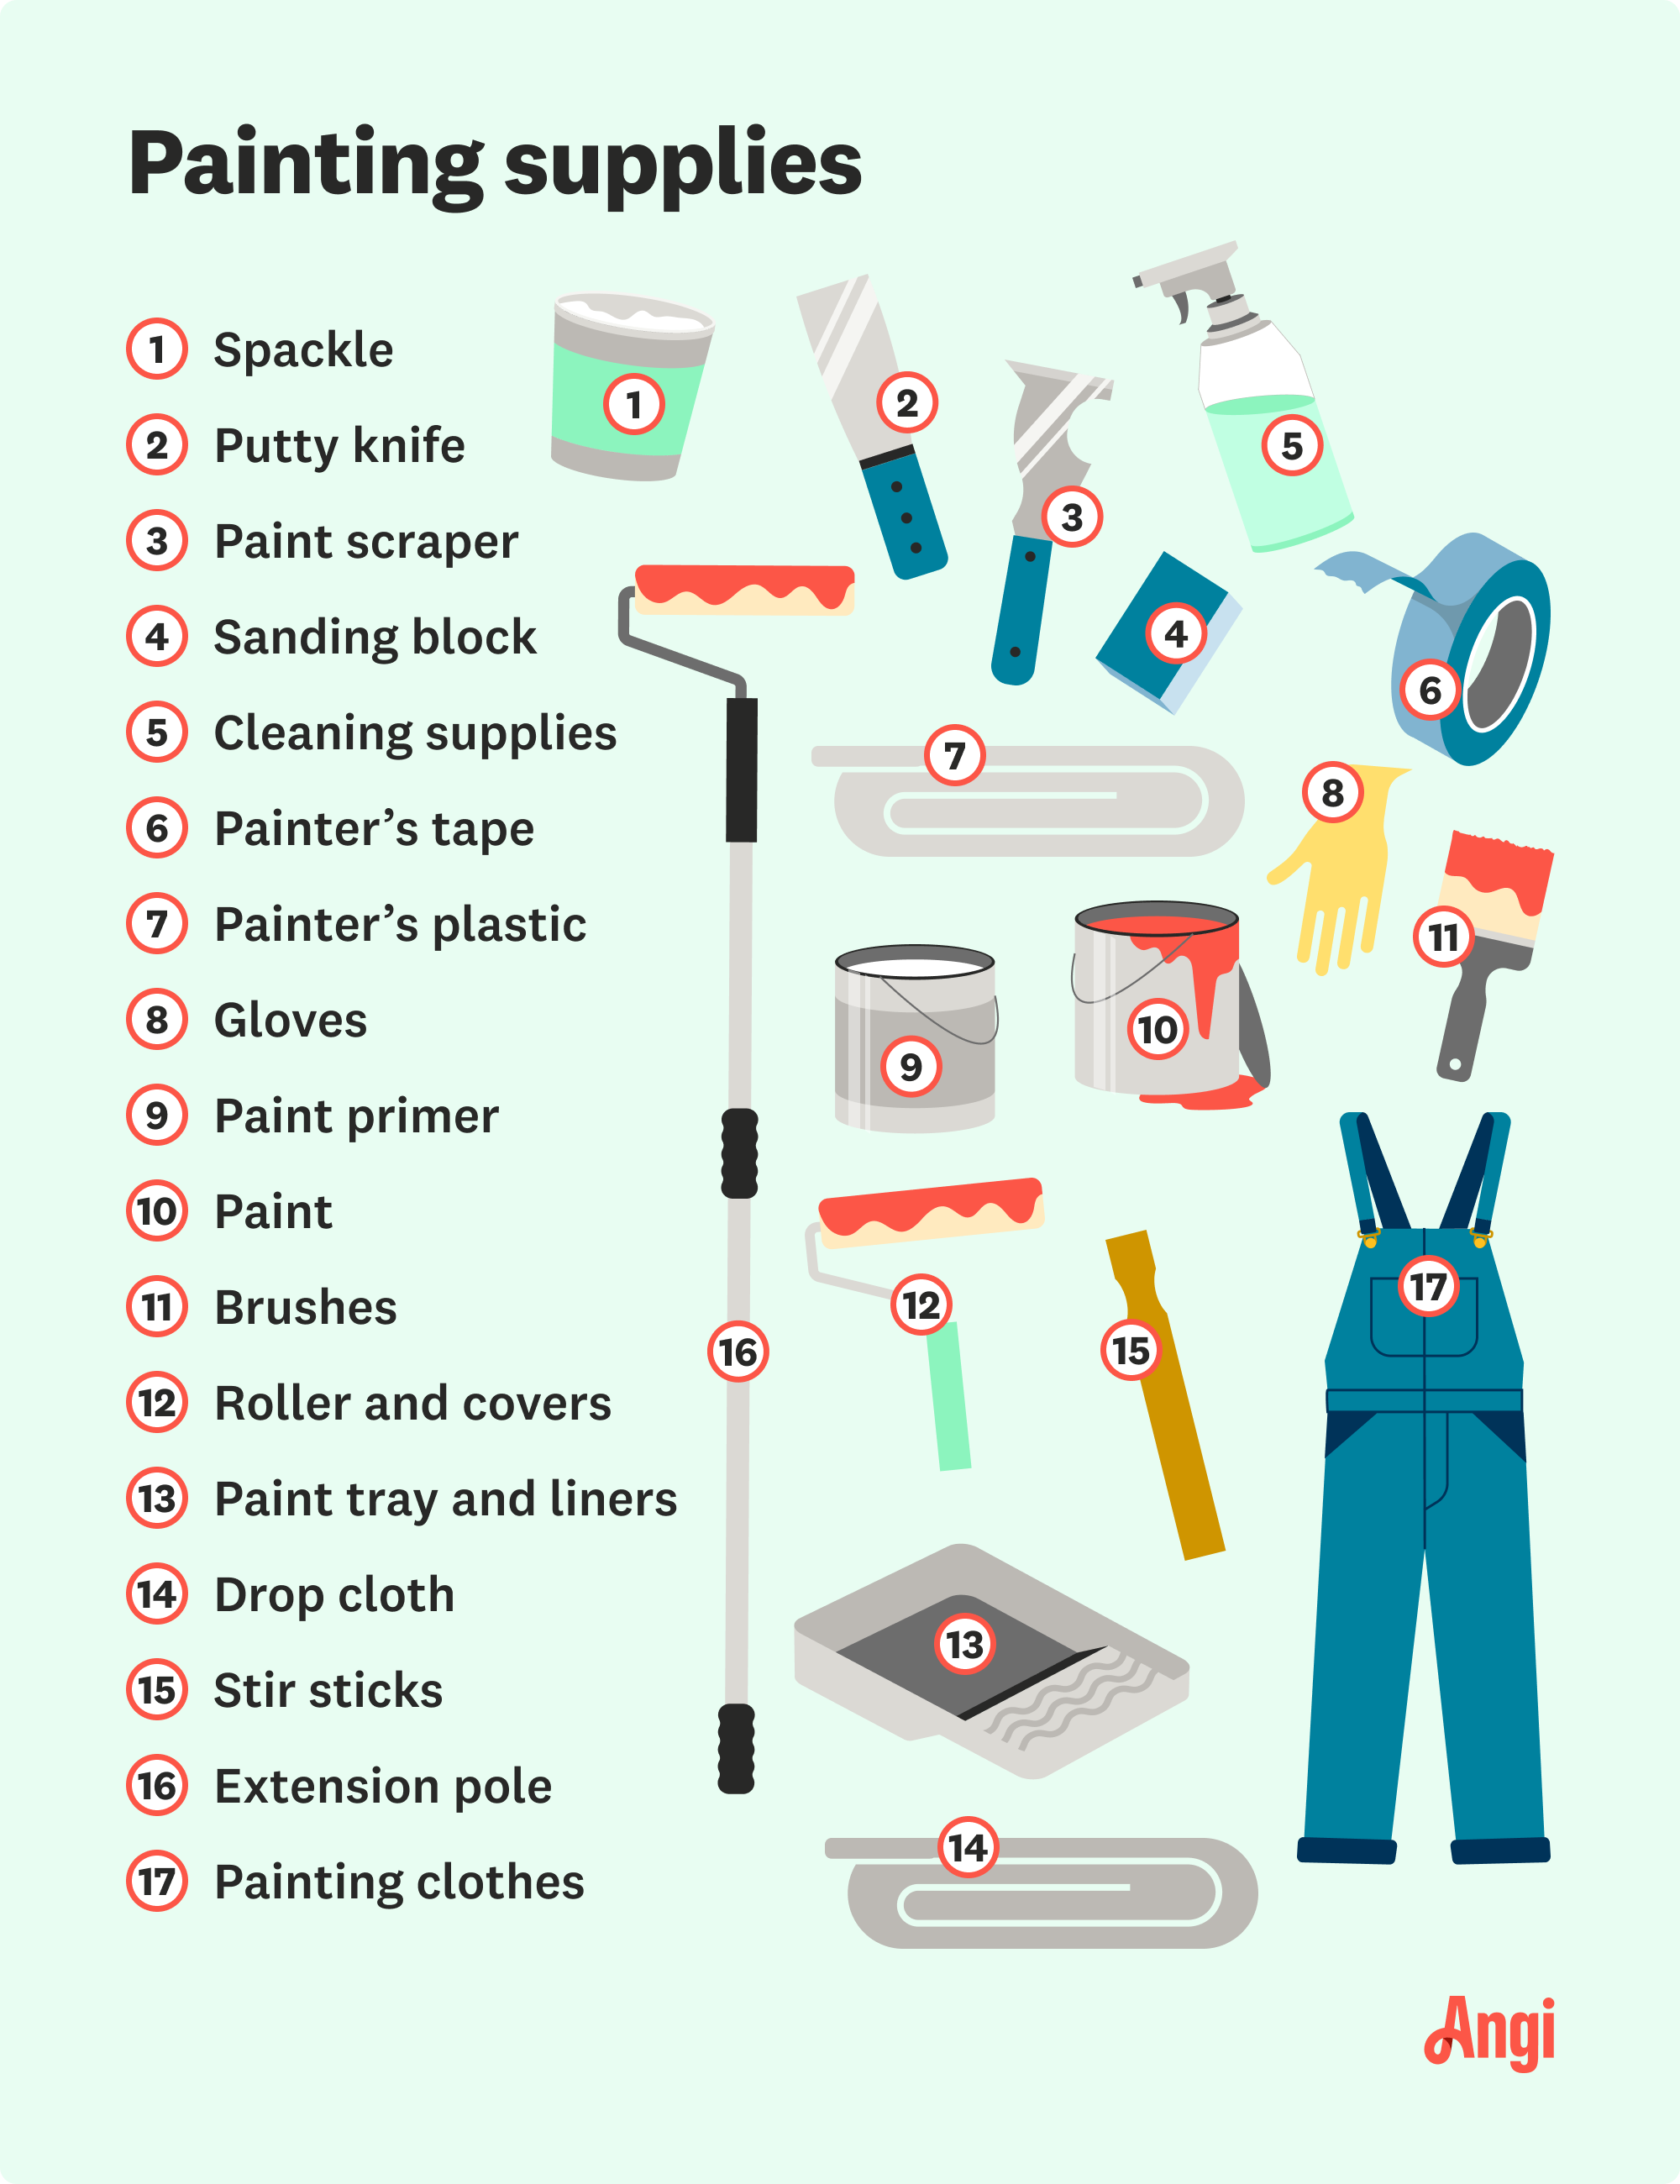
Also, be sure to protect the floor and stair surfaces with a drop cloth or plastic. However, be very aware of ladder safety if you're using one to paint part of the railing or balusters. Refrain from placing a ladder on top of a drop cloth or plastic sheet over a solid floor surface.

Get into action by thoroughly cleaning the railing and baluster surfaces. Use a degreaser to eliminate the dirt and grime from every surface. Be sure to get into the small spaces where your sandpaper will have a tough time reaching.
Using a combination of a 220-grit sanding block and 220-grit sandpaper, lightly sand every surface of the stair railing system that you'll paint. Don’t rub too hard or for too long—you're just trying to scuff the surfaces to allow the primer to stick. Use a damp cloth to wipe away the sanding dust left behind. Let it dry.
Because of the use that your railing is subject to, applying primer, even on already-painted railings, is essential. Paint primer not only covers the old finish, but also provides a paint-friendly and sticky surface for your finish to adhere to. Apply the primer with a wide brush where you can and use a smaller, or artist's, brush to cut in the details and where the railing meets the wall or stair step surfaces.

Much like painting walls and ceilings, the order and process you use to paint your stair railing is essential. Apply your first coat of paint using a combination of a wide brush, a thin brush, and artist's brushes where each is appropriate. Tiny artist's brushes are excellent for getting to the bottom of tight grooves in the railing or balusters without making a mess.
Work in sections to avoid missing spots, and work from one side to the other to make things easy. If you're right-handed, work from left to right to help keep from touching wet paint. Go the other way if you're left-handed.
Your stair railing will require at least two coats of paint for beauty and durability. Allow the first coat to dry completely and repeat the painting step in the same way as the first.

While not absolutely necessary, adding a polyurethane finish over your painting job will enhance its beauty and increase its durability. If you use a high-gloss paint, very lightly scuff the paint's surface with your sandpaper before applying the poly. For all other sheen choices, apply the poly in the same manner as a coat of paint. Consider applying a second coat for high-use railings or on the handrail portions where heavy use is the norm.
When it comes to tackling a painting project, choosing the right color is key. According to Angi homeowners who are completing a small painting project, 37% stick with the same or a similar color to the existing one. Of those looking to choose something different, nearly 30% opt for a lighter color compared to 18% choosing a darker shade. So, if you’re looking to paint a stair railing, it may be worthwhile to stick with a similar or lighter shade to what’s currently in the room.
Painting your stair railing is an excellent way to up your DIY game and save money. However, because the task can be tedious, many homeowners choose to hire a local interior painter for the job. The cost of professional interior painting is between $1 and $6 per linear foot for trim and railings. Choosing between hiring it out and doing it yourself is often a matter of your budget and how much having your weekend free to do more enjoyable things is worth to you.
They were very helpful in taking care of this project. Grading and sloping
I hired them 2 years ago and the have never came back to finish the job, they took over $6000 for me and left me with mushrooms growing in my bathroom from mold, from a leak that they did not fix in my wall. Theyâ re still mudded areas that have not been smoothed out or painted. The didnâ t...
Don was amazing. Managed to diagnose the problem and have it all fixed in under an hour. Prices are amazing compared to competitors. Canâ t go wrong with Don and his crew!!
Where do I start? From the minute I called to the end of project I was treated with the utmost respect. Mr. Mark came to my house and gave me a quote. Told me when he could start. He was right on time, always called to let me know what was going on (if he had to stop for paint) I never...
Called for a roofing estimate in Oct. 2014 and owner, Terry Burke, promptly came out on Oct. 24th. He inspected the roofing and also made note of other problems, suggestions and estimates without being hard sell. Gave us detailed written estimates and thoroughly explained all processes and...
Started off great. As it got towards the end, things went south. Greg refused to finish the job, and tried demanding final payment, while refusing to do things he quoted, flooring for example. Left us scrambling, not only to get the flooring, but have it installed. We decided to have an...
The contractor showed up on time and immediately got to it. The owner and two workers were very businesslike and wasted no time. The owner occasionally checked the interior of the house as the work was being performed to make sure that no insulation was being blown within the living quarters....
From average costs to expert advice, get all the answers you need to get your job done.

The cost to paint the interior of a house in New York, NY depends on size, layout, type of surface, and more. Learn what factors can influence your total in this guide.

The cost to paint the interior of a house in Phoenix, AZ depends on size, layout, type of surface, and more. Learn what factors can influence your total in this guide.

The cost to paint the interior of a house in St. Louis, MO depends on size, layout, type of surface, and more. Learn what factors can influence your total in this guide.

The right paint color can brighten and enlarge the appearance of any room. Read our guide to the best paint colors that make a room look bigger.

Want a unique, natural look for your interior or exterior walls? Limewashing is a DIY-friendly option. Learn how to limewash walls with this guide.

Paint sprayers work faster than paint brushes or rollers, but only if you use them correctly. Here are some tips to learn how to use a paint sprayer.