
Find out how much it costs to install crown molding by type and size. Use our expert guide to figure out how much crown molding you need, how much crown molding costs near you, and whether you need to hire a pro.
Jazz up any space with a DIY wall mural


Difficulty: 2 out of 5
Time: One weekend
You don’t have to be an artist to turn your room into a work of art. All you need is a weekend of free time, a couple different colors of paint, a few simple tools, and the painting know-how to create a unique design. Follow these steps for how to paint a mural on a wall and be the envy of all your friends.
Tools
Drop cloth
2.5” angled brush
Set of fine paintbrushes
A putty knife
Roller frames
Weenie rollers
Chalk reel kit
Pencil
Nail or thumbtack
Rags
Supplies
Paints
Paint tray for each color you plan to use
Painter’s tape
Stencil
Painter’s putty
A wall painting can be anything you want, from a mountain mural that transports you to a favorite vacation spot to an abstract design of geometric shapes. It all depends on your personal style and what you feel capable of. This step-by-step tutorial will teach you how to turn a blank wall into the mural project of your dreams.
If you don’t already have a list of wall mural ideas running through your mind, you’ll likely come away with plenty of inspiration after an evening browsing Instagram and Pinterest. From simple herringbone patterns to elaborate florals, animal prints like zebra stripes or leopard spots to Art Deco-inspired scallops, the creative work of others online abounds.
If the mural design you want is too intricate to pull off on your own, consider hiring a local painter to do the work for you.
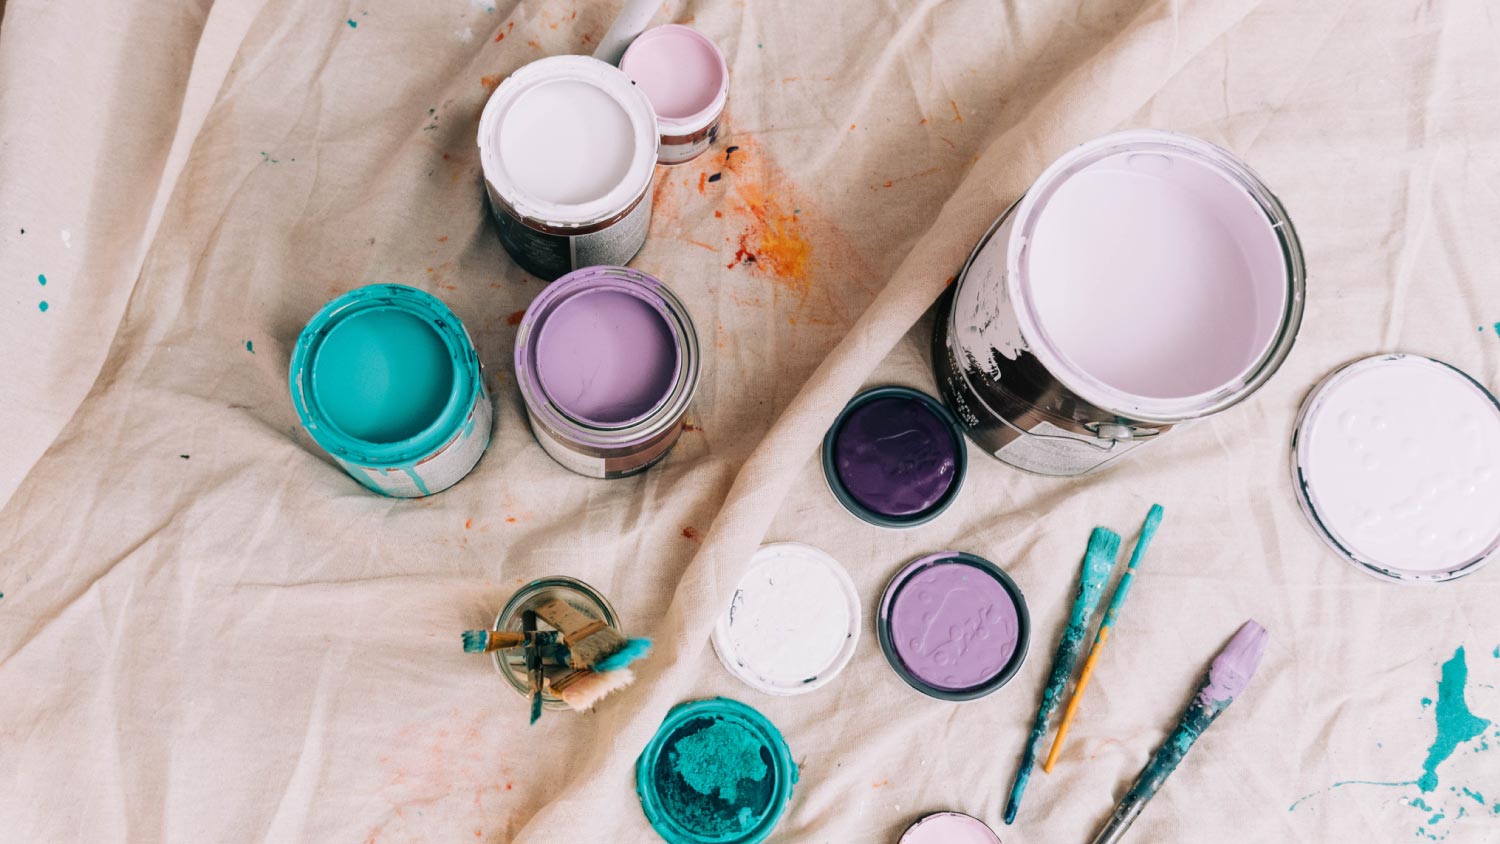
Every paint job is an obvious opportunity to make a huge mess, so set up a small space with a drop cloth that can be used as your paint shop in a corner that’s out of the way from the main thoroughfares of the room.
This will give you a physical place to open up cans, pour paint into buckets or pans, and help alleviate the stress of handling these liquids and potentially splashing the overflow onto walls or the floor.
In most instances, scrubbing down a wall with TSP is way overkill for interior walls. If you’re working in a smoker’s environment or there are obvious stains on the walls, however, it makes sense to put in the extra effort of a thorough scrub-down.
The most important thing you’ll want to do when preparing the wall surface for paint is to remove dust and lint, particularly from the baseboard or along the top of doors and windows. If your wall has any defects, you’ll also want to take a putty knife and spackle the knicks and holes, then sand it down with light sandpaper. For small holes caused by picture mounts or tacks, painters’ putty is very handy as it doesn’t require sanding.
Like painting any wall or canvas, you’ll want to give your mural a solid foundation. Paint the wall a solid color to create your blank canvas.
You’ll want to use an interior latex paint for the base coat, which can also be used to paint your mural design. Or, you can use acrylic paint instead if you’re doing a painting that requires more fine detail work. You’ll also want to break out the painter’s tape to protect the baseboards from paint drips, as well as line the floor of each wall with drop cloths to protect your floors.
One of the trickier parts of painting a mural is transferring the design you come up with from paper, your computer, or your brain to the wall itself. Here are the top ways muralists transfer their designs.
Projection: Create your design digitally, then project the digital file onto your wall. This allows you to trace your design directly onto the surface with pencil or chalk (two materials that won’t show through the final paint coat).
Traditional grid: Using a yardstick and chalk or a pencil, mark a grid across the wall. Then divide your printed or digital design into a grid as well; this will give you a guideline for transferring the image to your wall.
If you’re working with different colors, dump out small portions of each color into the paint pans as you work or simply dip into the can directly with your brush or roller. Latex paint dries fast and quickly becomes a nightmare of sticky pieces if you leave it exposed to the air for more than an hour. And this paint project was supposed to be fun, right?
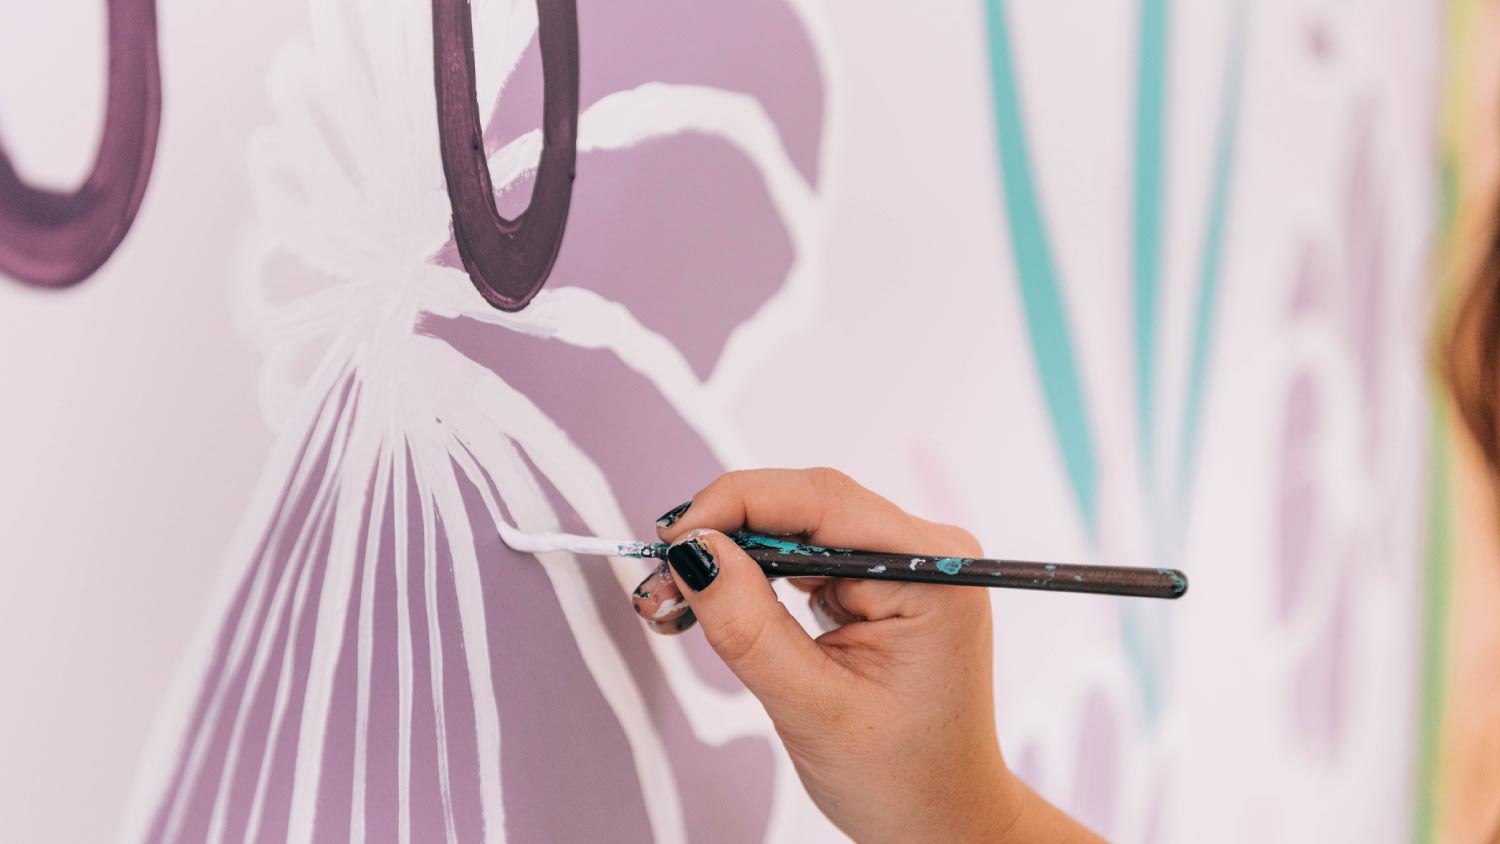
Once you’ve base-coated the wall and filled in your design, you’ll want to make touching up the paint the last step of your bedroom mural painting project. Look to touch up anywhere that you painted outside the lines or perhaps where the brush may have grazed the perpendicular wall you weren’t painting. Use a fine-tipped paintbrush if you need to touch up any minute imperfections or stray brush strokes.
From average costs to expert advice, get all the answers you need to get your job done.

Find out how much it costs to install crown molding by type and size. Use our expert guide to figure out how much crown molding you need, how much crown molding costs near you, and whether you need to hire a pro.
Discover the average feng shui consultant cost, what impacts pricing, and how to save on your consultation.

How much does an interior designer cost? Discover average prices, cost factors, and tips to help you budget for your next home design project.
Discover the cost to furnish a house, including average prices, cost factors, and tips to help homeowners budget for every room.
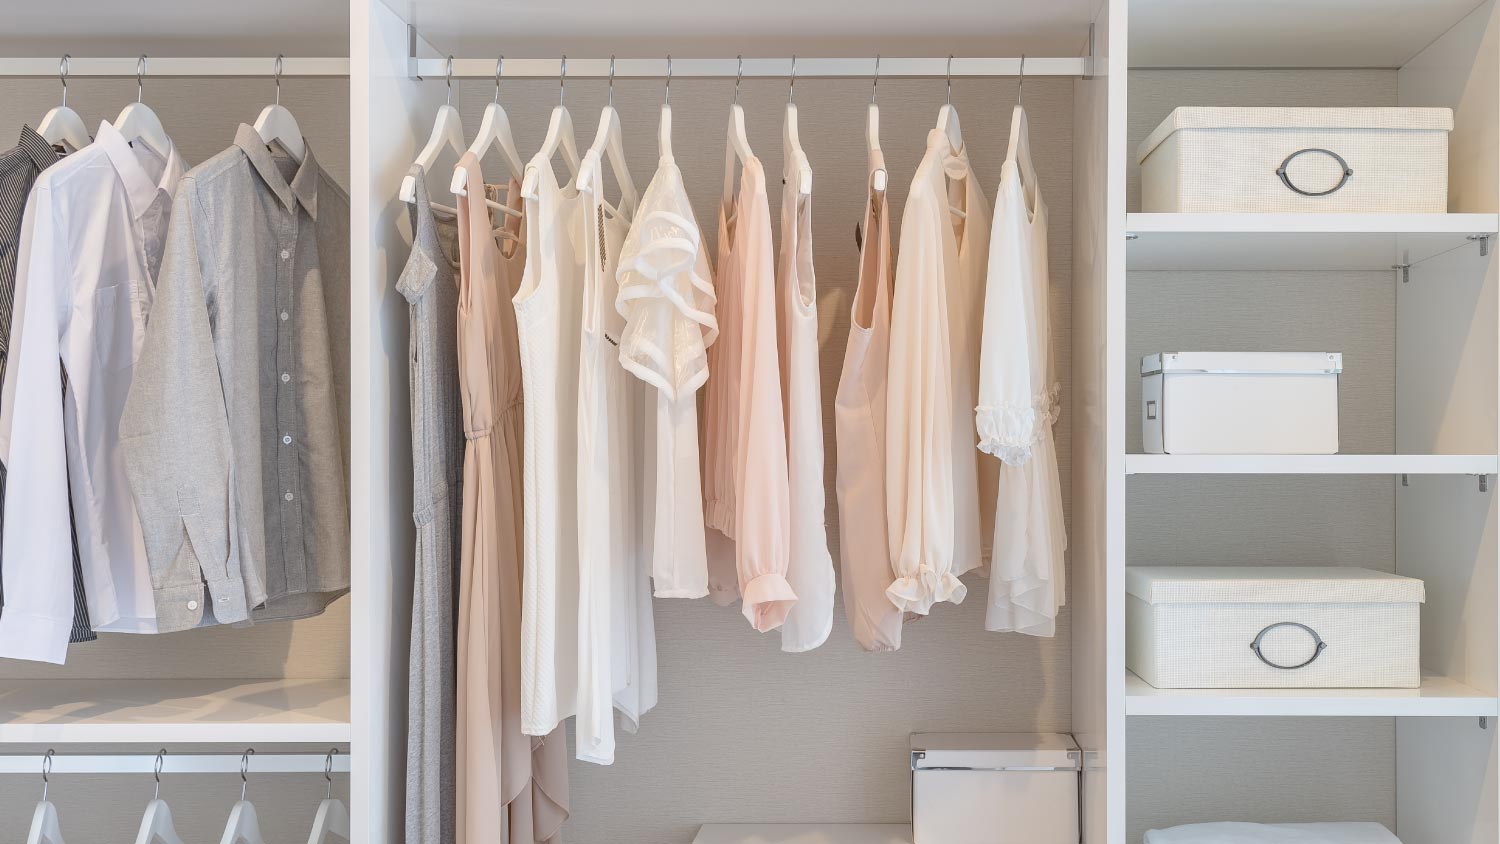
Discover the cost to install a built-in wardrobe. Learn about average prices, installation factors, and ways to save on your custom storage project.

There are a lot of crown molding materials to choose from, and you’ll need to know the benefits of each to know how to pick the best one for your needs.