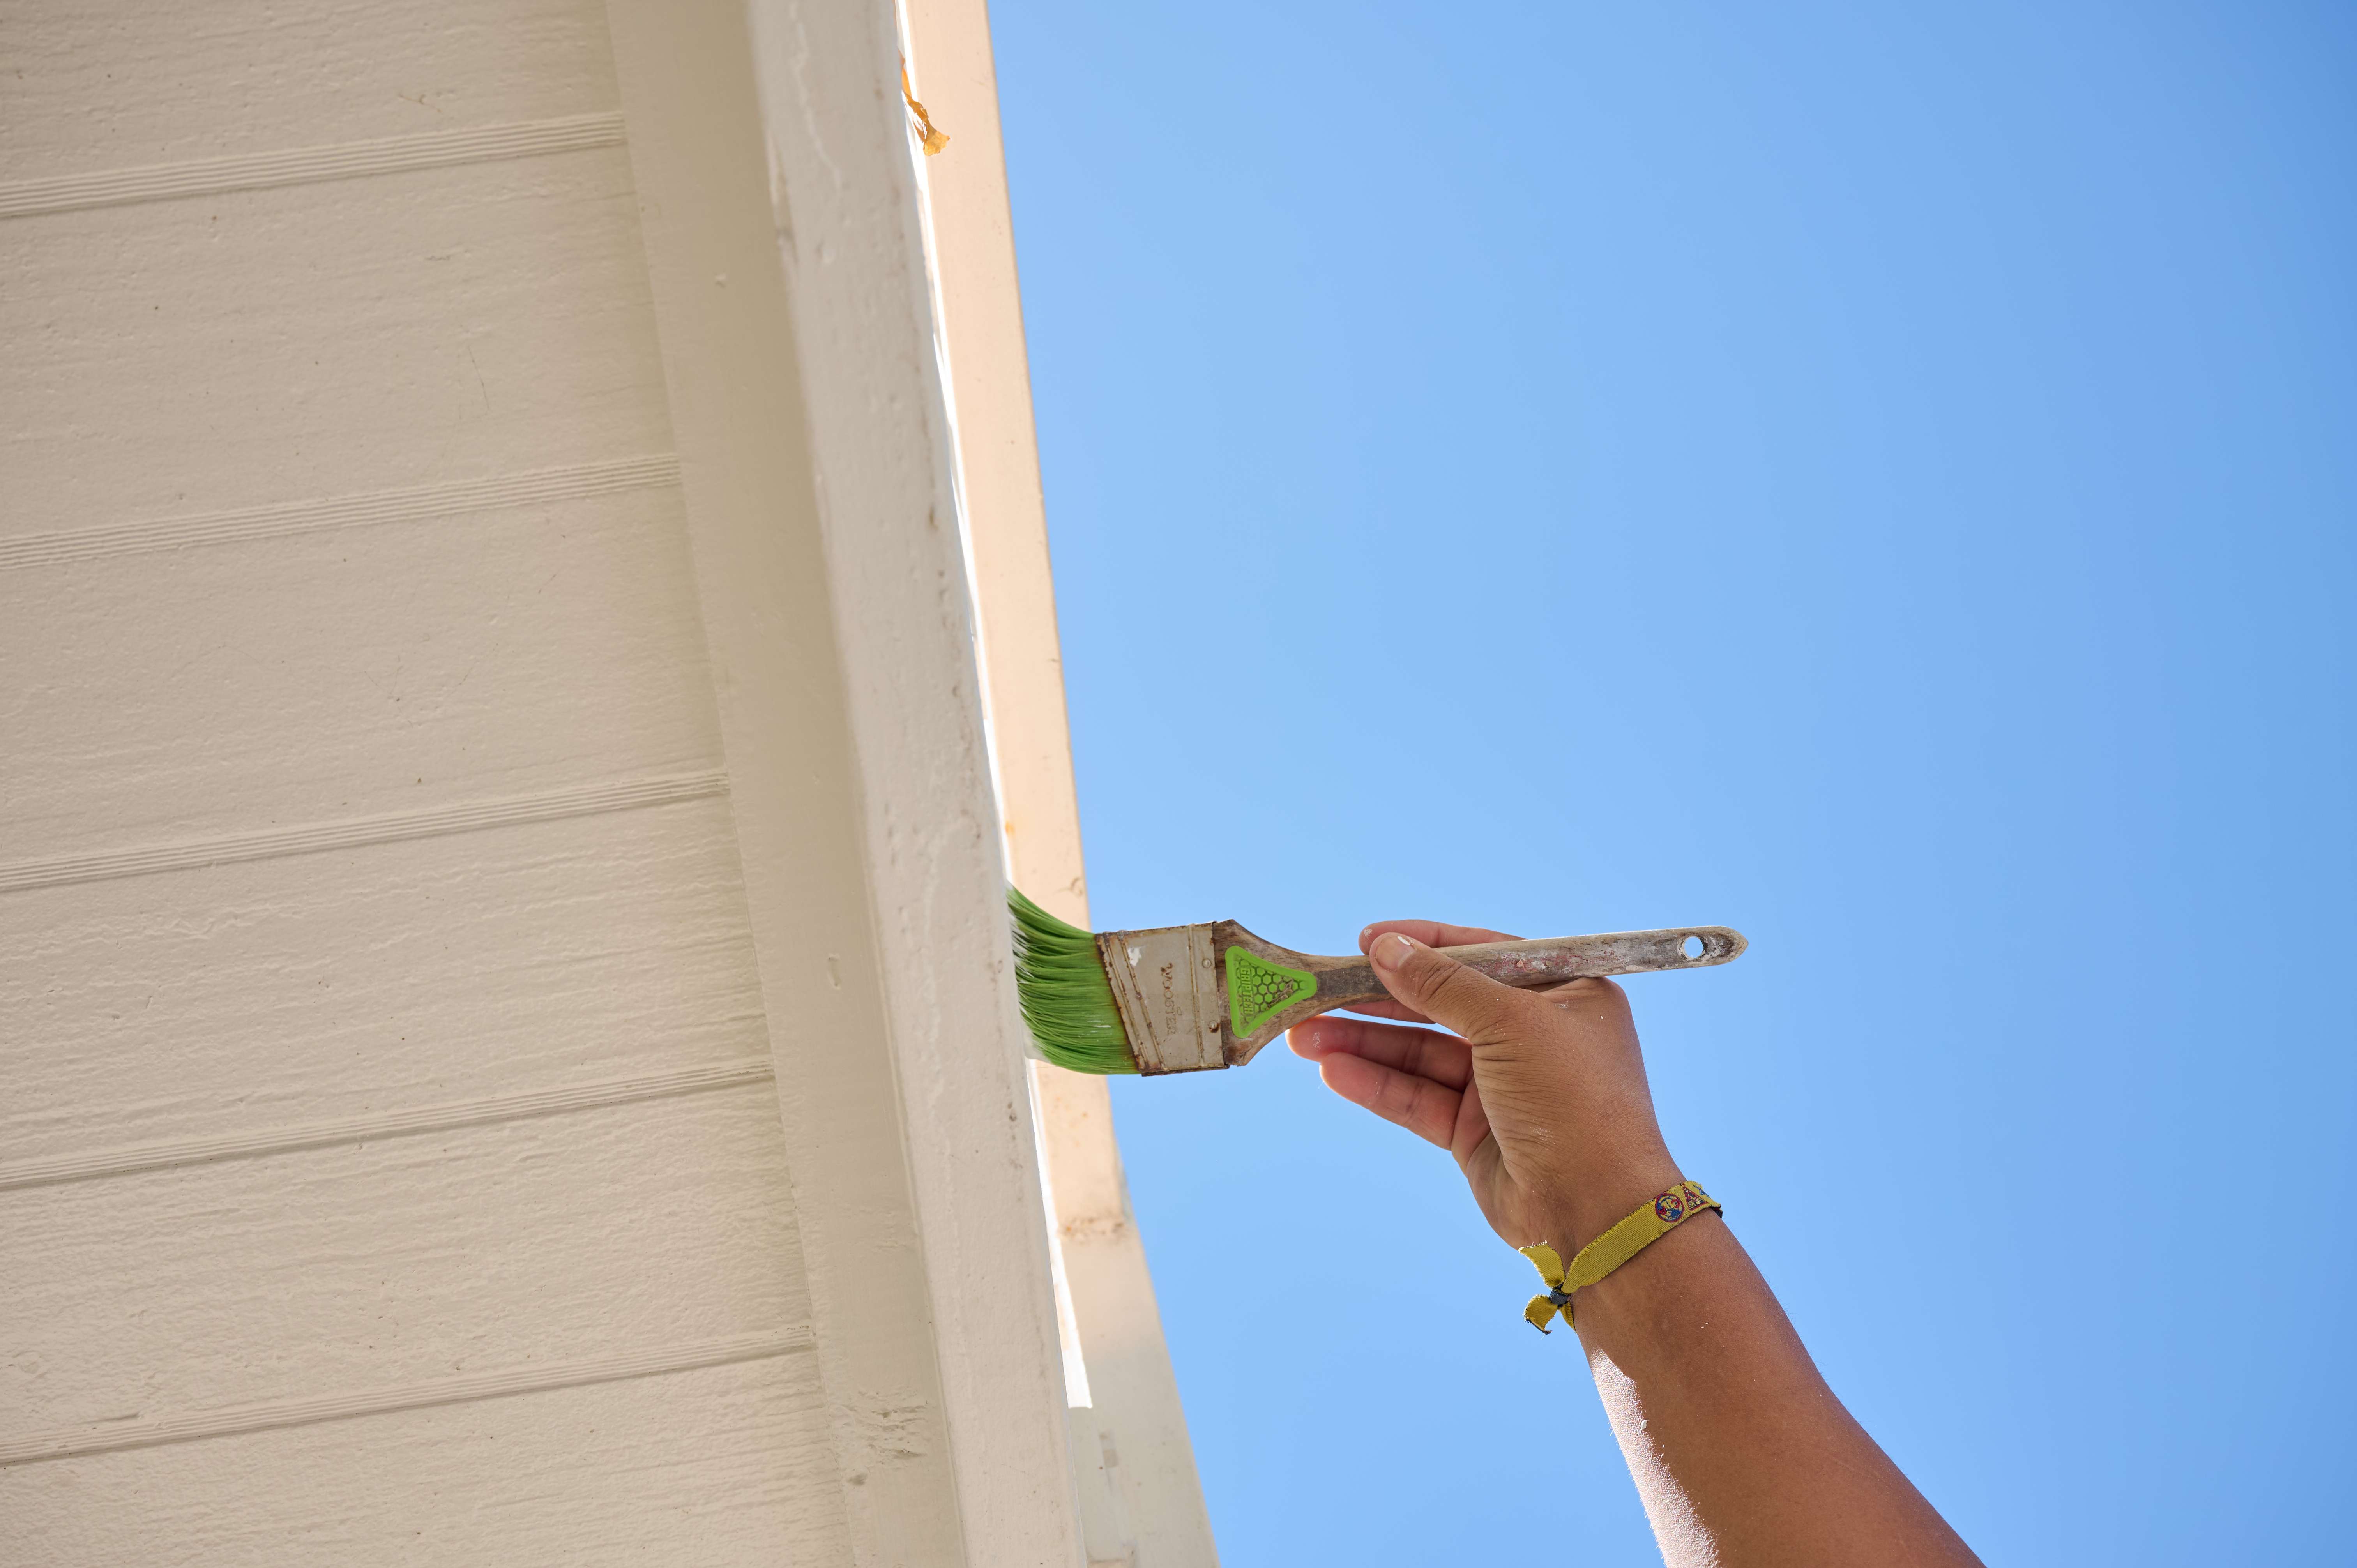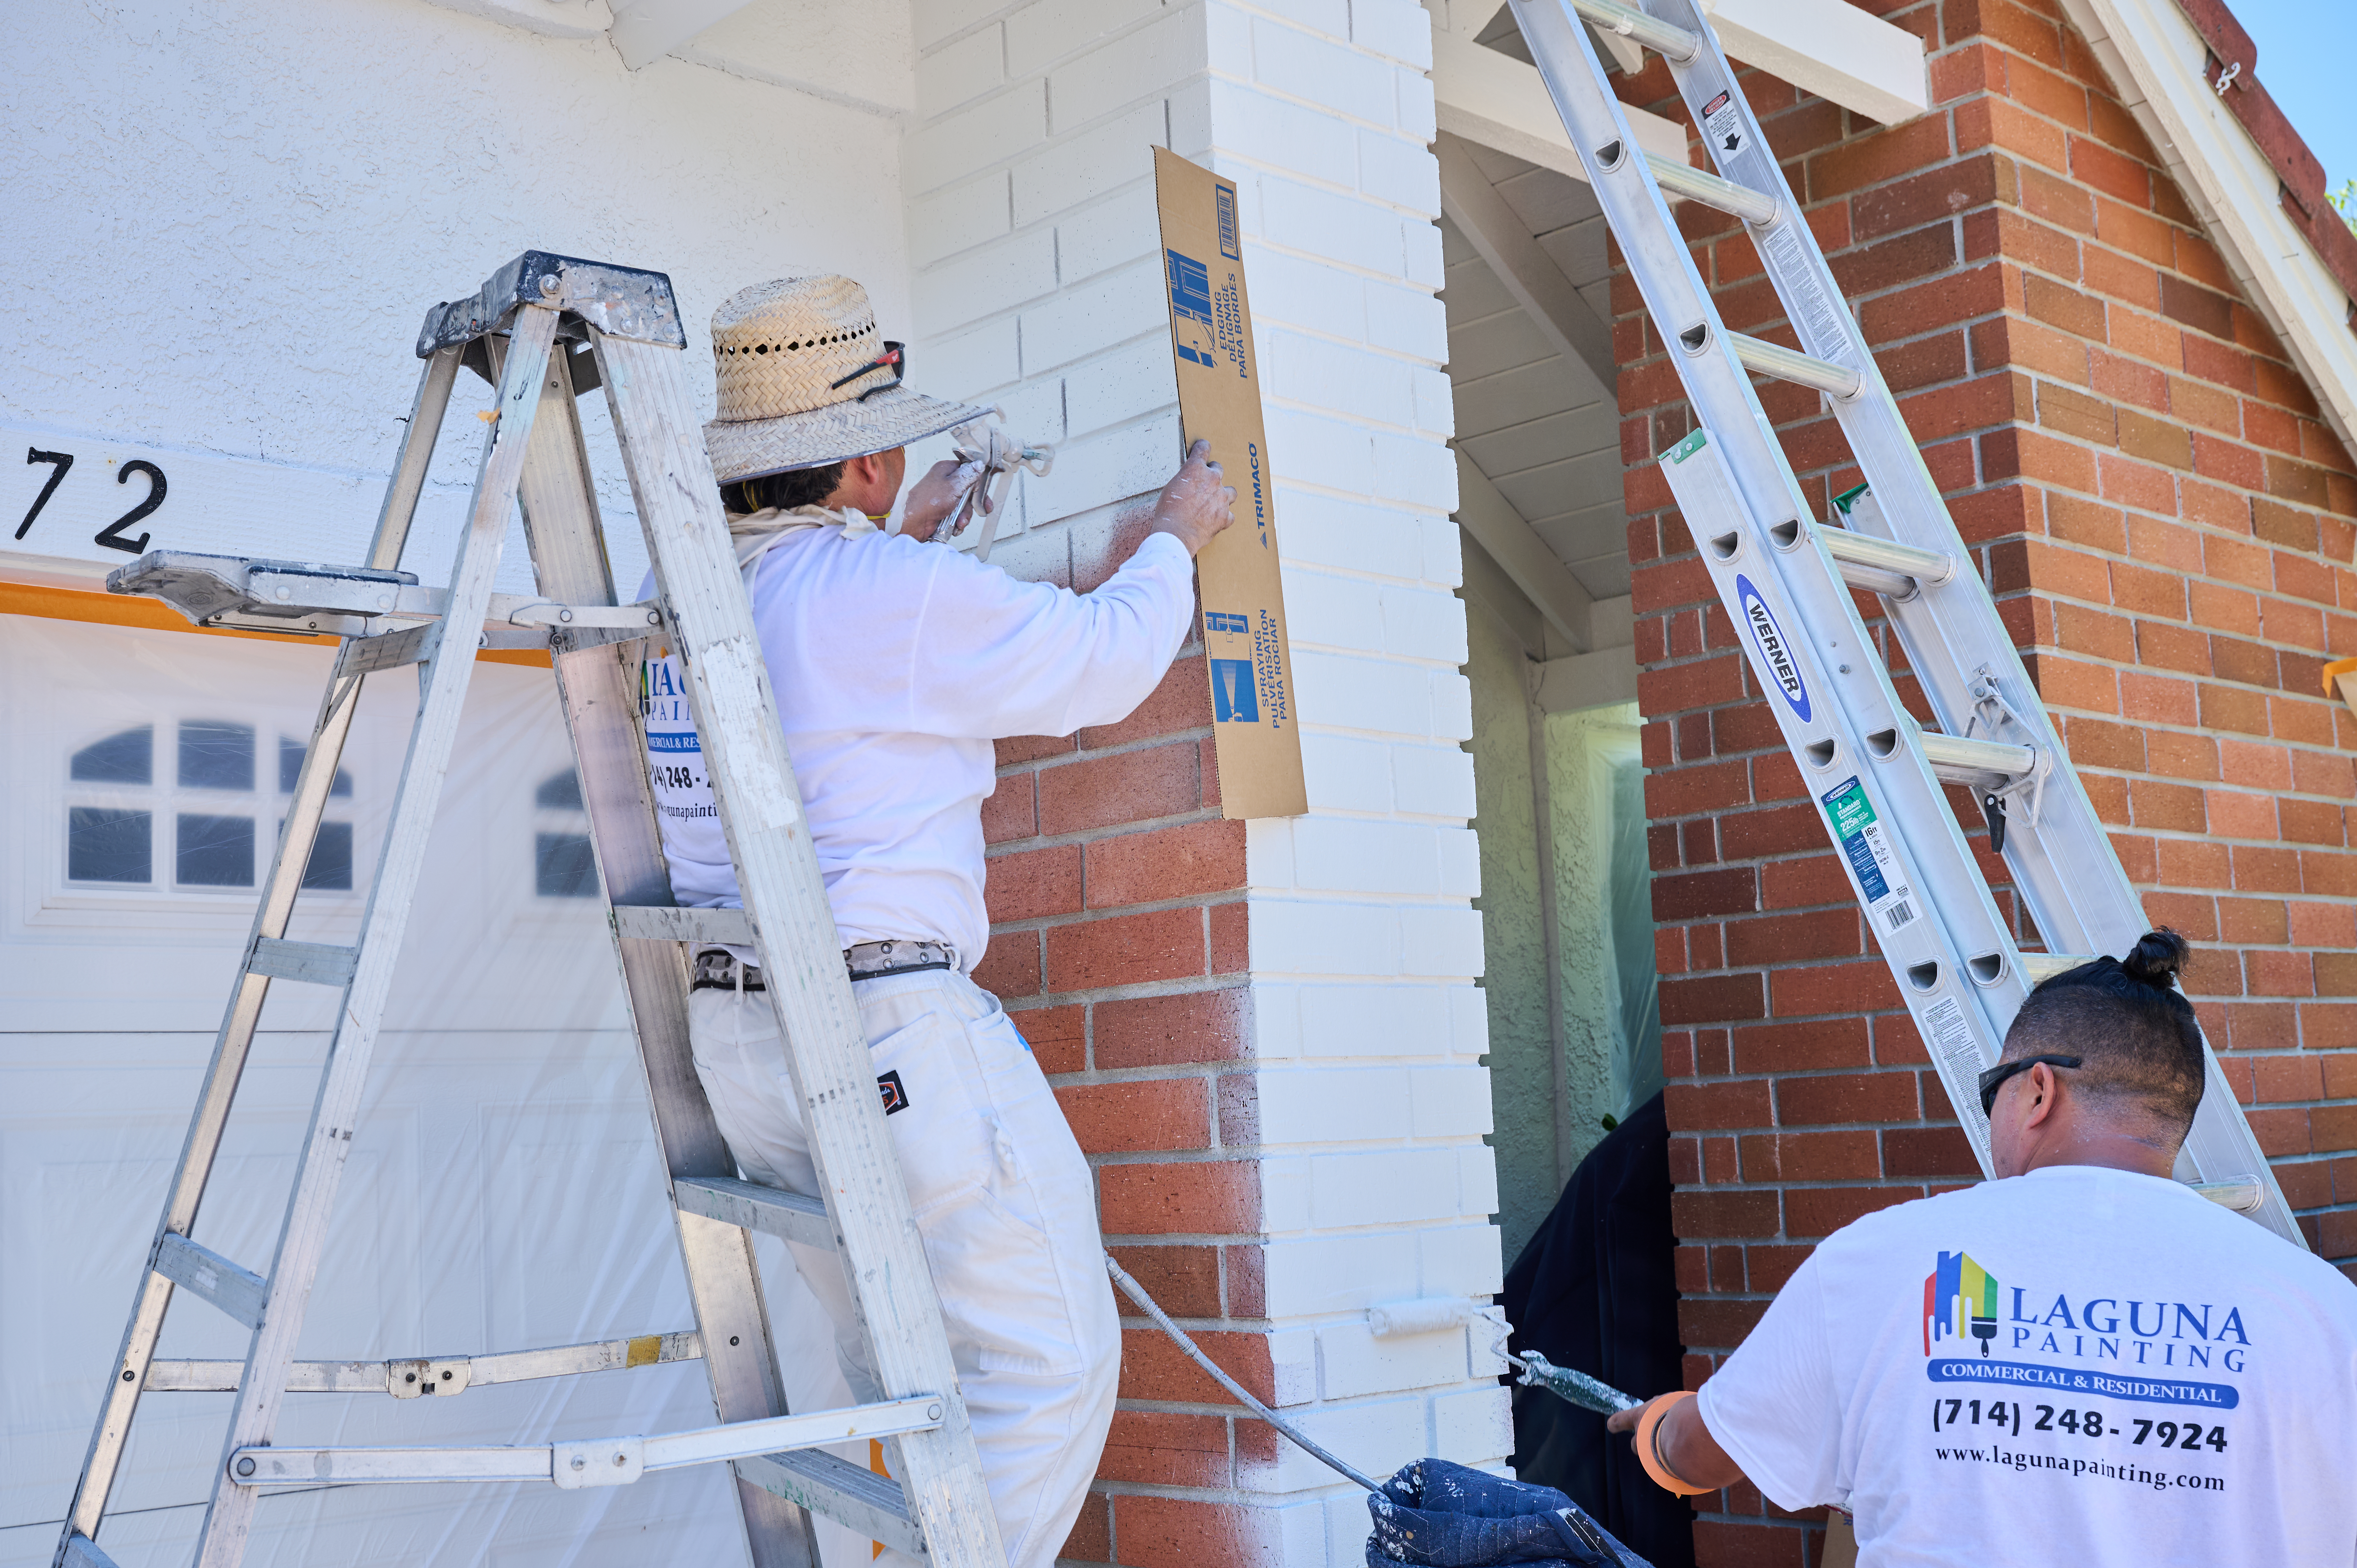
Painting your gutters can give your home the fresh finishing touch it needs to look its best. This guide walks you through the cost to paint gutters.
A fresh coat of paint can work wonders


Hiring a pro to paint your chain link fence costs more than DIY, but their experience ensures long-lasting results.
A chain link fence is exposed to the elements, and a pro will choose primer and metal-safe paint for optimal performance.
They’ll also have the right tools and coverings to protect your landscaping from overspray—something DIYers often overlook.
Painting thin wire fencing is difficult, and without experience, it’s easy to miss spots or cause paint drips and splatters.
A local fence painting professional will work much faster than a homeowner.
If your chain link fence looks a little drab, you don’t have to completely replace it; sometimes, it just needs a fresh coat of paint. You can learn how to paint a chain link fence on your own—and it's a DIY project that only takes a day or two. The right paint job can make it look brand new and match your landscape. Here’s how to paint a fence made of chain link from start to finish.
Painting a chain link fence with a lot of wear and tear can give it a fresh look that increases your home’s curb appeal. In addition to its aesthetic improvement, painting a chain link fence can also make it last longer. Since most chain link fences are built using galvanized steel, they’re susceptible to damage due to years of rain, wind, snow, and extreme heat and cold. Properly preparing your fence for a painting, then adding a good primer and paint, will help protect it for years to come.
Painting a chain link fence is a perfect weekend DIY project, but you should plan to prepare the fence and surrounding area before you whip out the brushes and paint.
Overgrowth that's covering parts of a fence will cause your paint job to be sloppy—and constantly pushing that brush out of the way will get annoying. Before opening any cans of paint, trim any weeds, vines, bushes, and tall grass using a weed trimmer or clippers to get the area as clear as possible.
If you have some prized greenery surrounding your fence, cover it with plastic sheeting to keep it safe while you paint. You can also use ropes to tie any greenery back. If you don't have any delicate landscaping surrounding your fence, consider digging slightly at the base of the fence to paint as close to the ground as possible.
Dirt, dust, pollen, and assorted debris cling to chain link fences. But simply hosing down the fence won't be enough to create a clean surface that’s ready for paint. Consider renting a pressure washer to blast the fence; you can also hire a local power-washing company to get your fence in sparkling condition.
Scrub the fence prior to your pressure-washing session to try to remove as much rust as possible. You can also use a spray-on rust inhibitor to "spot treat" any severe corrosion spots.
To successfully paint metal surfaces, make sure you're purchasing a primer made specifically for your project. This will ensure proper coverage and that your paint lasts a long time.
A roller is the best option for spreading the primer evenly. Next, go over the areas that don't work with a roller using a brush. Priming a chain link fence is an exercise in patience because you'll need to carefully and slowly go over the bends and loops.
Before you begin painting, place a piece of cardboard underneath the base of the fence. Use a roller to apply the paint and use only a small amount of paint each time to prevent running. Paint the fence from top to bottom and keep the stroke symmetrical to each other as the stroke are visible and an error will be easy to spot.
Both sides of the fence can be painted in the same day, so you don't need to worry about stretching the project out for more than one day.
Review your paint job and search for missing areas, specifically the fence close to the ground and near the poles, as these are commonly missed areas. Use a roller or a paintbrush to touch up those spots.

A run-of-the-mill chain link fence is silver, but it doesn’t have to stay that way. Paint your fence black for a modern look, or coat it in green for your garden. Just make sure you get approval from your homeowners’ association before making a drastic color choice.
You should paint a chain link fence using an oil-based paint with anti-rust protection. Look specifically for oil-based outdoor paints with aluminum flakes. Those small flakes in the paint overlap to create a watertight bond that makes your paint job last much longer.
The meticulous level of detail required when painting the thin parts of a chain link fence means there's no skimping on quality brushes and rollers. Most painting pros recommend long-nap rollers and wool rollers as the best tools you can use for this job.
The best strategy for painting a chain link fence is to paint it one side at a time. Trying to "loop around" will only cause messes, missed spots, and a very tired arm. To save yourself the hassle altogether, you can also hire a local fence painter to do the job for you.
From average costs to expert advice, get all the answers you need to get your job done.

Painting your gutters can give your home the fresh finishing touch it needs to look its best. This guide walks you through the cost to paint gutters.

Painting a brick house typically costs between $1.40 and $4.20 per square foot. Your total cost will depend on where you live and the finish you use.

The cost to paint a deck depends on its size, design, and whether you DIY. Read this guide to help set the budget for your deck painting project.

Painting a brick house is a permanent renovation project that requires weighing the pros and cons. Keep reading to find out if you should paint your brick home.

Finding out which paint shades do and don’t pair well with gray will help you choose the right front door color for a gray house, no matter your setup.

The best time to stain a deck is when it’s dry but not too sunny. How often you restain a deck depends on climate and wood type, but every two to three years is normal.