

The cost of materials and labor all factor into your overall brick staining cost, but what other factors impact the bottom line? Our guide covers this and more.
It’s all in the prep work when it comes to this exterior makeover


If you want to brighten up the exterior of your home, slapping a coat of masonry paint onto brickwork may seem like an easy solution. However, you first need to know about the intricate process of how to paint brick. Painting a brick house yourself isn’t always advisable since bricks are naturally porous, which can lead to many potential DIY pitfalls. There are several important things you should know about before painting a brick house, including how to prep carefully to ensure a long-lasting, polished finish.
If you’re taking the plunge, this step-by-step guide will help you understand how to paint brick home exteriors the right way.
Before buying gallons of paint, assess whether your brickwork is suitable for painting and if you have the skills and commitment to do a decent job. Painting your home’s brick exterior calls for a lot of labor over a long period of time. Additionally, you’ll have to climb a ladder to reach those higher parts of your siding, which can be potentially dangerous if you don’t have a good grasp of ladder safety tips.
On top of the physical demands, this project is irreversible. Once you paint the brick, you’ll never be able to return it to its former natural appearance, even with expensive chemical removal treatments.
Plus, if excess moisture gets trapped between the paint and the brickwork, the structural integrity of your home is at risk. (This is also why you should never paint your brick chimney with regular exterior paint.) Aside from this extreme prospect, excess moisture results in bubbling and cracking paint, so you could quickly end up with a messier home appearance than you had before the paint job.
Poor quality or damaged brick that’s soft and more susceptible to moisture infiltration may benefit from a coat of high-quality brick paint. On the other hand, brand-new brick needs to acclimate to its surroundings before you paint it. You should wait a year before you paint new brick so that it has time to settle.
Painting a brick house can seem like a daunting task, but with careful planning, it can be done. Don’t rush this job—follow each step in the process for a beautiful result.
You’ve opted to go for it, so now you need to clean and prep your home’s exterior for painting.
Scrub off debris and dust with a soft-bristle brush or broom. Then, use a soapy detergent solution to clean away any dirt and grease. Using a power washer speeds up the process and removes any loose mortar, but don’t get too close, linger in one area for too long, or use the power washer on a high setting. Doing so could damage your brick house by causing the bricks to break or crumble. It could also negatively impact the mortar joints, rendering your home structurally unsound.
Sometimes, moisture results in the brickwork developing a thin crystal-like layer of deposits on the surface known as efflorescence. You can use an efflorescence-removing salt treatment to clear this away quickly and easily.
Additionally, you may want to use a fungicidal wash to remove any existing mold and mildew. Rinse well with clean water after treating and washing your brick.
After you clean the brick, wait for a few days to let it fully dry out so that moisture doesn’t get trapped when you paint. A dry surface also means the paint will adhere to the surface.
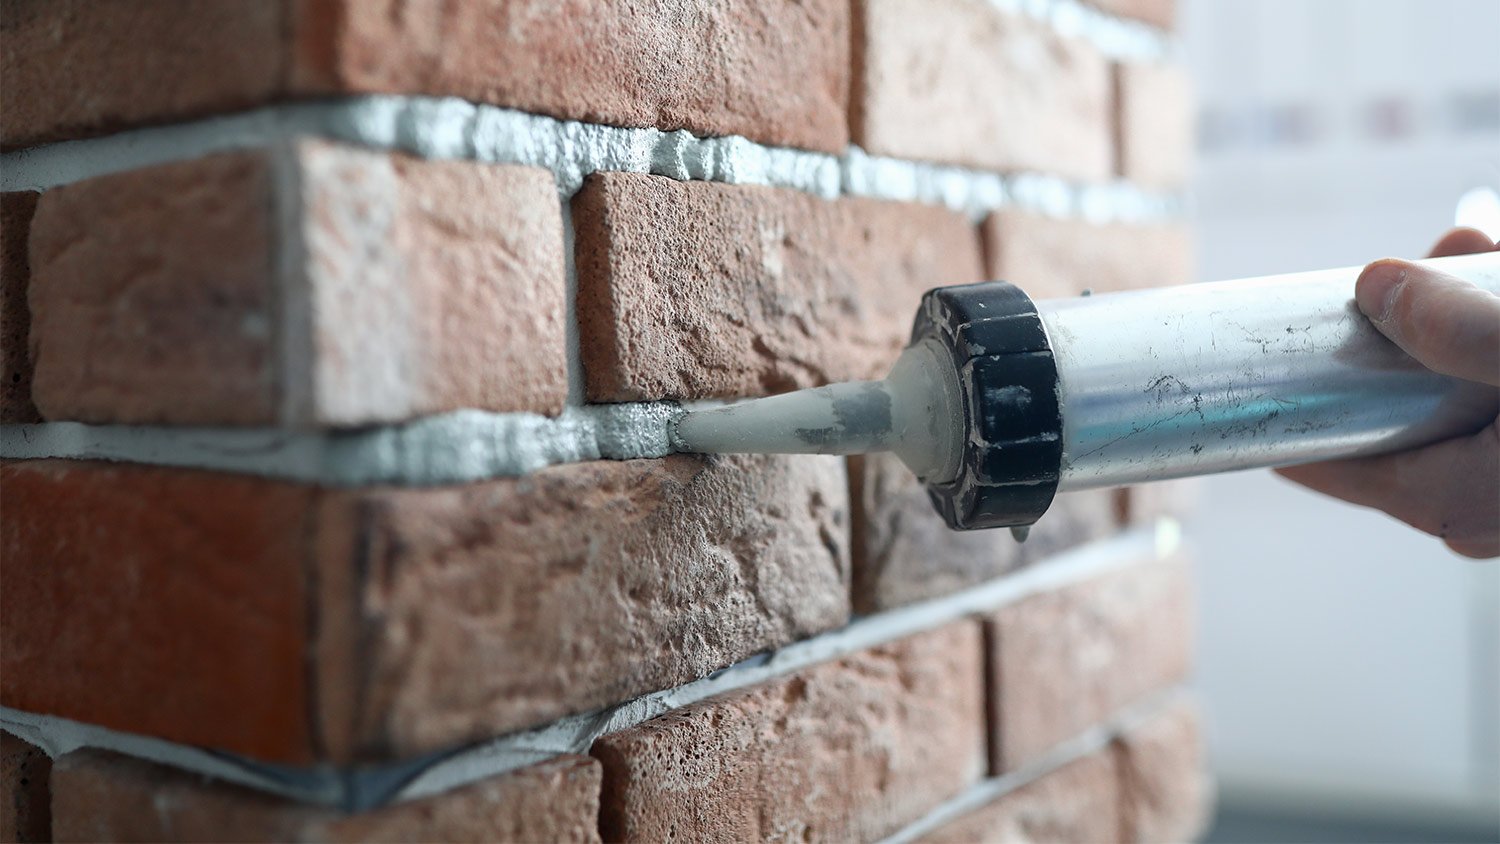
You may need to repoint bricks—a.k.a. replace the mortar—if any of the mortar has fallen off or eroded. Otherwise, this type of damage makes the brick more susceptible to moisture infiltration. You can make any minor repairs by adding masonry filler or acrylic caulk between bricks where the mortar has fallen out.
Keep in mind that both caulk and masonry filler will need around a week to cure before you can do anything else with your brick. Any major repointing or repairing is often best left to the pros.
Once you’ve waited for your makeshift mortar to cure fully, don’t just jump into the next step. Check your forecast before you start applying primer, and make sure the weather will be dry for the next few days. You cannot apply paint or primer to wet brick because neither will adhere properly and could trap moisture inside.
If your brickwork, old or new, doesn’t already have a seal or paint primer, this is a must-do job. Primer helps keep moisture out and provides a smoother finish and better adhesion. You also won’t need to apply so much paint because the brick won’t absorb as much. If water doesn’t bead on the surface of the brick when you spray it, the brick likely hasn't had a primer treatment.
Choose a high-quality masonry primer for the job, which tends to have a thin consistency that absorbs well and offers good alkaline resistance. Use a paint sprayer for the quickest application, but if you’re not confident in your spraying skills, a high-nap paint roller will also do the trick. You may need to apply more than one coat in areas that collect mildew or have excessive efflorescence buildup.
Let your primer dry fully before moving on. Waiting 24 hours is typically a safe bet, but your can of primer should have more specific instructions.

Because of brick's porous nature, you’ll need high-quality, breathable, weather-resistant masonry paint to prevent moisture from getting trapped.
Elastomeric and premium acrylic latex paints with a life span guarantee of at least 10 years are a good choice of brick paint. When in doubt, visit a store with an in-house expert who can advise you on the best brand, finish, and type of paint for your situation. Select an exterior paint color and finish that speaks to you and your home’s aesthetic. Be sure to keep local homeowners association (HOA) painting guidelines in mind before buying.
Using a paint sprayer is the fastest option for large surface areas over most of your home’s siding. However, getting the right spray painting technique can be tricky for beginners. If you fall into that camp, using rollers with a high nap (at least half an inch) can give you a better finish on highly textured surfaces. On large areas of textured brick, apply a coat with the sprayer, and then go over it with a roller to get into the crevices and cracks. Apply two or three coats of paint for an even finish and extra durability, and wait at least four hours for the paint to dry before you go in with a second coat if you need one. You don’t have to add a second coat, but if you feel like you can still see some of the brick showing through or your finish isn’t as smooth as you’d like it, adding another coat will do the trick.
This isn’t a job for the faint-hearted, and getting it wrong can leave you with more than just a messy-looking finish. If your brickwork needs extensive repointing or repairing, you aren’t sure if you’re making the right choice, or you're confused about what to purchase, hire a professional exterior painter near you.
The average cost to have a brick house painted professionally ranges from $3,500 to $10,500. If you try to DIY this job and end up missing a crucial step or taking a misstep along the way, you could be out all the money you spent on tools and supplies you bought for the DIY plus the cost of labor to hire a professional.
Again, if any part of you is unsure about this project, you’ll probably save yourself a lot of money and heartache by putting down the paintbrush and hiring a professional instead.
Gemma Johnstone and Sara Coleman contributed to this piece.
From average costs to expert advice, get all the answers you need to get your job done.
The cost of materials and labor all factor into your overall brick staining cost, but what other factors impact the bottom line? Our guide covers this and more.

Sandblasting is a powerful method to remove paint, primer, and other coatings from hard surfaces. Learn the cost to rent a sandblaster and the factors involved.

The cost to paint a pool deck depends on the dimensions and material, the type of paint, and whether you DIY. Read on to help determine a project budget.

Whether you opt for low-luster or high-gloss depends on budget, skill, aesthetics, and material. Learn how to pick the best sheen for exterior paint projects.

Go step-by-step through how to prep and paint your pool deck for a major upgrade in your backyard oasis.

In need of some stylish exterior window trim ideas? Explore 16 must-try styles and colors and find out what window material will suit your aesthetic.