
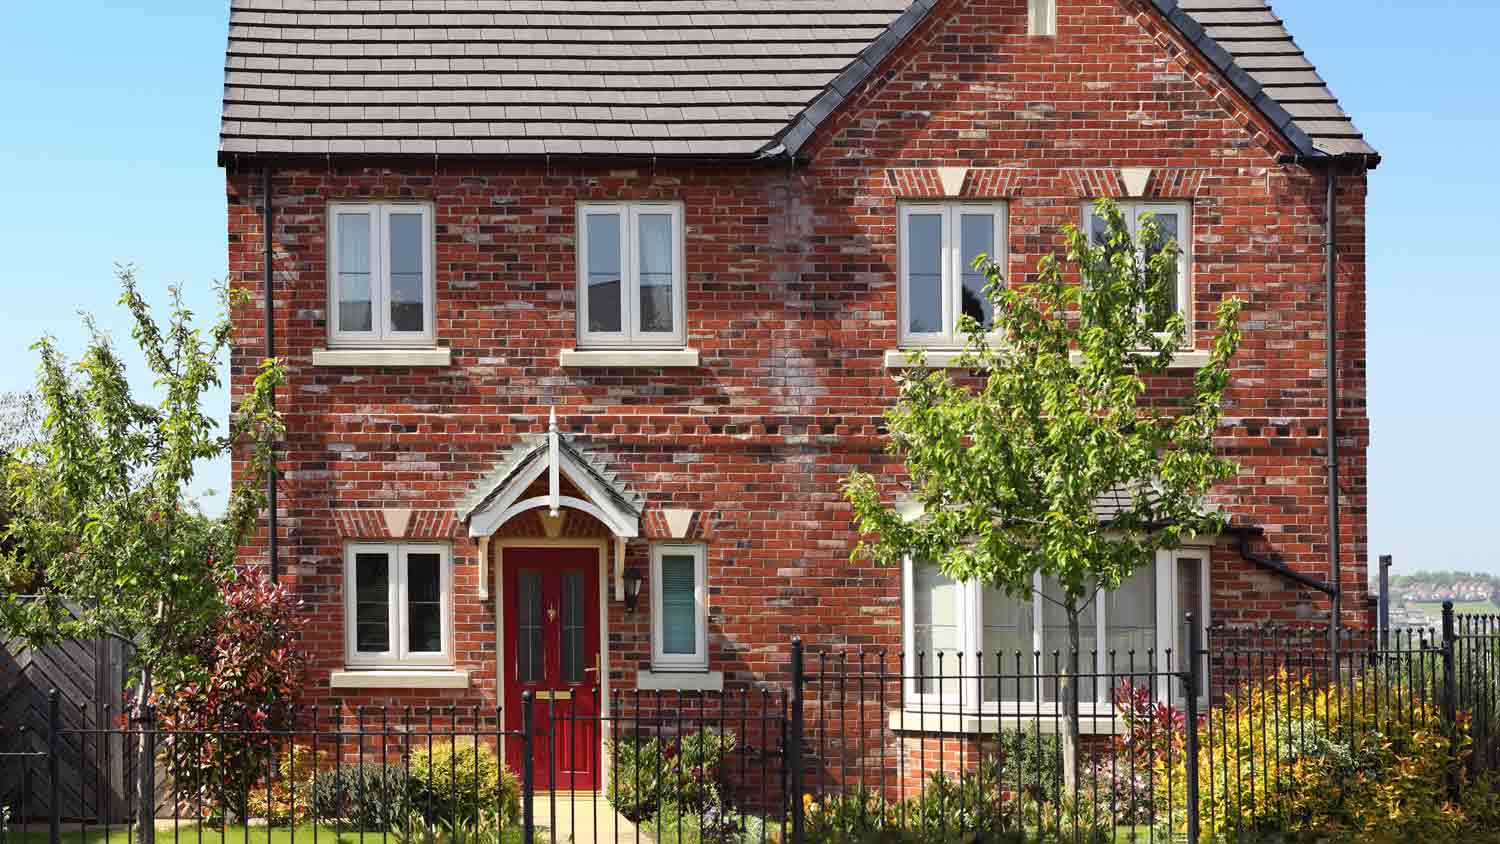
Painting a brick house typically costs between $1.40 and $4.20 per square foot. Your total cost will depend on where you live and the finish you use.
Removing paint from a brick wall is simple—but labor-intensive

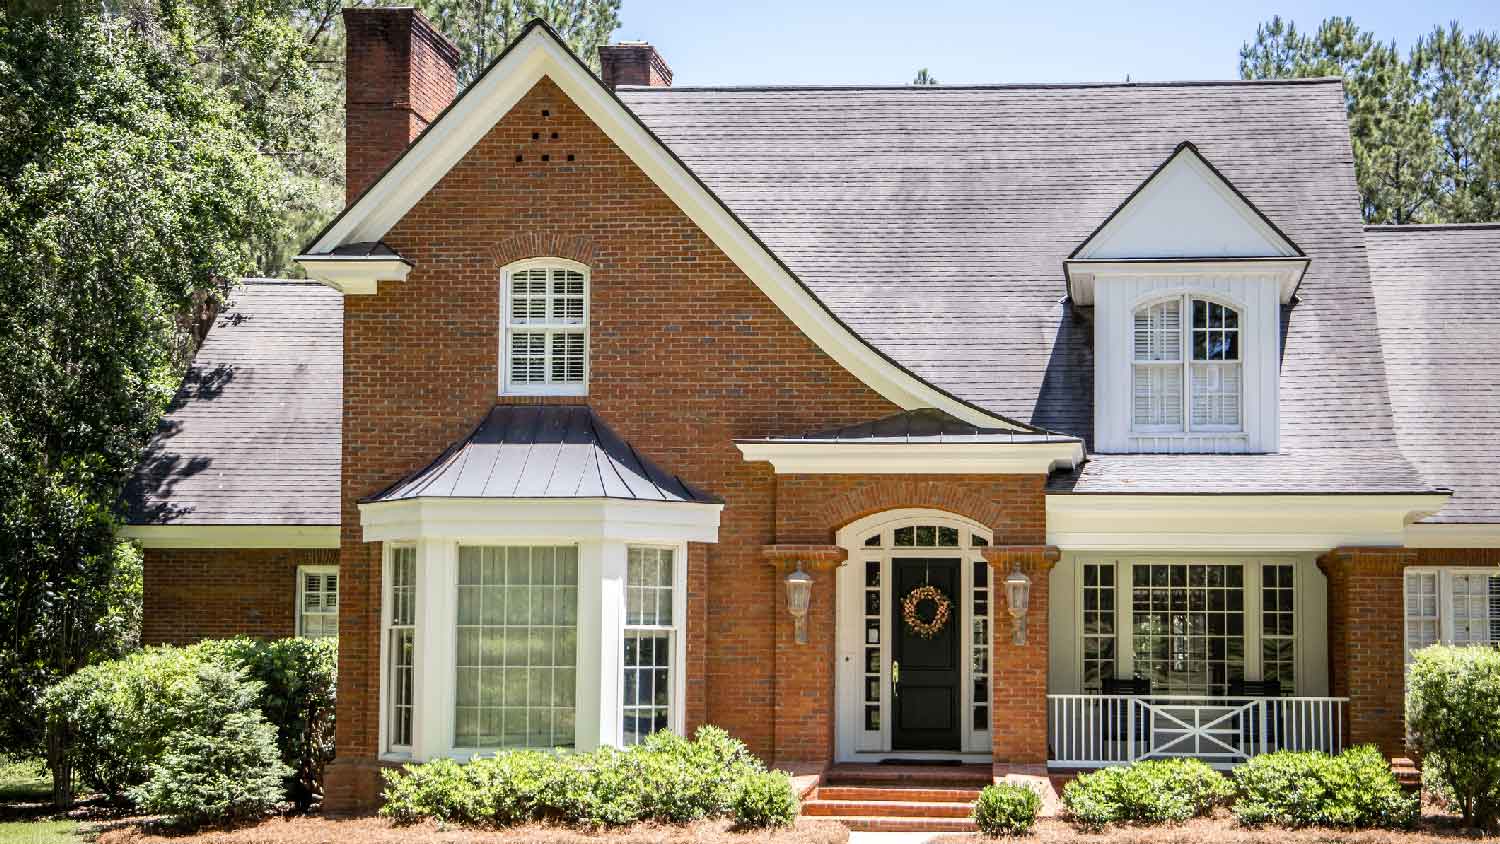
If you have an old painted brick wall or fireplace on your property, you may be dreaming of what the original brick looks like underneath. Getting paint off brick can be challenging since porous brick tends to absorb and cling to paint more securely than other surfaces. However, if you have the time, care, and willpower, you can restore your bricks and expose their original beauty. Read on to learn how to remove paint from brick for a fresh, new look.
Getting paint off brick is a messy process that involves lots of falling dust, paint flakes, and other debris. Put some thought into setting up your work area, especially if your project is indoors.
Use painter's tape to tightly secure thick plastic tarps on the floor in front of and around the brick wall. Your tarps should extend 6 feet out and cover any floors, trim, furniture, and other large items that you can't remove from the area. You should also mask off doors and vents so dust doesn't escape into other parts of your home.

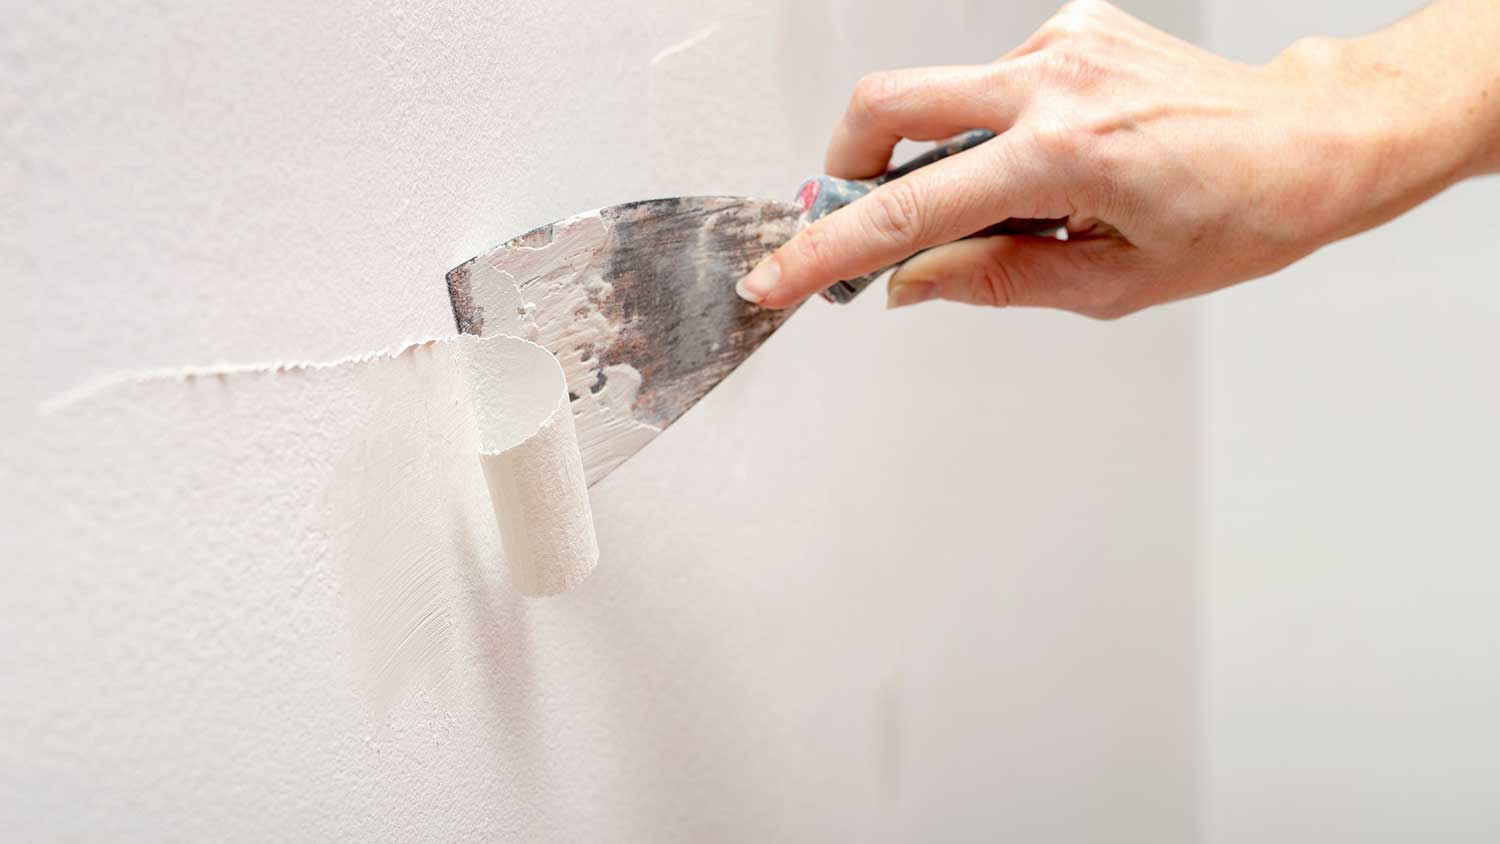
Don your protective gear. If your painted brick surface is dirty, use warm water and rags to remove any dirt or soot that would otherwise get in the way of the paint stripper. Scrape away any paint that's already loose or flaky using your putty knife.
Using your putty knife, push the paint stripper gel onto the painted brick in thick layers. Work in one small, manageable section at a time and fill all crevices in the brick and mortar. Build up several layers until you've reached the thickness recommended on the product packaging.
Following the instructions for your paint stripper, allow enough time for it to work before beginning to scrape the paint away with your putty knife. The paint should become a soft, easily removable layer. Scrape the paint off the wall and into your trash bag.

If some paint remains, apply a second coat of paint stripper and allow it to sit for the amount of time suggested on the packaging. Usually, it will take about four hours before you can scrape off the second coat with your putty knife.
With the second coat removed, rub the brick vigorously with your steel wool to remove any remaining paint. You can also use a spun-fiber power disc sander to speed up the process.
Once all the paint has been removed, rinse the surface of the brick to remove any remaining paint stripping gel. Allow the brick to dry fully.
Once your brick surface is dry, you can apply a new coating of your choice. You may decide to whitewash your own brick. Some homeowners choose to use limewash paint, while others prefer the look of brick staining.
If you're removing paint from brick in an older home, there's a chance the paint contains lead. Disturbing the paint can release harmful lead particles into the air where you might breathe them in.
Purchase a lead testing kit and carefully slice off a small section of the paint. Following the kit's instructions, send your sample to a lab. A positive result will require the help of a professional lead removal company near you before you can safely do any work yourself. If the test comes back negative, you're safe to proceed.
If the paint you want to remove is lead-free, your next step should be to test your paint stripper in a small area. Remove a small amount of paint in an area that's hard to see. You may want to reconsider your project if you discover any of the following:
You don't like the shade of the underlying brick.
The brick was originally painted to mask imperfections.
The underlying brick is in poor condition.
Your chosen paint stripper doesn't work as well as expected.
A small test can give you a sense of how long the full job might take and allow you to hire a pro if needed. If there are problems with the underlying brick, removing paint may lead to further projects and additional costs.
While getting paint off brick is a relatively simple task, it can take a massive amount of time and elbow grease. Small jobs can be manageable for DIYers, but bigger removal projects on large walls or home exteriors can be daunting.
If you skip the DIY route and hire an exterior painter in your area, expect to pay about $3.50 to $7.50 per square foot. The price will be significantly higher if the painted bricks test positive for lead. In such cases, the cost of lead paint removal is between $4 and $17 per square foot.
Derek Rose contributed to this article.
Custom Paint Jobs LLC took our exterior from drab to fab! We couldnt be happier.
From average costs to expert advice, get all the answers you need to get your job done.
Painting a brick house typically costs between $1.40 and $4.20 per square foot. Your total cost will depend on where you live and the finish you use.
Need to remove old, chipping, or flaking paint before refreshing? Learn about paint removal costs in this guide to see how much you should budget.
The cost to remove texture from walls depends on square footage and the type of texture. Learn all the factors that will impact your budget in this guide.
If you have white staining on brick, it may be time to learn how to remove efflorescence from brick gently and safely without harsh ingredients.

There are many alternatives to painting brick walls, including staining and whitewashing. Learn more about different methods for bringing new life to your brick space.
Learn how to clean mortar off bricks if you've noticed sloppy mortar stains that are outside the lines of your brickwork.