

•
Discover the cost to regrout shower, including average prices, key cost factors, and tips to help you budget for a fresh, watertight shower.
Grab your calculator and measuring tape


Grout helps keep tile in place while protecting the substrate.
In general, you should use sanded grout for joints larger than 1/16-inch.
The size and thickness of your tile will impact the total grout required.
You’ll need to use a series of formulas to find out how many bags of grout to use.
Most of the time, we don’t think too much about grout. It’s an overlooked part of the kitchen or bathroom—at least until we notice some obvious stains and have to endure a stubborn grout deep clean. But the truth is that grout makes a difference.
A good grout job will help support and protect your tiling for years to come, but you have to install it right—and that all begins with using the correct amount of grout. With some simple measurements and math, you can easily calculate how much grout you’ll need for your project
Ever noticed the white lines between bathroom or kitchen tile? That’s grout. This mixture of water, cement, and sand is used to hold tiles in place. It also protects the edges of the tile from cracks and chips while preventing gaps between tiles that can harbor mold, mildew, and dirt.
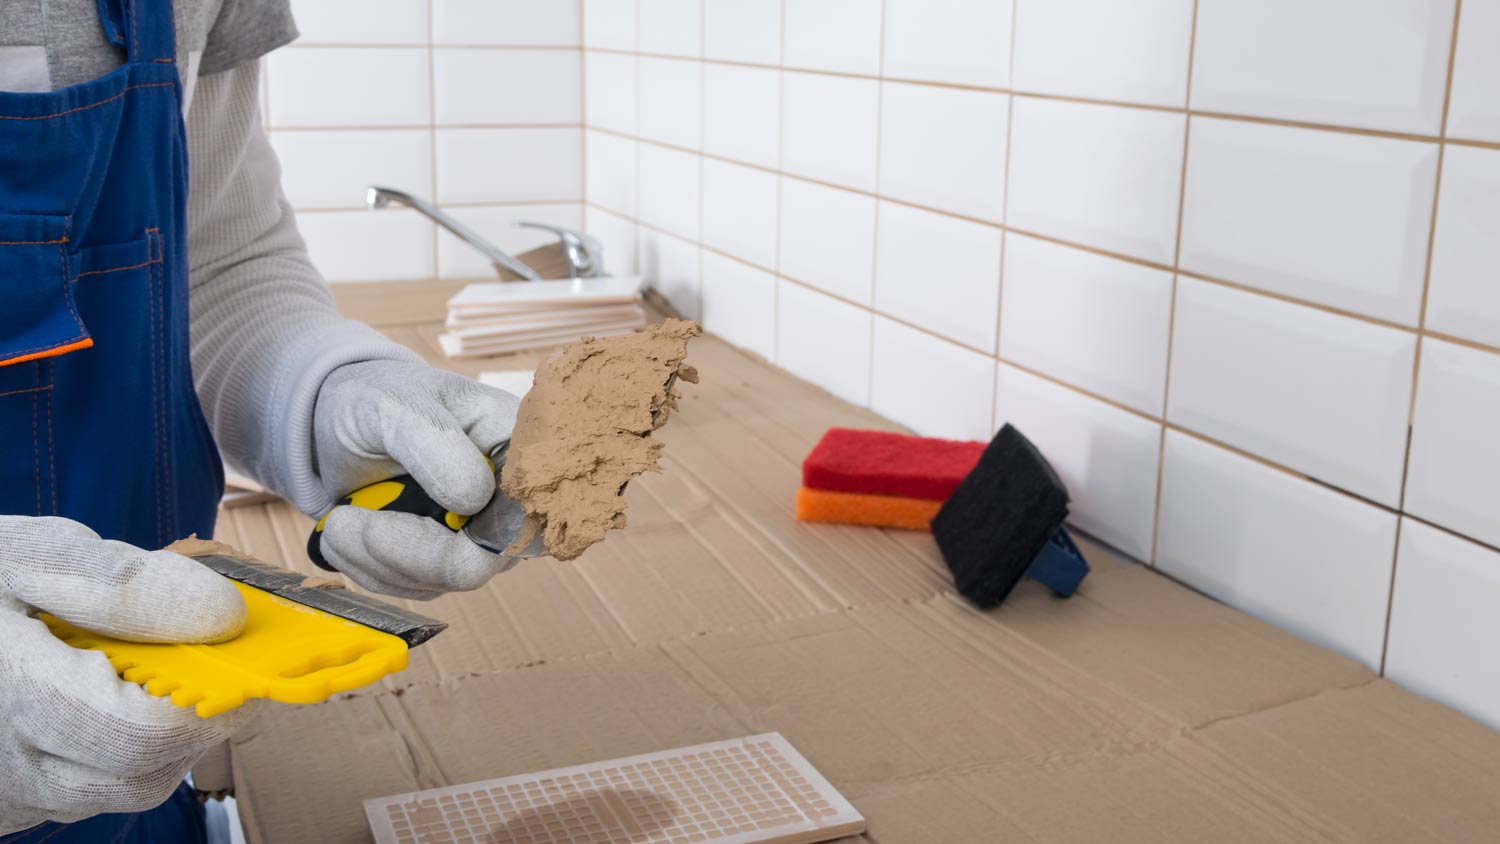
Grout is applied to the joints between tiles as a wet paste that hardens as it cures. Typically, you’ll have to mix the ingredients with water before you can apply it, but you can also purchase pre-mixed varieties. You’ll also need a few tiling tools—like a grout float and grout sponge—to apply, smooth, and finish the grout unless you plan to hire a pro.
There are a few different types of grout that you can use for a tiling project—whether you’re installing shower tile or a backsplash. Most come powered, and you’ll need to mix in the right amount of water to have long-term durability.
Sanded grout: As the name suggests, this type of grout contains sand. It’s ideal for grout joints between 1/8 inch and 5/8 inch because it has more structure and resists cracking and shrinking.
Unsanded grout: This type of grout is typically used for narrower grout joints of 1/8 inch or less. It’s also thinner than sanded grout and less likely to scratch delicate glass, metal, or polished stone patinas.
All-in-one grout: If you need to use sanded and unsanded grout in the same tiling project, you can use all-in-one grout instead. This way, you won’t have to mix separate batches or buy more grout than you’ll need.
Epoxy grout: Instead of cement, epoxy grout is made from a mixture of epoxy and sand. This is an ultra-strong, non-porous material that’s often used for waterproofing tile and areas that need extreme durability.
Acrylic grout: This type of grout has an acrylic polymer additive that makes it more flexible and water-resistant than traditional grout.
Premixed grout: This type of grout comes as a wet paste you can apply right out of the bucket.
You’ll have to take a few measurements and put them into a series of formulas to calculate how much grout you need for a tiling project. If math isn’t your strong point, you may want to hire a tile contractor near you or use an online grout calculator.
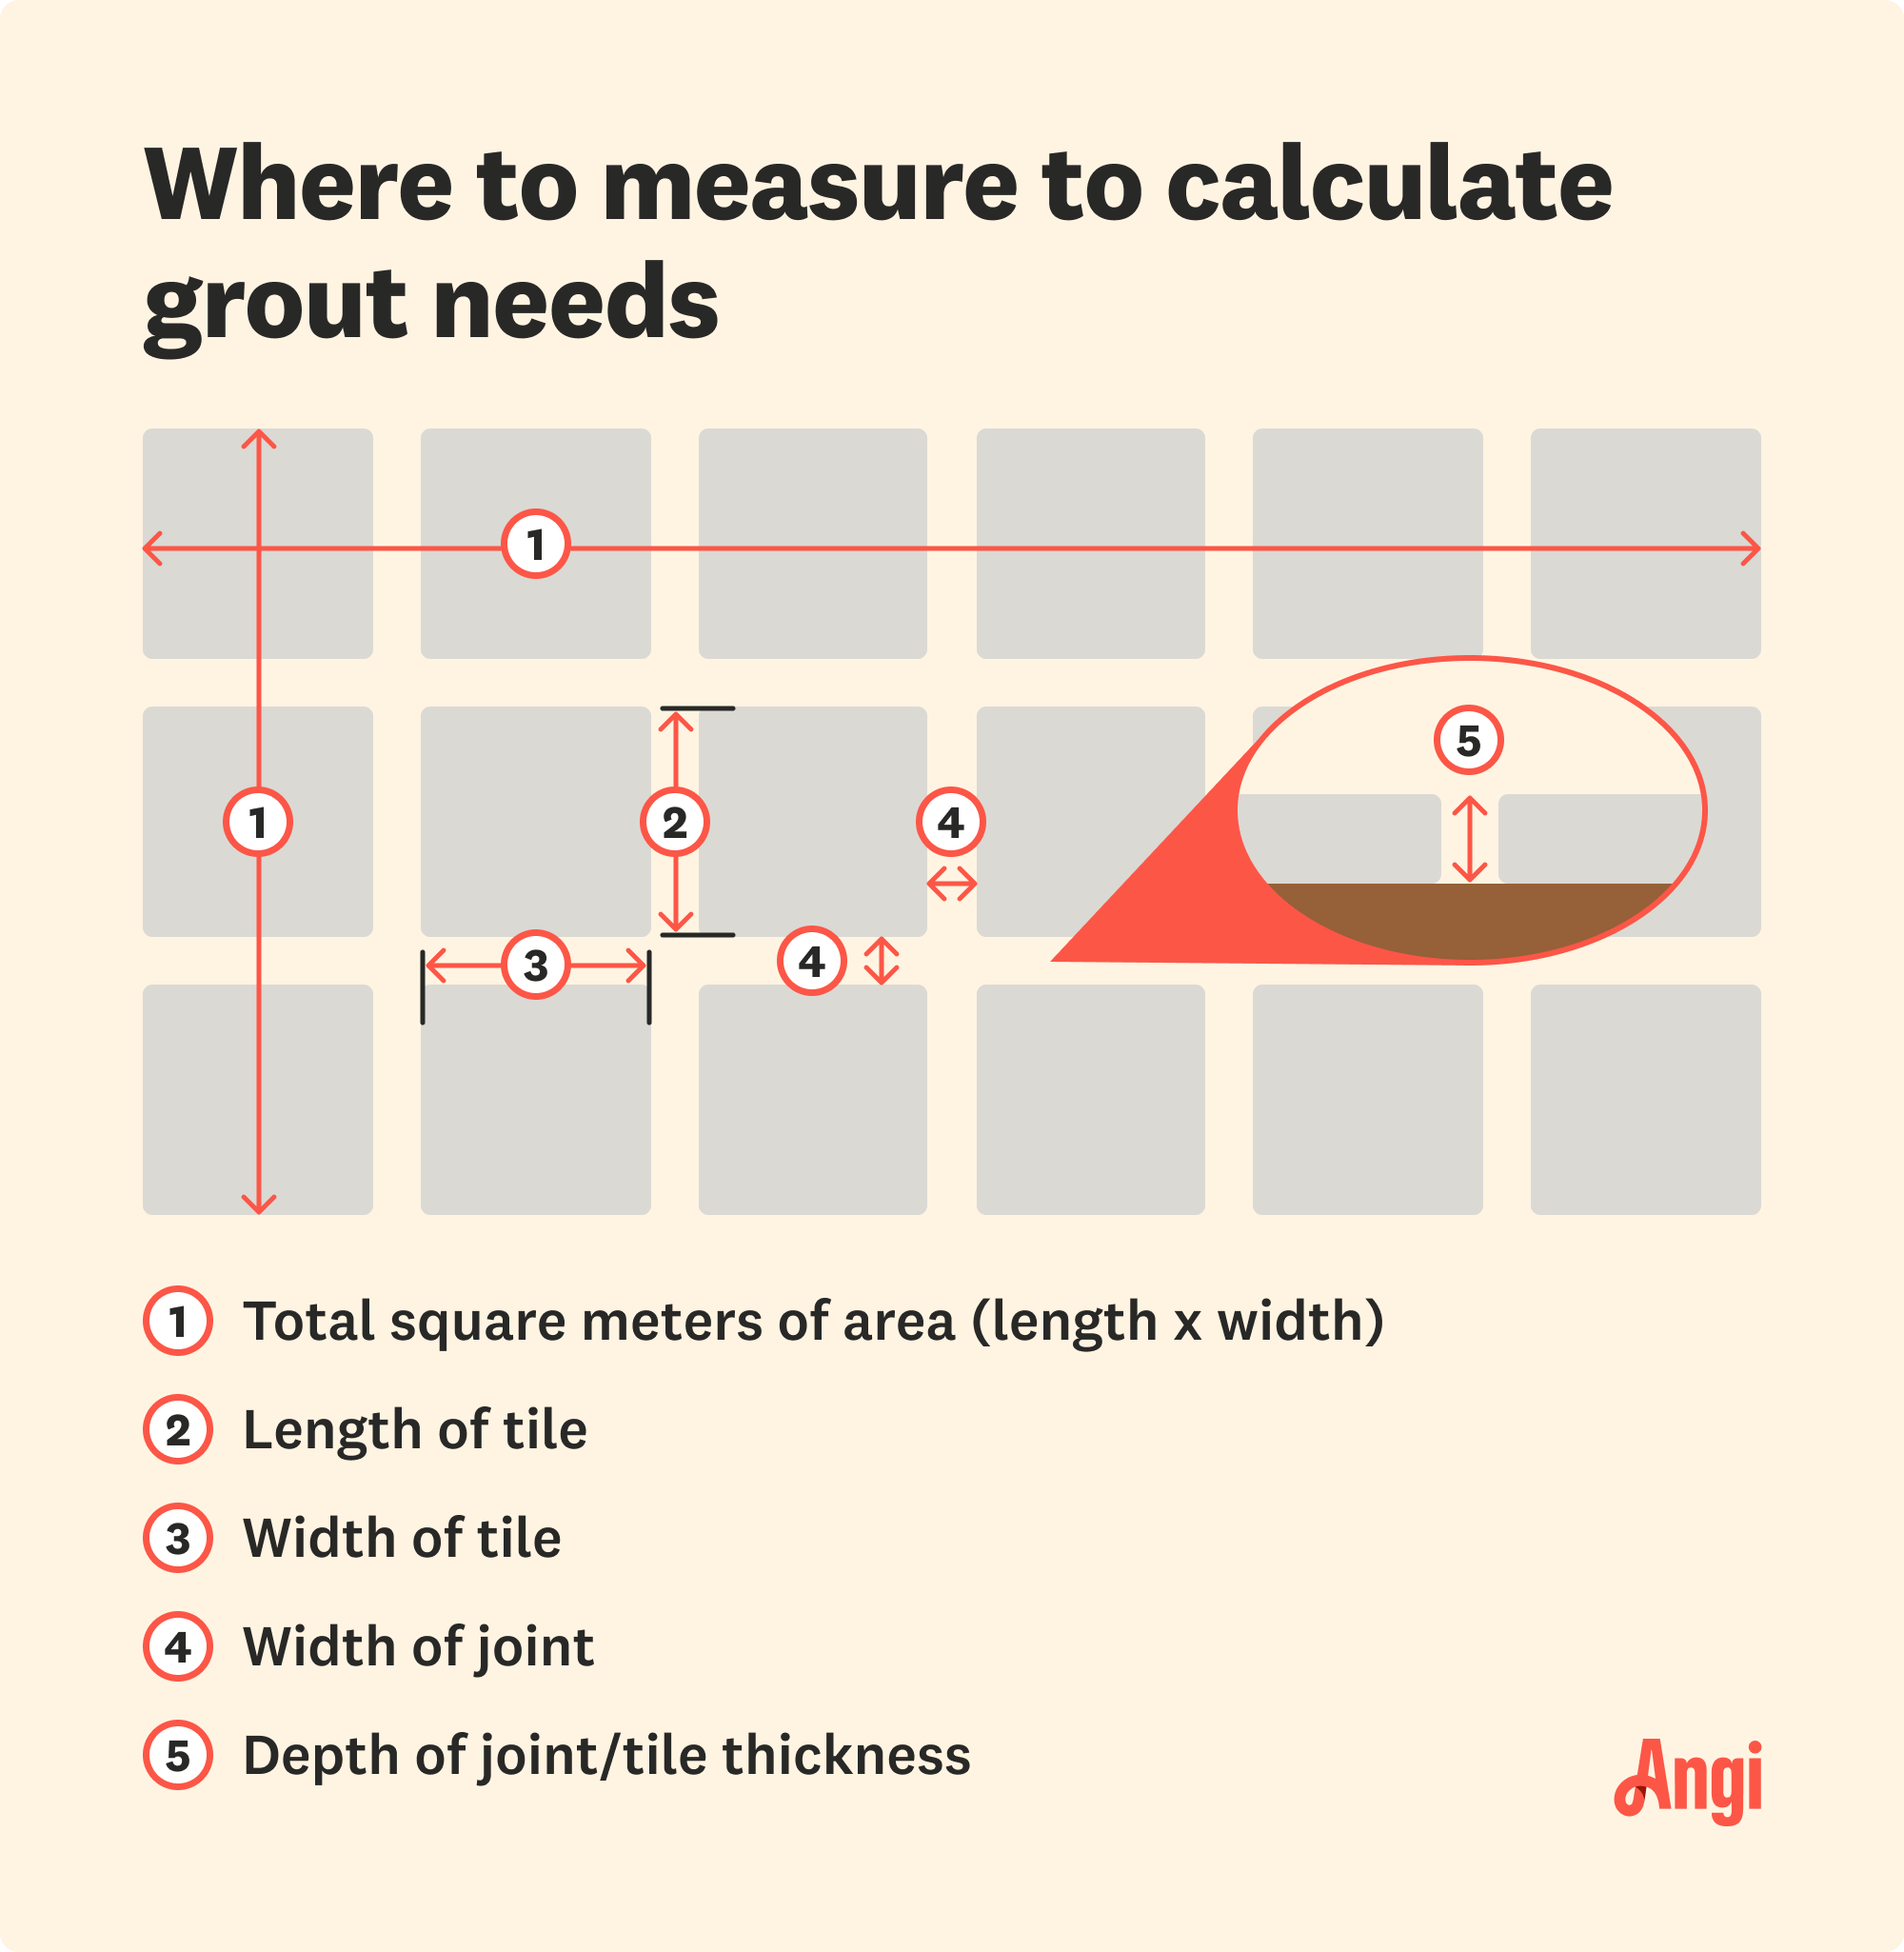
Because tile joints and thicknesses are typically fractions of an inch, it’s best to measure in millimeters and square meters. Grab a pen and record the following measurements.
The size of the area you want to tile (sq. meters)
The length of the tile (mm)
The width of the tile (mm)
The width of the joint (mm)
The depth of the joint/tile thickness (mm)
To start your calculations, you’ll need to take your measurements and add them together to find two different sums. We’ll label these A and B. Use the following formulas:
A = the width of your tile + the height of your tile
B = the width of your joint + the depth of the joint or tile thickness
Now that we have the value of A and B, we’ll multiply them to find a product that we’ll call C. To do this, we’ll use the multiplier 1.2. This number is the typical coverage ratio of a standard grout. Use the following formula, and record the value:
C = A x B x 1.2
Next, we need to find another product. We’ll label this product D. Find D using the following formula, and record the value:
D = the width of your tile x the height of your tile
E is the kilograms of grout you’ll need per meter. To find this figure, divide C by D using this formula:
E = C/D
Once you know the amount of grout you’ll need per meter, you need to find out how much grout you’ll need for the whole project. Take E and multiply it by the total area of your project (in square meters). The formula should look like this:
Total kg of grout required = E x total area (sq. meters)
Most people don’t want to know the amount of grout they’ll need but the grout coverage per bag. In the United States, dry grout is sold in pounds-sized bags. Most commonly, you’ll find bags ranging from 1 to 50 pounds.
Finding the total number of pounds for your project is as easy as converting the total number of kilograms. There are about 2.2 kilograms in every pound, so just multiply that figure by 2.2. If you’re using epoxy grout, convert your kilograms into a liquid volume unit like ounces or milliliters.
Tip: Add 10% to your final volume to account for mistakes. It’s better to have too much grout than too little.
Once you know what kind of grout to purchase, you must figure out how much you’ll need. A few factors will impact the overall required volume of grout:
The size of the tile: Smaller tiles have more joints per square foot and require more grout.
The thickness of the tile: Thicker tile creates deeper joints, which require more grout.
The width of the joint: Grout joints start at a minimum of 1/16 inch (for rectified tile) and 3/16 inch (for calibrated tile). Always follow manufacturer instructions.
Some bathroom tile trends, like rectified or Zellige tiles, have almost non-existent grout lines. In this case, you’d use the smallest possible joint width, 1/16 inch.
Medium grout joints are between 1/8 inch and 1/4 inch. This spacing is used when tiles have lugs or are slightly different sizes (like certain natural stone tiles). 3/16 inches is one of the most common joint sizes for installing ceramic tile, whereas 1/8 inches is usually recommended for mosaic tiles.
Large grout joints are between 3/8 inch and 1/2 inch. You’ll typically use this width for tiles with significantly different sizes in specific patterns (like the Versailles tile pattern).
From average costs to expert advice, get all the answers you need to get your job done.
Discover the cost to regrout shower, including average prices, key cost factors, and tips to help you budget for a fresh, watertight shower.

You're planning a bathroom remodel, but how much will it cost to retile your bathroom? Read this guide to find out.

Whether it’s on your floor, walls, or shower, ceramic tile can add style to your space. So, how much does ceramic tile installation cost? Let’s break it down.

Choosing the right tile requires you to make many decisions, including factoring in the PEI rating. Not sure what PEI rating is? Keep reading to learn more.

Wondering if you can regrout over old grout? Learn the pros, cons, and best practices to refresh your tiles with our expert guide.

Before you can apply mortar, lay tile, and finish with grout, you need a flat, even surface to work with. Learn how to level a floor for tile with this guide.