

Keep your bathrooms and kitchens looking their best by learning how to clean floor tile grout in this complete guide.
You don’t have to live with drab grout

Maybe you’ve just purchased a fixer-upper with beautiful tiles but dated grout, or perhaps your DIY tiling job didn’t turn out quite like you envisioned. When your grout looks more sad than dreamy, it’s time to learn how to change grout color. You don’t have to tear out the tile and start fresh—all you’ll need is a grout pen, grout dye, or stain and a dose of patience.
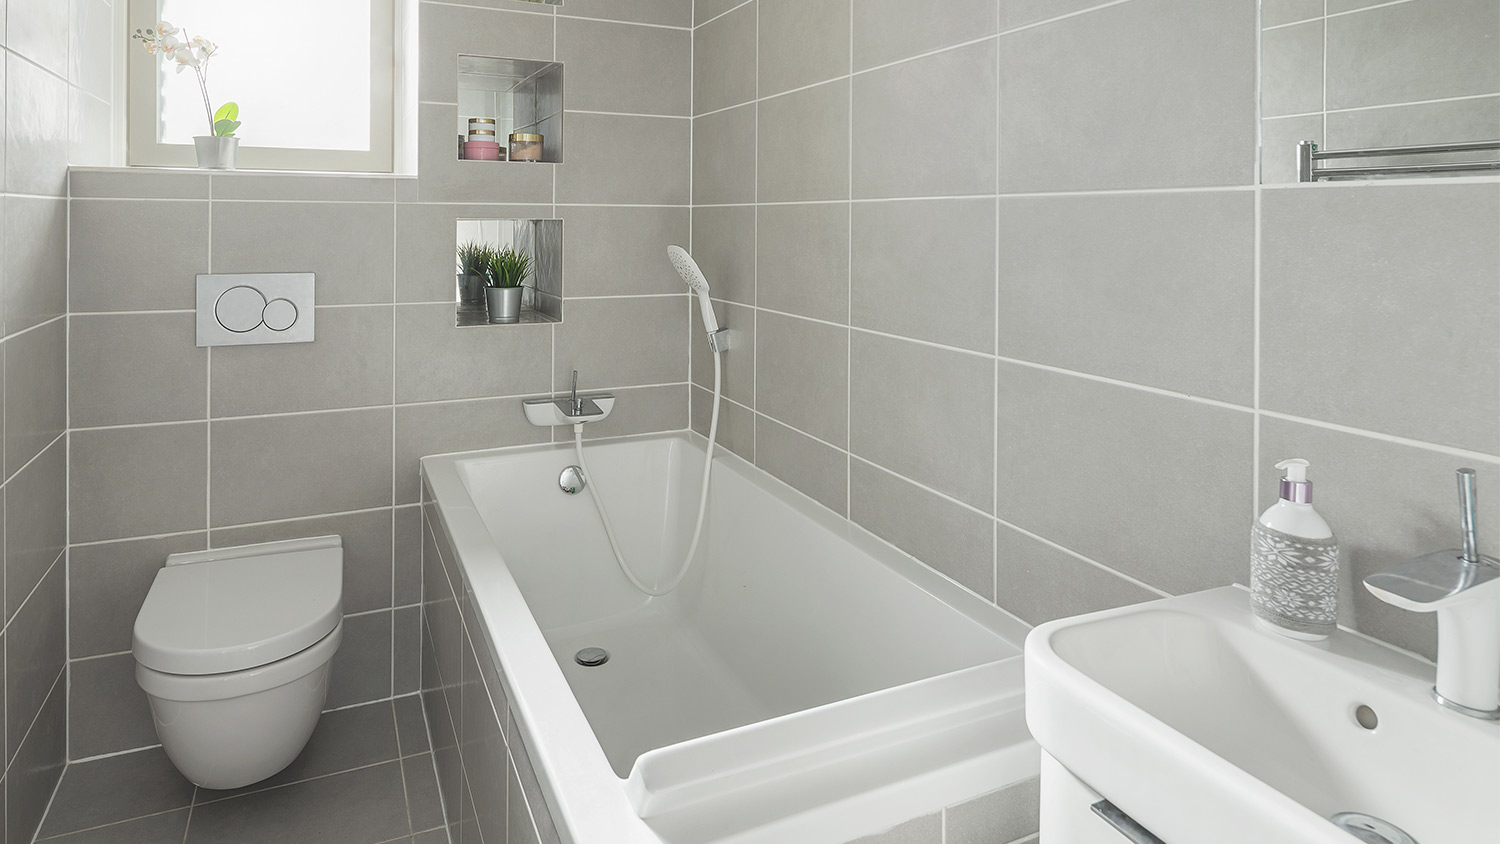
Protect nearby counters, cabinets, sinks, tubs, faucets, and other fixtures by taping or tarping off areas that won’t be getting a grout refresh. Use tarp and tape to seal off these areas. Remove outlet covers and light switch plates to prevent staining them, then tape over them for added protection.

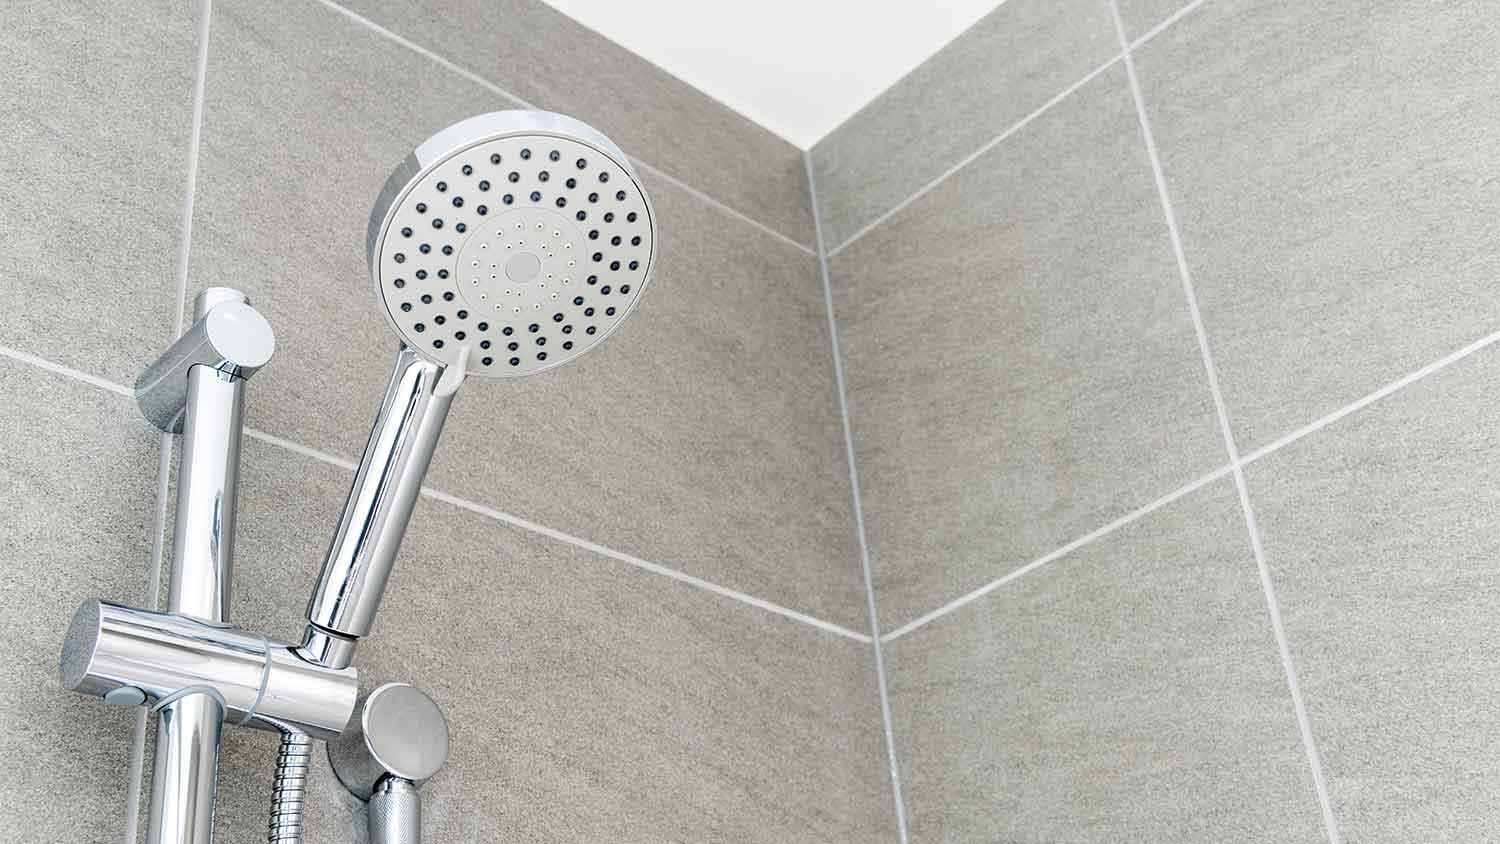
Put on goggles and protective gloves. To clean the grout, spray the grout and tile with either diluted white vinegar in a spray bottle or commercial grout cleaner, then scrub the surface with a grout brush. Follow up by wiping the tile and grout clean with a cloth.
If you’re using a grout pen, you can simply “draw” along the grout lines with the pen. If you’re using grout dye or stain, use a narrow paintbrush to “paint” the dye or stain onto the grout lines. Paint in a thin layer to avoid a thick, messy finish. Some of the dye may get on the tile, but you’ll clean that up in the next step.
Use a damp cleaning cloth to wipe the excess stain from the tiles. Move carefully so that you don’t accidentally swipe the grout lines and leave streaks.

After applying one thin layer of grout dye or stain, you may be satisfied with the look. If so, you can move on to the next step. However, if the finish looks streaky or isn’t vibrant enough, go back in and add a second layer.
Between each layer, let the stain dry for at least a few hours, preferably 24 hours if you have the time. The more patience you have during the process, the better the results will be.
Let the grout dry for 24 to 72 hours before moving on. To fully cure, the paint or stain will need seven to 10 days, although it should be fine to get wet after the initial 24- to 72-hour drying time.

After drying and curing, your new grout finish is complete. However, if you want the grout color to stay vibrant for longer than a couple of years, you’ll want to apply a grout sealant after the dye or stain has cured. Use a paintbrush to apply the color seal, and let it dry according to the product instructions. This takes a few hours or up to 24 hours.

Even less-than-handy homeowners can learn how to change grout color, but there are some rookie mistakes to watch out for.
Forgetting to clean the tile and grout first: If there’s soap scum, hair, or other debris on your grout and tile, your dye or paint won’t adhere to the grout properly. That means the finish will look uneven and sloppy.
Not allowing enough dry time: The new grout color needs time to dry. If you rush a second layer or get the tile and grout wet too soon, you could be left with streaky grout and stained tile.
Skipping the seal coat: Sealant helps protect your grout from moisture and extends the life of the dye or stain. Even unpainted grout needs resealed every couple of years.
Changing grout color is a DIY-friendly project, and the grout pen, dye, or paint costs only $5 to $30. The cost to seal grout is around $15 for the sealer.
If you don’t have a steady hand or the patience to stain or paint the grout lines, call in a pro for help. Or, if the grout is crumbling and in poor shape, you’ll want to hire a grout repair pro near you to remove the tile and old grout, regrout the area, and reinstall the existing tile or install new tile. Installing tile and grout costs $400 to $4,250, including material and labor costs.
Terrible experience. Walls/trim/floors/cabinets/doors all have drip marks, overspray, etc. Tiling at the fireplace had to be redone by another vendor due to incorrect and shoddy install by Profect. Contractor had his children in our house while he was on site without prior authorization or...
 Profect painting & exteriors
It was wonderful working with Yordy and his team. They were very professional and are experts in what they do. They have completed the work on time, with better quality and with in fairly reasonable price. We just started with backsplash work , but liking his work, we went on to provide...
We were having 2”x 2” tile installed . There was a small installation error and the new additional replacement tile was from a different lot and the colors didn’t match. Joe assured us that he would rectify everything , which he did without hesitation. We decided to go with the 18” x 36” tile...
 CarifaTile
For several months I was looking for somebody to tile a wall in my master bath and move lighting fixtures, and could not find anybody who was responsive. I contacted Rowe through Home Advisor and within days they came by to assess the job and provide an estimate. The cost was very...
It went very well! The end product was amazing and we keep getting a lot of compliments from friends! M&E were very professional and they made sure we were happy with the product before leaving. They met with us in our home and at the tile shop to make sure we were okay with our tile and...
 M&E Remodeling
Involved an extensive bathroom remodel, including removing tub & installing walk in shower, new drywall, custome tile work to ceiling, plumbing, etc. Overall, job was done on time and on budget. Nick & his team were very professional and had high attention to detail. Quality was great. Highly...
 Stamos Flooring and Remodeling LLC
Very pleased with the service and level of professionalism. Courteous and very unobtrusive in performing service. Unlike several other companies, Bradford Xteriors was willing to perform work on a three story home with a clay tile roof. <br />
 Bradford Xteriors
This company did a very good job on the brick wall and it looks just amazing. The staff was always professional and was practically OCD on how the bricks were stacked and how they were laid. Although it took longer than expected, I am willing to sacrifice time over perfection anyday. The...
 My Handy Mate LLC Improvement & Remodeling
He did the tile work and he was good at it. He used other subcontractors for the rest of the work (like putting in the cabinetry) and they were okay but not great. He was a great guy! He was easy to work with and had a good eye for the detail of his work. There were a couple of things that I...
 Brian Miller Custom Remodeling
I was very impressed with Miller Cantrell! I live in an old home in which the sewage line that runs from my home to the sewage system is a line of clay tile. These eventually collapse and need to be replaced - an expensive problem and sure to happen at the worst time. I told them that my...
From average costs to expert advice, get all the answers you need to get your job done.
Keep your bathrooms and kitchens looking their best by learning how to clean floor tile grout in this complete guide.
Don’t let mold and grime taint the look of your grout and tile. Regularly sealing your grout will help it stay good as new. Find out how to seal grout in a few easy steps.
Goodbye dingy grout, hello pristine tiles! Learn how to keep white grout clean like a pro with seven grime-busting tips.

Working on a home reno? You’ll need to remove old grout and clean grout haze on newly installed tiles. Learn how to soften grout for removal in five easy ways.
Whether you’re shopping for grout for your kitchen flooring, bathtub surround, or backsplash, these tips will help you select the perfect grout.
If you recently tiled your kitchen or bathroom, you might wonder, does grout need to be sealed? Check out the reasons you shouldn’t skip sealing your grout.