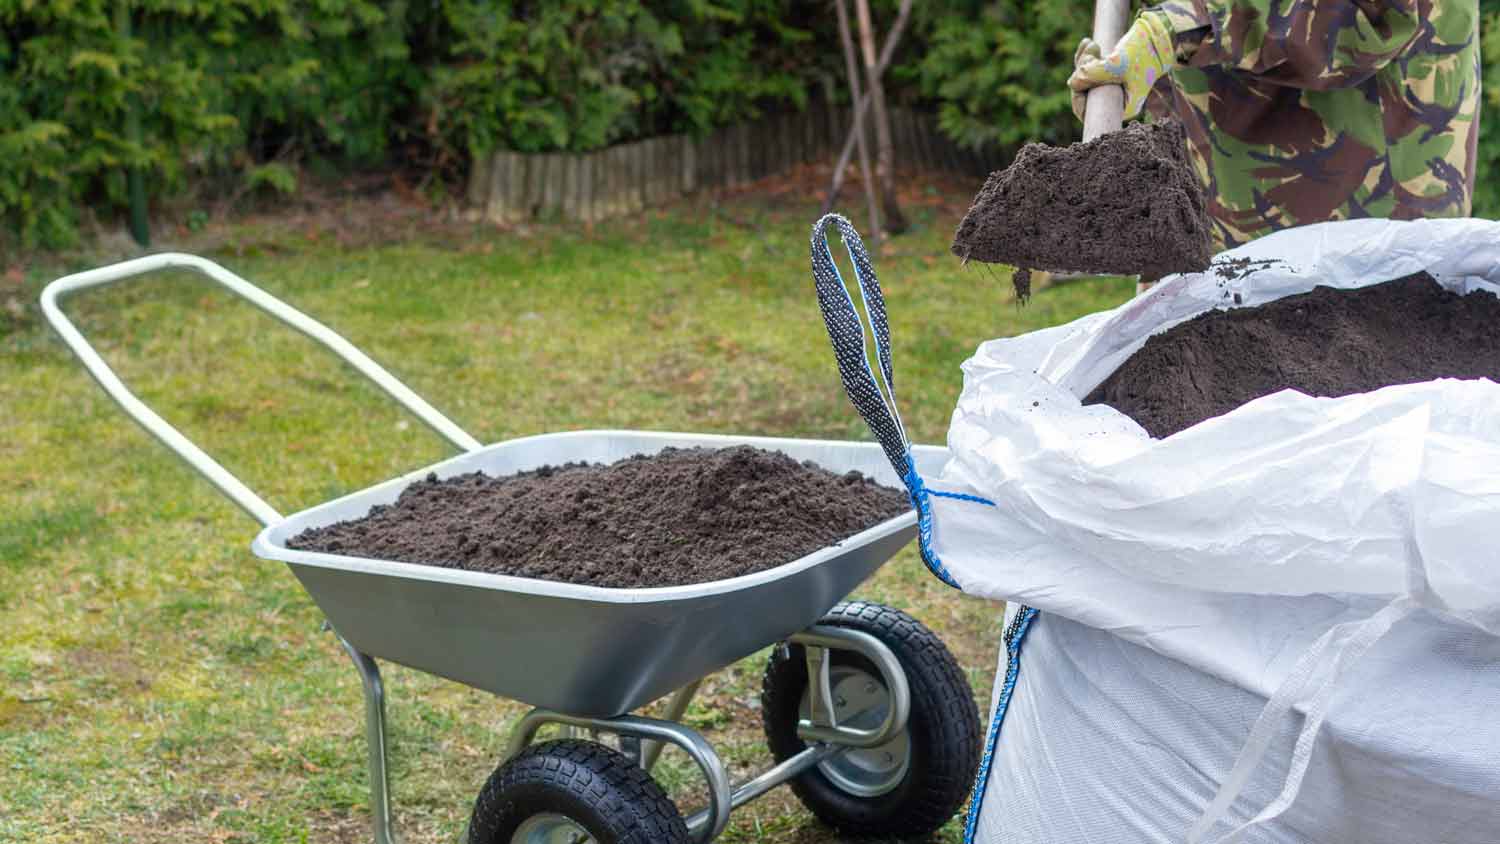
Get clear, up-to-date fill dirt cost info. Learn average prices, cost factors, and tips to save on your next fill dirt project.
Making your own mulch takes just a few simple steps


Mulch is the unsung hero of the garden, which is why many homeowners want to learn how to make mulch at home. We often associate mulch with large bags of wood chips from home and garden stores, but you can learn how to make it on your own. Your backyard already has most of the materials you will need, making it an affordable and highly satisfying DIY project.
Making your own mulch is a great way to save money, since most DIY mulching options are free or very inexpensive. In comparison, how much does mulch cost from the store? You can expect to pay $30 to $130 per cubic yard, which adds up if you have a big yard or garden. Besides saving your hard-earned cash, there are additional benefits to DIYing your own mulch.
It gives you a chance to use materials you might normally throw away.
It allows you to control your mulch ingredients.
The process is straightforward and fairly easy.
Choose from lots of different mulch materials that are typically readily available.
Composting can provide a steady stream of mulch for your yard.
You have two main choices when making mulch from scratch—organic and inorganic. Organic mulch comes from materials that naturally break down, such as the following:
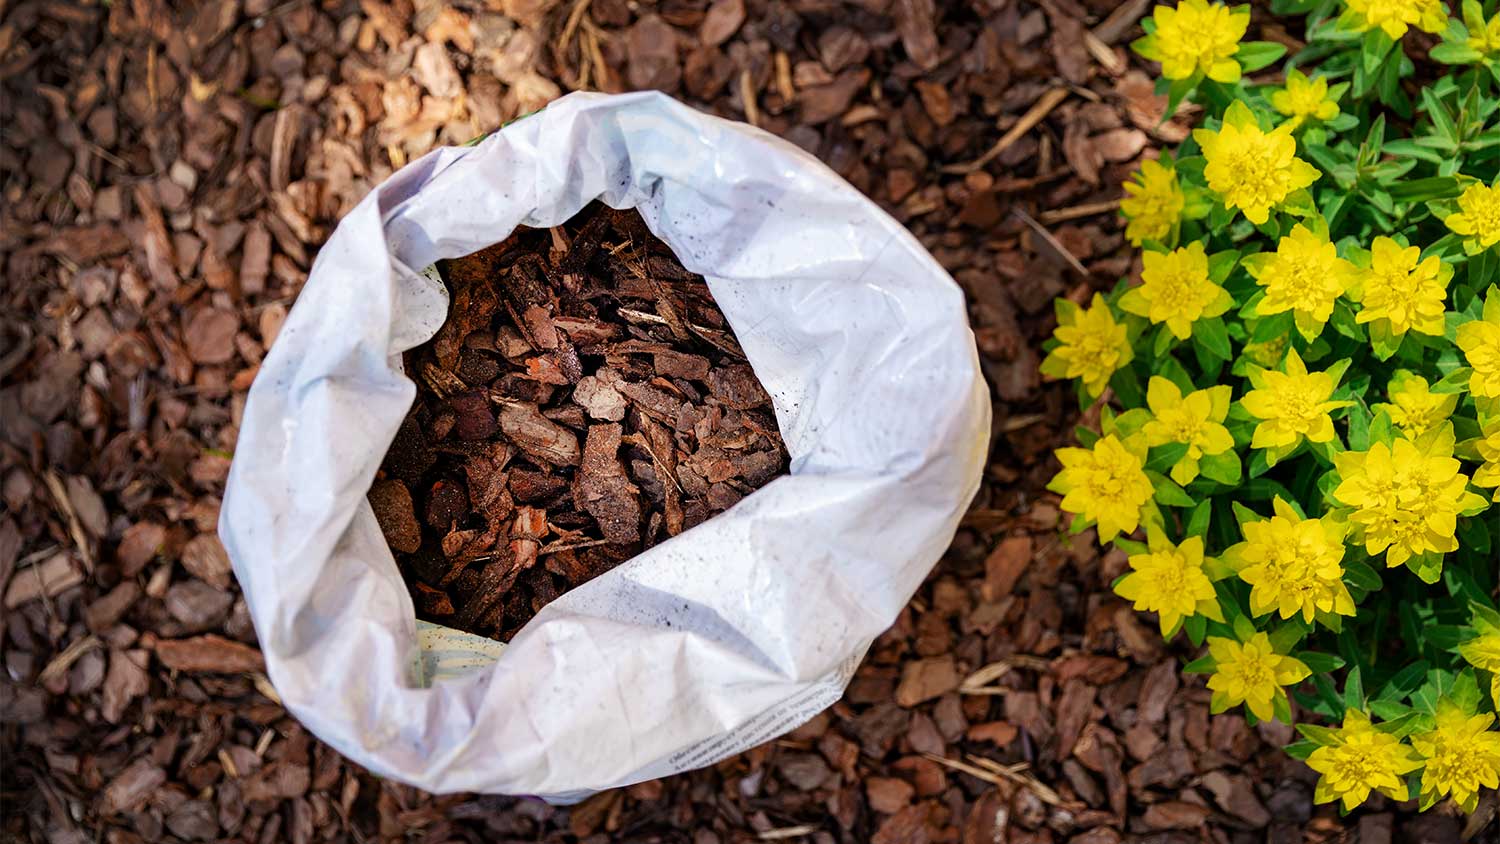
Wood chips
Pine needles
Leaf mulch
Newspaper
Compost
Straw
Inorganic mulch, on the other hand, includes rocks, plastic sheeting, and rubber chips that last longer than natural alternatives. Organic material is more beneficial for gardens, i.e., higher nutrients and lower cost, but inorganic is a bit easier to maintain over time since it does not break down.
In the end, choosing the right mulch for your vegetable gardens and flower beds comes down to the type of plants you want, as well as personal preference. You may simply like the look of fresh wood chips or prefer white stones at the base of your rose bushes. All are good options, so feel free to get creative with color and texture. Many options exist when purchasing mulch for your lawn, such as type, quality, and quantity.
As for your DIY mulching, we recommend starting with whatever materials you have based on the season. Leaf mulching, for example, is easier in the fall when you are not sure what to do with your piles. Inorganic mulch is typically best purchased from the garden store, so we will break down how to make each type of organic mulch to get you started.
A soil test can tell you specific nutrients your soil needs in order to grow plants and grass. For example, a clay or marshy soil could mean your plants take longer take root and grow, which is important information to have when starting your project.
Whether it is for your flower bed or vegetable garden, learning how to make mulch lets you put some of that organic matter around your yard to good use. There are a few ways you can approach this, based on the material you want to use. So, let’s look at how you can make your own with your chosen resources.
Branches and bark left in your garden after the winter make excellent organic mulch materials, especially under shrubs and along walkways. They provide nutrients to the soil, help retain moisture, and prevent weed growth. Plus, they fit into the style of most homes. Here is how to make mulch from wood chips:
1. Gather loose pieces of wood into small piles during your spring lawn cleanup and remove any rocks as you go.
2. Rent a wood chipper from a local hardware store if you do not already own one.
3. After reading the wood chipper’s instructions and putting on safety glasses, gloves, and clothing, grind the wood into small to medium flakes.
4. Lay the mulch around your plants, making sure the layer is at least four to six inches deep.
Grass clippings and other organic materials pile up during the summer. They are great organic resources since they help retain moisture, suppress weed growth, and improve soil quality. Ensure the material you are using has not been treated with chemicals like herbicides or pesticides, since those can harm your plants. Then take the following steps:
1. If your lawn mower has a bag to catch cuttings, simply use the collection of pine needles, grass, and ground-up leaves for your mulch. Each will enhance the soil around your flowers or veggies for brighter blooms and a heftier harvest.
2. If your lawn mower does not have a bag, you can rake up the grass and pine needle clippings after mowing, then use a standalone leaf mulcher or stringer trimmer to shred them up.
3. Allow the shredded material to dry for up to a week.
4. Create a two- to three-inch layer of mulch over desired areas.
For most homeowners, fall means cool temperatures, sweaters, and a yard full of leaves. Fortunately, when you are unsure about what to do with them all, making leaf mulch is a popular DIY project that puts those leaves to work. It is great for retaining moisture, providing nutrients to the soil, and inhibiting weed growth. Follow these steps:
1. Rake your leaves into a pile and wait for the pile to dry completely.
2. Remove large branches and rocks from your pile.
3. Run the leaves through your lawn mower once or twice, ideally with a bag to catch the clippings. You can also use a standalone leaf mulcher in lieu of a mower.
4. Add a three-inch layer of mulch to any areas where you want to prevent weed growth.
Note: Leaf mulch can become matted after heavy rainfall. Be prepared to loosen it up with a rake to let the air back into the soil after heavy rains.
Using compost as mulch does not mean you will put half-eaten apples and last week’s lasagna directly in your garden. Instead, you will wait for it to decompose and turn into a deep black, odor-free matter. That is when it is time to use it. Here is how to make mulch from compost.
Wait for your compost to turn into an earthy substance, which can take anywhere from two weeks to over a year, depending on the compost method you use.
Remove any weeds growing in your compost pile.
Layer the compost pile, aka mulch, at the base of your shrubs, flowers, and other plant life to provide them with valuable nutrients. Your layer should be one to three inches deep.
Straw is incredibly versatile, as it will hold in moisture for your vegetable garden and keep soil safe from the first frost. Plus, you do not need to treat it in any way to create mulch; any bale of straw is already mulch-ready. Follow these quick steps.
1. Purchase a bale of straw, making sure it is not hay, since hay is often full of seeds.
2. Lay the straw around the areas you want to mulch, creating a layer about six to eight inches deep.
Cardboard is great for DIY weed control and retaining water. Plus, since it is made from wood, it will provide nutrients to the soil when it decomposes. Avoid using waxed cardboard boxes, since those can prevent water from reaching the soil, hindering your plant’s growth. Here is how to make mulch from cardboard:
1. Before applying the cardboard, water your soil deeply.
2. Remove any tape from boxes.
3. Lay the cardboard over the grass or soil. Overlap each piece of cardboard by about four to six inches to help prevent weeds from getting through.
4. Soak the cardboard with a hose and cover it with one to three inches of wood mulch and compost or just wood mulch.
Making your own mulch is not as simple as applying organic matter throughout your garden and letting it work its magic. There are some tricks to the trade to help make mulching work for you and your plants. Here are a few.
Saturate your ground with water before and after applying your mulch.
Pull up all weeds before mulching.
Use the organic mulch you have on hand based on the seasons.
Mix different types of mulch to help strengthen your mulch bed.
Keep a compost pile you continuously add to for endless mulch.
Determine how much mulch you will need.
Invest in the right tools to continue making your own mulch and speed up the process.
Once you learn how to make mulch, giving your garden the nutrients it needs to thrive is fairly straightforward. Initially, you may have a few additional costs depending on the type of mulch you are creating. A high-powered wood chipper that can make quick work of your branches will cost anywhere from a few hundred to a few thousand. A good compost bin that can help speed up the process can average $75. Besides initial costs, making mulch can give you more control over the material you use in your garden.
It takes lots of effort and time, however, to build up a mulch supply so that it is usable and you have enough for your garden. By buying from the store and getting mulch delivered, you can save time and effort and get the exact amount and type of mulch you need. If you would rather let a pro handle the job, a mulch company near you can help determine the type of mulch that is best for your soil, plants, and flowers. On average, mulch delivery costs $180.
Kelly Weimert contributed to this piece.
From average costs to expert advice, get all the answers you need to get your job done.

Get clear, up-to-date fill dirt cost info. Learn average prices, cost factors, and tips to save on your next fill dirt project.

Find out how much a soil test costs and what you get for your money with our expert guide. Know what to budget for different types of soil tests.

Find out the average mulch delivery and installation cost, plus key factors that impact your price. Learn how to budget, compare options, and save on your landscaping project.

This rip rap calculator will help you estimate how much large rock you’ll need to ensure your shoreline or embankment doesn’t get wiped away by wayward waves.

From wood chips to grass clippings, we like to throw around the word mulch. But what is mulch, and how do you use it properly? Let's break it down.

Tired of your traditional, woody mulch and ready to try something new? We got you! Get 11 mulch alternatives to choose from here.