How to Hang Christmas Lights Yourself for a Shimmering Holiday Season
This DIY is merry and bright


Few things can spark your holiday mood more than learning how to hang outdoor Christmas lights. While you can hire a professional to do this job, you do have the option of learning how to hang Christmas lights yourself. Going the DIY route will save you money, and give you and your loved ones a fun project to get into the holiday spirit. From getting prepared to all your different light hanging options, here’s everything you need to know to hang lights on any part of your home.
Why Should I DIY My Christmas Lights?
Though hanging Christmas lights involves more physical effort than leisurely sipping hot cocoa or wrapping gifts, it’s a tradition that many enjoy doing themselves. After all, who can resist spending a day in the fresh air surrounded by friends, hanging lights, and celebrating all the hard work with some good food afterward?
In addition to being an excellent opportunity for holiday festivities, hanging up your own Christmas lights is also more cost-effective than hiring a pro to do it for you.
How Much Does It Cost to Hang Christmas Lights?
The average cost for professional Christmas light installation is about $415, ranging from $220 to $650. The price depends on a range of factors, like the type of lights, square footage of coverage, and the labor fees in your region. A professional holiday light installer can ensure you have enough lights and help reach difficult places like roofs and gutters.
On the other hand, doing it yourself can cost as little as $100 for all the required equipment (and less depending on what you already have), so this DIY project is a budget-friendly option for the average homeowner.
How to Prep for Hanging Christmas Lights
The hardest part of hanging Christmas lights is all the prep work you must do ahead of time. Planning out where exactly you want to do the hanging, taking measurements, and testing your equipment will ensure that your project runs smoothly from start to finish.
Plan Your Project Ahead of Time
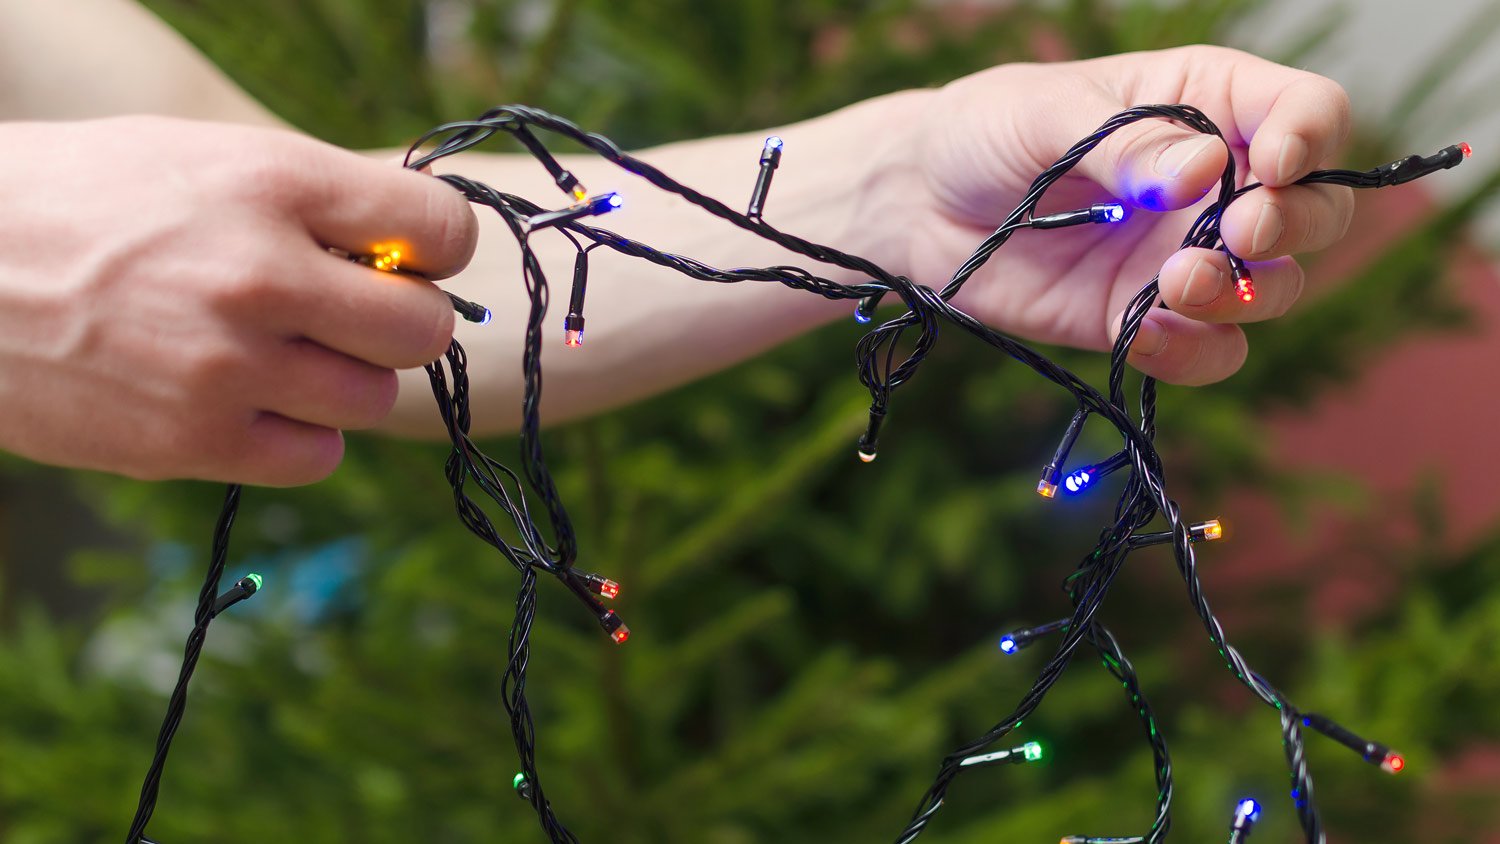
Plan your light-hanging strategy by laying the strands out on the ground below the areas of your house where you want to hang them. Doing this will give you a sense of how much area each strand will cover, so you don’t come up short once on the ladder. While you’re at it, check for nearby electrical outlets and make sure that your lights are either long enough to comfortably reach them or that you have an extension cord to make up for the extra space.
Measure Your Home’s Exterior
To ensure you have the right amount of lights, you need to know the precise dimensions of your home’s exterior. Fortunately, you only need to measure the exact spots where you’re planning to hang lights, so don’t worry about measuring your entire home.
Grab a piece of paper and draw where you’d like to hang your lights on your home. Then, use a measuring tape to check the dimensions of each spot, and write down what you find as you go. When you’re done, add up all the numbers to find just how many feet of string lights you need. Don’t forget to include measurements to the nearest electrical outlets so you can invest in an extension cord if necessary.
Once you’re equipped with that information, the amount and type of outdoor lights you decide to use is entirely up to your preference. Options like magnetic Christmas light strips can lessen your workload, and LED bulbs can reduce your energy costs.
Choose Lights Wisely
There are many kinds of string light styles and bulbs, each with pros and cons. The best outdoor Christmas lights are LED because they use less energy, are longer-lasting, and can connect up to 25 strands. By comparison, incandescent lights can only connect between three to six strands max and have a much shorter lifespan, meaning you’ll likely need to replace the bulbs every year, whereas you may be able to get decades of use from LED bulbs.
On another note, the strand color itself can also have an impact on your home’s look. For example, white strands will blend seamlessly with a white background but stand out on a darker one. Similarly, the spacing of the bulbs on a string light determines how bright it is. Tightly packed lights are brighter than widely spaced options, but you can replicate this effect by layering two strings of bulbs on top of each other. These are all things to consider before buying your holiday lights.
Gather Your Supplies and Double Check That Your Lights Work
Having all your equipment in the same place will make it easier to get started—and keep going. In general, you really don’t need much to get started—just your lights, either a staple gun or light clips, and a ladder. Not needing to run back into the house or garage every time you can’t find something will help you stay organized and keep the project moving smoothly. Place everything you need on an easy-to-access tarp or foldable table to ensure your equipment is always within reach.
While you’re at it, double-check that all your lights are working while you’re getting ready. That way, you can replace any broken bulbs before climbing your ladder.
How to Hang Christmas Lights

There are a handful of different ways to hang Christmas lights, and all options are relatively easy for DIYers to do themselves.
1. Attach Lights With Staples
Hanging Christmas lights with staples and a staple gun is generally the easiest technique. The downside is that this method leaves behind little holes. Plus, unlike reusable light hanging clips, staples are not reusable and you’ll have to restock and therefore spend more over time.
The process of attaching string lights with a staple gun is simple. Climb on your ladder, place the light in the desired position, set the staple gun so that the cord is between the two points of the staple, press the button, and repeat. Just be sure to avoid stapling through the cords as this can damage them and make them unusable.
2. Attach Lights With Light Clips
It’s possible—and recommended—to hang Christmas lights without using nails. Light clips are a favorite of homeowners for hanging Christmas lights because they are reusable and don’t leave behind holes. These small but reliable tools consist of two attachable ends—one is designed to grip string lights and the other to attach to your home. Find out how to use them, below.
1. Fasten Clips to Light Strands While They’re Still on the Ground
How far apart you choose to space them is up to your preference. For example, wider spacing will result in lights that droop slightly and create an icicle effect, but maybe you prefer a tighter fit.
2. Fix Clips to Shingles, Gutters, or Eaves
Once the clips are placed along a strand, climb up on a ladder and attach them to your home one at a time. This is an ideal way to hang Christmas lights on gutters.
3. Illuminate Door and Window Frames With Adhesive Hooks
Adhesive hooks make it possible to adhere string lights to surfaces without any edges or corners, like some doorways and windows. Simply place hooks in the desired spot, taking care to space them evenly, then hang your lights directly onto them—no need for additional clips.
4. Use an Extension Pole to Attach Lights in High Places
An extension pole is perfect for hanging lights in hard-to-reach spots because they’re easy for anyone to use. These poles consist of a rod that can be moved up or down, and a hook for placing and attaching lights and light clips. Here’s how to use one to hang lights.
1. Attach Light Clips to String Lights
While the lights are still on the ground, attach the clips evenly along the cord.
2. Use Pole to Place Clip on Gutters, Shingles, or Eaves
Grab the clip with the hook of the pole and set it in the desired spot. Use the hook to firmly attach the clip.
3. Pull the Release Lever to Attach Clip
When the clip is in place, press the release lever to secure it to your gutters, shingles, or eaves. Repeat this process with each clip until the entire strand is completely hung.
4. Skip the Clips and Drape String Lights Over Tree Branches
Not in the mood to muck about with light clips? You can skip the need for them entirely by learning how to decorate an outdoor Christmas tree. The branches serve as natural hangers for the cords, so all you have to do is use an extension pole to drape them as you please.
5. Illuminate Your Bushes With Net Lights
Net lights are another great option that eliminates the need for extra tools. Simply open up the light, throw it over a bush or another plant like a blanket, plug it in, and enjoy.
3 Tips for Staying Safe While Hanging Christmas Lights

Though hanging Christmas lights can be risky, there are a handful of precautionary measures that you can take to ensure that nothing goes wrong.
1. Keep Replacement Bulbs at the Ready
Light strings are delicate and can break at a moment’s notice—even when you’re in the middle of hanging them. That’s why it’s a good idea to have several replacement bulbs on hand throughout the installation process. Store them in a small pouch or fanny pack, or wear an apron or set of overalls with deep pockets to keep them close by. That way, you don’t have to climb up and down the ladder to repeatedly grab more bulbs.
2. Firmly Secure Your Ladder
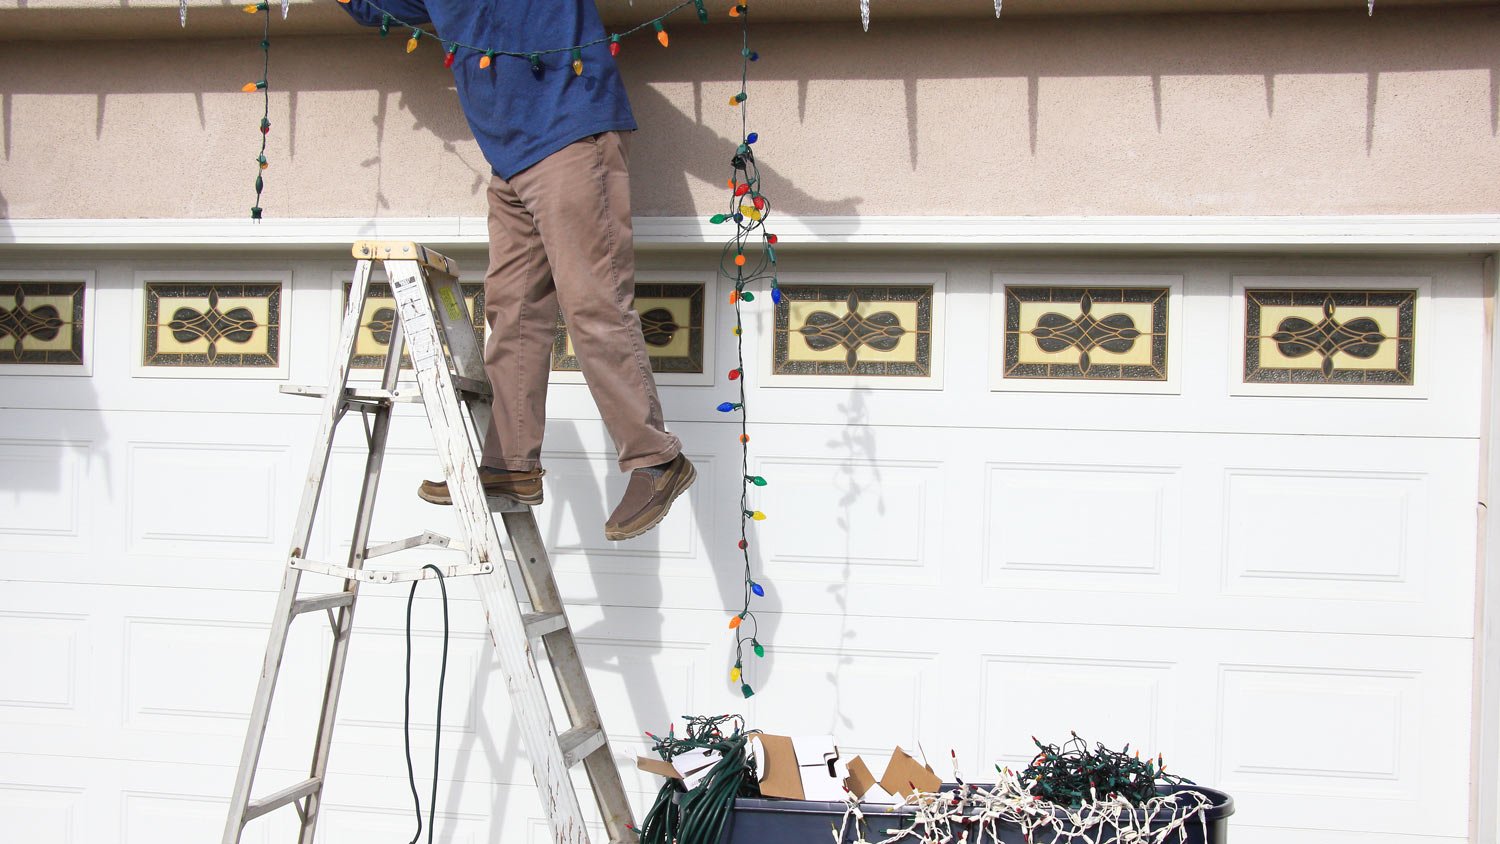
You don’t want to end up like Clark Griswold. Always take time to ensure that your ladder is fixed to a flat surface so that there’s no risk of it moving while you’re hanging lights. Avoid propping it up on tables or chairs for extra height, and instead buy or rent a taller ladder to safely reach high spots.
3. Work With a Buddy
When it comes to working at heights, it’s a good idea, in general, to do it with someone else. Work with a buddy who can spot you from the ground while you’re high up on a ladder. And be mindful of your surroundings when going up and down to avoid bumping into anything.
DIY vs. Hiring a Pro
If your home is larger than average, or you’re simply uncomfortable with heights, you’re better off outsourcing this project to a professional. They have all the necessary tools and skills to access hard-to-reach spots. And they can help you realize your most fantastical yet complicated Christmas light dreams.
On the flip side, doing this project yourself is quite feasible and cost-efficient. In fact, you’ll save money on Christmas lights overall if you reuse the same ones each year.


- How to Hang Christmas Lights on Your Roof: A Complete DIY Guide
- How To Hang Christmas Lights Inside for a Festive Look
- How to Put Lights on a Christmas Tree Like a Pro
- Types of Christmas Lights for Every Holiday Need, Explained
- How to Save Time and Money on Christmas Lights
- How to Hang Christmas Lights on Tile Roofs: 9 Tips for a Successful DIY
- Choosing the Best Christmas Lights to Illuminate Your Holidays
- How Many Feet of Christmas Lights Do You Need For Your House?
- Professional Christmas Light Installation Guide: Costs, Pros & Cons Explained
- How to Hang Christmas Lights Outside Without Nails


