
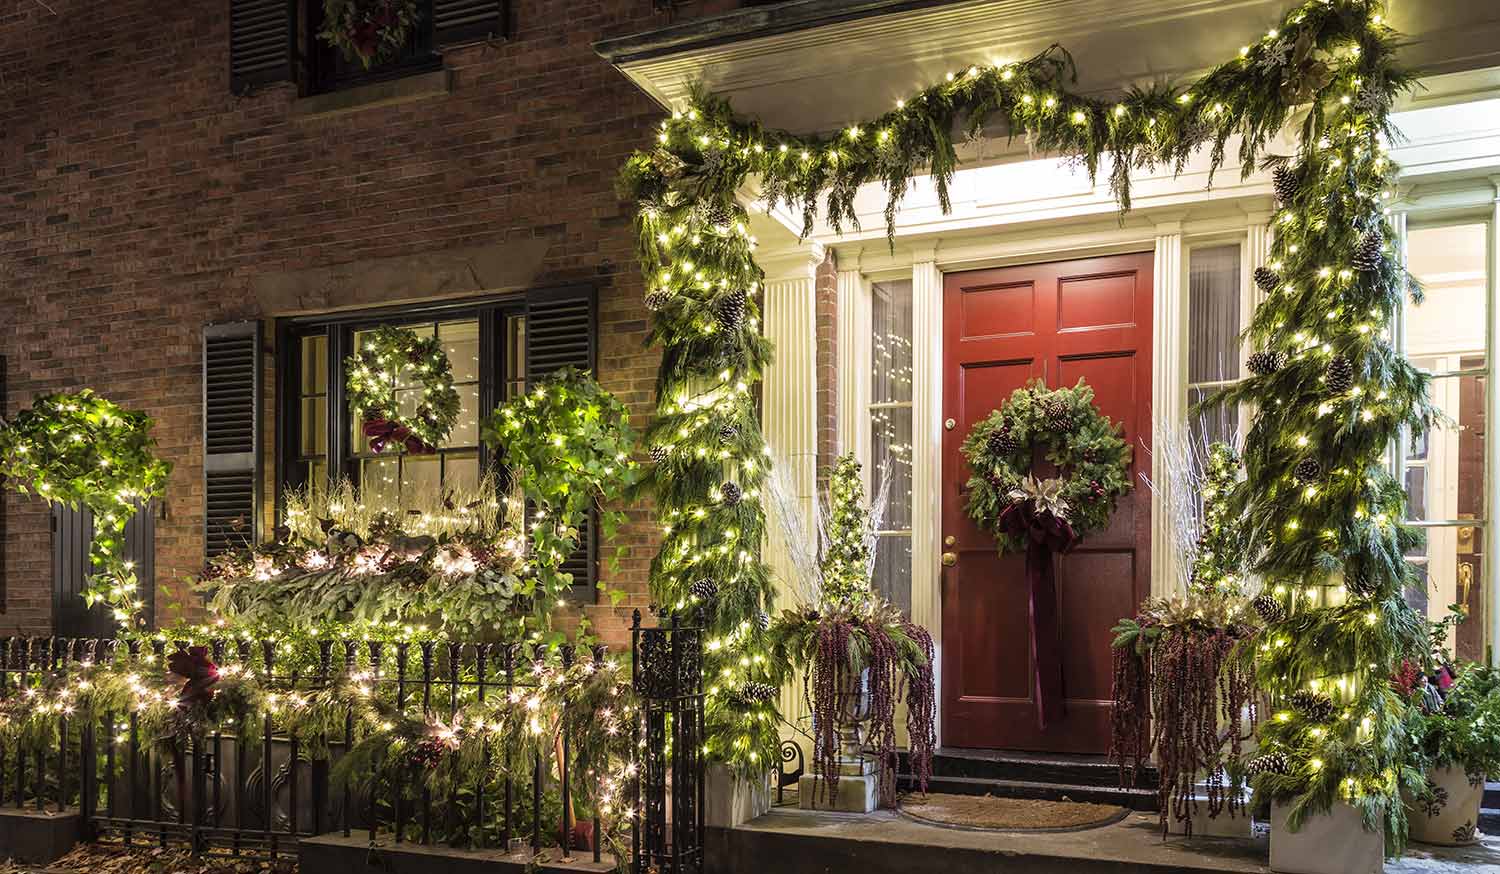
•
Discover the professional Christmas light installation cost, including average prices, cost factors, and tips to save on your holiday lighting project.
Here’s how to raise the roof with holiday cheer this season

Installing Christmas lights on your roof requires planning your electrical source, measuring your roofline, testing lights for damage, and choosing the right clips for your roof material.
Expect to pay $220 to $660 for professional holiday light installation and removal, which often includes renting light strands, while DIY supplies cost around $225 initially.
Use roof clips spaced 6 to 12 inches apart rather than staples or nails, and attach your lights while unplugged to prevent electrical hazards on metal ladders.
Hiring a local holiday decorating professional keeps you safely off the roof and handles everything from clip placement to electrical setup and timer installation for your display.
If you’re big into holiday decorations, you may be wondering how to hang Christmas lights on your roof. Homes across the world attach Christmas lights on roofs as a symbol of the season and to bring a little holiday cheer to their communities. Our expert DIY guide outlines all the preparations you need to do before embarking on this process safely and efficiently, as well as step-by-step instructions, tips, and more.
Take a page out of Santa’s book: make a list and check it twice. Putting up Christmas lights involves a decent amount of preparation and knowledge to make the process as simple and safe as possible. Consider hiring a local holiday decorator to handle this festive but time-consuming task for you.
The first thing you should do is make a plan to safely power your holiday lights from an electrical source. Before you even get your ladder out of the garage, locate all your power sources, taking care to first measure the distance from the initial plugin to the roof line.
Then, measure the length of all the areas where you want to hang lights (you can choose gutters, shingles, and the roofline) and double-check that you have enough lights to cover that area.
| Feature | Description | Preparation |
|---|---|---|
| Single Row of Lights | Hanging one row of lights along the perimeter of the roof | Measure the square footage of the area to determine the total length of lights needed |
| Outline | Creating a detailed outline of your desired light installation helps installers work efficiently | Notate the number and placement of light stands. Ensure all sections of the roof are covered and properly supported. |
| Focal Points | One area or section of the roof that you want to highlight in the light design | Pick distinct roof features (turrets or center points) and add to the outline |
| Color | A cohesive color scheme can enhance the aesthetic of your light display | Choose between bright white or festive colors; Mix colors for a vibrant look or use classic white for elegance |
Make the process merry (and most importantly, bright) by checking your lights before you hang them up. Look for any burned-out bulbs, exposed wires, or cracked lights.
If they are broken, you can try to fix the broken Christmas lights with a needle-nose plier or buy replacements.
Most homeowners use specific Christmas light hooks for a roof when completing this project (or you can skip this process altogether with magnetic Christmas lights!) as they’re affordable and easy to set up.
There are a few types of roof clips you can choose from, depending on your roof material and where you’re hanging the lights:
| Type | Best For | Details |
|---|---|---|
| All-in-One Clip | Gutters and shingles | Standard clip style that can easily slide under a shingle or on a gutter. |
| Clay Tile Roof Clips | Slate or tile roofs (flat or barrel style) | Similar to all-in-one clips, but includes “gator teeth” for better grip on these materials. |
| Eave Clips | Decks, eaves, banisters, and railings | Easily push the clip over the railing or banister, locking it into place. |
| Roof Peak Clips | Roof peaks | Straddle the peak line by grasping onto opposite shingles for stability when hanging lights. |
When figuring out how many clips to buy, know that most manufacturers recommend spacing them between six to 12 inches apart. So use the same math you did for calculating how many strands of lights to buy, but instead divide by six or 12 inches as opposed to the length of the strands.
Attaching Christmas lights on your roof is a bit of a workout, especially if you realize on the roof that you forget one or two items on the ground.
So before you begin, gather all your materials and supplies and put them in a tool belt or something else that’s convenient to carry up a ladder and have at hand throughout the process.

Plant your extension ladder on flat ground, extending it beyond the eaves of your roof. When using your ladder, make sure not to reach too far, as this can disrupt your center of gravity. Move the ladder as often as needed to keep yourself at a safe working distance.
Hang your first roof clip at the corner where the strand will extend from the plugin. From there, place clips as far apart as the manufacturer recommends (usually around 12 inches). Don’t forget to check that each clip faces the same direction before you clip it into place.
Before you get too far, it may be worth putting up a strand of lights to make sure you like the way they look.

First, check to make sure your lights can comfortably reach the plugin from your first roof clip.
Then, unplug them and start hanging the lights on your clips. Unplugging them is especially important if you’re using a metal ladder, as metal and electricity don’t play well together.
Most clips have little hooks or circular openings for the lights. When attaching the Christmas lights to the hooks, make sure they’re all facing the same direction. Keep the light string taut (but not too tight) as you work from clip to clip.
Don’t keep your neighbors awake with your holiday display. Use a smart plug to set a timer and control your Christmas lights while you’re away or asleep. You can also consider a light sensor timer that turns the lights off automatically at dusk.
If you don’t want to buy an extra gadget, you can always just unplug them at night as well.

Now, it’s time to test your handiwork. While it’s still light out, plug the lights in and see how they look. Doing it during the day may not be as exciting, but it does give you the time and daylight to handle any repairs or changes that may be needed.
Then once it’s dark out, bring your family outside for the grand reveal.
Personal safety is of the utmost importance in any home project, including decorating for the holidays. Follow these guidelines to keep your lighting team safe:
Never use nails: Not only can nails leave holes in your roof, they can also damage the electrical wires and be a cause of danger. Instead, use roof clips for Christmas lights.
Be thoughtful of your extension cord: Don’t use just any old extension cord for this project. Use ones that are rated for the electrical load and the environment.
Elevate your electrical: If you have to run your extension cord along the ground, elevate the plugs and connectors. This will help keep snow and other types of condensation out of the openings.
Practice ladder safety: Ladders are a necessity, but come with a few hazards. Keep yourself safe by following our ladder safety tips.
Ask for help: While this can be a one-person job, you may consider asking a friend to help hold the ladder for you for added safety.
Attempting tasks that require ladders in snowy conditions poses a significant safety risk due to slippery surfaces and reduced visibility. It's safer and wiser to hire a snow removal professional who is equipped to handle these challeneges safely and effectively.

On average, Christmas lights cost between $4 to $30 per strand, for about 100 to 200 bulbs each. An average-sized home (between 1,000 to 2,000 square feet) will use somewhere between 10 to 20 strands of lights, depending on the roofline and design. Then, you’ll spend another $20 to $40 or so on Christmas light hooks for your roof.
That means your cost will likely land around $225 for the first year. While this may seem like a big investment at first, it’s important to remember that you can keep the same design for a few years and not have to pay an extra cost unless a bulb burns out or a strand breaks.
Hanging your own Christmas lights is a lot more affordable than hiring a pro. Local professional light hanging companies charge between $220 and $660 on average for installation and take down per year. Usually, this price includes the cost of renting the light strands as well.
Considering that the average home spends about $100 on outdoor Christmas lights and another $40 on hooks and smart plugs, DIY is more affordable in the long run. But, it’s not necessarily an easy task, nor is it one that many homeowners get excited to tackle on their own. Hiring a professional to hang lights may be more expensive, but it can save you a lot of time and effort during the otherwise most wonderful time of the year.
Excellent work, punctual, polite. Strongly recommended.
 DURAJ PAINTING LLC
Custom Paint Jobs LLC made our home feel warm and inviting. Their expertise is evident.
 Custom Paint Jobs, LLC
Visited my home for estimate same day that I called. Painted on Saturday. Great job. Good price!
Window Depot did an amazing job on my deck. I wasnt sure what I wanted to do, but their composite decking was affordable and will last a long time. I am excited to have family over, and I am no longer embarrassed by my backyard. Jeff and the ground crew were polite, respectful, and caring for...
 Window Depot USA of Central Ohio
Excellent experience! Left my place looking great. Friendly customer service too. Would recommend!
Awesome company. Had a jacuzzi tub taken out and replaced with huge walk in shower with partial glass enclosure. Onyx to the ceiling with a decorative border, moved plumbing and installed hand held shower, new ceiling, flooring, and paint. Replaced window with glass block. Everything was done...
 Columbus Bath Design
Danny was extremely pleasant and professional and graciously scheduled an appointment for an estimate on a holiday. Communication leading up to the appointment was very good. his representative was timely and polite. Although we did not end up purchasing painting, I had a very positive...
 Danny's Pro Painters LLC
There isn't much I can add that hasn't already been said about Rhino Painting. Outstanding service and communication from the first phone call through the end of the project, we could not be happier with this company. They painted our kitchen, living room, ceiling, starirwell and wood work,...
 Rhino Painting & Color Consulting LLC
This company is amazing! My garage door broke this afternoon and was stuck in the open position. I couldn't leave with the door open so I called Sanford and Sons because the company was recommended by the manufacture of my garage door motor. Nancy answered the company phone and problem...
Bob arrived within an hour of my calling and was very professional and helpful. He was willing to take a look right away even though it was late in the afternoon (and in the middle of holidays). Fixed the problem. I will definitely use their service in the future. <br />
 My Home Solutions LLC
From average costs to expert advice, get all the answers you need to get your job done.
Discover the professional Christmas light installation cost, including average prices, cost factors, and tips to save on your holiday lighting project.
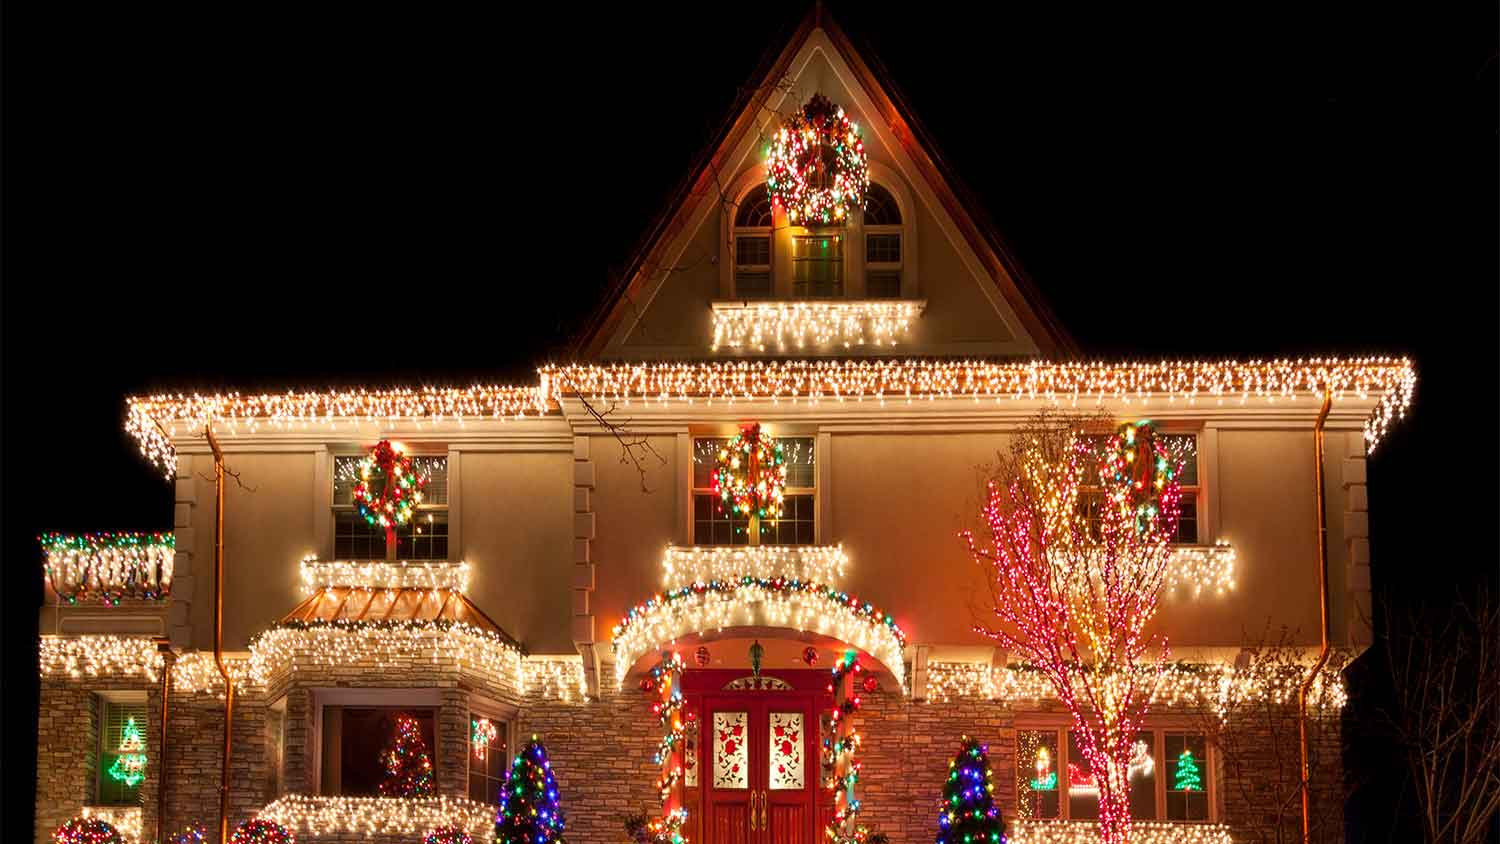
Hanging lights on a home’s stucco exterior is possible to do without nails. This guide will tell you how to hang Christmas lights on stucco without causing damage.
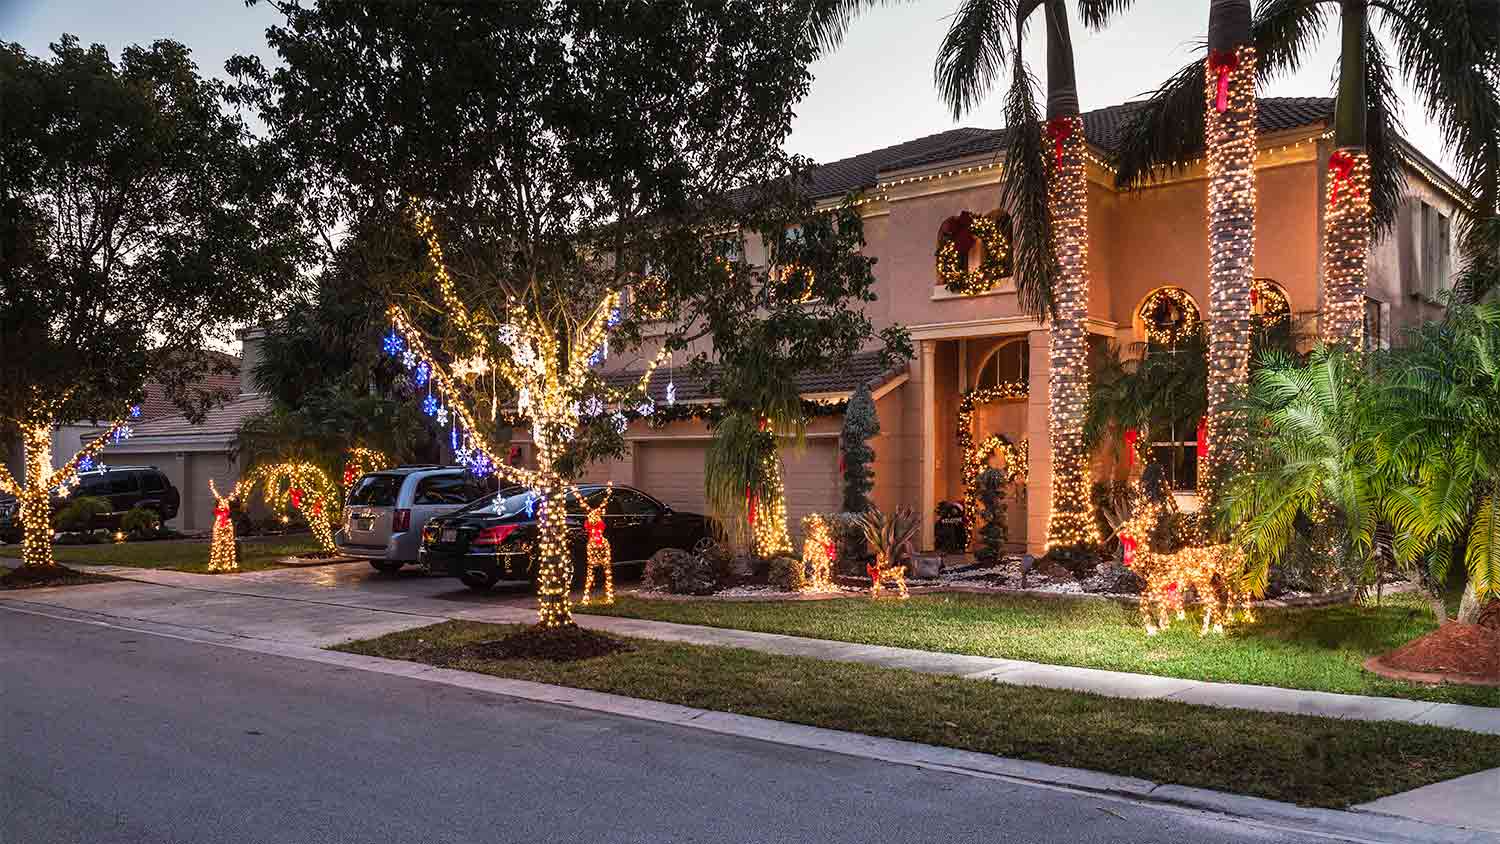
Looking to dress up your roof tiles for the holiday season? Find out how to hang Christmas lights on tile roofs.
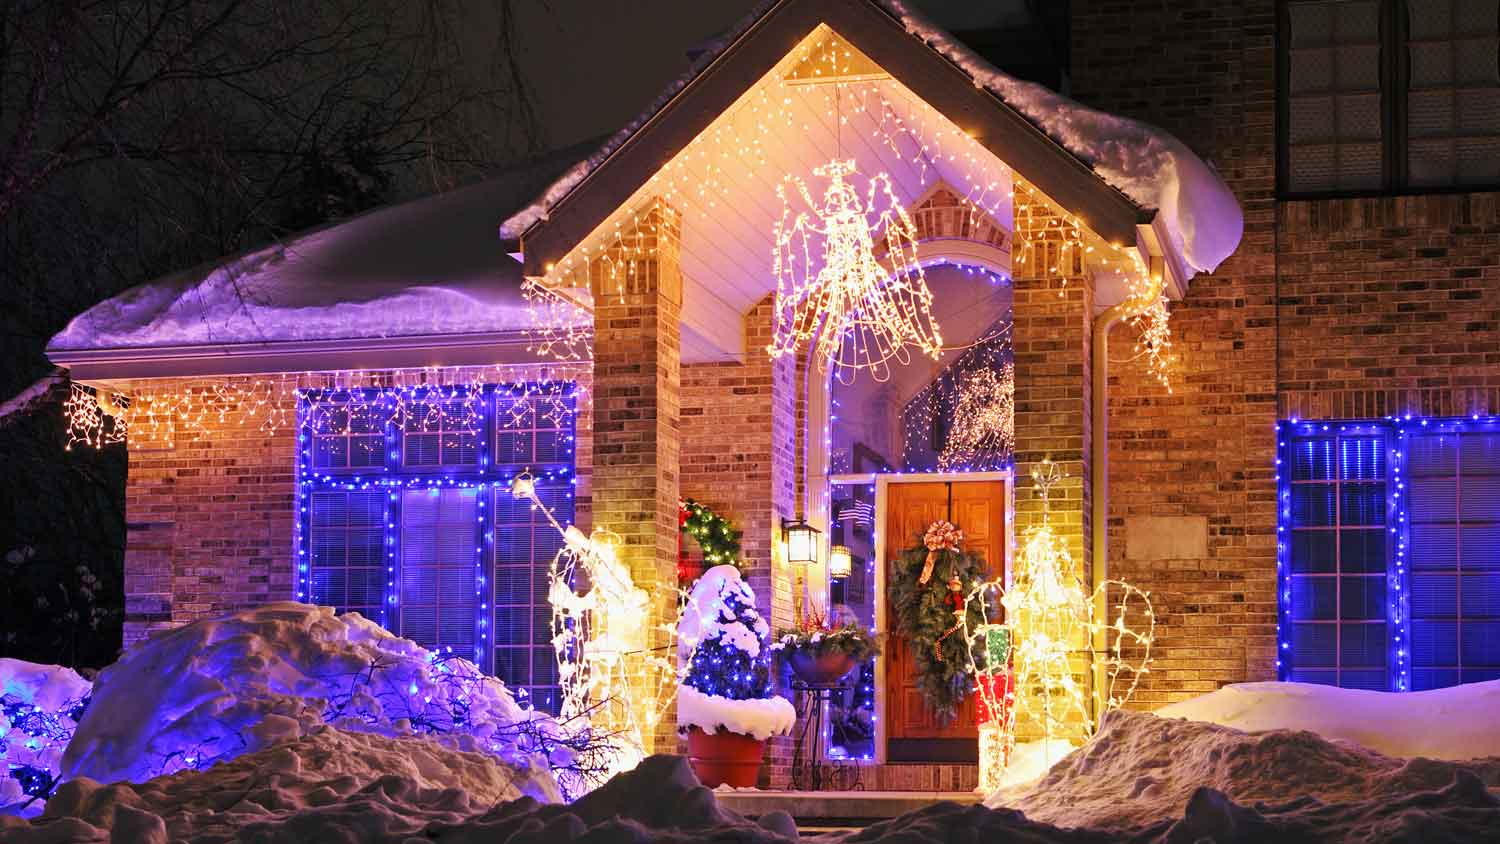
Want to learn how to hang Christmas lights on brick without damaging your home’s exterior? Here are the easiest ways to attach holiday lights on brick.
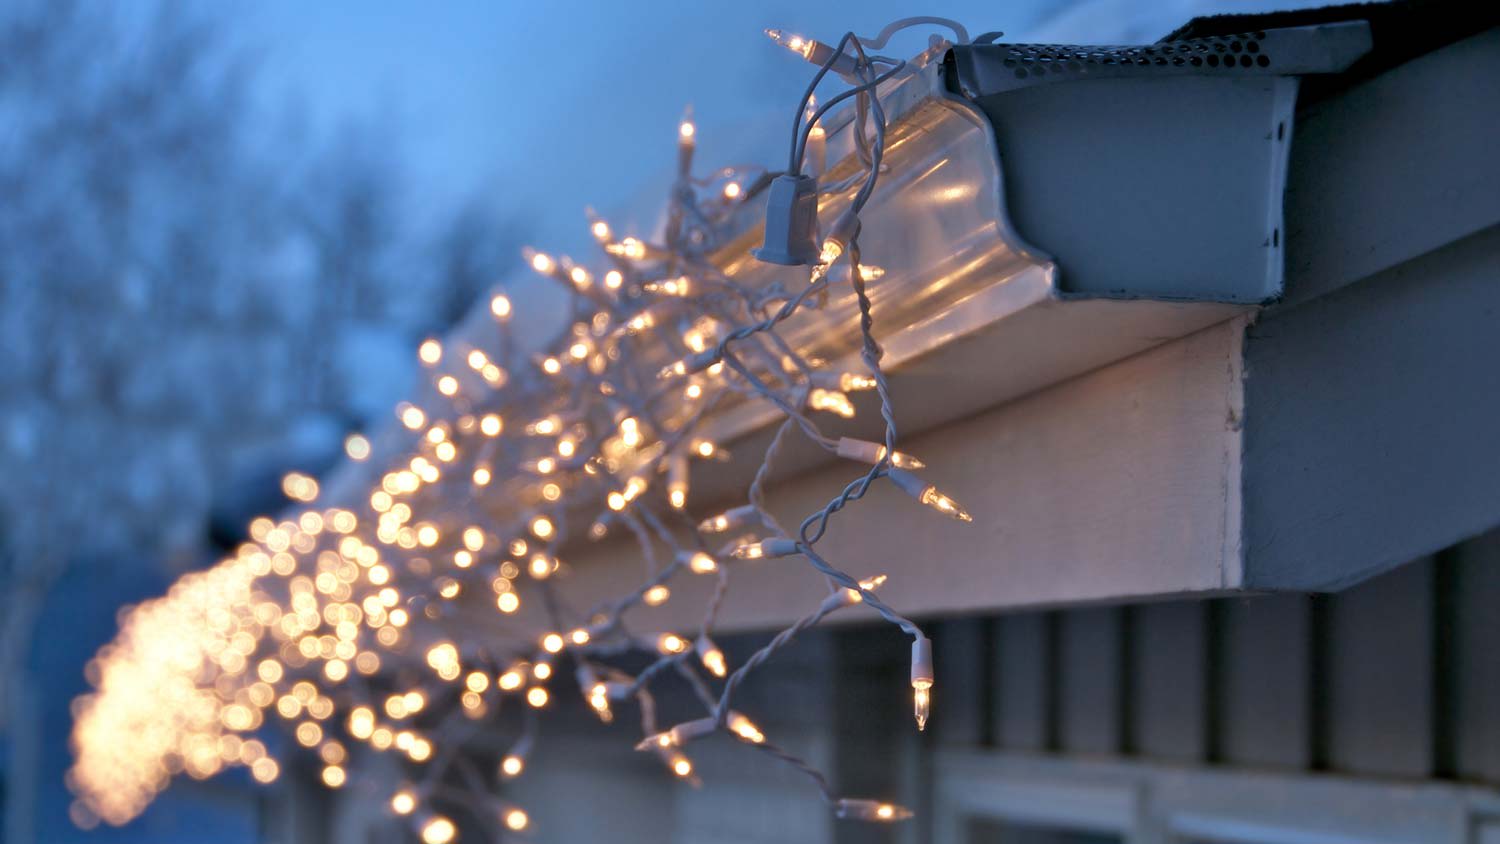
Learn how to hang Christmas lights on gutters with or without your home's gutter guards in place and with or without a ladder. Follow our guide to learn more.
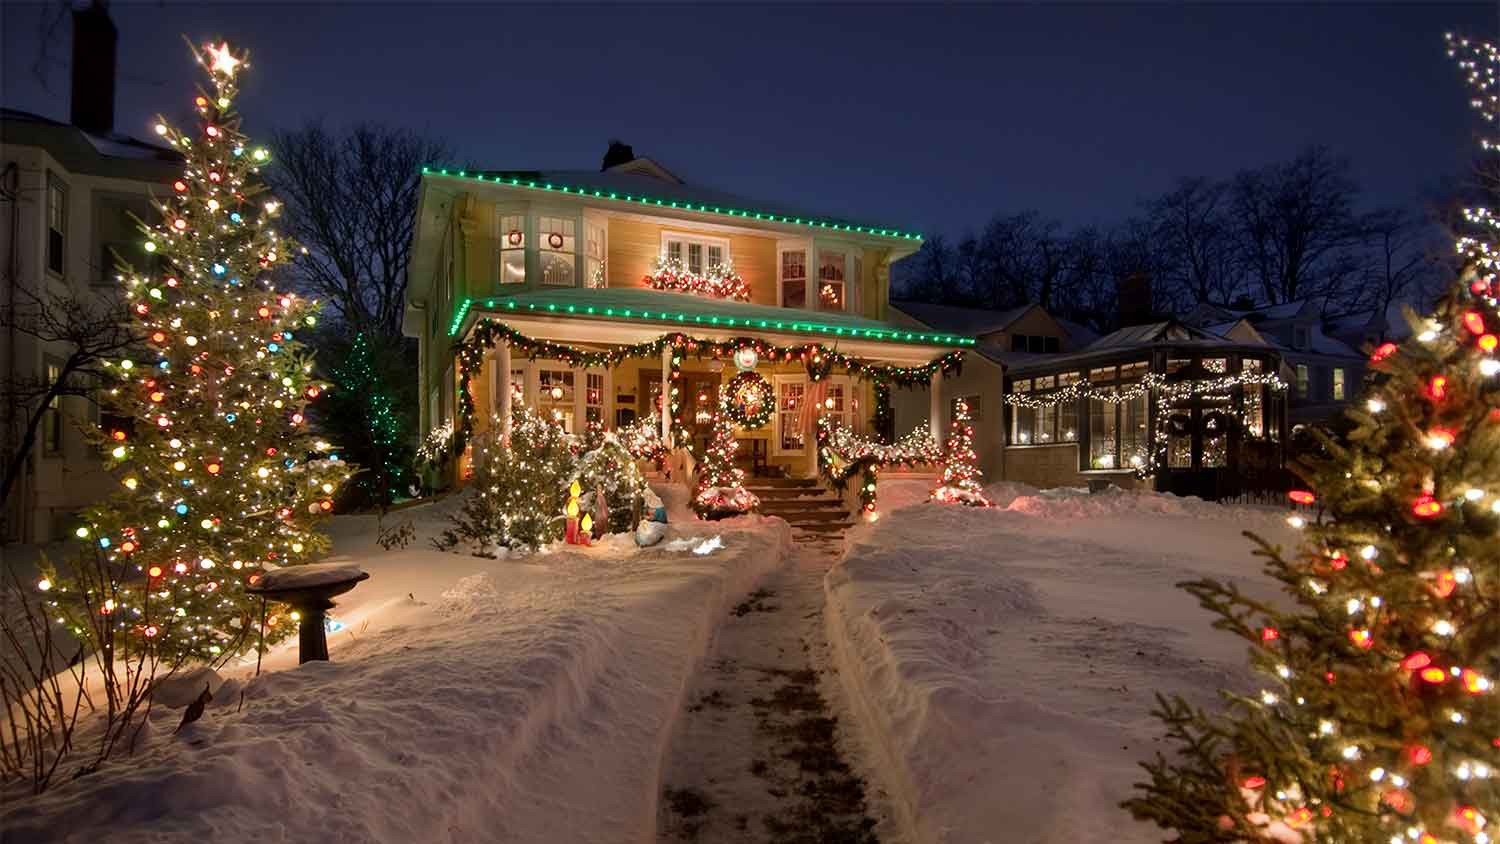
You don’t have to leave lasting damage after decorating for the holidays. Find out how to hang Christmas lights outside without nails.