
Learn about main water line repair costs in Columbus and what affects pricing to be prepared before you start getting estimates.
Narrow down the possibilities, then gently unthaw to avoid potential damage


Plumbers cost between $45 and $200 per hour to find frozen pipes, but homeowners may miss hidden leaks in walls and floors that pros can detect.
A plumbing repair pro can inspect your pipes before and after each winter, especially if your area has harsh cold weather, to prevent pipes from freezing.
If the frozen pipes in your home do burst, you’ll need to call an emergency plumber, with prices costing up to $150 per hour.
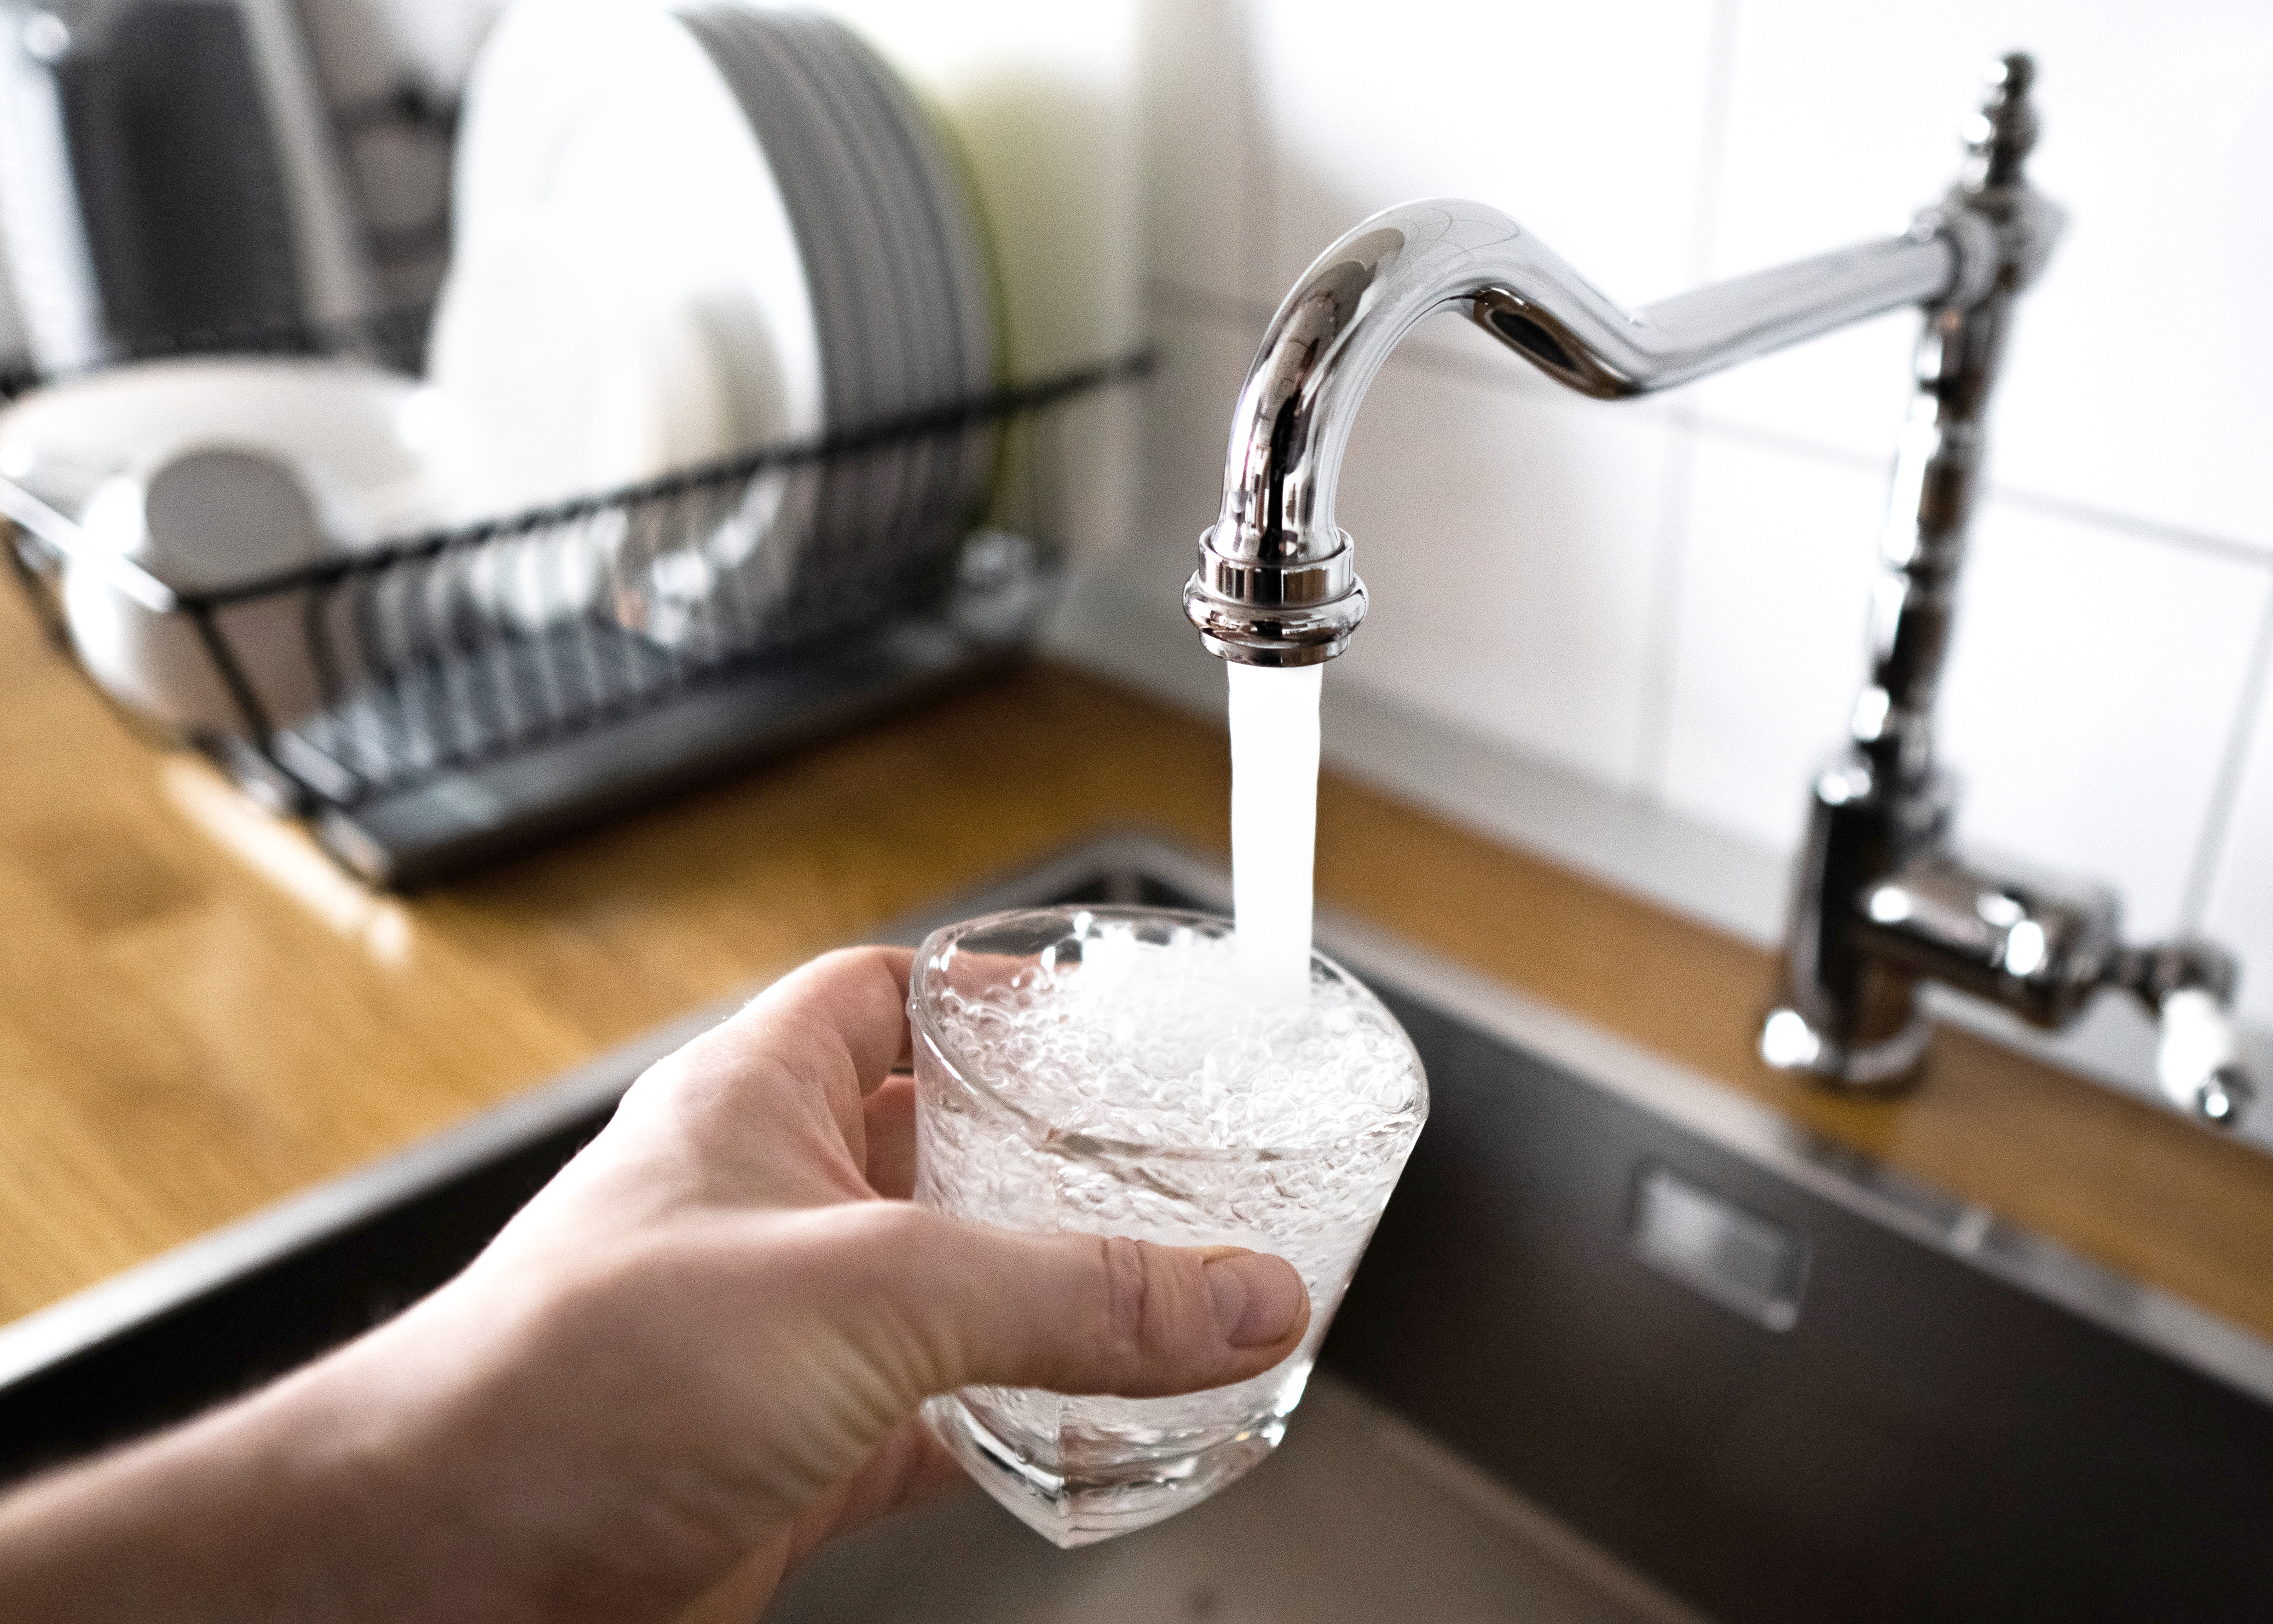
Water expands when it freezes, causing your home’s plumbing, which is already under a lot of pressure, to swell and expand. That’s why taking action as soon as you notice your pipes are frozen is a good idea.
But wait—most homes are equipped with hundreds of feet of plumbing, and there are specific things you need to avoid doing so you can safely thaw out your pipes once you locate the frozen area.
These five tips will walk you through how to safely find a frozen pipe and fix it.
Any pipe that is exposed to freezing temperatures (20 degrees or lower) for an extended time (6 hours or more) is at risk of freezing. The following pipes are at even greater risk:
Pipes located outside, such as hose bibs or sprinkler systems
Pipes in unheated parts of your home, like a basement or attic
Pipes that aren’t insulated or poorly insulated
When water freezes inside a pipe, it creates a backup of water. Pipes eventually burst because this pressure becomes too much for the pipe to handle, which means you’ll need plumbing repairs, and you’ll possibly deal with costly water damage.

Any type of plumbing, whether it be PEX or copper pipes, can freeze when inclement weather strikes. The first key to locating frozen pipes is to narrow down the possibilities.
Areas with less heat, such as your basement, attic, unused rooms in your home, rooms that run along exterior walls, and crawl spaces, are often the most vulnerable.
Grab a flashlight and/or use your hand to feel pipes in these areas to see if you can locate the frozen pipe.
It seems obvious, but a telltale sign of a frozen pipe is if you notice frost or condensation around the exterior of your pipes. This will be most obvious in colder parts of your house, like an unheated basement. In warmer rooms, you may see small pools of water below a pipe where condensation has been collecting for a while.
If you feel like you’ve located the pipe but see no obvious signs of ice on the exterior, use your hands to check along sections of the pipe to find the frozen spot. A frozen pipe will feel cool to the touch. There may be multiple frozen areas in one area, so check the length of the pipe to be safe.
A frozen pipe may have a small crack appearing from ice starting to force its way out. If your pipe also looks misshapen or bulging at certain parts, that could be a sign that the water inside has frozen.
You can repair a small crack in a pipe with just some tools from your local hardware store. But if the crack is very large, consider hiring a plumber to come out to fix it.
When water freezes, it stays stagnant in the pipe. When this happens, you may notice a bad smell coming from the pipe or the drain that connects to it. One way to know if your pipes are frozen is if you notice a bad sewage smell coming from your sink, toilet, or faucet.
Turning your water on can also help narrow down your search.
If pipes in one room or area of the house aren’t working, the freeze is likely near a split in the main line that goes to that section of your home. If none of your pipes are working, the frozen section is likely near (or right next to) your main water source.
Here’s a proactive tip for unfreezing your pipes: If cold weather is expected for several days, let a few faucets gently run water once you unthaw your pipes. This keeps liquid moving through your plumbing and can prevent the pipes from freezing again.
Knowing how to thaw frozen pipes is an all-important aspect of preventing expensive repairs that can quickly rack up if a frozen pipe burst. Depending on how frozen the pipe is and where it’s located in your home, your best bet is to call a local plumber out to fix it. But you can slowly thaw a frozen pipe yourself following these steps if it is minor or you have a long wait time:
Run a blow dryer on the lowest setting along the length of the frozen area from a few inches away.
If after 30 minutes to 1 hour, the pipe isn’t thawed, stop and call a professional.
If a hair dryer is unavailable, you can also use the following:
Wrap the frozen area in a towel doused with warm water.
Apply an electric heating pad around the frozen section.
Avoid using any drastic methods to thaw your frozen pipes, such as applying a blow torch or pouring boiling water down the drain or on the pipes. In this case, faster is not better. Superheating your pipes could cause them to burst or compromise them permanently, which could cost thousands in repairs (as well as pose a safety hazard to you). Additionally, be aware of dripping water and exposed wires near your pipe to avoid electrocution.
For best results, contact a local plumbing professional for help with frozen pipes.
Any pipe that is exposed to freezing temperatures (20 degrees or lower) for an extended period (6 hours or more) is at risk of freezing. The following pipes are at even greater risk:
Pipes located outside, such as hose bibs or sprinkler systems
Pipes in unheated parts of your home, like a basement or attic
Pipes that aren’t insulated or poorly insulated
When water freezes inside a pipe, it creates a backup. Pipes eventually burst because this pressure becomes too much for the pipe to handle, which means you’ll need plumbing repairs and possibly deal with costly water damage.
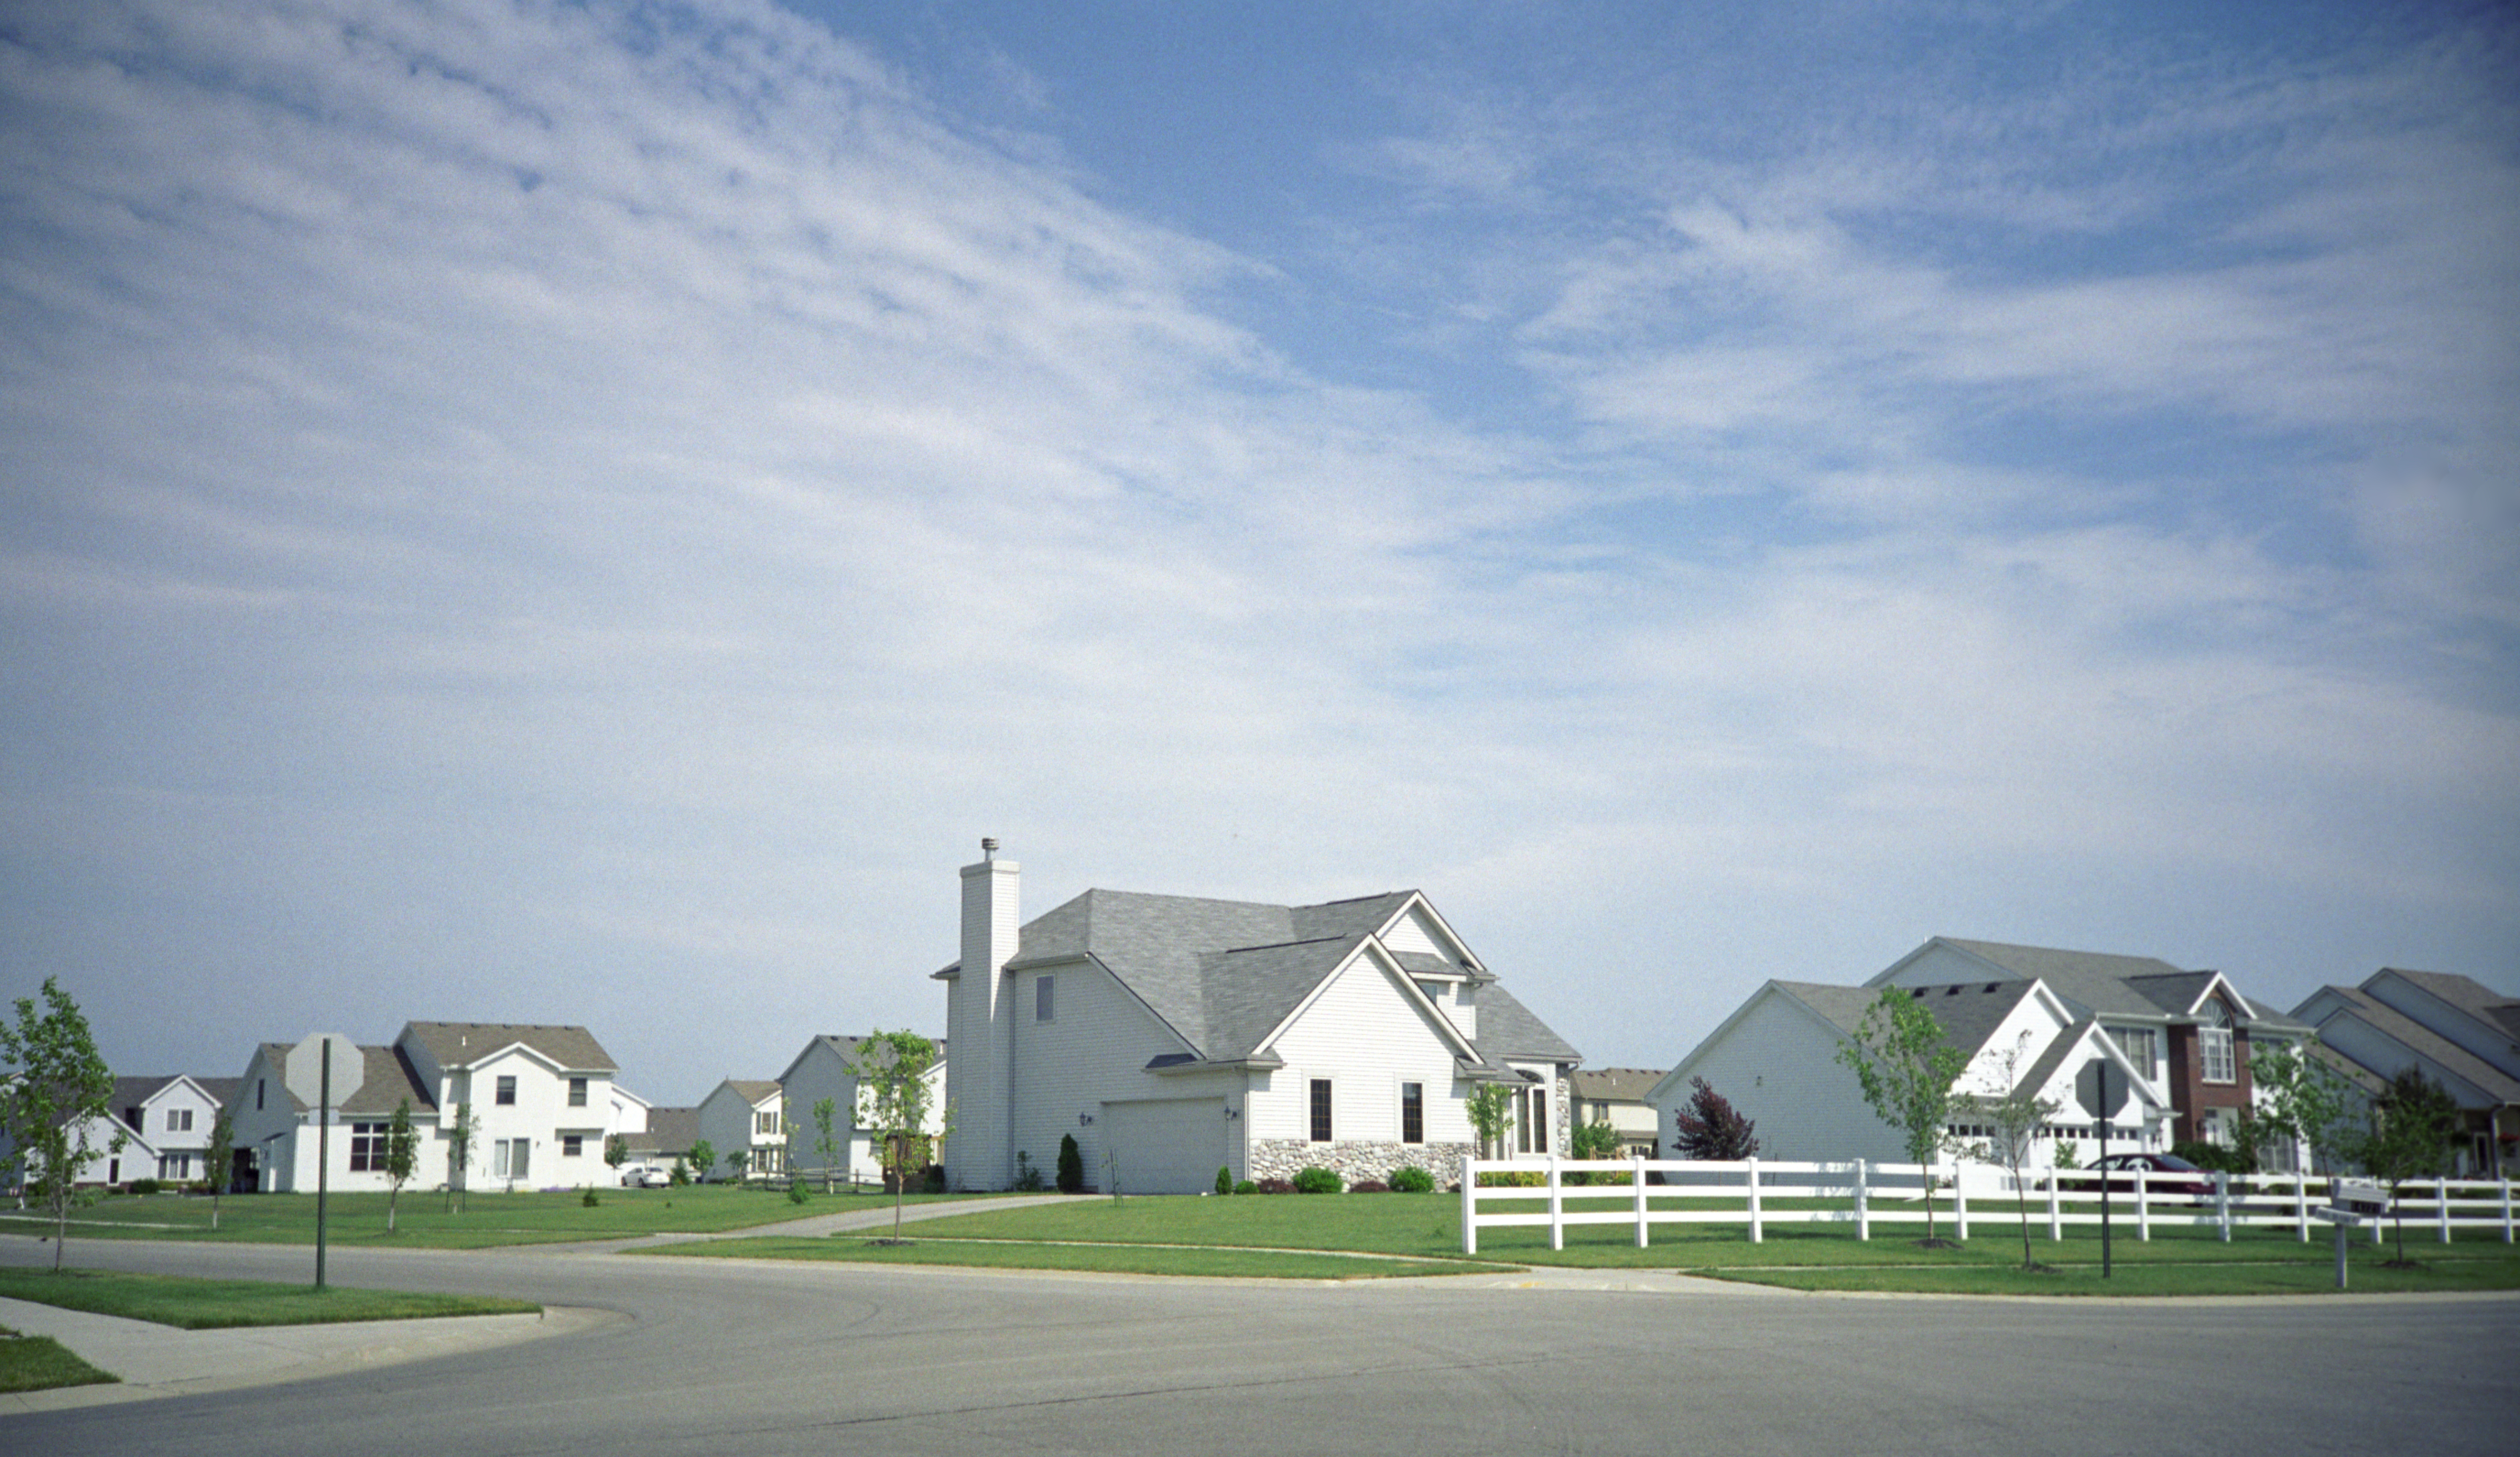
Homeowners can avoid having to track down frozen pipes by keeping them from freezing in the first place. There are several ways to prevent frozen pipes.
The temperature at which pipes freeze usually comes around during cold snaps. If you watch the forecast and anticipate freezing weather, you can raise your home's temperature to keep your pipes warm.
As a rule of thumb, keep your home heated to at least 55 degrees Fahrenheit. If you plan to be away from home for more than a couple of days, have someone you trust stop by to ensure your heat is running properly and no pipes have frozen. Heating your home costs much less than dealing with burst pipes.
Running water is less likely to freeze than still water. By opening your faucet taps a tiny amount overnight, you can keep a small stream of water running, which can help reduce your risk of frozen pipes.
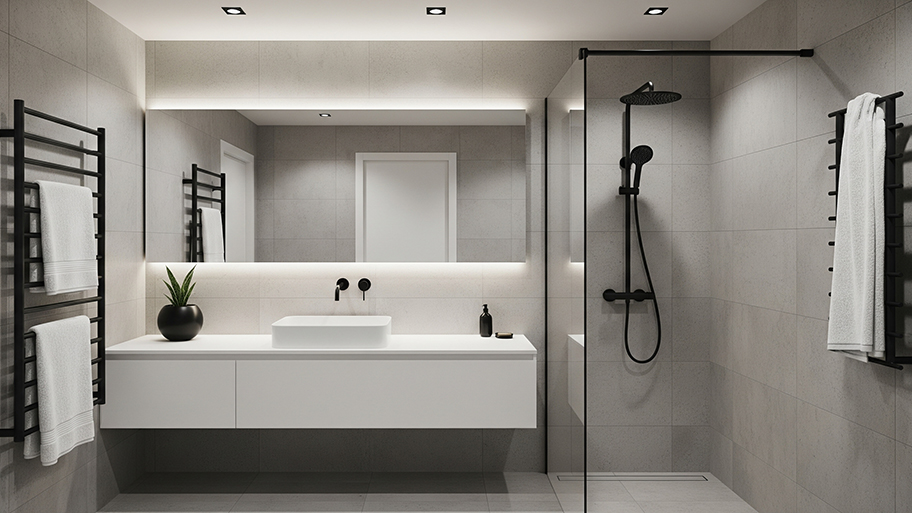
Even with your thermostat running, the kitchen and bathroom cabinets where some of your plumbing is housed may be cut off from warm air. Keep those cabinet doors open to help the warm air circulate into these areas during a cold snap.
Any exposed pipes are at risk of freezing during a cold snap, regardless of whether they carry hot or cold water. To protect exposed pipes, measure their circumference, purchase insulation that will fit properly around them, and install it before the next cold snap. Pipe insulation can be purchased at most hardware stores and is designed to be cut to size and slipped over pipes.
The best pipe insulation to prevent freezing depends on the type of pipe, where the pipes are located, and the temperature. Foam insulation is the most cost-friendly pipe insulation material, but if you have hot water pipes, then you might want to choose fiberglass insulation. Mineral wool and rubber insulation are versatile materials that work for both hot and cold pipes, but they tend to cost more.
Even the smallest crack or leak in a pipe can let in enough cold air to freeze the entire pipe. Carefully inspect all the pipes inside and outside your home to identify damage that could cause freezing. Seal any cracks or leaks using caulking or heating tape to stop cold air from getting in your pipes.
Hire a plumber near you to winterize your plumbing system before the first frost of the season. Professional winterizing involves turning off the water supply running to a home's exterior faucets and adding an antifreeze solution to its plumbing fixtures. In general, you should plan to have a plumber inspect all of your pipes before and after each winter season, especially if you live in an area with particularly harsh cold weather.
Even with the most proactive preventative measures, a frozen pipe can burst. When this happens, it's important to know exactly what to do. If your pipes burst, follow these steps.
Calling an emergency plumbing service near you is one of the first steps you can take when a frozen pipe bursts. Some pipes can be challenging to identify and repair if you don’t have experience handling plumbing issues, so your safest bet is to work with a licensed plumber who can quickly resolve the issue and prevent water damage in your home. Plumbers cost anywhere between $45 and $200 per hour, but emergency plumbers may charge up to $150 an hour.
Once you've called a pro, turn off the main water supply to prevent water from coming out of the pipe. Your shut-off valve should be in the water meter, water heater, in the crawl space, or in another location that is near the perimeter of your home where the water enters your home.
A burst pipe means that water is running freely out of your pipe, where it can refreeze and continue to cause issues. Draining all of the taps in your home can help relieve the pressure building up in the pipes. Be sure to turn on the hot and cold taps when draining the faucets.
Even though you drained your faucets, you shouldn’t turn them off just yet. Leaving them on further reduces pressure build-up in the pipes to keep more pipes in your system from becoming damaged.
One burst pipe is bad enough—two or more is the last thing you want. As with your faucets, flushing your toilet several times can help alleviate pressure in your pipes to prevent more pipes from bursting.
Depending on the location of the burst pipe, you'll want to ensure your water heater doesn't build up pressure as a result. Turning off your water heater and then closing the shutoff valve can protect it from costly damage by preventing water from entering the tank. Water heater replacement costs range from $875 to $1,750 on average.
While you're waiting for your plumbing pro to save the day, you can expedite the process and avoid additional damage by identifying the leak yourself. Follow the steps above to pinpoint exactly where your frozen pipe is hiding.
If you see standing water in your home or around your pipes, jump on the opportunity to dry the area before signs of water damage emerge. Mop up pools of water, wipe down furniture or cabinets, and place containers underneath any external leaks. But remember to turn off the breaker in any room where there is standing water to avoid electrocution.
From average costs to expert advice, get all the answers you need to get your job done.
Learn about main water line repair costs in Columbus and what affects pricing to be prepared before you start getting estimates.
Discover the leading factors affecting your main water line replacement cost in Columbus, including length, material selection, and installation details.

Learn how much plumbers cost in Columbus, Ohio. Discover pricing for faucet repairs, pipe work, and emergency services, plus how you can save money.

Wall-hung toilets offer a modern style and are easy to clean, but they’re also expensive and difficult to repair. Let’s examine the pros and cons of wall-hung toilets.
The hidden parts of your shower drain keep everything flowing. Reference our shower drain plumbing diagram to understand how your shower drain works.

Pop-up drains are economical for a bathroom drain, but are they the right option for you? Learn the pros and cons of pop-up drains to decide.