Discover the average professional organizer cost, what influences pricing, and how to budget for your next home organization project.
Create versatile storage for any space


Cube storage shelves, or cubbies, are all the rage and are excellent storage solutions for mudrooms, bedrooms, or playrooms. Their simple square design is surprisingly convenient for storing toys, shoes, knickknacks, or whatever you like. The magic happens after learning to build your own DIY cubbies and then building more to stack them together.
You can customize the design by changing the dimensions, turning them on their sides, or hanging them on the wall as you see fit.
We’ll start by building a frame. By the end of this guide, you’ll have a 2-by-1-foot long cubby that measures 11-1/2-inches deep.
With your circular saw, cut two 1-by-12 lumber pieces to 22 1/2 inches long.
Cut two 1-by-12 pieces to 12 inches long.
Adding a shelf support groove provides strength for your shelf unit, and it’s a fun skill to learn and use.
On one of the 22-1/2-inch boards, make a pencil mark at 11 and 1/8-inches on the long dimension.
Set the cutting depth of your circular saw to 1/4-inch. Use a scrap piece of wood to test the depth setting.
Unplug the circular saw. Find the distance from the outside edge of the cutting blade to the right-hand edge of the saw’s base plate with your tape measure.
Make a mark at this distance from one of your previous marks towards one of the board’s ends.
Use a speed square or carpenter’s square to create a line at the mark across the boards.
Place the edge of a straight piece of scrap lumber on the line and clamp it in place with spring clamps or C-clamps to create a cutting fence.
Make a 1/4-inch deep cut across the board following the edge of the cutting fence with the saw’s base shoe.
Make pencil marks on each side of the board, 5/8-inch from the fence towards the center. Reclamp the fence on these marks.
Make another cut using the fence as your guide.
Remove the fence and make several cuts at the same depth between your two outside-edge cuts until you remove all the wood material from the middle and you have a 3/4-inch-wide groove.
If you have a wood chisel handy, use it to clean up any rough edges in the groove.
Repeat these steps on the second long board.
For this step, you can use a countersink drill bit in place of a regular drill bit.
Drill three holes, slightly smaller in diameter than your 1-1/2-inch screws, on each 11-1/4-inch long side of the 12-inch long boards. Be sure to make the holes within 3/4-inch of the end.
Make an indentation at the center of each hole by firmly pressing a Philips-head screwdriver bit on your drill into the hole. The indentation should form easily in pine wood.
Apply wood glue to one short end of one of the long boards.
With 1-1/2-inch screws, attach the short board to the end of the long board’s glued edge. Face the groove to the inside of the frame. Drive the screws until the head is set slightly past flush.
Wipe away excess glue.
Repeat steps 3 and 4 until you have a rectangle-shaped box with two grooves facing each other.
Now it’s starting to come together.
Square the frame box by measuring from each corner to its diagonally opposite corner. Adjust the frame by hand until the measurements are equal.
Measure the distance between the deep edges of the opposing grooves.
Cut a piece of 1-by-12 lumber at this measurement.
Apply a small amount of wood glue into both grooves and slide the new shelf piece into the groove until it’s flush with the frame.
Pre-drill three pilot holes and make indentations through the frame, on each side, and into the ends of the shelf.
Fasten the shelf in place with 1-1/2-inch screws, and wipe away excess glue.
A plywood shelf backing provides rigidity for your cubby.
Again, check your cubby unit for squareness.
Measure the frame's outside dimensions and cut a piece of 1/4-inch plywood to match.
Install the plywood piece on the back of the frame and shelf using wood glue and 1-inch screws. Pre-drilling pilot holes as you go will make this step easier.
Wipe away excess glue.

Now, just add color to personalize your cubby.
Fill the screw holes on the visible edges with wood filler. You can also fill any imperfections or nicks on the surface. There are often voids visible on the edges of the plywood.
Allow the wood filler to dry, then sand the spots smooth. You may choose to smooth the entire cubby’s surface area with sandpaper.
Apply a coat of paint primer followed by two coats of paint.
Allow your new cubby to dry for several days before use.
You can hang your cubby on a wall using one of several methods. Making and using a DIY French cleat is an excellent choice for adding a finishing touch to your project. This step is entirely optional.
Determine the length of your French cleat. Depending on whether you’d like to hang your cubby the long way or the horizontal way, the cleat should measure about 2 inches shorter than the width of the shelf.
Cut a 1-by-6 piece of lumber several inches longer than the cleat’s final length.
Secure the long edge of the 1-by-6 by clamping it to the edge of a workbench or other sturdy work surface.
Mark the approximate center of the short dimension of the board and extend a line down the entire length.
Set the bevel angle of your circular saw to 45-degrees.
Cut the board on its long dimension following the cut line. You’ll end up with two pieces with an angled cut between them.
Cut the two pieces to the final desired length.
With wood glue and 2-inch screws, attach one cleat board to the back of the cubby unit. Pre-drill each hole to avoid splitting the wood. Be sure to install it along the top edge of the cubby. The angled edge should face down and inwards. Make sure the screws go into the frame board material.
Securely mount the other side of the cleat to a wall. Be sure to attach it to as many framing studs as possible, and use appropriate wall anchors if you need to. Mount the cleat with the angled edge facing up and towards the wall.
Hang the shelf by resting the shelf cleat on the wall cleat.
Building DIY cubbies is a fun project and perfect for learning a few skills that you can use for other woodworking projects, like how to build storage cabinets. The cost of materials for each cubby is around $50 to $60 and depends on the quality of wood and market pricing of the material you choose.
If you’d rather not invest time building cubbies but still want storage solutions, a local carpenter can do the job for you. According to HomeAdvisor, carpentry services cost from $35 to $100 per hour.
From average costs to expert advice, get all the answers you need to get your job done.

Discover the average professional organizer cost, what influences pricing, and how to budget for your next home organization project.

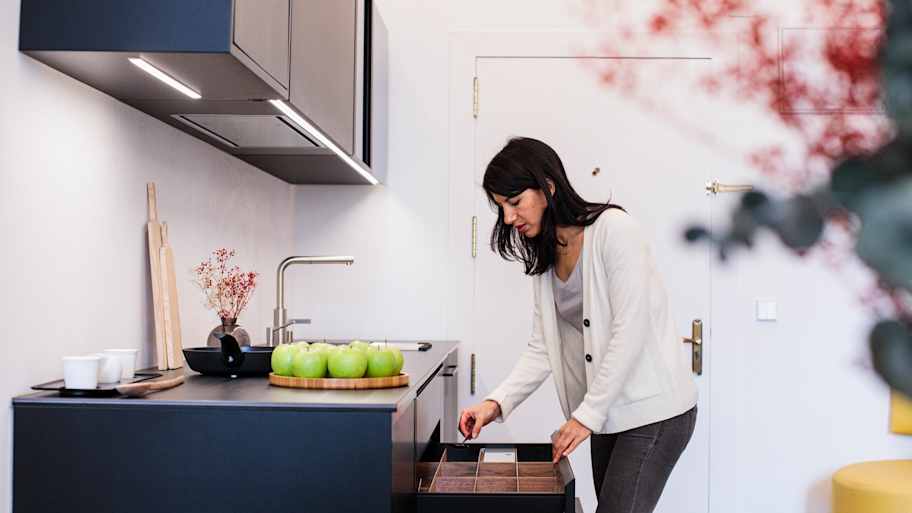
These kitchen drawer organization tips will reduce time spent rifling through the kitchen looking for what you need. Learn how to organize your kitchen.

If your home is a bit messy, that’s perfectly normal. Trusting a professional home organizer to revamp your space can be worth the cost. Here’s how to find and hire a professional organizer.

Discover small closet organization tips to maximize space, reduce clutter, and create a stylish, functional storage area that suits your needs.

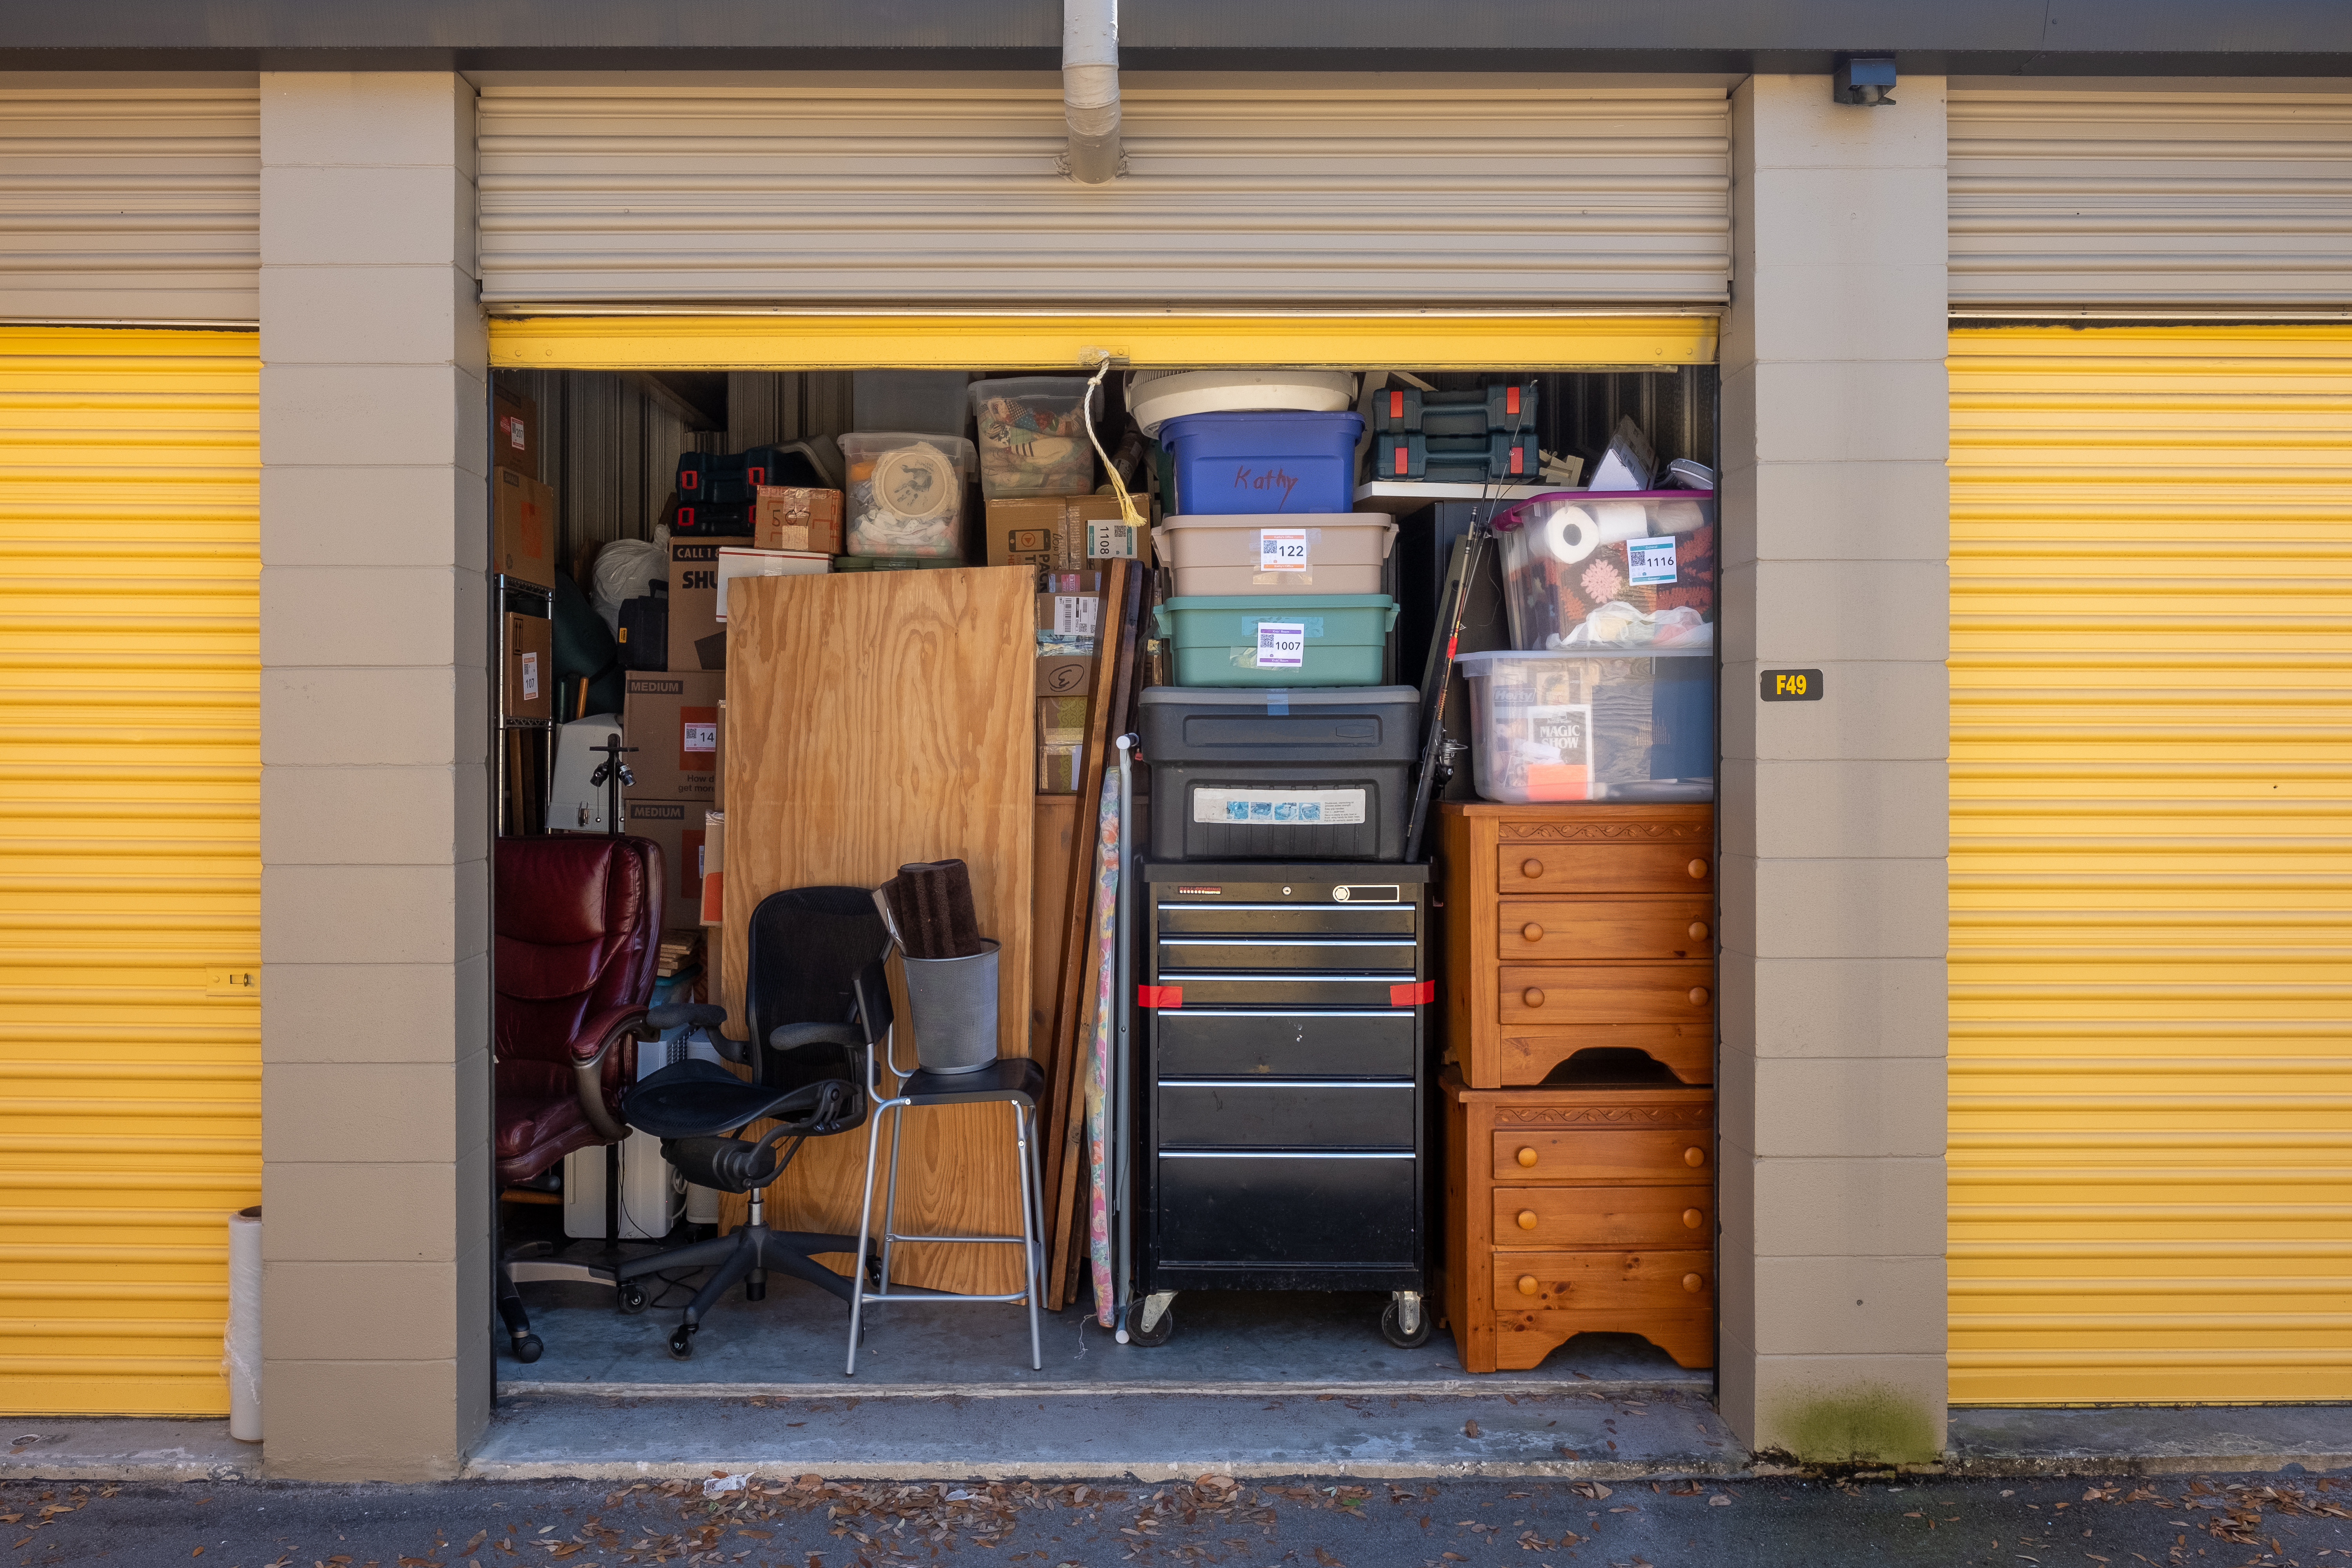
Maximize space and save money with these expert storage unit tips. Smart packing strategies and organization hacks included.

Maximize space and reduce clutter with these smart laundry room organization tips that boost function and even your home’s resale appeal.