

The cost to install travertine tile depends on materials and the size of the project. This guide to travertine tile cost will help you budget accordingly.
Seal the deal on your tiling project

Using caulk is an important part of home maintenance, whether you’re sealing out moisture from tub ledges or closing up drafty windows and doors. But if you’ve ever tried to recaulk a tub or door frame on your own, you’ve probably discovered that caulking is much harder than it looks. Push the caulking gun too hard, and you have a mess of caulk to deal with; handle it too lightly, and it won’t actually seal anything. Have no fear—you can caulk like a pro with these 10 handy caulking tips.
While all caulks are made for sealing gaps, they don’t all work in the same way. Some caulks are better suited for certain materials than others, so it’s important to use the right type of caulk for the job at hand.
The two most common types of caulk to consider for your project are acrylic latex versus silicone caulk. You can paint over acrylic latex, so it works well for winterizing doors and windows as it can be painted to look like wood trim. Silicone caulk is waterproof, making it ideal for tubs and showers or outdoor areas.
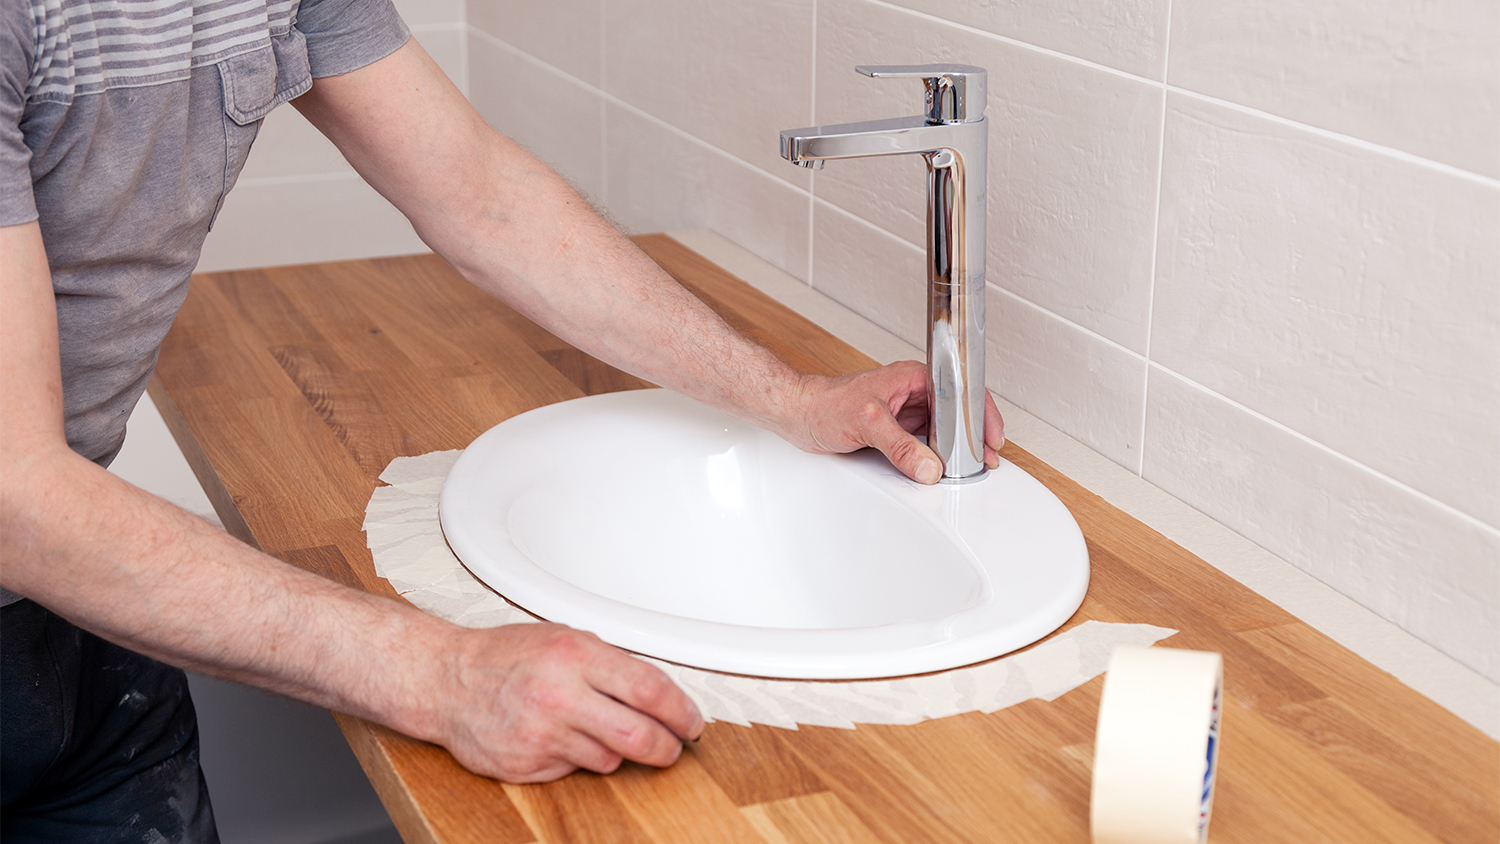
For the caulk to adhere well and to keep it in a pristine line, you need to start with a clean surface. Clear away any dust and debris. Then, apply painter’s tape close to where you plan to caulk, covering any areas you don’t want the caulk to spread. This minimizes the amount of excess caulk you need to clean up later.
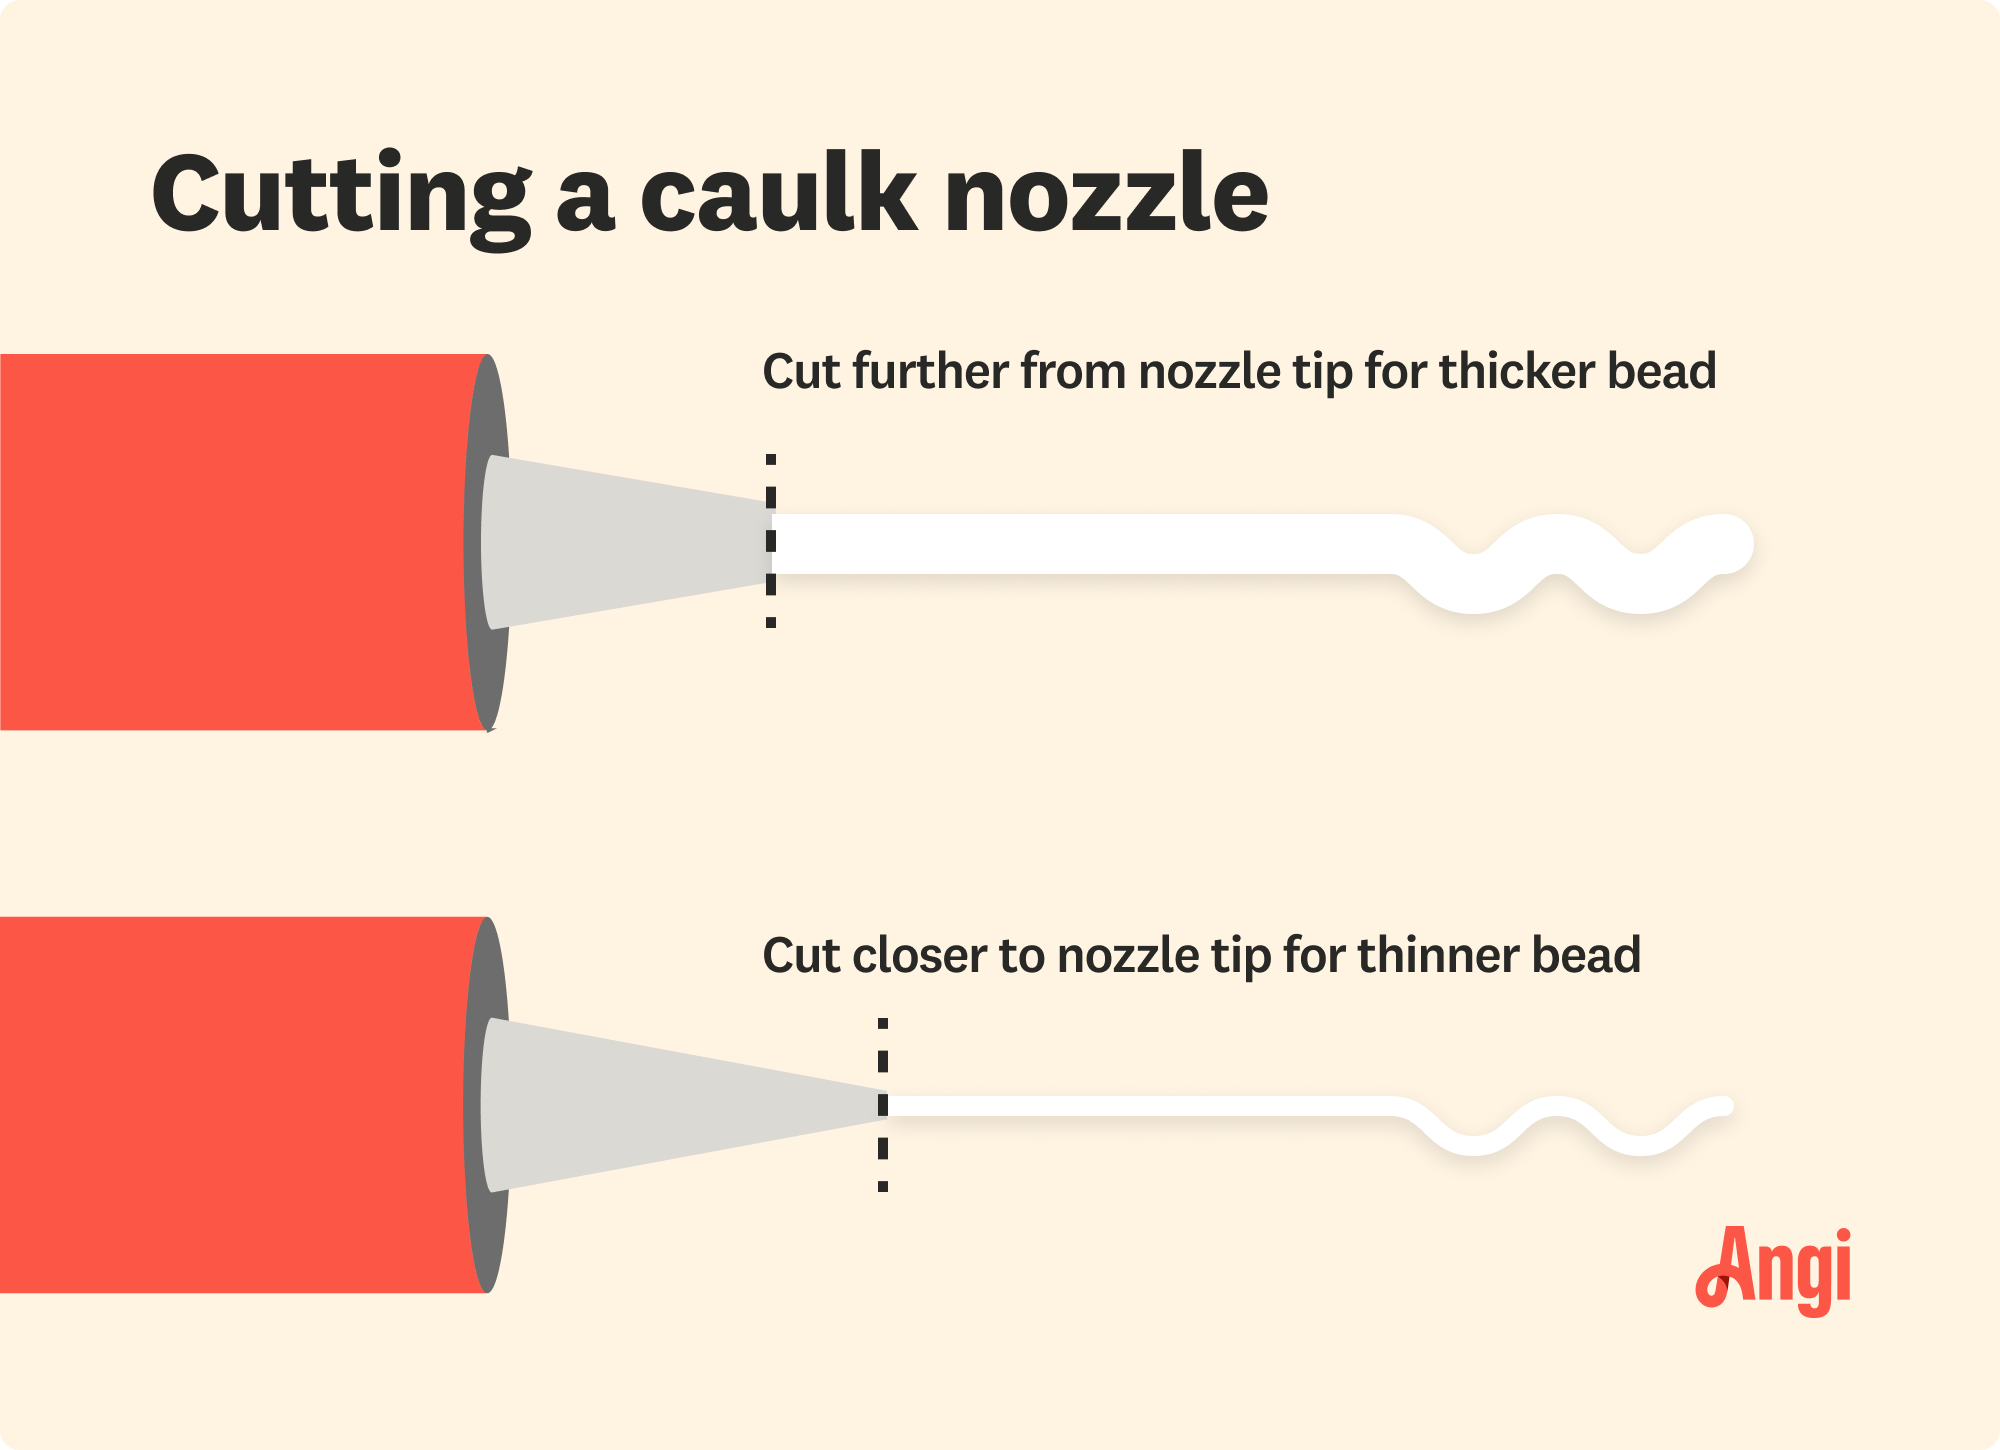
Caulk comes in tubes with pointed nozzles that you can either pierce or cut to open. But don’t just grab a pair of scissors and slice open the nozzle; how you open the nozzle will determine the size of the bead you’re applying. Cut closer to the tip of the nozzle for a narrower opening and a smaller bead, or cut higher up on the nozzle for a wider opening and a larger bead to cover bigger gaps.

When using a caulk gun, angle it by about 45 degrees to help it fit into edges and joints without creating a wobbly or messy line of caulk. Make sure to angle the caulk gun correctly, and hold it securely with both hands for a clean, seamless line application.
You may be tempted to caulk quickly to get the task over with, but being slow and steady means your caulk lines will blend in rather than stand out. Keep your finger steady on the trigger of the caulk gun, and move it slowly—but not too slow—to create a flowing, even line of caulk.
It may seem easiest to start in a corner and pull the caulk gun toward you, but that can actually keep you from properly sealing the gap. Instead, if you want to caulk like a pro, move the caulk forward, pushing the nozzle into the gap you are trying to fill. This helps the caulk better adhere to the surfaces and fills the gap more thoroughly.
You may wobble or squeeze out too much caulk from time to time, but that doesn’t mean your project is ruined. For one, using painter’s tape will minimize the mess. But you can also keep a cloth nearby while caulking to quickly wipe up the caulk while it’s still wet. If you wait to wipe everything up until after you’ve finished, it will be harder to clean up the drying or hardened caulk.
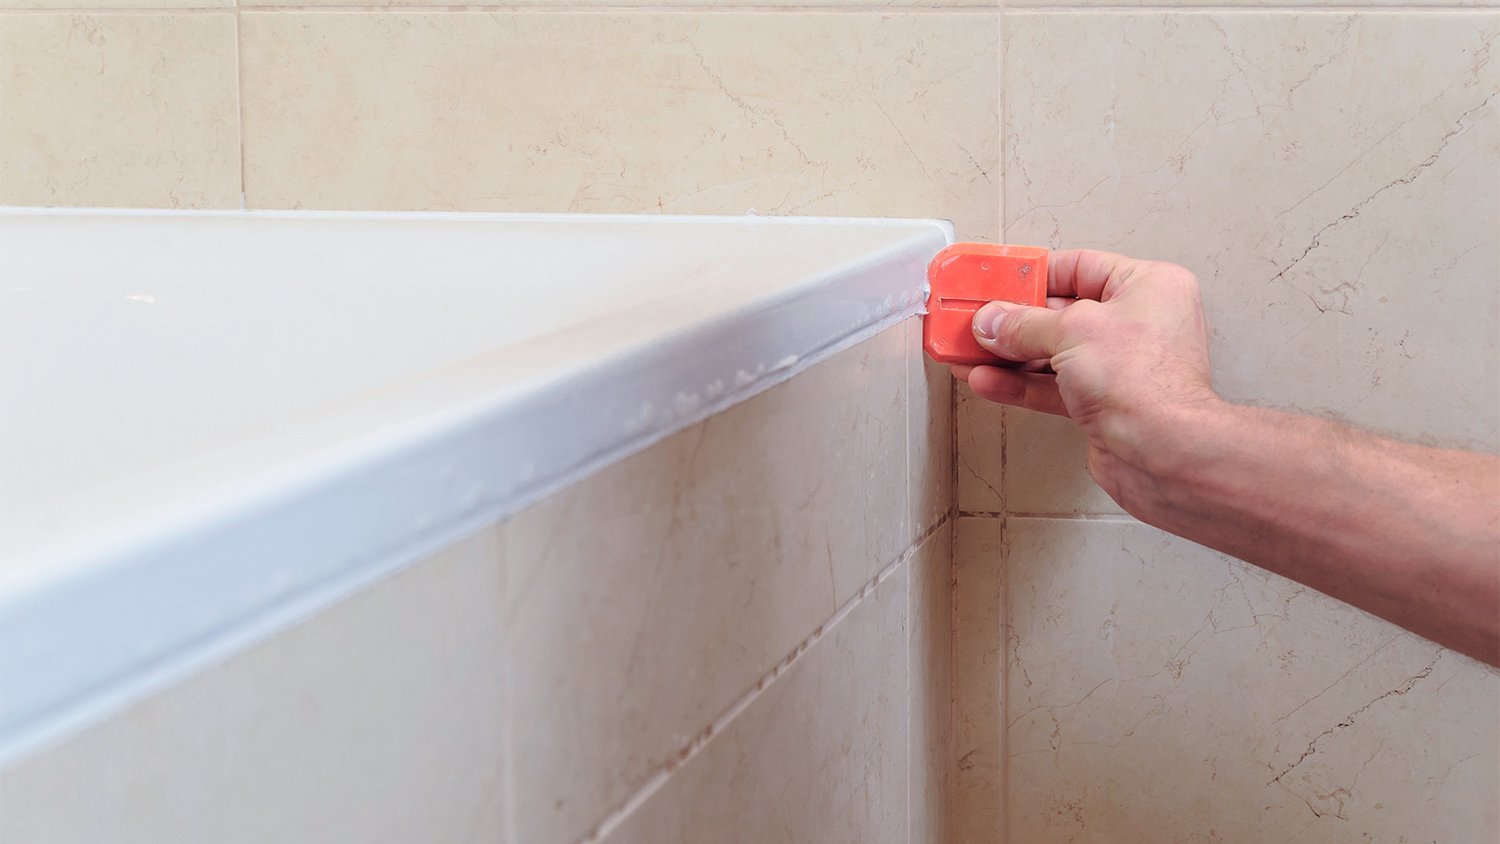
If you want your caulk lines to fade into the background, using a finishing tool is the ultimate trick. With the pointed edge of the caulk finishing tool against the caulk, run it along the bead to help smooth out the line of wet caulk.
However, if by this point you notice the caulk still doesn’t look clean and seamless, it’s time to hire a local caulking pro, who can quickly apply perfect caulk beads around your home.
Don’t leave any streaks or smudges of caulk around your tub, counters, or door frames, as this can look messy and distracting. After you’ve applied a finishing tool on the caulk and ripped up the tape, use a damp cloth to clean up any unwanted caulk for the cleanest finish.
The caulk is applied, but that doesn’t mean it’s time to hop right in the shower. Caulk needs time to dry and cure. Follow the instructions on the label for drying and curing time. So how long does caulk take to dry? Expect to wait for about 24 hours.
From average costs to expert advice, get all the answers you need to get your job done.
The cost to install travertine tile depends on materials and the size of the project. This guide to travertine tile cost will help you budget accordingly.

Tile varies dramatically in price, but there’s something for every budget. This guide will help you plan for tile installation costs, no matter the project.

Discover the cost to regrout shower, including average prices, key cost factors, and tips to help you budget for a fresh, watertight shower.

When you're getting ready to tackle a tile installation, you need to know how to tile inside corners. Read this guide to learn how.
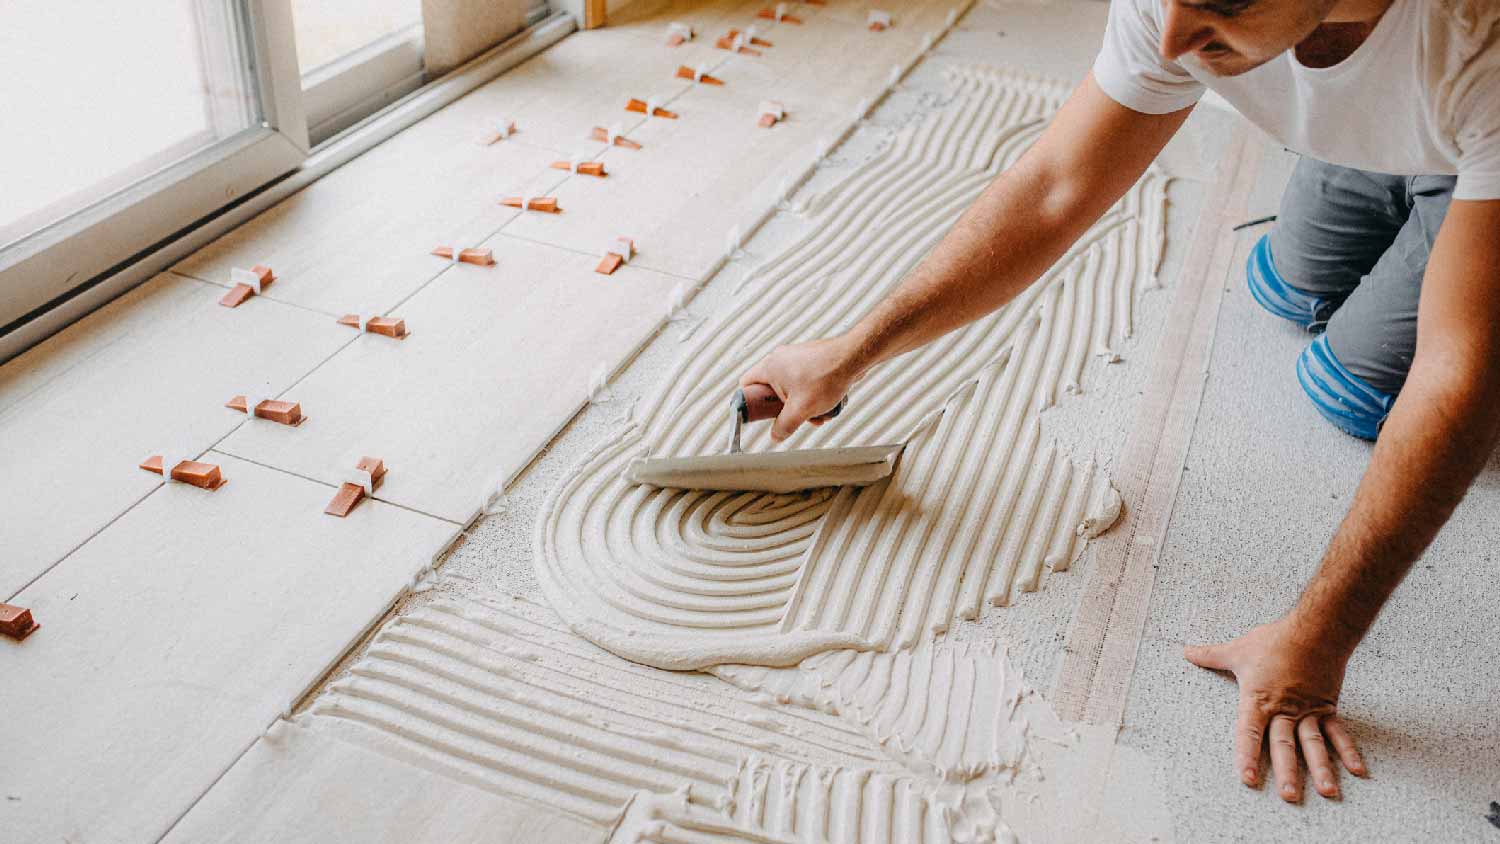
Calculating how much thinset you need involves multiple steps. Use this guide to determine exactly how much of the bonding material you’ll need.

Learn how to remove bathroom tile with this step-by-step guide so that you can finally finish the bathroom reno of your dreams.