
•
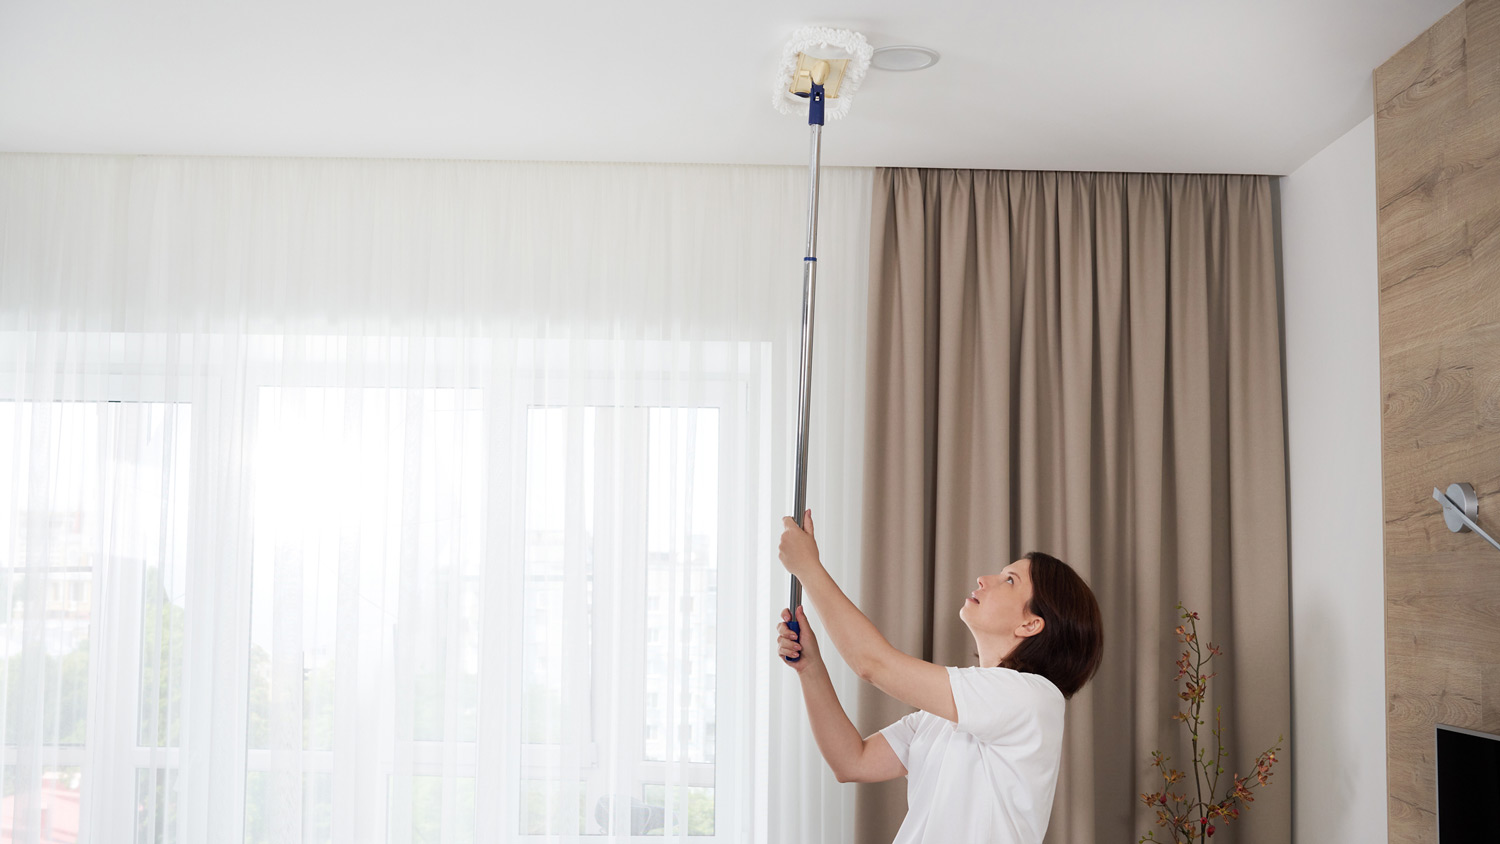
Discover the average acoustic ceiling cleaning cost, what affects pricing, and how to save. Get expert tips to budget for your acoustic ceiling cleaning project.
Our seal of approval for a spotless finish


When it comes to maintaining a pristine home, knowing how to clean silicone caulk effectively is essential. Silicone caulk, often found in bathrooms and kitchens, plays a crucial role in sealing joints and preventing water leaks. However, over time and without proper maintenance, it can become a breeding ground for mold and mildew. Let’s explore the best methods for cleaning silicone caulk, why it's essential, and the best resources for a clean and healthy sealant.
Regularly cleaning silicone caulk is not just about aesthetics. It's a necessity for the longevity and functionality of the caulk itself. Mold growth and dirt buildup can lead to cracking and breaking, which compromises the caulk’s ability to prevent water damage in moisture-prone areas.
Maintaining clean caulk helps in:
Preventing mold growth: Mold thrives in damp environments, making your bathroom and kitchen caulking prime targets. Regular cleaning prevents mold from taking hold and spreading.
Preserving caulk integrity: Dirt and mold can weaken the caulk, causing it to crack and break. This damage can allow water to seep in, leading to water damage and expensive repairs.
Aesthetic appeal: Clean caulk maintains the overall look of your home, ensuring that your kitchen and bathroom are clean and look fresh and well-maintained.
The cost to clean tile and grout professionally ranges from $300 to $700, depending on the size of the area and the extent of the mold or dirt buildup. Factors such as labor, materials, and the complexity of the job can influence the price. A professional can ensure thorough cleaning and maintain the integrity of your caulk, preventing costly repairs down the line.
When it comes to cleaning silicone caulk that has a less severe mold presence, a simple mixture of equal parts water and distilled white vinegar works perfectly.
Combine the same amount of water and distilled white vinegar in a clean spray bottle.
Spray the solution onto the caulk.
Allowing the solution to sit for several minutes to effectively kill the mold spores.
Wipe the area with a paper towel or a microfiber cloth
Rinse with clean water.
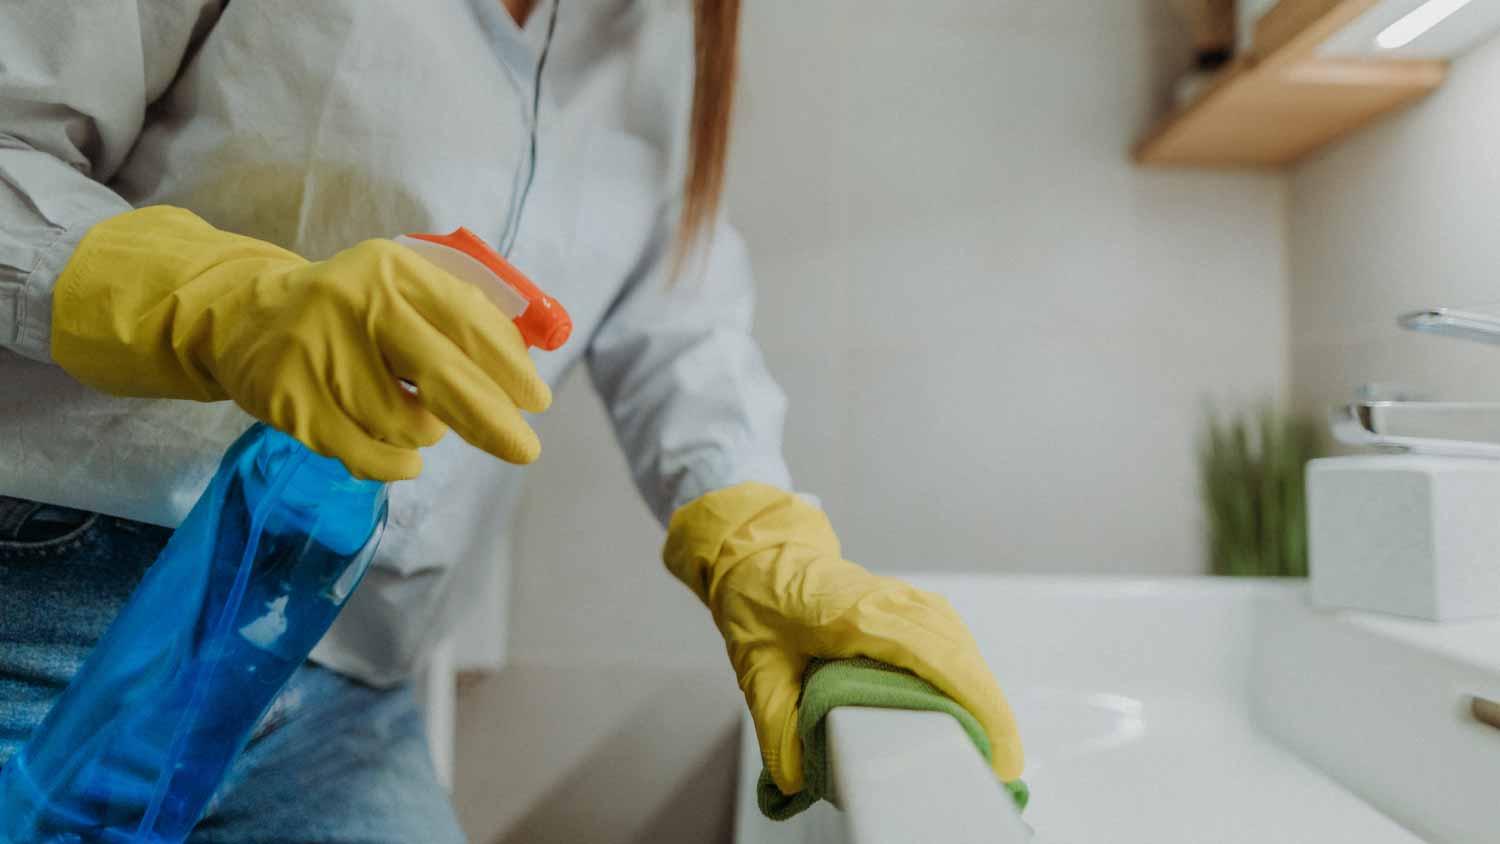
Cleaning silicone caulk with heavy mold requires a thorough approach and the right protective gear. Keep in mind that the Environmental Protection Agency does not recommend bleach for regular cleaning of mild mold spots, so only use this method in severe cases. Here’s a step-by-step guide to ensure you get the best results.
Mix equal parts bleach and water into a spray bottle. Bleach is more effective for severe cases, but it should be handled with care since it can be harmful when touched or breathed in. Make sure the room is well ventilated and that you’re wearing protective gloves and a respirator mask throughout this process.
Roll up individual paper towels into thin rolls and saturate them with the bleach solution. Place these paper towel rolls along the dirty caulk lines, pressing them into the grooves with gloved hands. This technique ensures that the cleaning solution stays in continuous contact with the moldy caulk, maximizing its effectiveness.
Allow the saturated paper towels to sit on the caulk lines for at least a couple of hours and up to 12 hours for the best results. This soaking period gives the cleaning solution time to break down the mold and loosen any dirt.
After the soaking period, remove and discard the paper towels. Clean the area with a vinegar and water cleaning solution before rinsing thoroughly. This final wash ensures all mold spores are killed and washed away, leaving your silicone caulk clean and mold-free.
Preventative measures are key to maintaining clean silicone caulk and avoiding the hassle of deep cleaning. Here are some tips to keep your caulk in top condition:
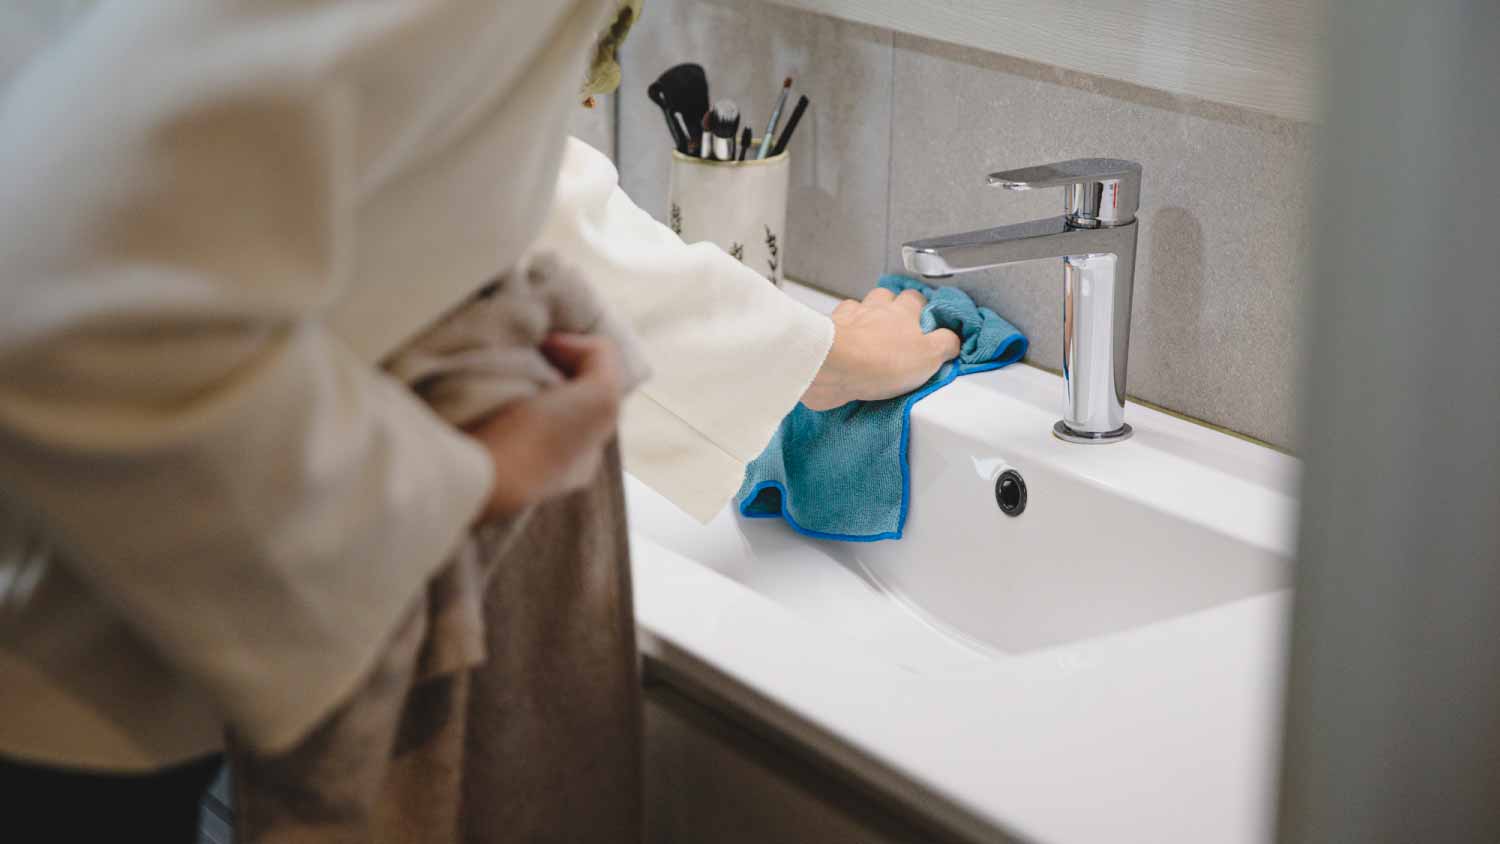
Regular cleaning: Wipe down the caulk regularly with a mild cleaning solution to prevent dirt and mold buildup. Do not use bleach for regular cleanings.
Proper ventilation: Ensure your bathroom and kitchen are well-ventilated to reduce moisture levels. Use exhaust fans or open windows to allow air circulation.
Dry all caulked surfaces: After using the shower or sink, dry all caulked areas to prevent water from sitting and creating a damp environment that allows mold to grow.
Use mold-resistant caulk: When applying new caulk, consider using a mold-resistant variety to minimize the risk of future mold problems.
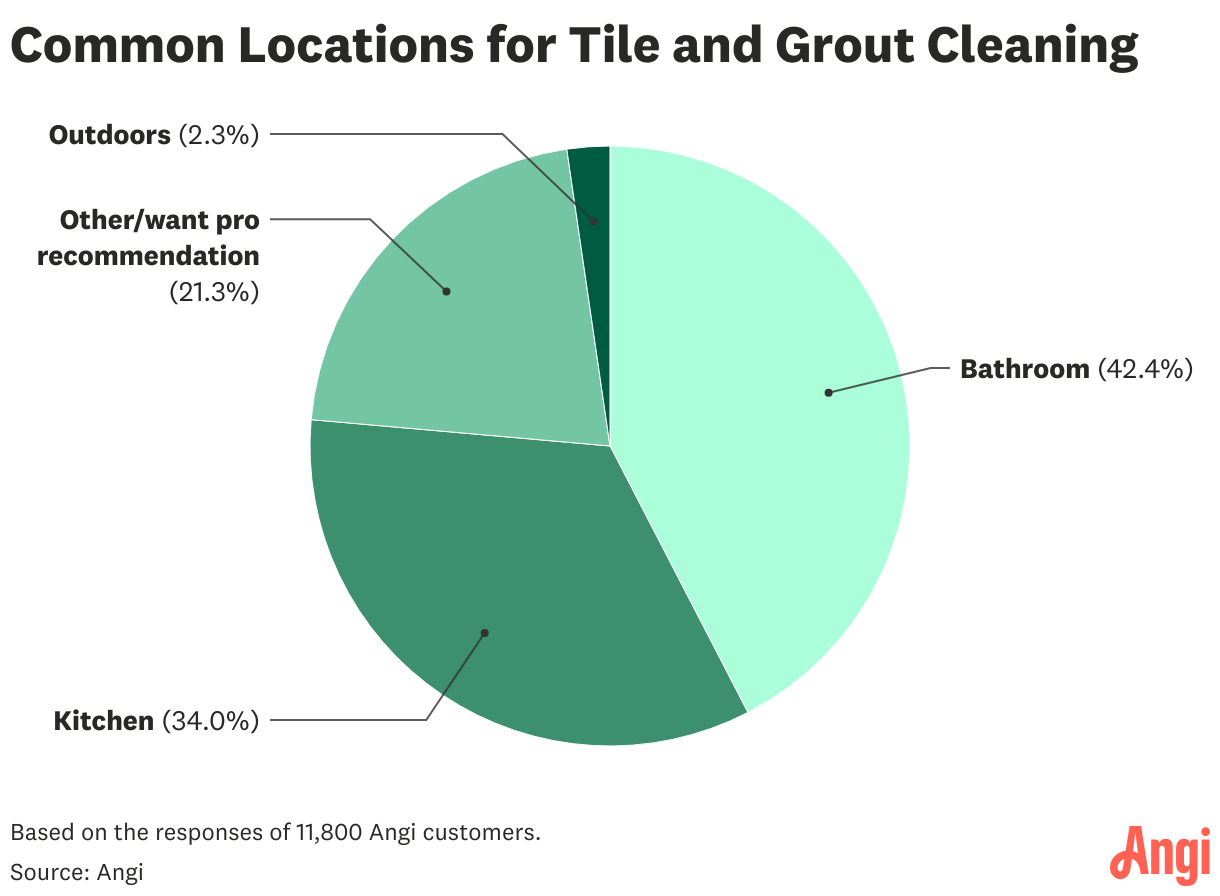
Based on the responses of 11,800 Angi customers, bathroom tile and grout cleaning is the most commonly requested service at 42.4%, followed by kitchen tile and grout cleaning at 34.0%. While outdoor tile and grout cleaning is less commonly requested at 2.3%, it remains an option. Regular cleaning can also help maintain silicone caulk, preventing mold and mildew buildup and keeping seals looking fresh and extending their lifespan.
Deciding whether to clean silicone caulk yourself or hire a professional depends on the severity of the mold, the size of the area, and your comfort level with DIY projects.
DIY caulk cleaning can be cost-effective since cleaning caulk yourself comes at a significantly lower cost than hiring a professional. When you clean it yourself, you can also clean the caulk at your own pace without scheduling around a professional's availability. However, DIY cleaning can be time- and energy-intensive, especially with heavy mold. Effective cleaning requires patience and effort to ensure all mold and dirt are removed.
Enlisting professional caulking services near you is a worthwhile investment, particularly for larger areas or severe mold infestations. Professionals have the experience and tools necessary to clean caulk quickly, thoroughly, and efficiently. This is especially critical when the mold problem is severe. Hiring the pros ensures that the job is done correctly, reducing the risk of recurring mold problems.
From average costs to expert advice, get all the answers you need to get your job done.
Discover the average acoustic ceiling cleaning cost, what affects pricing, and how to save. Get expert tips to budget for your acoustic ceiling cleaning project.

Discover how much move-out cleaning costs based on your home size, condition, the amount of belongings, and the services included.

Tile and grout cleaning brings your tiled rooms back to life. In this guide, find out the details of how much it costs to hire tile and grout cleaners.

Everyone wants their bathroom to be sparkling clean and to look brand new, but properly cleaning your shower tile and grout can be tough. That’s why following these tips from the pros is essential to ensure that your bathroom looks impeccable 24/7.

Holiday chores can be tricky to tackle before company arrives. Here’s your ultimate holiday cleaning checklist to get everything done.

If you’re feeling a little overwhelmed by all of the random things accumulating in your home, you need a decluttering checklist to help you get and stay organized. Quickly declutter every room with this ultimate checklist for decluttering.