Stock tank pools are less expensive than traditional pool options. Find out stock tank pool costs and whether to go for professional installation or DIY.
Dip, soak, swim, or recover—the possibilities are endless with your personal mini pool


The average cost to build a plunge pool is $20,000.
Location is key when planning and starting your DIY build.
Some homeowners turn their plunge pool into a cold plunge/jet pool.
In-ground plunge pools require permits; above-ground typically do not.
The plunge pool revolution has really taken hold for space-savvy and cost-conscious homeowners. A plunge pool can be the perfect happy medium if you like to soak on a hot summer day but don’t necessarily want to devote your whole backyard (or savings) to building a pool.
Think that might be you? Here’s more info on building a DIY plunge pool, plus some tips and ideas for planning your build.

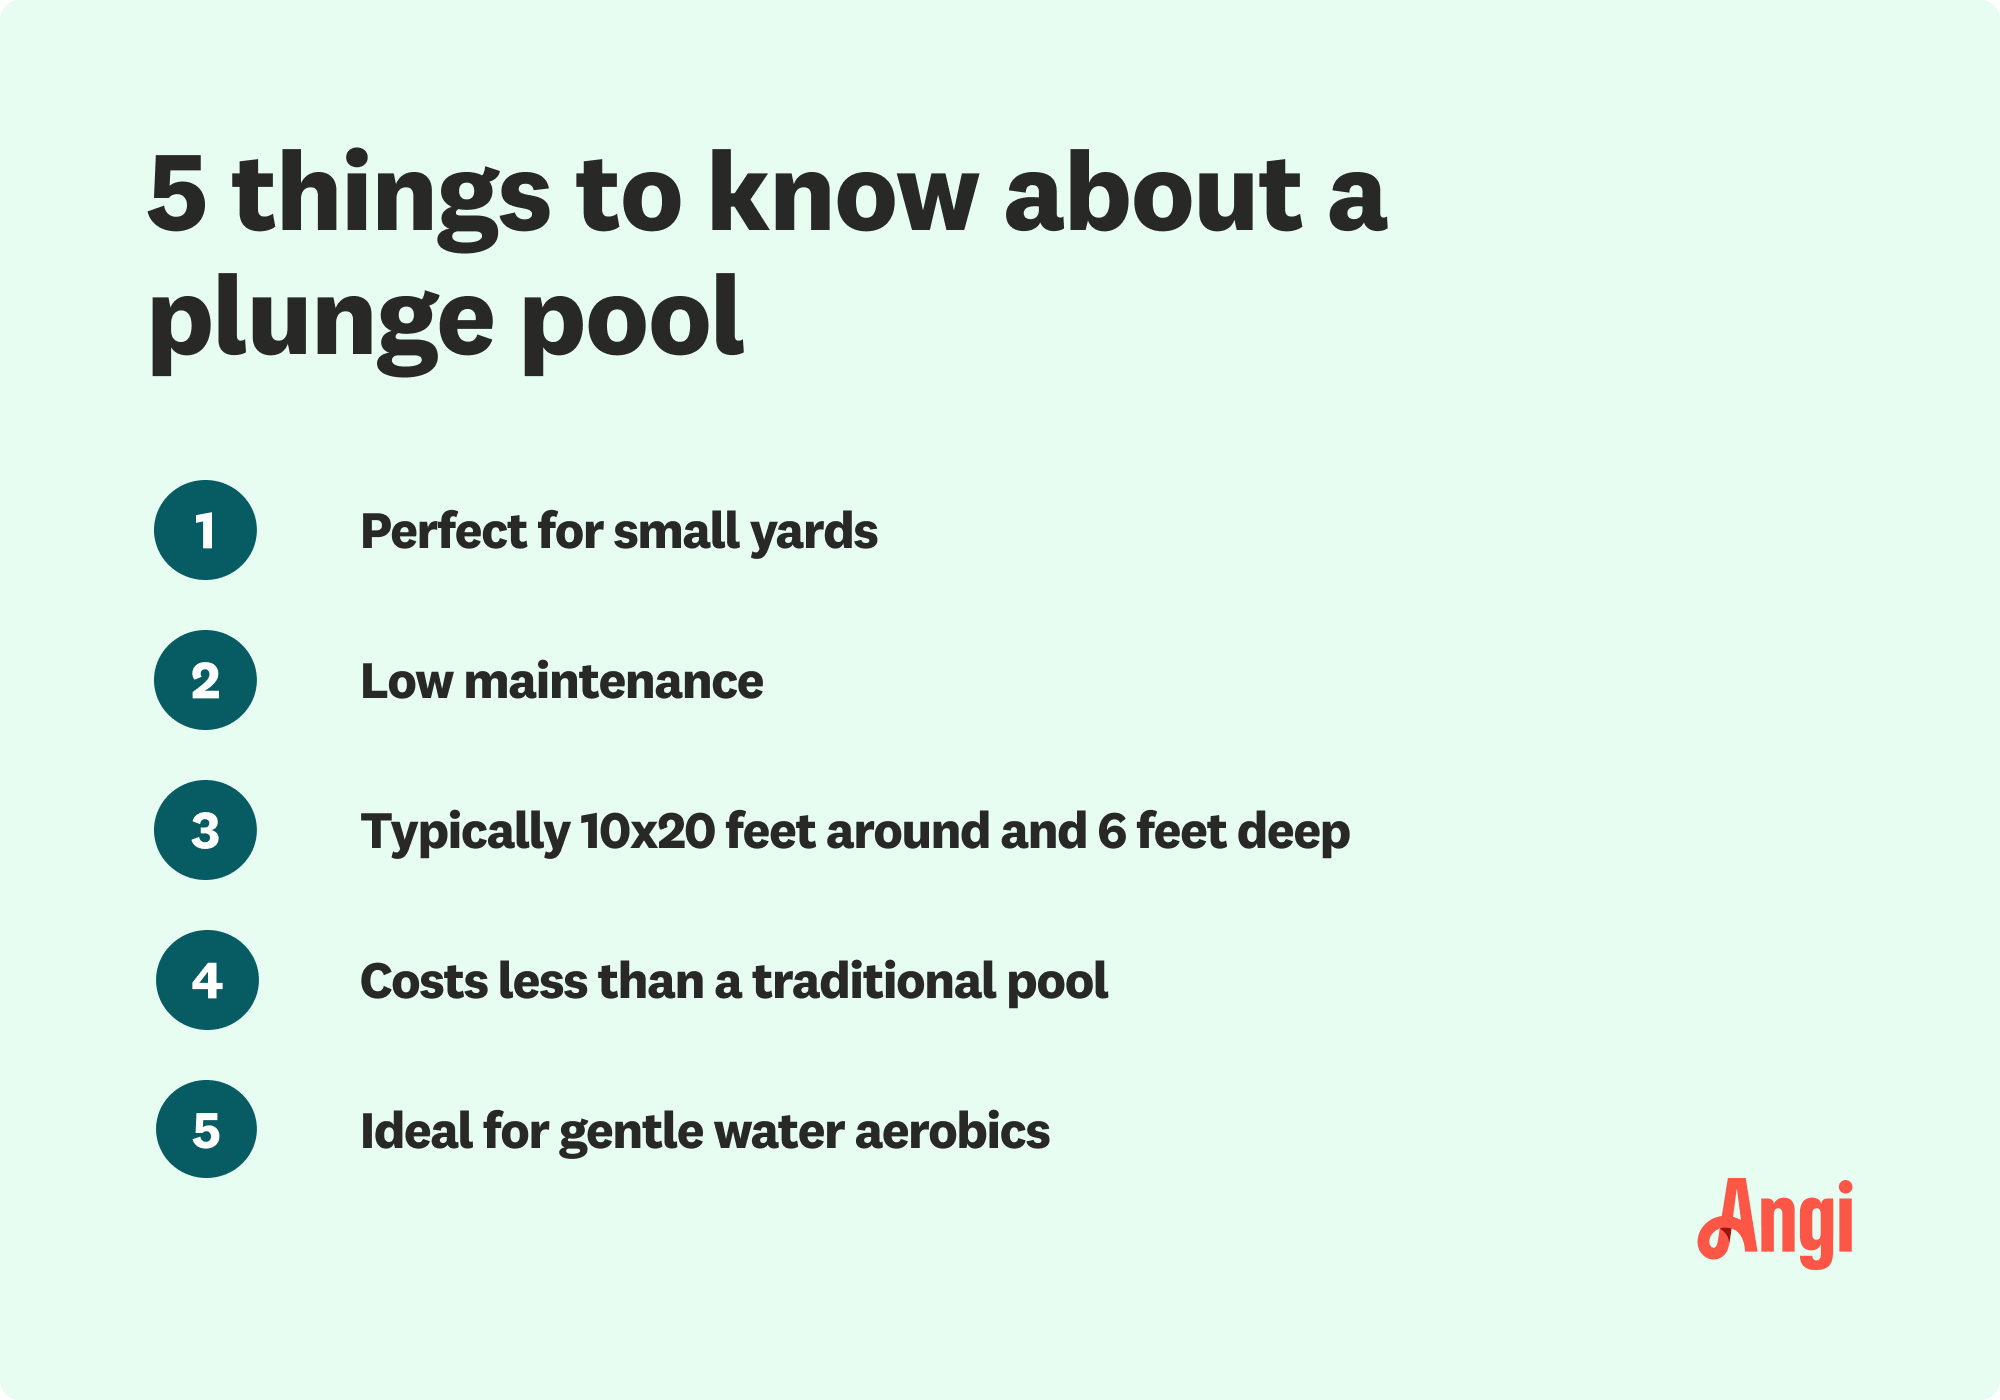
Plunge pools, sometimes called dipping pools, are smaller pools designed for soaking, wading, cooling off, or even sometimes for water aerobics or muscle rehabilitation.
The popularity of plunge pools has risen in recent years, enabling homeowners to cool off or gently exercise at home without committing a large portion of their yard to building a pool. (Maintenance is much easier as a result, too.)
One size doesn’t fit all when it comes to building a plunge pool. Here are some of the variations homeowners choose to dip and soak in their yard:
In-ground plunge pool: typically built out of concrete or fiberglass; most costly.
Above-ground plunge pools: easiest DIY plunge pool option; most cost-conscious.
Concrete plunge pools: require the most excavation/building costs, but offer the most customization; may need to hire a contractor.
Fiberglass plunge pools: cheaper than concrete plunge pools; still may need to hire a contractor.
Plunge pool/hot tub combo: great backyard recreation pairing; in-ground hot tubs typically cost $4,000 to $15,000.
Cold plunge pool: good for overall health and injury healing; chilling devices start at a couple hundred dollars, but high-end devices cost tens of thousands.
The easiest (and most cost-conscious) type of dipping pool you can build yourself is an above-ground plunge pool. Above-ground plunge pools usually don’t require a permit, which can save you $400 to $1,800 alone.

Whether your home is on a smaller lot or you simply don’t anticipate swimming laps, there are plenty of pros to going the DIY plunge pool route—and some downsides to think about, too.
Here are some benefits and drawbacks to consider as you plan your project:
Benefits of a DIY plunge pool:
Requires little space.
Can be built to fit in most types of yards.
Doing it yourself saves money on installation costs.
Fewer ongoing maintenance costs.
The DIY build you choose can be modified to fit your budget.
It’s a great way to exercise.
Can be modified to meet your needs/goals.
Drawbacks of a DIY plunge pool:
Not big enough to swim laps (unless you install a jet).
Installing concrete may be difficult for some homeowners.
Elegant or combo designs may be hard to build yourself.
Keep in mind: depending on where you live, having an in-ground pool in your yard (no matter the size) may require additional liability steps and expenses, like erecting a fence around it or obtaining specific permits.
There are a few things you should consider before putting in a pool, especially if you plan to DIY. This project takes a lot of work, and you’ll need the right skill set and knowledge to do it safely and up to building codes.
It can take several weeks to build a plunge pool, especially as you wait for materials to arrive and permits to be approved. You’ll need to plan out your project—from measuring your space, preparing the land, and mapping out the timing of the construction. Fall is usually the best time to buy a pool, since retailers may have sales ahead of the winter off-season.
When you’re building a DIY plunge pool, you need to follow safety precautions to protect yourself and your contractors. This project requires the use of power tools and heavy machinery, depending on how you excavate or level the land. While it’s possible to complete the majority of the project yourself, you should hire a licensed professional for plumbing and electrical work.
A plunge pool may require a building permit, depending on its depth and local regulations. Check your local and state regulations before beginning your project. You may need to submit plans drafted up by a pool building pro in order to get the necessary approvals. Keep in mind that some jurisdictions have certain requirements like, for example, a fence surrounding the pool area for safety.
When it comes to building your own plunge pool, scouting out the right area in your yard is one of the most important steps.
The location of your plunge pools matters when it comes to:
Filling your plunge pool, as easy hose access will make it easier.
Topping off your plunge pool.
Draining your plunge pool (see below).
If you don’t build your plunge pool in an area with adequate drainage, you may need to invest in a submersible pump that can take it out of your yard. A good pool pump starts around $90, but you may pay a couple hundred for additional hose length or horsepower.
Installing a plunge pool costs $20,000 on average. If you want a concrete in-ground plunge pool, it could cost more—$35,000 and $50,000 is a good guideline to consider.
While these numbers may seem high, they are far lower than the cost to install an in-ground pool, which averages around $55,000.
Building a pool is not typically a DIY project, but if you have the necessary tools and construction experience, you may be able to install an aboveground plunge pool on your own. This type of pool comes prefabricated, but there are also portable options with an installation process that’s similar to an aboveground hot tub. You’ll want to hire a local electrician for electrical work, since electrical wiring around water poses a hazard.
In-ground plunge pools require a lot more work and consideration, but they have a higher ROI. At the very least, you’ll need to excavate. Depending on depth, it may require a structural engineer to ensure safety. Skip this DIY and consult an in-ground pool company near you.
From average costs to expert advice, get all the answers you need to get your job done.

Stock tank pools are less expensive than traditional pool options. Find out stock tank pool costs and whether to go for professional installation or DIY.

Are you thinking about filling your pool? The cost to fill a pool depends on the type of fill used and the size of your pool.

Hot tub costs vary, depending on the type of spa you choose. Learn how much hot tubs cost in 2025 and how to save on new hot tub prices.

If your water has high calcium hardness, it's important to learn how to lower calcium hardness in your pool water to avoid corrosion that can harm your pool's plumbing.

Our chlorine calculator helps you determine the exact amount of chlorine to add to your pool, based on its volume and your desired parts per million (ppm) level.

If you have a tear in your pool liner, it can lead to costly problems if you don’t repair it. Find out how to patch a pool liner in just a few simple steps.