DIY Hurricane Shutter Installation: Protect Your Home From the Next Storm
Protect your windows and lower your insurance price (yes, for real)


Perhaps there’s a storm brewing, or maybe you recently moved to a tropical climate and want to prepare for a rainy day on the horizon. Learning how to install DIY hurricane shutters is a great step on your hurricane prep checklist to help your home stay safe and dry.
In this guide, learn how to install permanent hurricane shutters. We focus on accordion-style hurricane shutters, but many of the steps below will work for roll-down shutters, too.
Types of Hurricane Shutters
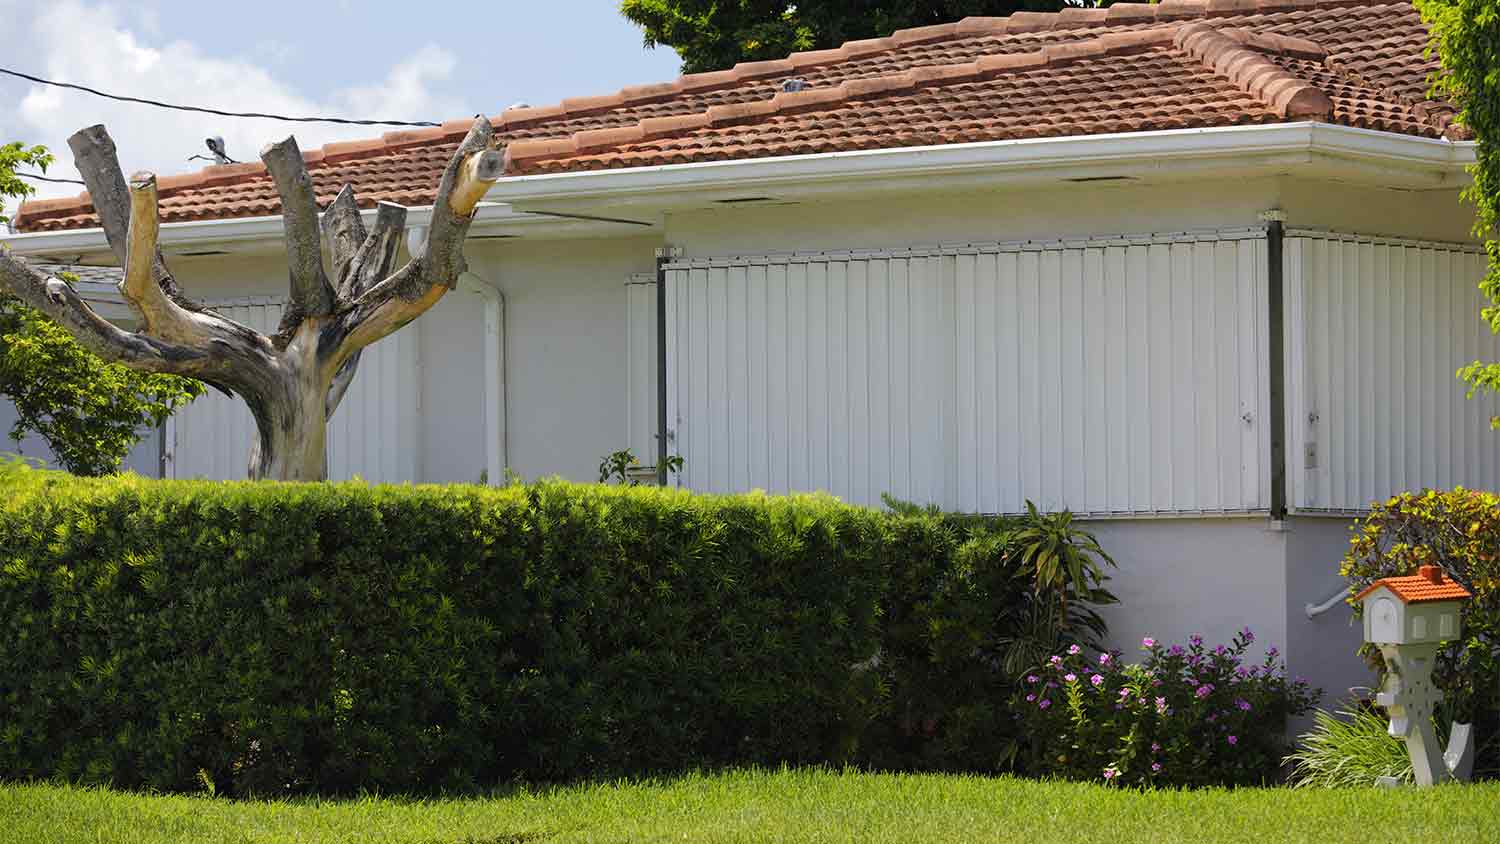
Before installing, consider the best type of hurricane shutters to put on your home or condo. Here are some of the common options:
Accordion hurricane shutters: These permanent structures fold out horizontally from the middle. They fit over windows and glass doors.
Roll-down hurricane shutters: These permanent shutters pull down from the top of the window and secure to its base.
Colonial hurricane shutters: These decorative window protectors add style and safety to your home’s windows. They are not a protective option for glass doors.
Bahama hurricane shutters: This type of pop-out screen shutter is commonly seen on commercial properties in storm-prone areas.
Plywood: Plywood hurricane shutters create a temporary structure you can remove after inclement weather passes.
How to Install Accordion Hurricane Shutters Yourself
Accordion hurricane shutters can help if you’re wondering how to hurricane-proof your home. These shutters have linked panels that fold back so you can see out of your windows when the shutters aren’t in use. They’re permanently attached to the home and are made of aluminum or polycarbonate.
It’s best to hire a professional hurricane shutter installer to tackle this project so you can have the peace of mind that they will work properly. Here are the steps your pro will take to complete this job:
1. Organize the Storm Shutter Pieces
Use your driveway or another clean, flat surface to organize the pieces of your accordion hurricane shutters. Make sure you have all the equipment the kit promises, and then use a tape measure to check the dimensions to ensure they’ll fit over the window. It’s better to exchange an incomplete kit before drilling, especially if bad weather is on the horizon.
When measuring your materials, make sure there are at least 8 inches of space available above the window to hang the top track.
2. Measure Your Windows and Top Track
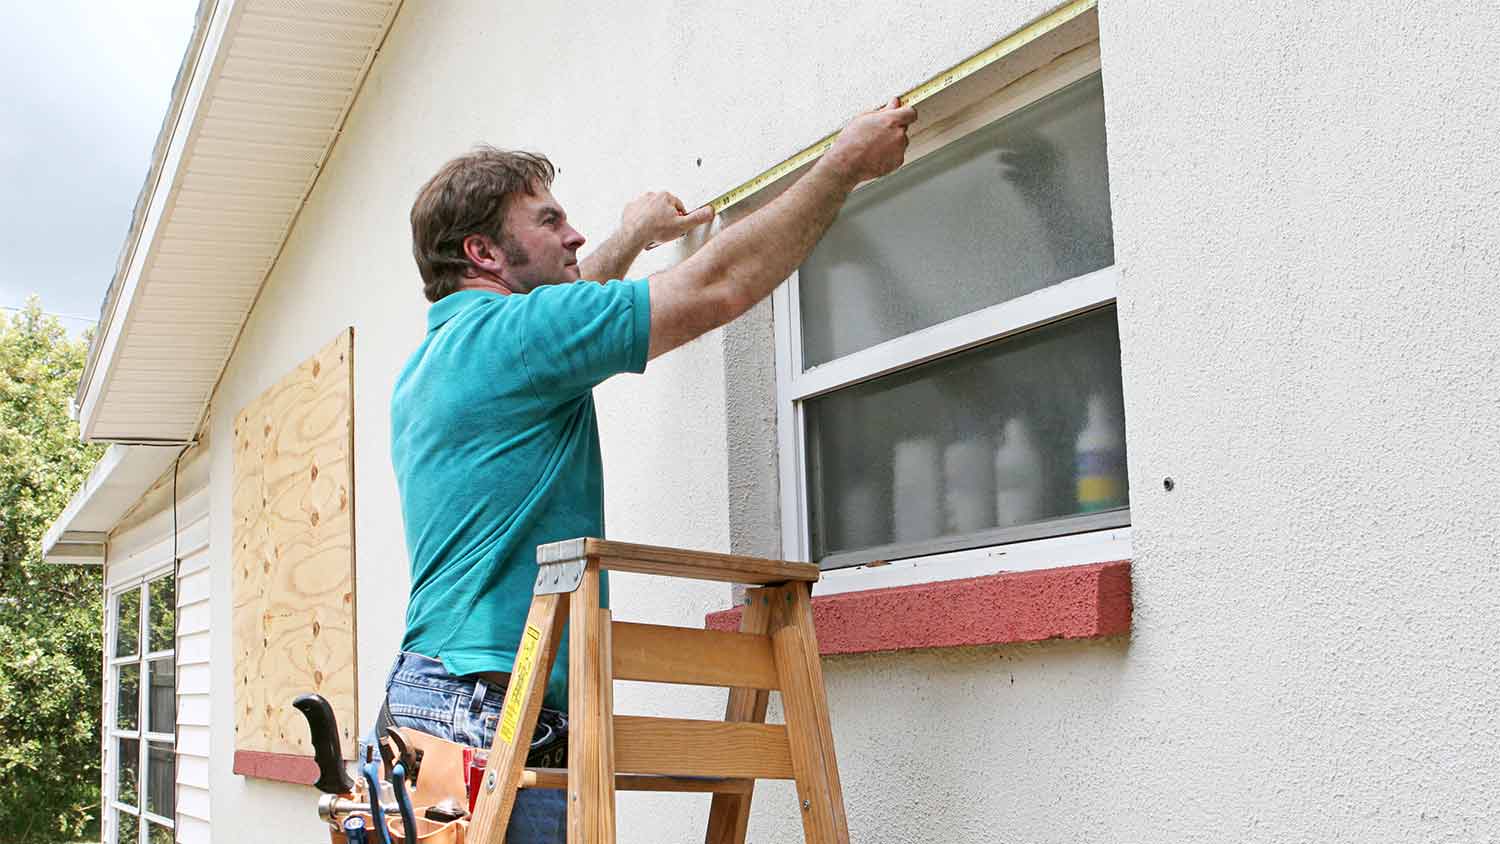
The next step is to determine the exact placement of the shutters. Consider asking a friend or family member to lend a hand to make it easier to hold the shutters and mark their placement. Most top tracks on premade accordion hurricane shutters have holes drilled into the metal where you can install screws. Use a pencil to mark the center of your window, or hold the top track up and mark where the holes will line up. Use a level to ensure it’s even.
3. Predrill Holes for the Top Track
Double-check that the top track is level with the window. Following your pencil markings, drill starter holes 3 and 3/4 inches above the window, starting from the center and working your way out. Use your tape measure to double-check that the accordion section will reach the bottom of your window or glass door.
4. Secure the Top Track
Insert anchor screws into the top track, starting from the center and working your way to the edges. Make sure the piece stays level, and keep the ends of the screws out for now.
5. Attach the Accordion Wheels to the Top Track
Once the top track is in place, attach the accordion wheels to it. Place the wheels in the center, bunched up, so they’re out of the way while you finish installing the frame.
Most shutters come with a lock and key. Remove the key and set it aside for safekeeping for now. If your accordion shutters are in sections, position the lock section along the left panel.
6. Attach the Side Panels

Now, you’ll need to repeat the same process you used to install your top track on the side panels. Use a tape measure and pencil to mark your drill sights along the side of your window or door. Then, following the pencil markings, drill from the center outward, installing an anchor screw in each section as you go.
7. Reposition the Shutters to One Side
Move the accordion shutters to the right side or whichever side sits furthest from the locking section. Sliding them out of the way will make it easier to place them on the bottom track once it’s installed.
8. Line Up the Bottom Track
The bottom track is the final piece of the puzzle. Line up your bottom track with the rest of the system and make marks with a pencil where the screws will go. Use your level and ask your installation partner to hold the bottom section tight and level.
Double-check your work before securing the bottom track with screws. The gap between the bottom curtain and bottom track should not exceed 1/4 inch. Even if the accordion fits on the track by stretching it, extra space will invite water into your home if a storm rolls through, so it’s essential to make adjustments now.
9. Secure the Bottom Track
Use anchor screws to attach the bottom track to your siding. Attach your accordion shutters’ base wheels or hooks to the bottom track. They should slide across easily. Slide the accordion all the way to the far side and test the locking mechanism. Find a special place to keep the key and any copies of it.
10. Caulk Around the Perimeter to Seal
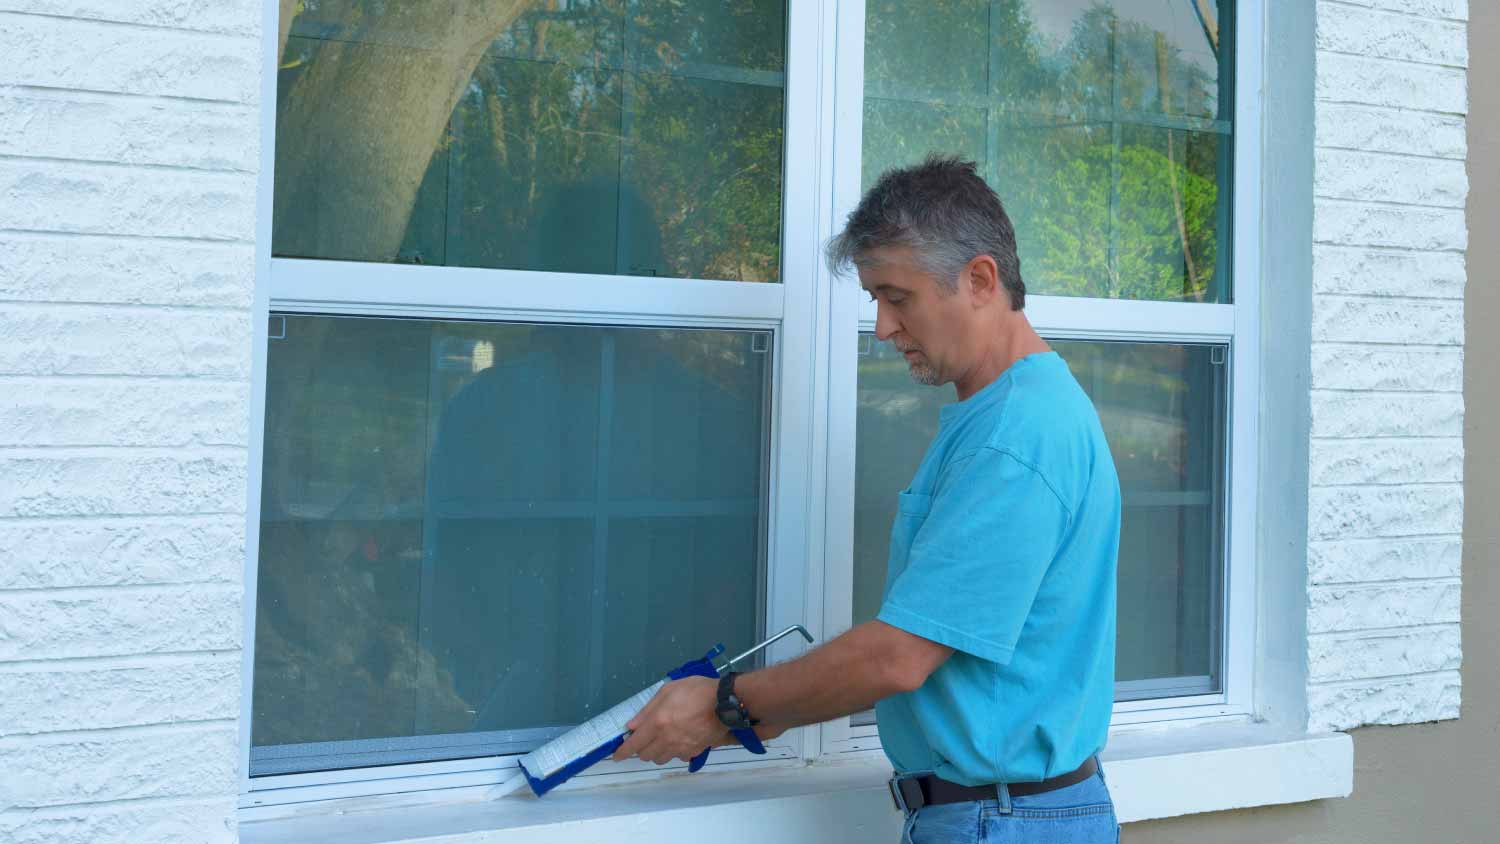
Finally, use silicone caulk and a beading gun to run a line along the outside edges of your new hurricane shutters. This step will help prevent water from getting into your siding, which could prevent costly siding repairs later.
Tips for Installing Hurricane Shutters
Installing hurricane shutters takes some time, so it’s best to do it well before a storm. Installation varies by the manufacturer, so read through the installation recommendations before you start the process. You can also ensure successful installation by:
Not overtightening hardware: Overtightened wing nuts and screws can damage the shutters or the home’s exterior.
Pick a material based on storm strength and budget: Some areas are prone to stronger storms, so check hurricane ratings to determine which materials work best for your area. Aluminum and other metals offer the most protection but are more expensive than polycarbonate or plastic shutters.
Know local building codes: State and county building codes may limit hurricane shutter choices. Before installing new shutters, be sure they will meet code requirements.
Read through the manufacturer's documentation for the shutter’s hurricane rating: Depending on where you live, your shutters may need a Florida Product Approval Number (required in Florida to indicate they meet building codes), Miami-Dade Notice of Acceptance (NOA) number (required in Miami-Dade county to indicate they passed testing for high-impact weather), or approval for high-velocity hurricane zones (HVHZ) in Florida. Other states where hurricanes are common often have similar designations with specific building code requirements, so do your research to make sure the hurricane shutters meet local guidelines.
Choose an extended size: Wide-span hurricane shutters that can extend across 30- to 40-foot spaces or longer are available for glass walls or sliding glass doors if needed.
Look at hurricane film: You can add an extra layer of protection by installing hurricane film on your windows in addition to hurricane shutters. Although these films aren’t hurricane-resistant, they can give the window added strength in case the hurricane shutter is breached.
DIY vs. Hiring a Pro
Installing hurricane shutters yourself isn’t that complex, especially if you use a prefabricated kit. Accordion shutters cost $15 to $30 per square foot, but if you opt for a motorized version, you can expect to pay $50 to $200 per square foot.
However, it’s a task where the risks of doing it wrong are pretty high—which is why you should hire a professional if you’re hesitant about the scope of the work. The same goes for time-sensitive projects. We love learning projects on the fly as much as you do, but if a severe storm is rolling in, it’s probably best to call a local hurricane shutter company to complete the installation. Hurricane shutters cost an average of $3,700 to install.
Frequently Asked Questions
Hurricane shutters cost between $1,500 and $5,800 with professional installation, with most people paying $3,700 on average. The price will vary based on the material, model, number of windows, and if it’s hurricane season or the off-season during installation. They aren’t the most budget-friendly project, but they can help you save money in the long run on your insurance policy.
In many cases, hurricane shutters lower the cost of homeowners insurance. If your storm panels are code-compliant with your state or county (or insurance policy), they may lower your annual premium, even in storm-prone areas. Check with your homeowners insurance company to understand the compliance requirements. Even if your insurer doesn’t lower your premiums, hurricane shutters could save you from costly repairs after a storm.
Yes, you can paint certain types of hurricane shutters, like Bahama or colonial shutters. However, hurricane shutters made from rollable or foldable aluminum or metal may need to be stripped and primed before applying a fresh coat of paint, so keep that in mind if you’re looking for a certain aesthetic with your hurricane shutters.


- Types of Hurricane Shutters for Your Home
- Who Installs Hurricane Shutters? A Complete Hiring Guide
- Plywood Hurricane Shutters: Everything You Need to Know to Make Your Home Safer
- Impact Windows vs. Hurricane Shutters: Which One Is Better?
- 10 Types of Exterior Shutter Styles and How to Choose the Right One
- 4 Tips on How to Protect Windows During Hurricanes If You Live in a Storm-Prone Area
- How to Hurricane-Proof Your Home: 11 Tips for Staying Safe During Storms
- How to Paint Shutters: A Step-by-Step Guide for Painting Wood, Vinyl, or Plastic Shutters
- What Are Estate Shutters?
- Window Track Repair: 3 Ways to (Actually) Fix Your Broken Window Track


