
Installing trim can give your home a finished, polished appearance. Learn how much it costs to install trim and what factors affect how much you’ll pay.
Cabinets can hide home office clutter
.jpeg)
.jpeg)
The addition of built-ins costs $1,400 on average, but elaborate designs can reach up to $22,000.
While DIY may seem cheaper, pros often work faster—and sometimes for less—thanks to their expertise and equipment.
Accurate measurements and detailed planning are essential before buying any materials.
This project requires a long list of specialized tools that can be expensive to purchase if you don’t already have them on hand.
Without the right skills or setup, a DIY built-in can drag on and rack up unexpected expenses.
Whether you use your home office for video meetings, bill paying, or something in between, clutter is your enemy. Constructing home office cabinets and bookshelves can keep you organized, make you more efficient, and let you show off your eye for design. Learning how to install DIY home office built-ins requires you to have some carpentry and measuring skills. If you can complete this project, though, it's a highly satisfying experience. Learn more about what goes into creating built-ins for a home office.
Adding built-ins to your home office will reduce clutter in your working space. Rather than stacking items haphazardly on your desk and around the room, you can stay organized with bookshelves and cabinets.
If you need space around and on the desk for computer monitors or video equipment, DIY home office built-ins provide storage space for your non-tech items.
For people who often appear on video calls, having built-ins in the background can be a nice addition. You can show off knick-knacks, creating an eye-catching backdrop. Some people display professional awards in the background on the built-in bookshelves, creating a sense of authority. In your video call background, you may prefer to have cabinets that you can close to hide the clutter.
Built-ins with adjustable shelves and drawers help you maximize the space when you’re using a small room as a home office.
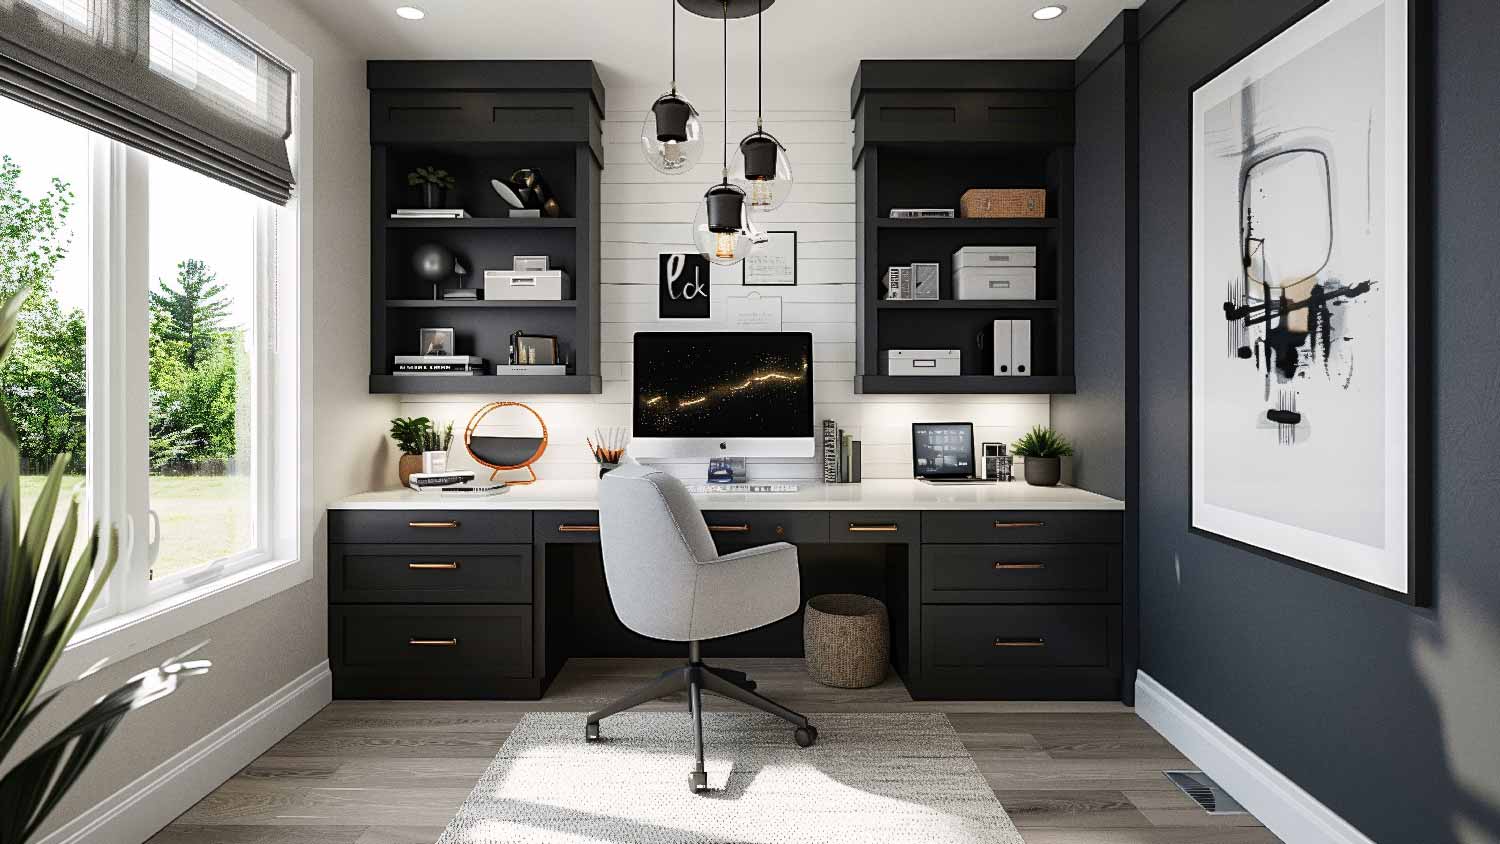
If you want to add built-ins to your home office, the cost varies greatly depending on the size of the build and the materials you use.
The cost for built-in cabinets for a home office ranges from $1,000 to $6,000 when you hire a professional. You can expect to pay $450 per linear foot for the planned cabinet space. If you hire a local carpenter to design, build, and install the cabinets, up to 80% of the project's price will be labor costs.
The cost of built-in bookshelves for a home office typically ranges from $1,000 to $11,000. Labor for a job like this can be as high as $130 per hour. Depending on the size of the unit and the complexity of the design, a pro could take up to 20 hours to install a bookshelf. Some jobs could take longer.
If you DIY as much of the project as you can, you’ll save quite a bit on labor costs. However, building cabinets and bookshelves for a home office yourself can be a challenging job.
To prepare for this DIY job, you need to come up with a design. You can find plenty of inspirational ideas online for this type of project, helping you come up with the shape and configuration.
You then can apply those ideas to the size of the space you have available in your home office. Measure the space carefully, so you know exactly how big everything can be. Accurate measurements are vital for this kind of project.
Think about where you’re going to cut the wood and do sanding. If you want to assemble the cabinets and bookshelves elsewhere before moving them into the home office room, make sure they’ll fit through the door. Otherwise, you can bring the sanded pieces into the room and assemble them there.
Consider how much you want to spend. If you have a higher budget, you can afford more expensive types of wood. However, many people successfully use plywood for most of the construction, which makes the job more affordable.
You should move most items out of the room before you start the construction. It's a smart idea to convert another place into a temporary home office. Building cabinets and bookshelves yourself can take a long time and create quite a mess in your home office.
Before you start assembling items in the room, mark the location of the wall studs. Make your marks across the entire height of the wall, so you can easily see them when you need them.
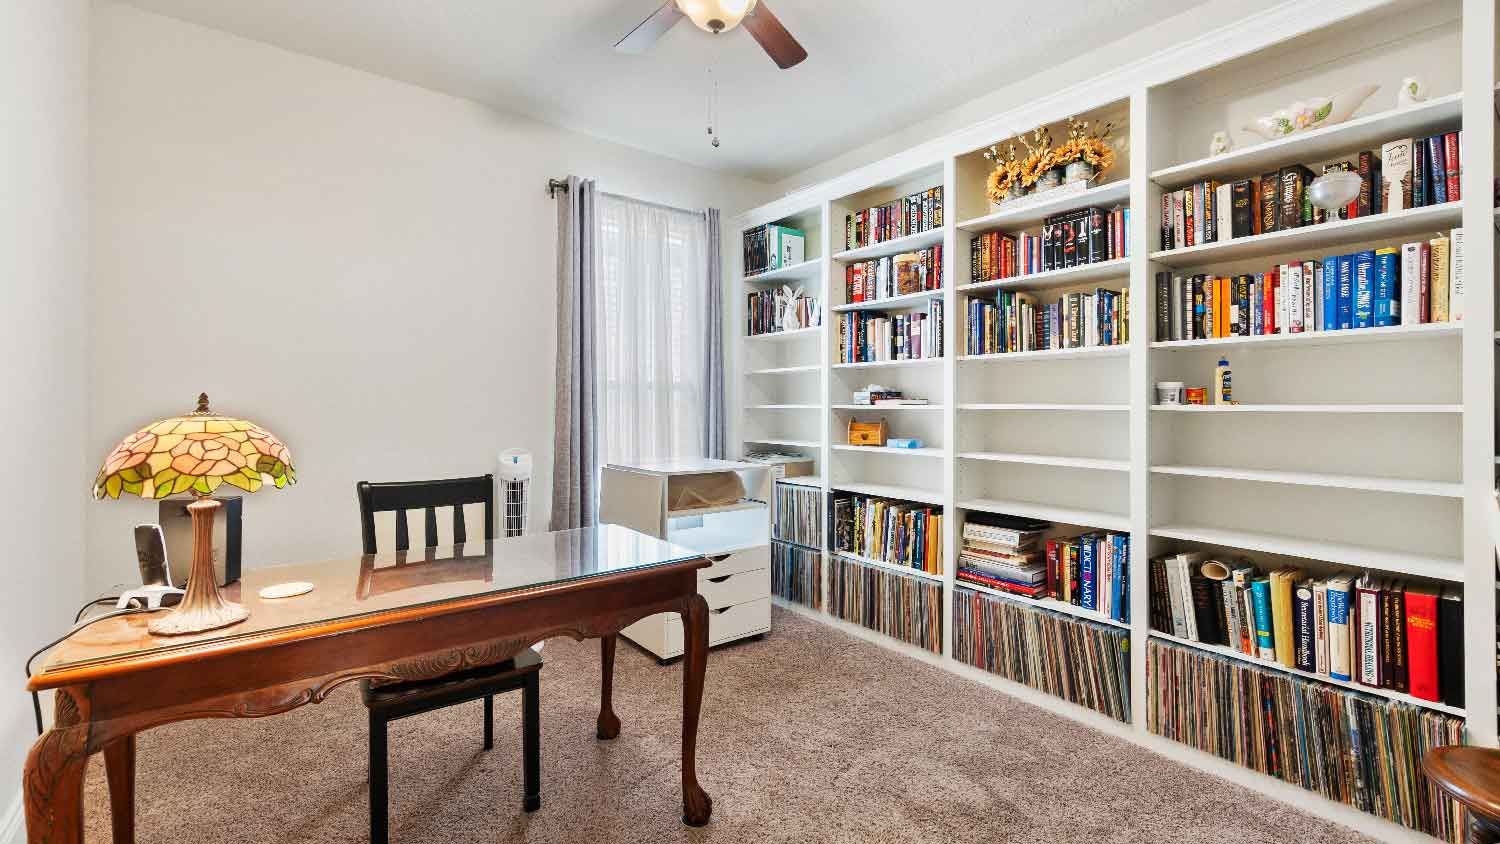
Learn more about the basic steps required to construct your DIY home office built-ins.
You’ll be cutting multiple pieces of wood to assemble your DIY home office built-in cabinets, shelves, and bookshelves. Measure frequently, both the space you have available in the room and the pieces as you’re cutting them. One wrong measurement can throw off the entire design.
It’s easier to sand each piece before you begin assembling it. Sanding after assembling is difficult, especially trying to reach into the corners.
Most people will use plywood to create the base cabinets. Most people will place cabinets on either end of the built-in with an open space in the middle that accommodates the chair for the desk.
Cabinet construction basically involves creating a box and adding shelves and drawers where needed. Use a pocket hole jig to keep the screws for the assembly hidden. You can build a small pedestal over which to install the cabinets, or you can create feet for the cabinets. The feet or pedestal will partially support the weight of the cabinets. Because you’ll be attaching them to the wall studs, too, you receive additional weight support.
If you want drawers or doors on these cabinets, make sure your design can support these items. Add a full plywood panel across the back to provide stability. If the unit is smaller, you may be able to add a couple of strips across the back, rather than a full panel.
Some people may purchase pre-built base cabinets, as these can be tough to build on your own. Pre-built cabinets can be especially helpful if you want to add multiple drawers. Building your own drawers can be a challenging job that requires quite a bit of precision.
You can create a desktop across the top of the base cabinets. Use a large piece of plywood or create a butcher block design to make the desk. You could even use an old kitchen countertop and shape it to create your desk.
You can now add the built-ins you want along the upper section. Some people add bookshelves here to hold knick-knacks and books. Some people prefer cabinets across all or part of this area to hide clutter.
As with the lower cabinets, you’ll be building boxes out of plywood for the basic frame and adding shelves and drawers where you want them.
After you assemble the lower and upper sections, you'll attach them to the wall studs. This is an important step that ensures maximum stability. You don't want to risk having everything tip after you add books and other items, so connecting the materials to the wall studs protects you.
You’ll want to take a number of steps to finish the project and make it look great.
Trim: Add trim pieces to cover all the edges of rough plywood. Add trim work along the bottom to hide the legs. Some people place trim at the top to cover any gap between the top of the built-ins and the ceiling.
Paint: If you choose to paint all the pieces, you could paint everything before you assemble it. You probably will have to do some touchup work to account for scratches afterward, though. Other people paint everything after assembly.
Veneer: If you want to stain the built-ins, understand that some people don’t like the look of stained plywood. Instead, consider adding wood veneer pieces to doors, the desk, and drawer fronts. You can attach the veneer with glue. This material can be expensive, though, so you may want to use it sparingly.
Back panel: Some people leave the back of the built-ins open, so you can see the wall color behind it. Other people place thin wood panels behind the cabinets that provide stability or hide the back wall. You could create a painted or stained shiplap back panel, too.
Pulls and handles: As with kitchen cabinet designs, some people add pulls and handles to the DIY home office built-ins and some don’t.
To have a better chance at success with the installation of your DIY home office built-ins project, follow these tips.
Take the necessary time to plan the project and to think about what you need from the built-ins. Make sure your design will fit your storage needs.
Consider different built-in bookcase ideas and cabinet designs, so you can create a layout that’ll work for you.
After coming up with a design, use painter’s tape to create the outline along the wall where the built-ins will appear. This makes it easier to visualize the size of the installation, so you can make any adjustments.
Consider assembling the largest pieces inside the room where your home office will be. Assembled pieces are incredibly heavy to move.
Keep a level handy, so you can be certain everything is square as you're assembling the pieces and mounting them to the wall.
When determining where to place your built-ins, figure out whether you’ll need access to outlets. If you don’t have enough outlets available in the right places, you may need to call a local electrician to help.
Many people who decide to paint the cabinets after installation choose to use a sprayer. This tool simplifies reaching all the corners and odd angles on the built-ins.
If you want to do part of the project yourself but hire a pro to do some of the more challenging aspects, this is a nice way to save a bit of money.
When you hire a pro, labor costs for built-ins can be half or more of the total project cost. Making DIY home office built-ins can save you quite a bit of money.
However, this is a challenging job, especially if you don’t have a lot of experience with carpentry. Taking the steps for how to make built-in shelves, bookshelves, or cabinets in your home office will take multiple days. It’s a labor-intensive job that’s best for intermediate and advanced DIY-ers who have time to devote to the project.
Materials can be expensive, so you don't want to make major measuring and cutting mistakes and waste wood. You need multiple tools, such as a circular saw, miter saw, pocket hole jig, nail gun, drill, and more.
By the time you purchase a lot of tools for the job, you may find that hiring a local carpenter isn’t significantly more expensive than doing the work yourself. If you already own the tools, have plenty of time available, and enjoy doing carpentry work, though, adding DIY home office built-ins is probably a job you can handle.
From average costs to expert advice, get all the answers you need to get your job done.

Installing trim can give your home a finished, polished appearance. Learn how much it costs to install trim and what factors affect how much you’ll pay.
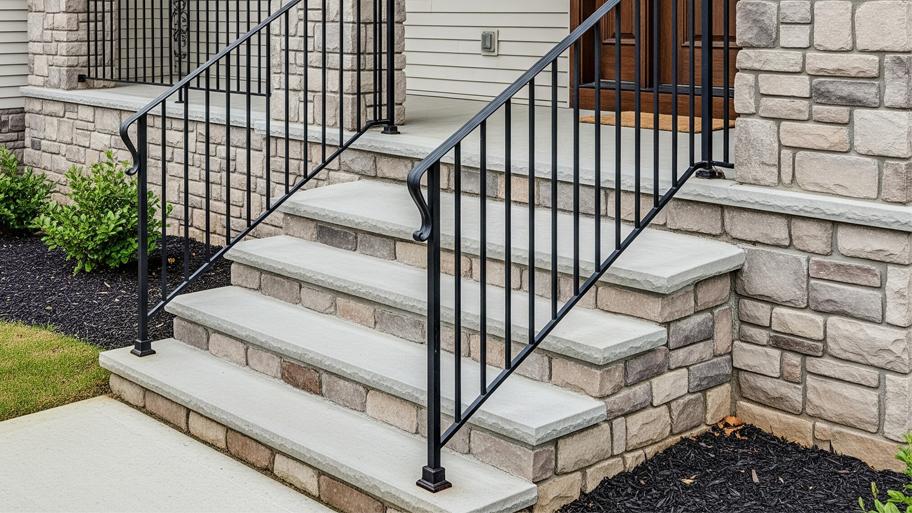
How much does outdoor railing installation cost? Find out the cost to install a railing on concrete steps, porches, and patios, including material and labor.
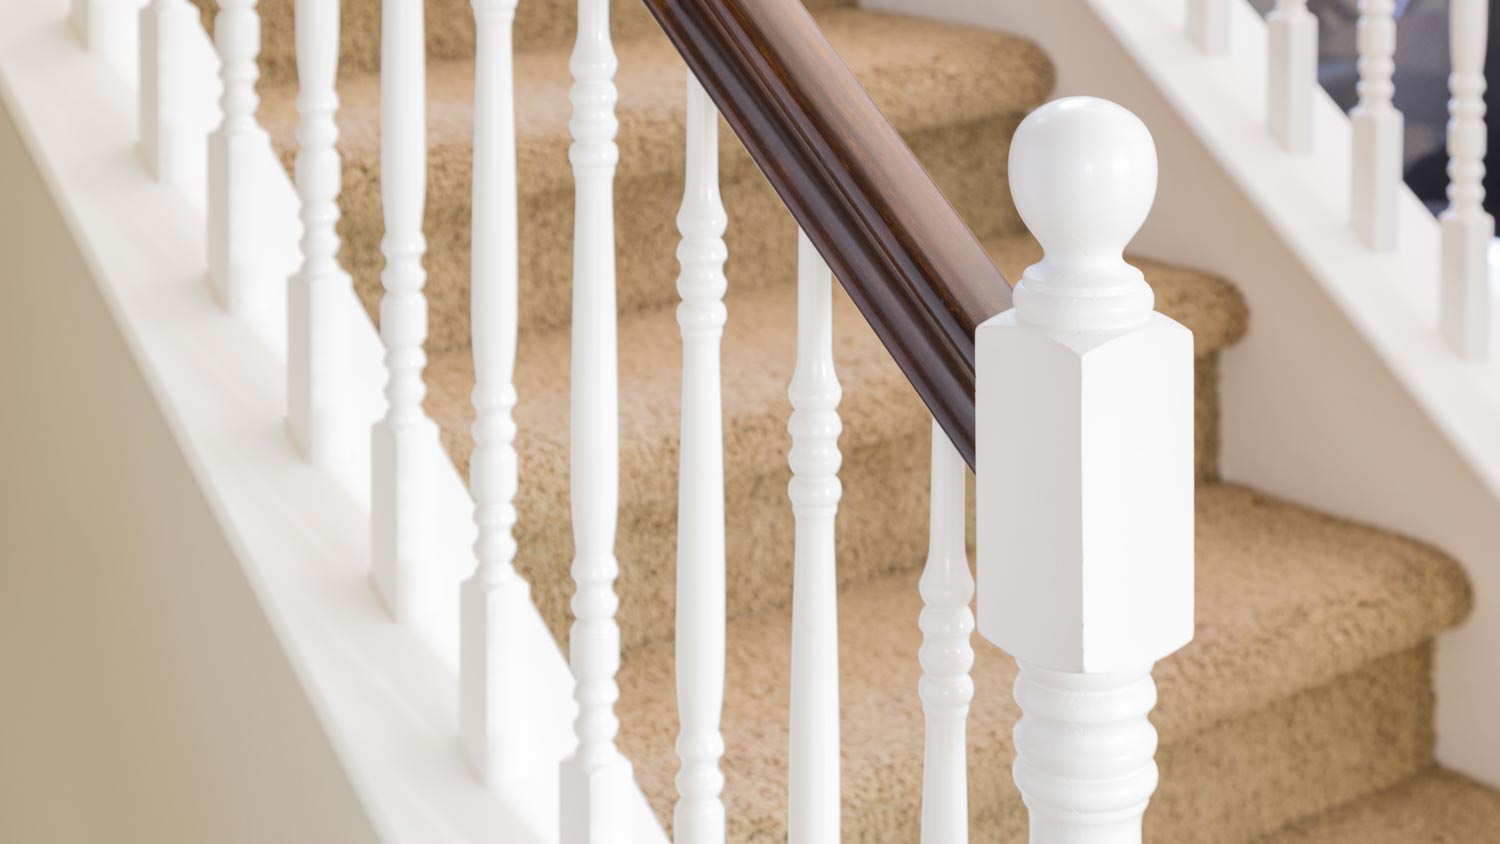
Get expert insights on stair railing repair cost, including average prices, cost factors, and tips to save money. Plan your stair railing repair project with confidence.
Wondering how much a spiral staircase costs to install? Discover prices, key cost factors, and tips to save on your spiral staircase installation.

Discover the cost to install hardwood stairs. Learn about material, labor, and additional factors to budget for your stair installation project.

Shoe molding hides imperfections in your baseboard molding and can elevate the look of a room. Learn about the cost to install shoe molding in this guide.