

When calculating the cost of building a treehouse, consider the size, types of materials, and design. This guide will help you figure out what to budget.
Here are all the ways to keep dust build-up at bay


Shiplap walls are having a huge moment thanks to trending design styles like rustic and farmhouse decor. The reason? This type of wall paneling adds a ton of old-world charm while also providing a classic, polished background that makes so many different styles stand out.
But nothing is without its downsides, and because of its unique grooves, shiplap can be quite a dust magnet if left unchecked. Fortunately, a few simple tips and regular (yet quick) cleaning sessions will help you keep it looking as good as the day it was first installed.
Love the name but not sure what, exactly, is shiplap? Though it may appear to have a lot in common with run-of-the-mill wall paneling, there are a few important distinctions that make all the difference.
Unlike other types of wood paneling, shiplap consists of rabbets, or grooves, that are cut at both the top and bottom to allow each plank to fit neatly together. This unique design element gives shiplap its iconic appearance, but it’s also what can make it such a pain to clean because dust gets trapped much more easily in these tight, hard-to-reach crevices.
Having shiplap walls doesn’t necessarily mean that you’ll be constantly battling dust. There are a few steps you can take during the installation process (and after it’s installed!) that will minimize your workload and keep your walls looking clean and fresh.
If you’re mulling over the idea of installing shiplap, there are a few things you (or a professional contractor in your area) can do during that process to keep dust at bay. For one, installing shiplap vertically rather than horizontally will make it harder for dust to collect, and both easier and faster to remove what does. Or, try building your shiplap with a material other than wood that is more resistant to debris and less of a nuisance to clean in general, like vinyl or stick-and-peel faux shiplap panels.
If you already have shiplap in your home and can’t go back in time to take all these preliminary steps, know that all is not lost. For one, you can fill in the gaps with caulk to make it almost impossible for dust to get trapped. Or, try painting over the panels with a dust-resistant paint. When in doubt, there’s almost always a way to make the most of a tricky situation like this.
Regular dusting is a must if you want your shiplap walls to consistently look their best. Fortunately, you don’t need to dust them any more often than you do the rest of the dust-prone parts of your home—so roughly one to two times a month, or up to once a week if need be.
As for the actual dusting process, what you need to do is simple. Start by using a vacuum with a brush attachment to remove as much free-flying dust from inside the tough-to-reach grooves. Then, dab what remains with microfiber cloth until nothing remains.
Still struggling to get rid of every last dust molecule? Use a slightly dampened sponge to swab out the rest. Because shiplap was originally used for, well, ships, it’s naturally water-resistant and won’t warp or become damaged from light water use.

Because shiplap is designed for water resistance, you won’t have any problems using a water-based cleaning solution to remove tougher stains and smudges. In general, use a mix of a gentle cleaning agent and dish soap, or a homemade solution of water and vinegar, to make this wall paneling shine like new.
Afterward, remove excess moisture with a cloth, but don’t worry about getting it completely dry—you can let the air take care of that for you!
Though a magic eraser is likely to strip paint from wood shiplap, you won’t have this problem with faux-shiplap. Rather than going to the trouble of making or buying a solution, you can instead use this unique cleaning tool to gently scrub away stuck-on debris and stains without having to worry about damaging the paneling
One last trick that will ensure an easy shiplap cleaning process is the direction in which you wipe your sponge or cloth. Wiping back and forth will simply move the dust around rather than remove it. Instead, try to move in one direction as you clean the panels to ensure they look great.
From average costs to expert advice, get all the answers you need to get your job done.
When calculating the cost of building a treehouse, consider the size, types of materials, and design. This guide will help you figure out what to budget.

Whether you need to heat your home for the winter or simply enjoy lighting a fire occasionally, it's helpful to know the cost of a cord of wood in your area.
Discover the cost of widening a doorway, including average prices, key cost factors, and tips to help you budget for your project.
Installing foam crown molding is a cost-effective way to elevate your home. Costs can be kept low by matching molding to existing wall colors and doing some DIY work.
Need crown molding installed? Learn who to hire, what it costs, and why a trim or finish carpenter is the best choice for a polished, professional look.
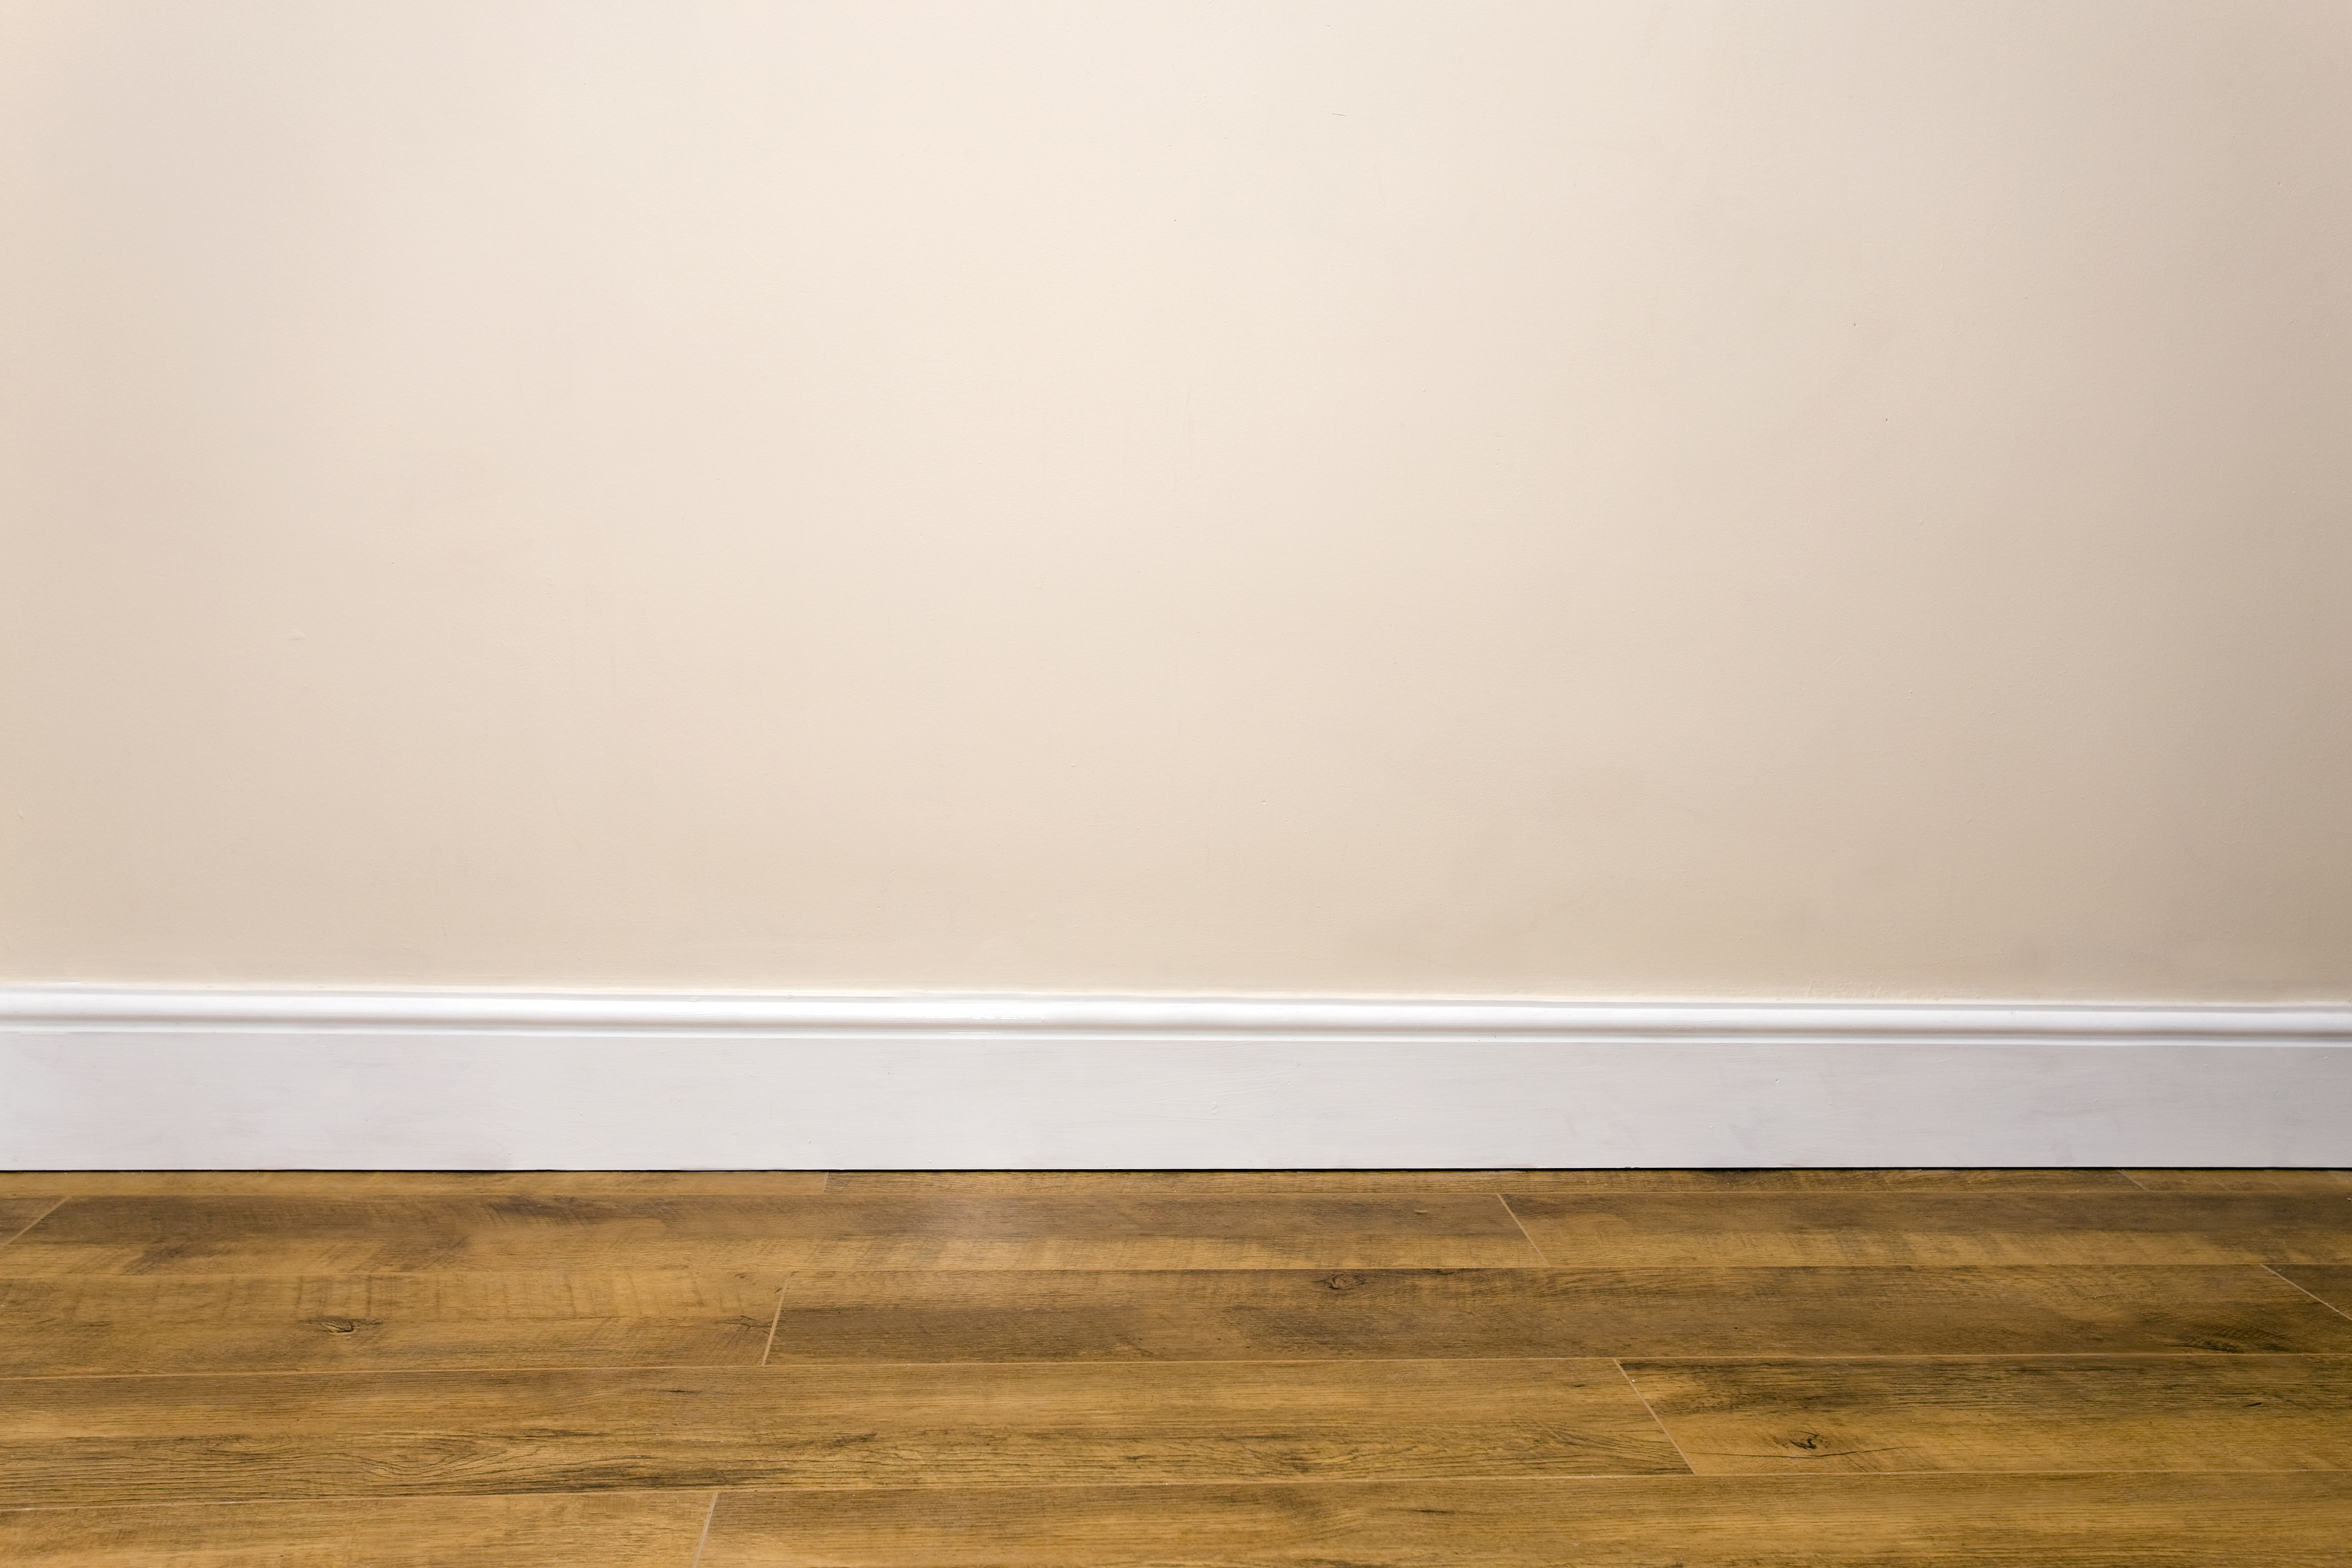
Baseboards see a lot of traffic and are susceptible to dents, dings, and water damage. Learn how to repair damaged baseboards to keep your trim looking good as new.