Thinking of adding a pergola to your backyard space? Find out motorized pergola costs by size, material, and add-on features with this guide.
Build a deck that works with your tree, not against it


Figuring out how to build a deck around a tree might be your ticket to creating a backyard that feels like a shady oasis. But while the finished look might seem effortless, getting there takes thoughtful planning if you want the deck to last and the tree to stay happy and healthy. Here’s how to avoid rookie mistakes that ruin your deck and damage your tree.

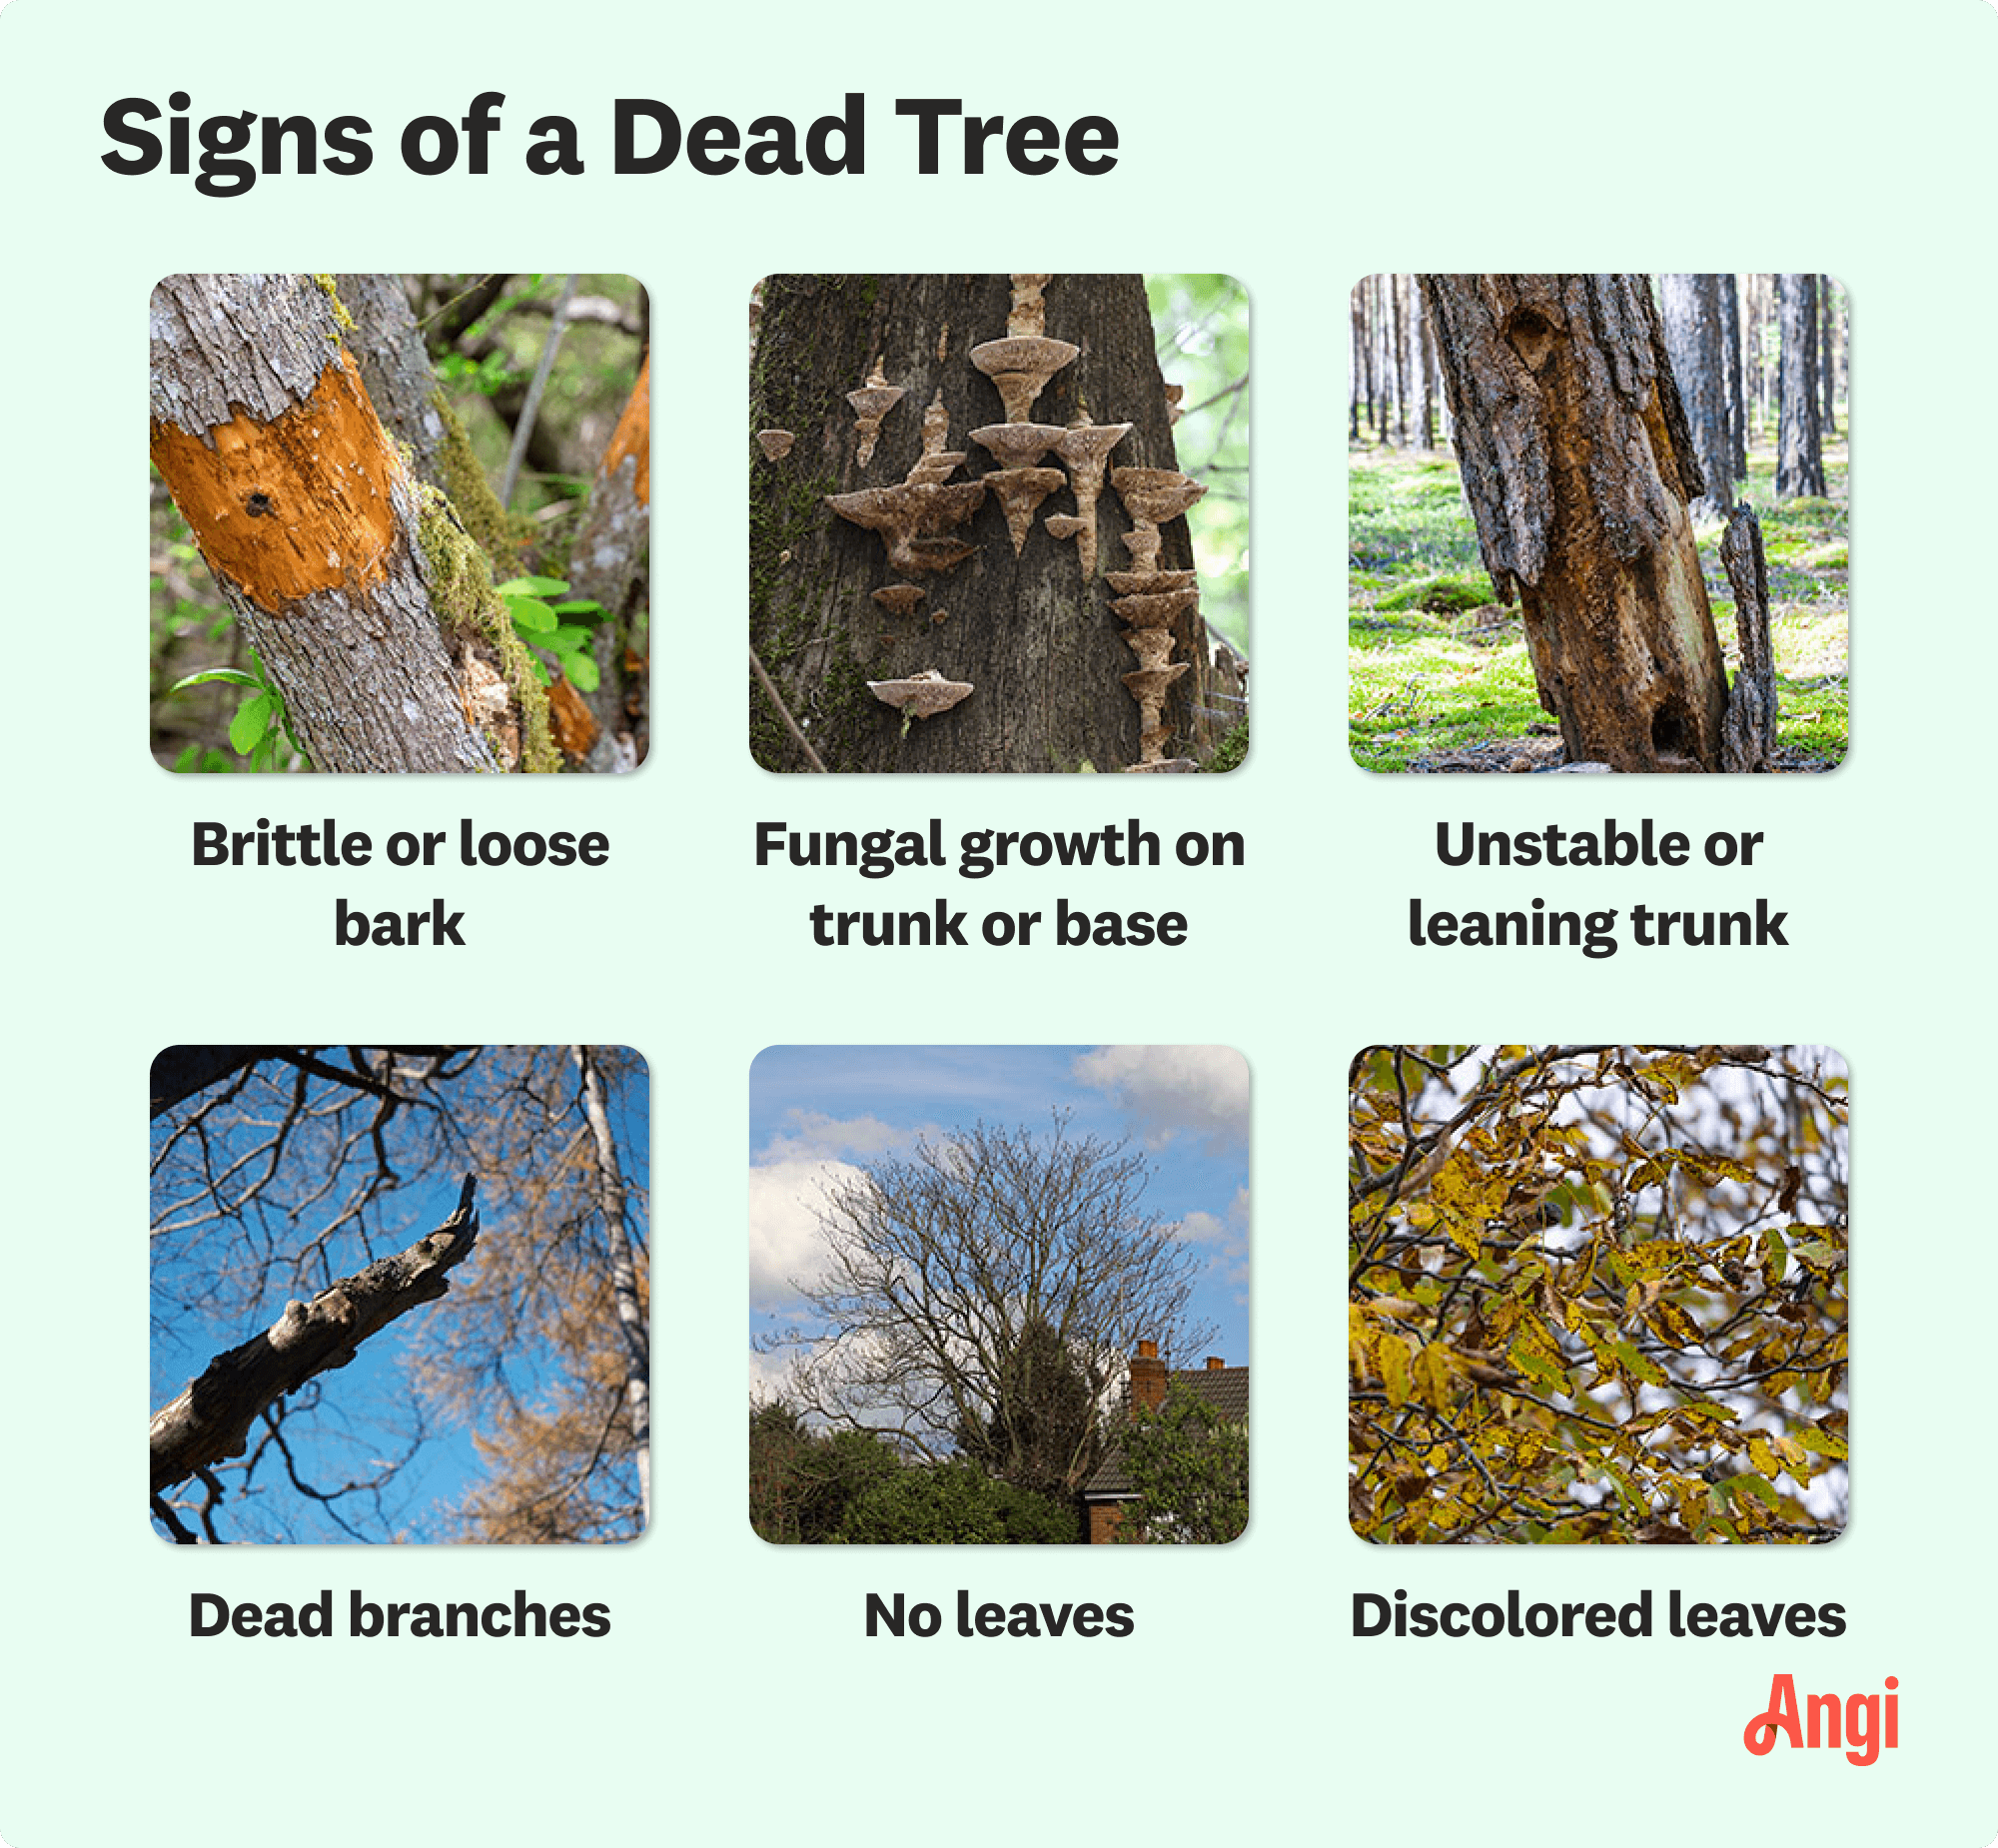
Before you start planning how to build a deck around a tree, make sure the tree itself is up for the job. You will want to check the tree’s overall health and structural stability. To get started, look for signs of disease, dead branches, cracks in the trunk, or anything that could turn into a safety hazard down the line.
It is also a great idea to hire a local arborist, also known as a tree doctor, to give your tree a clean bill of health. In many cases, trimming the tree before building can make a big difference. Remember, dead or heavy branches can fall off, damaging your deck or house, and removing a tree can be costly.
No matter how old your tree is, it is still growing. Younger trees usually grow quickly and proportionally, while older trees continue to add mass, increasing their trunk diameter over time. Depending on the species, a tree can expand by an inch or two in diameter each year.
When planning a deck around a tree, it is smart to leave at least a 5-inch gap around it for future growth. When in doubt, working with a local deck builder who has experience building around trees is a smart bet. They can help you plan properly to protect your tree and the investment in your deck.

When building a deck around a tree, protecting the root system is as important as leaving space around the trunk. While many trees have roots that reach deep into the ground, they rely heavily on shallow roots for nutrient intake, often just a foot or two below the surface. Damaging these roots can seriously impact the tree's health. Avoid digging or placing heavy support footings close to the trunk and roots whenever possible.
Ensuring the area around the deck has proper drainage is also essential. Water pooling near the tree's base can suffocate the roots and lead to rot, so plan your deck design to direct water away to keep the soil healthy.
No matter what type of deck you are building, whether a low floating deck or an elevated one, you never want to attach it directly to the tree. While tying into the trunk might seem like a sturdy shortcut, it is a long-term disaster waiting to happen. Trees move and grow over time, and anything bolted to them will eventually warp, crack, or damage the deck and the tree.
Instead, consider building a true freestanding deck. That means using beams and footings to create a self-supporting frame that floats independently around the tree. A floating frame isn't connected to any other structure, including the tree itself, allowing both to move naturally with the seasons. It takes a little more planning and up-front work, but it protects your deck's structural integrity and the tree's health for the long haul.

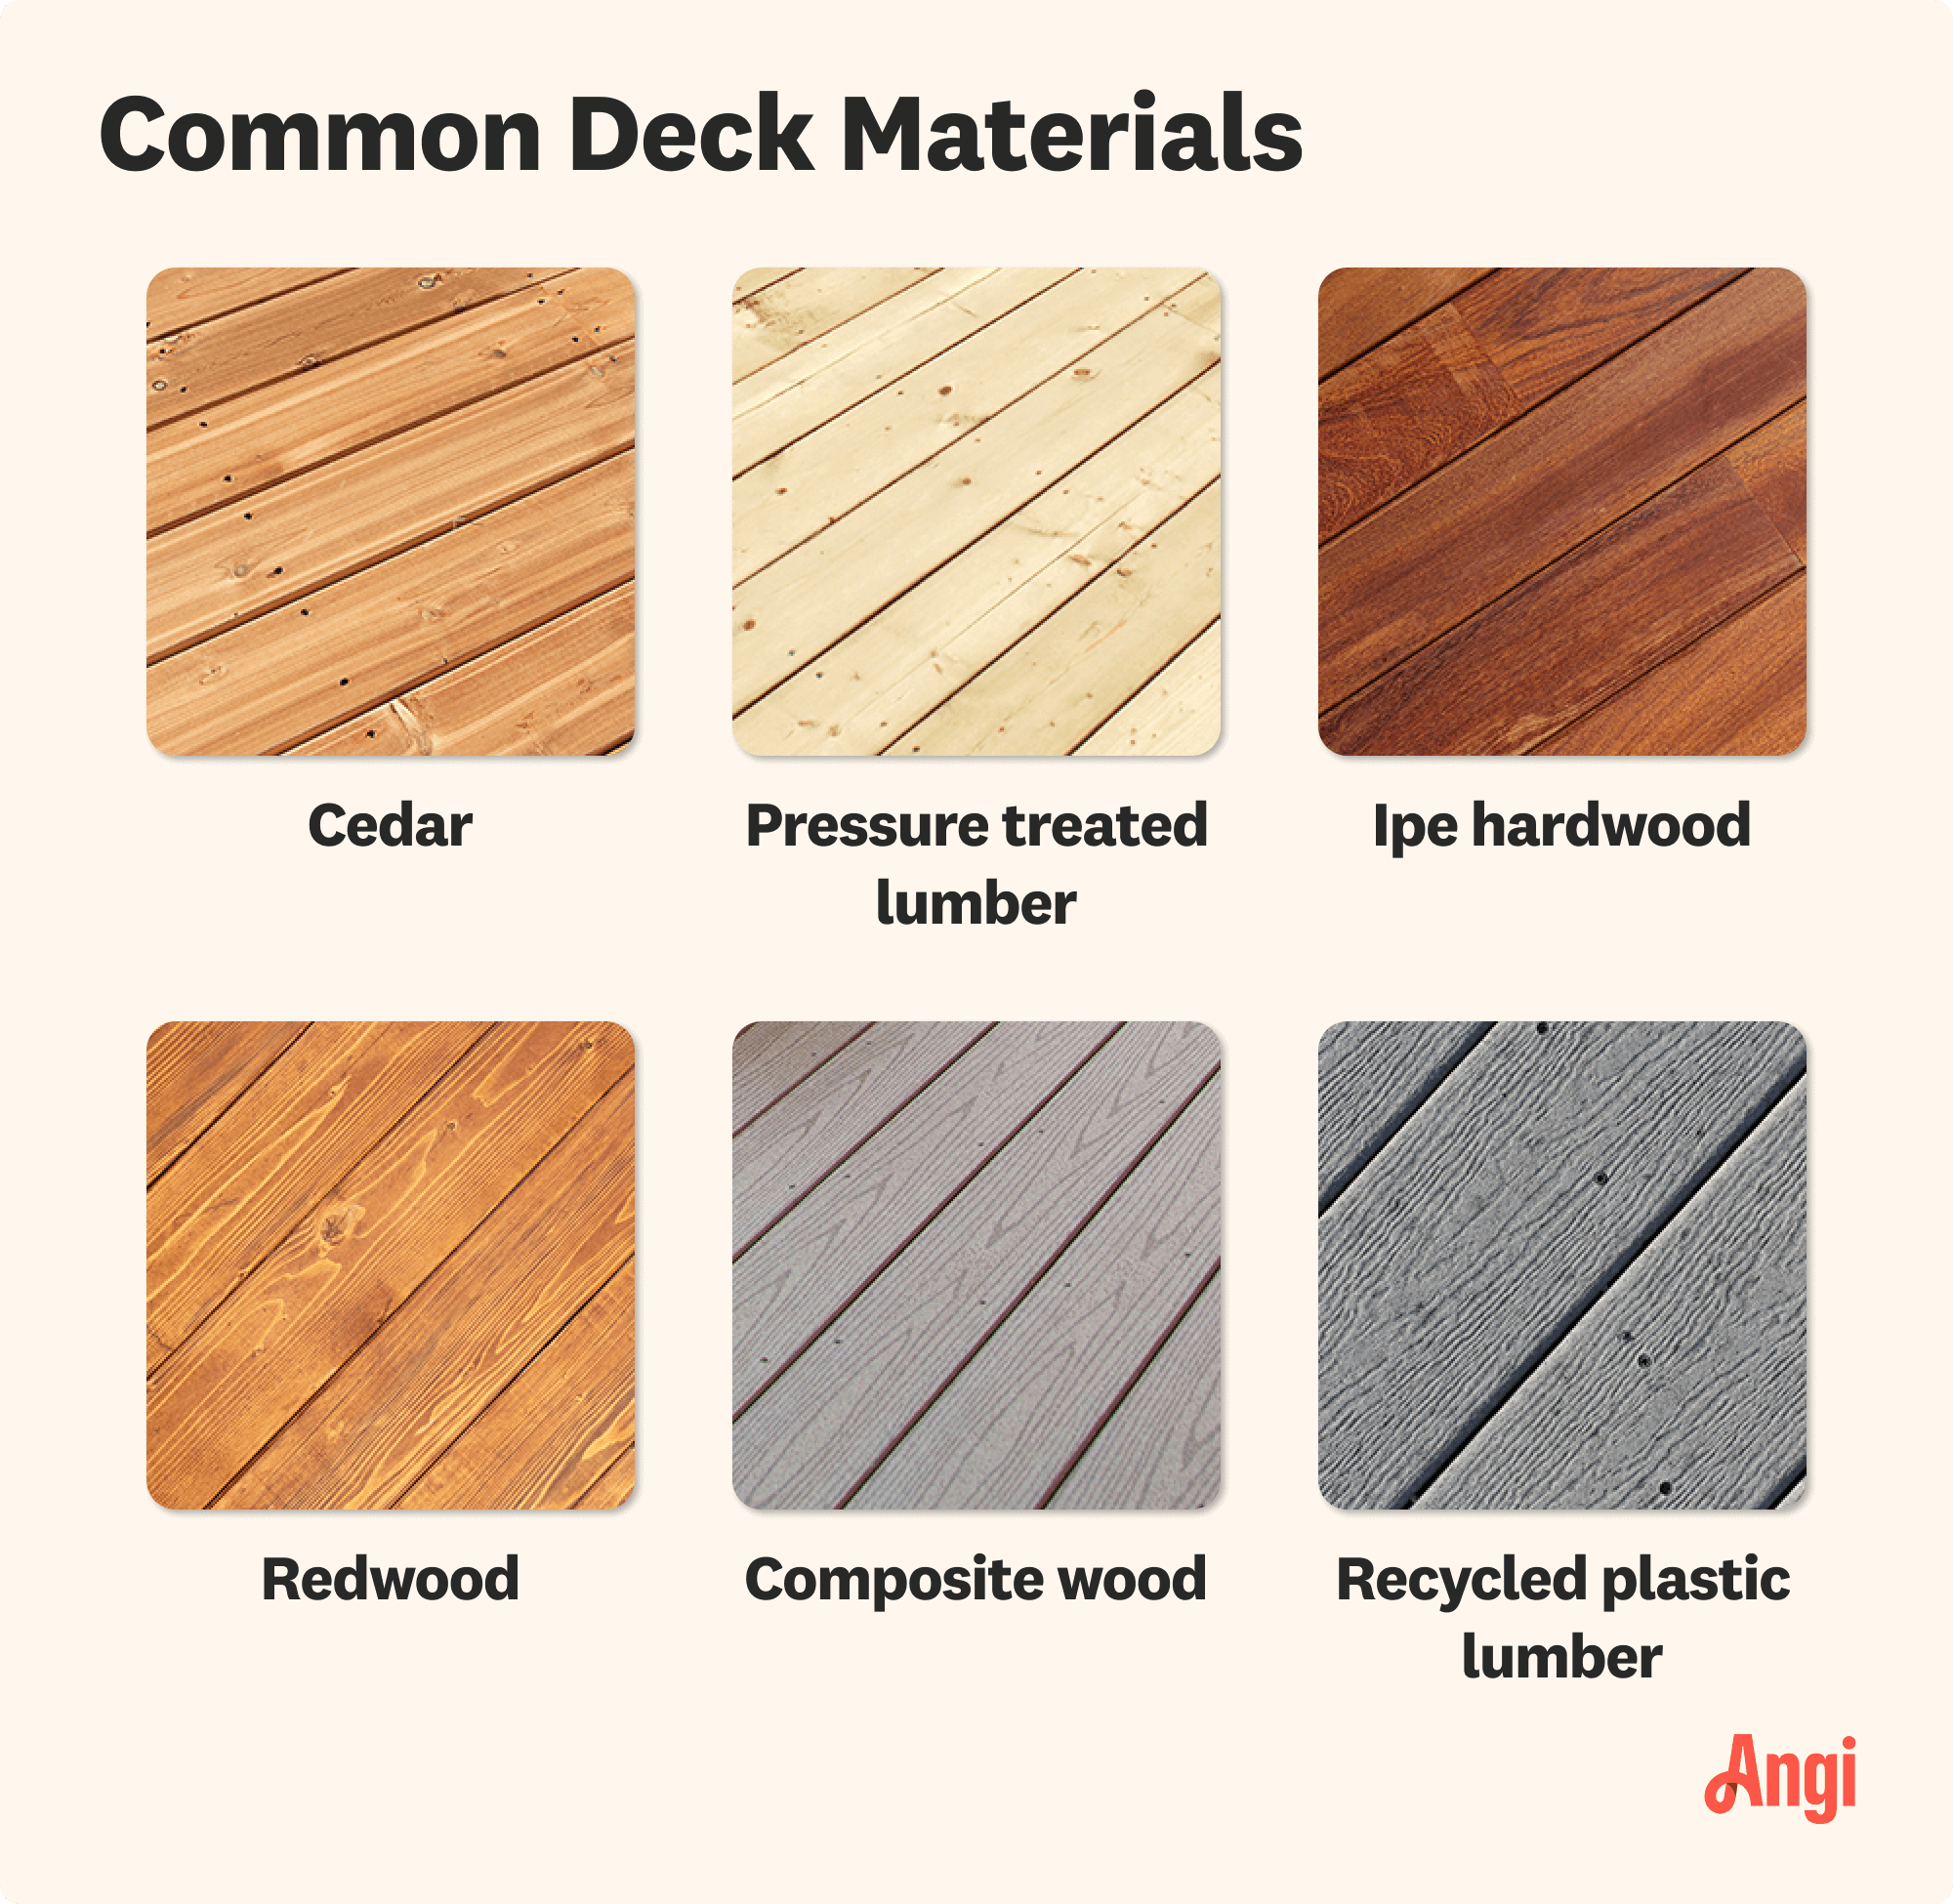
Flexibility is key when choosing decking materials to build around a tree. Modified wood, high-quality composites, and rot-resistant hardwoods offer the stability to handle movement and resist damage over time. While they cost more up front, they save money in the long run with fewer repairs. For even more give, softer woods like cedar and redwood, or even flexible PVC decking, can shift naturally with the tree, keeping your deck looking seamless year after year.
Building a deck around a tree doesn’t mean you can stop caring for it. In fact, regular tree maintenance, just like deck maintenance, becomes even more critical. Pruning dead branches, checking for signs of disease, and allowing airflow around the base help keep the tree healthy and protect your investment in the deck. Make sure your design leaves enough space for future tree work, whether climbing, pruning, or even emergency removal if needed.
If your deck design does not include easy access to the area between the tree and your deck, consider building a small access hatch into the deck near the trunk. It will make deck inspection and cleaning out accumulated leaves and debris easier. This small detail can dramatically improve maintenance, especially if you want the space to stay safe and attractive.

Even with the best planning, a deck built around a tree is a living project. The tree will grow, the ground may shift, and you’ll likely need to make occasional adjustments or deck repairs. All of the above makes choosing a fastening system that allows you to easily remove and replace boards without dismantling large sections of the deck vital.
The above is another reason to hire a deck-building contractor. These experts help homeowners handle tricky issues like decks built around greenery. Accepting that minor tweaks are part of the process will keep your deck beautiful and functional for many more years without major overhauls.

For many homeowners, building a deck costs around $8,200 on average, but depending on your choices, you might spend anywhere from $4,300 to $12,500. For instance, if your deck dream includes custom designs or premium woods, expect to land at the higher end of that range. Most decks run between $30 and $60 per square foot, based on materials and labor costs in your neck of the woods.
From average costs to expert advice, get all the answers you need to get your job done.

Thinking of adding a pergola to your backyard space? Find out motorized pergola costs by size, material, and add-on features with this guide.

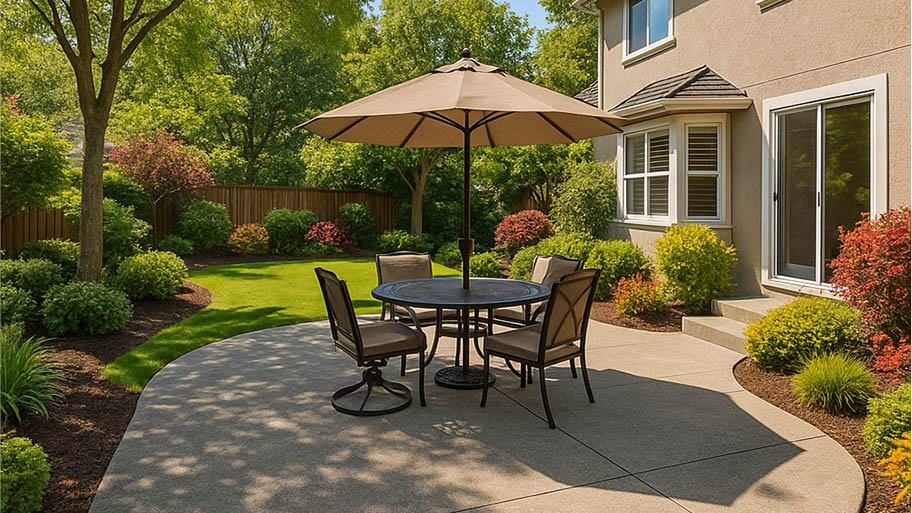
Looking to build an outdoor entertainment space? Use this patio cost guide to get an idea of how much your exterior project will come out to.

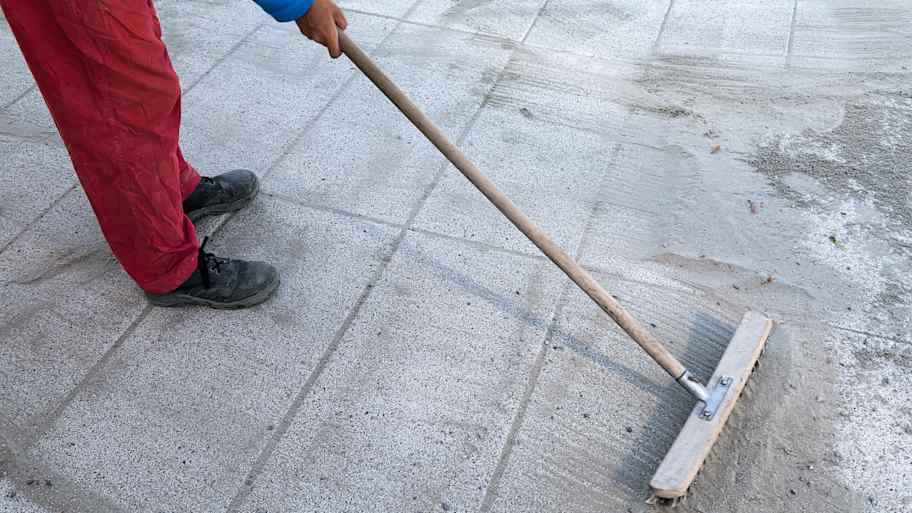
A concrete patio adds valuable outdoor living space to your home. Learn how much a concrete patio costs and which factors affect the project price.

A deck step down is required to make your deck compliant with safety and building codes. Learn more about the minimum step down to a deck.

Create an outdoor oasis by building a ground level deck with a fire pit. Follow this 10-step guide to constructing your own DIY deck and fire pit.

Learn how to apply polymeric sand to keep your pavers sturdy and secure for years to come. It's important to know how to use paver sand in the right weather.