The cost of blown-in insulation in Los Angeles, CA varies depending on the type of insulation, labor, prep work, and more. Learn more about the cost factors in this guide.
Make high energy bills a thing of the past
Blown-in insulation improves your home’s R-value.
Older houses and unfinished attics especially benefit from blown-in insulation.
Insulation can irritate your skin and cause health problems, so it’s best to hire a pro.
The average cost to install blown-in insulation is $1,600.
Are your energy bills higher than normal? Does it seem like your furnace is working overtime? If so, you may need to re-evaluate your home’s current insulation to see if it is sufficient for your geographic region.
While you may associate “insulation” with pink fiberglass insulation blankets, this material requires an extensive replacement process when needed. This is why blown-in insulation could be the answer to an under-insulated home.
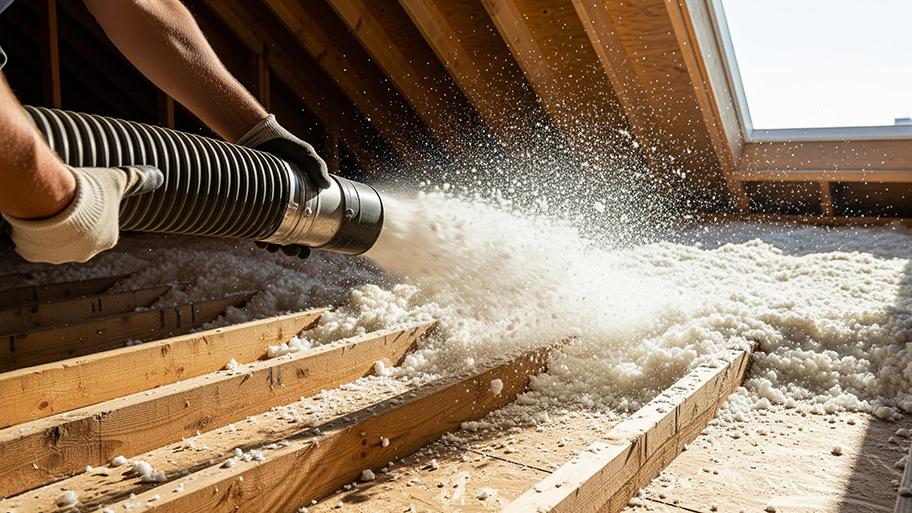
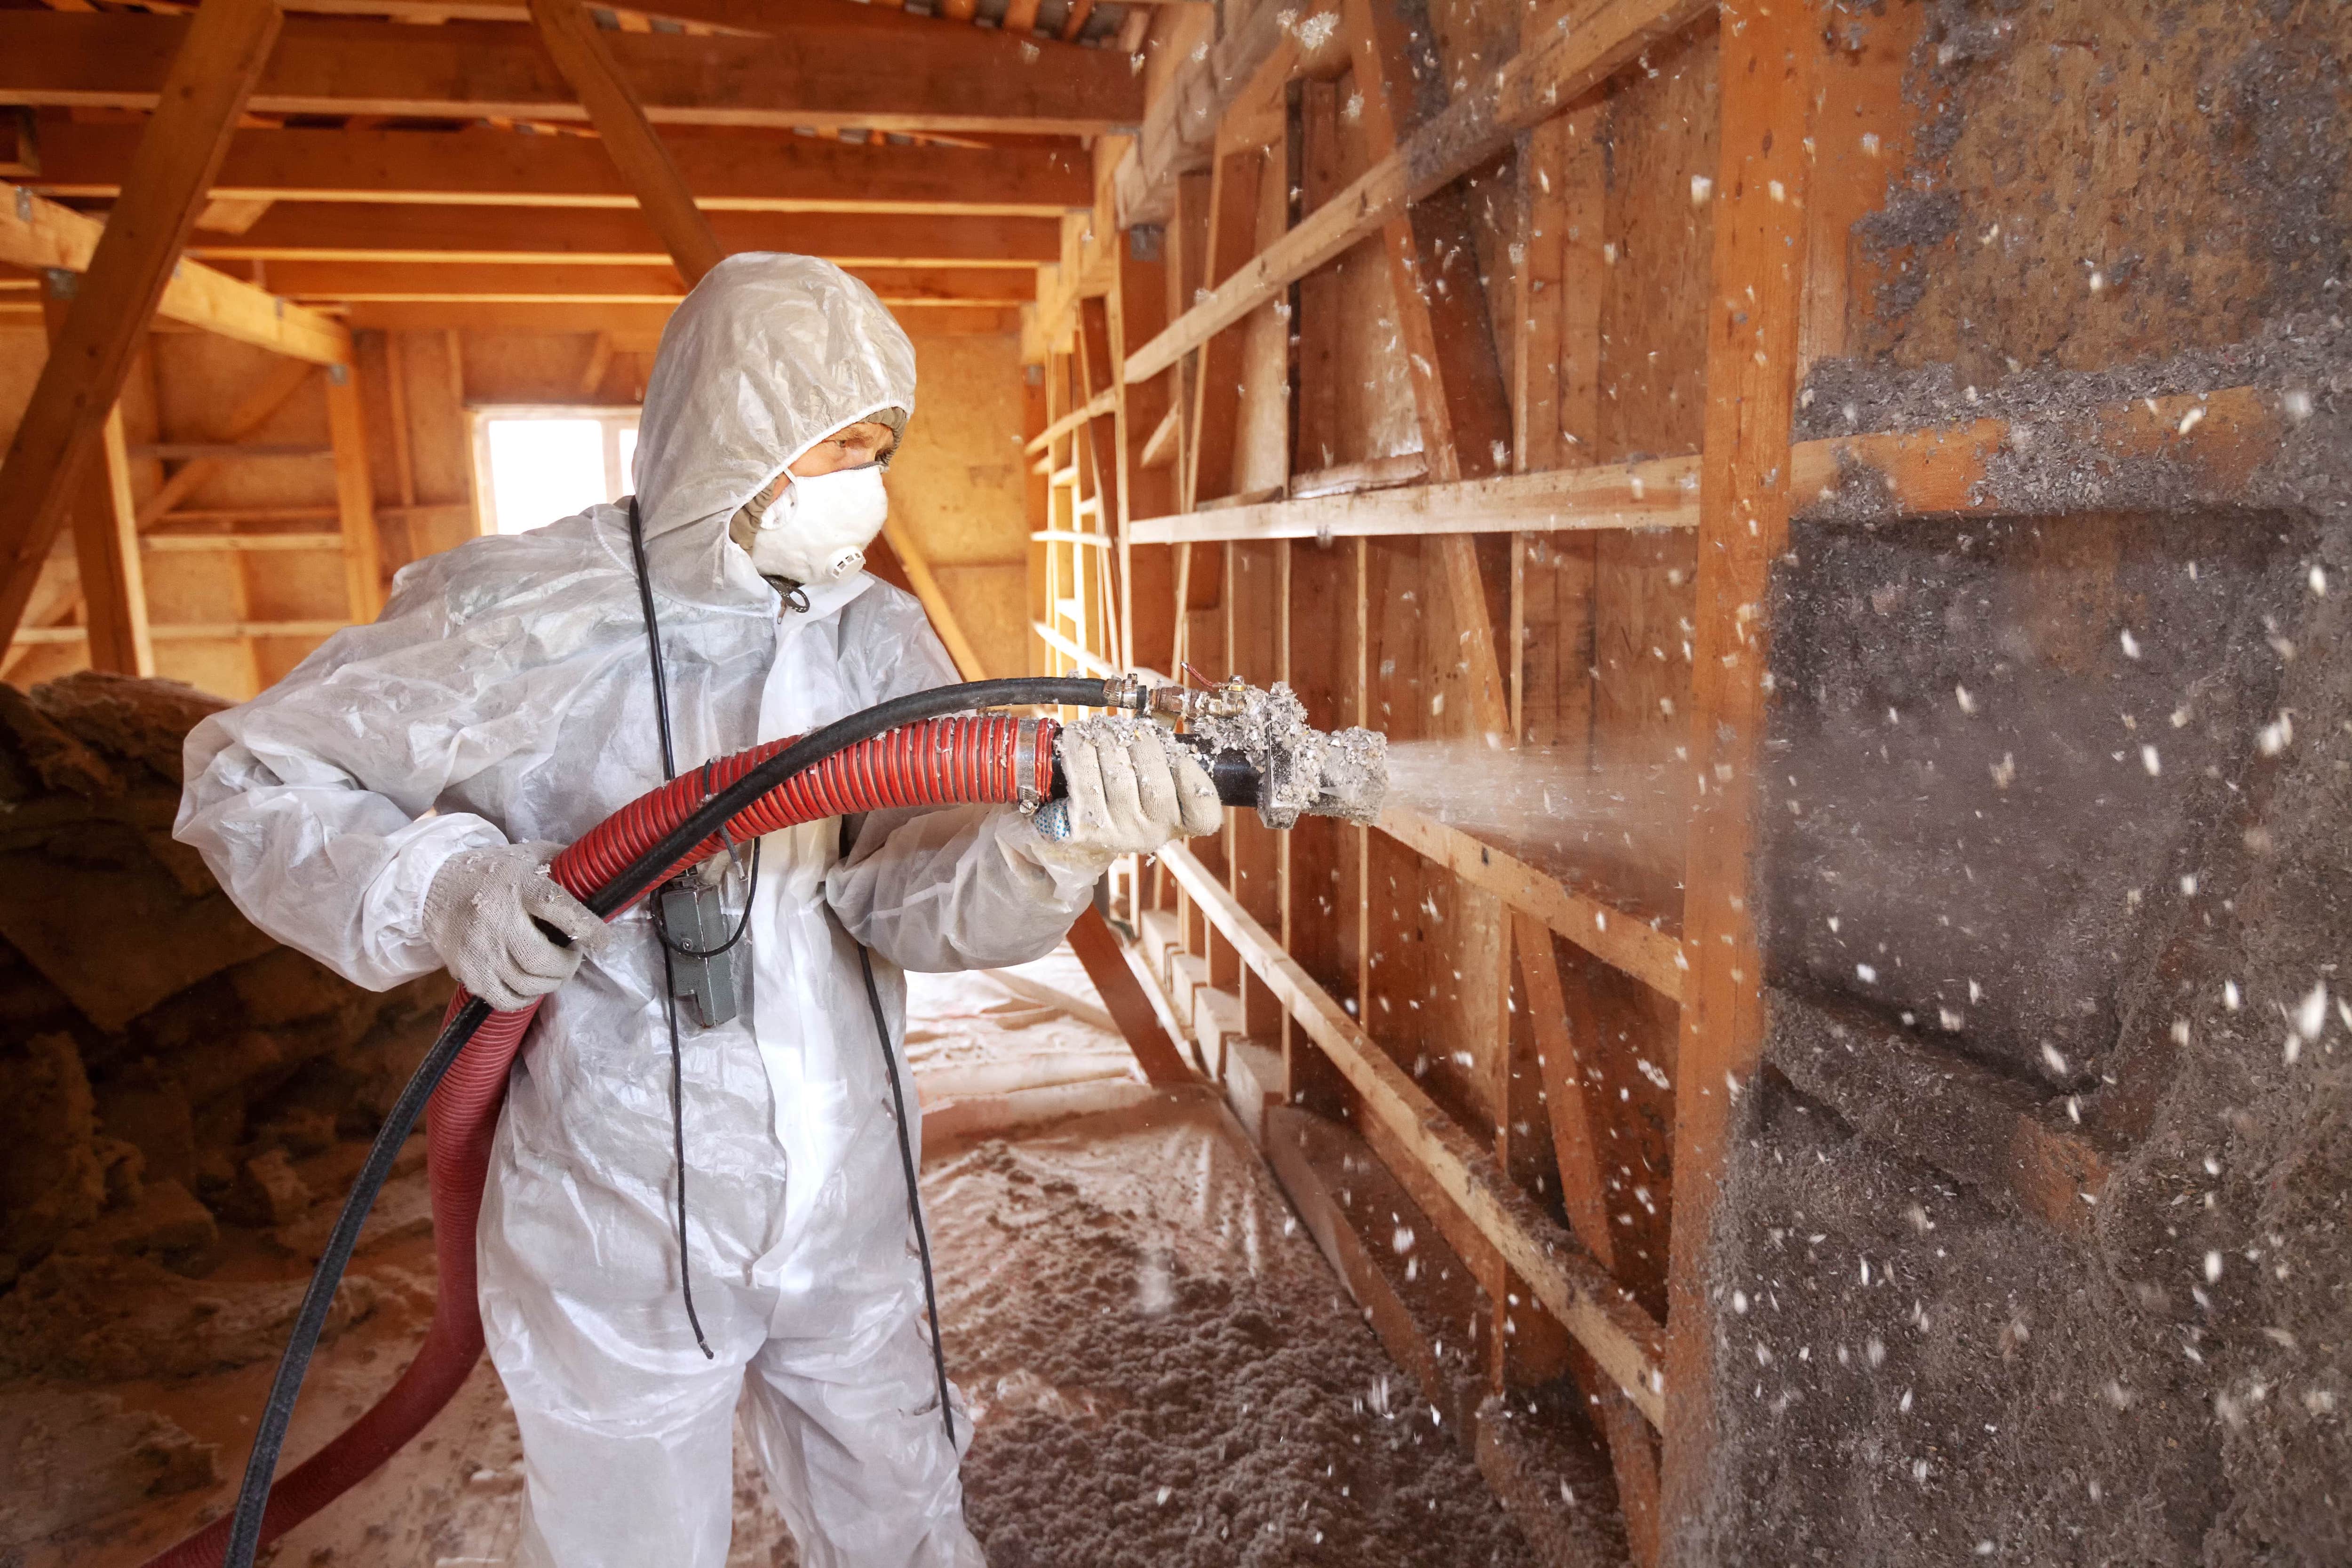
Blown-in insulation refers to the process of blowing insulation material (also known as loose fill) into walls and attics or around crevices using special equipment consisting of a tube or hose. Blown-in insulation materials can be made from cellulose, fiberglass fibers, or even styrofoam pellets.
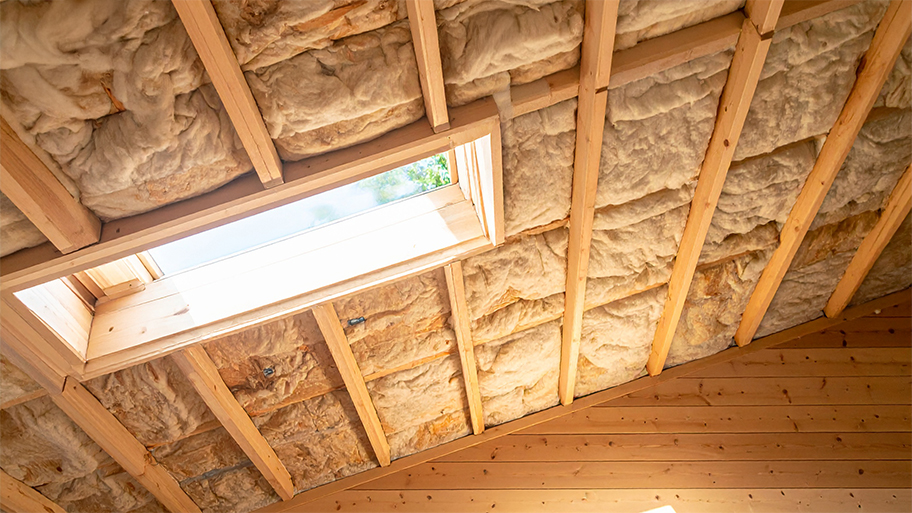
When a home is being constructed, thick, long strips of fiberglass insulation are placed between the wall studs and ceiling joists before the sheetrock is put up. Over time, this insulation can settle, creating small crevices that air can get through. This is a problem because it leads to heat loss. What’s more, re-installing these sheets isn't always feasible, not to mention the fact that certain areas like unfinished attics or obstructions in the room make it difficult to install the long strips of fiberglass insulation around.
That’s why it makes sense to install blown-in insulation to keep the heat from escaping. It also will improve the home’s R-value.
What is R-value? Insulation R-value refers to a grading system used to determine how effective an insulation product is. R-values are measured per inch of insulation thickness. The higher the R-value, the more insulated the product is. Check with Energy Star or your local home improvement store to determine the appropriate R-value for your geographic region.
The R-value of blow-in insulation depends on how much product you use. You could use a thin layer and get a low R-value that’s more appropriate for an attic in the South. Or you could use a layer that is several inches thick and applied on top of existing insulation to get a higher R-value ideal for an attic that deals with Midwest winters.
Energy efficiency: Fitting insulation around small crevices not only locks in heat during the winter months but also can prevent cool air from escaping in the summer so your HVAC and air conditioning unit don’t need to be running all day.
Fire resistance: Small crevices and spaces tend to fill with smoke in the event of a fire. By filling them in with insulation and creating an air-tight seal, fire protection is increased in your home.
Ease of installation: Blown-in insulation is simply blown in with a hose and can typically be installed in a few hours. Installing rolls of fiberglass requires tearing into walls.
Insect and critter repellent: Some types of blown-in insulation are treated with borates, preventing a potential insect or critter infestation in your attic.
It pays for itself: While the upfront blown-in insulation cost averages $1,600, the energy savings you will see pay for itself over time.
Professional installation is usually required: This project usually requires a professional considering you need to drill between studs, which can contain electrical wiring. However, this can be a DIY project in an unfinished attic with the proper tools and protective gear.
Weight: If too much loose fill is installed on an attic floor, it can cause the ceiling below to sag due to the weight.
Messiness: Loose-fill insulation can be a messy job, requiring proper protective gear and the additional task of cleaning up.
Must be kept away from recessed lights: Even though blown-in insulation materials are fire-resistant, they can still become too hot and ignite if exposed to extreme heat over an extended period of time. Because the heat cannot dissipate, lightbulbs can also burn out more easily if insulation is installed too close to recessed lights (also known as can lights or high hats).
Noticeability: During installation, holes are drilled in the home’s exterior so the hose can blow the loose fill into the wall cavity. These holes are then filled in with a plug that matches the color of the exterior wall. While siding can be easily matched and looks discreet, the plug becomes more noticeable if you have brick, stone, or stucco.
Not water-resistant: It’s important to install the loose fill in a dry area. Otherwise, water can wear at the R-value and can even lead to mold or mildew. Seal any gaps or cracks and address leaks or even ice dams that may let in water before installation so you get the best performance.

Learn about the different types of materials used when installing blown-in insulation to determine the best option for your home.
Fiberglass, formed by spinning molten glass into fibers, can be used to make both long rolled batts of insulation as well as blown-in insulation. Of all the options, fiberglass is usually the least expensive, which is why it’s the most commonly used material in newer home construction.
However, because it is made from glass, it requires special handling and can be toxic if inhaled. Moreover, it can lose its R-value quicker than other types in harsh environments, so keep this in mind if you live in a colder zone.
Cellulose is a type of fiber made from recycled paper and treated with a fire retardant. While this material tends to be more expensive, it has a higher R-value and is thought to be safer for the environment (and your family). For a more in-depth explanation, refer to our Cellulose Insulation Guideline and even learn how to DIY this insulation type.
Mineral wool, known as “rock wool,” is a fiber-based insulation material that comes in either blankets or as a loose-fill option. This type of insulation is made from recycled materials and rock minerals and has a denser weight than other insulation types, making it fit into tight spaces easily. Mineral wool also has the added benefit of fire protection, soundproofing properties, and a high R-value, but such features come at a higher price. The average cost of wool insulation is between $1,400 to $2,100 for 1,000 square feet.

Blown-in insulation is a versatile insulation material that works in many locations—barring roof insulation, where it would need to go behind panels to keep from falling out. Here are the most common reasons homeowners may choose blowing in insulation over installing fiberglass blankets.
Because heat rises, it can escape from your home through an unfinished attic, increasing your energy bills. You can create a blanket-like covering across the square feet of your attic floor by unrolling strips of fiberglass insulation. However, bringing heavy rolls up the stairs can be a daunting task, especially if you only have a crawl space, which can increase an already high crawl space insulation cost of around $3,550 on average.
Instead, a thick layer of loose fill can be sprayed over the floor in a few hours. What’s more, you can install the blown-in insulation over an existing fiberglass blanket to fill in crevices in the space.
According to Angi data, 54% of homeowners report having blown-in insulation in their attics. Other common locations for this essential home insulation are inside the walls and ceilings.
Even though older homes built after 1965 were required to have insulation, the guidelines for older homes weren’t as strict or even nonexistent, depending on the year and the region. In this instance, you can save yourself a major renovation project of tearing down walls to install batt insulation and use loose fill instead. In existing homes, blown-in insulation is perfect for getting into those empty spaces between walls, ceiling joists, and existing insulation panels.
Remember, old homes may have wires in unpredictable places, so it’s best to consult a professional before drilling into the wall.
While it’s always good to keep in mind that insulation can settle over time, here are a few things that may indicate your home isn’t properly insulated:
Higher than normal energy bills
Noticeable drafts around windows and doors
Uneven heat distribution throughout the rooms of the home
Floors that feel cool and damp to the touch
Recurrent frozen pipes
It’s also not a bad idea to evaluate your insulation if you recently moved to a new home. Remember, most energy utility companies will offer a free assessment so you can determine if it’s time to upgrade.
Though you can learn how to install blown-in insulation yourself, this isn’t recommended because insulation can cause several issues if you’re not careful. Insulation health hazards include:
Skin irritation and itchiness
Burning eyes
Throat irritation
Lung problems
Worsened asthma
Coughing
Cancer
We recommend you contact an insulation company near you to protect yourself from some of the harmful health hazards that can arise through improper installation techniques. A trained professional has all the skills to safely install insulation without releasing particles in the air. Your pro also knows how to correctly install blown-in insulation so that your home has the best chance of maintaining and regulating its indoor temperatures.
From average costs to expert advice, get all the answers you need to get your job done.

The cost of blown-in insulation in Los Angeles, CA varies depending on the type of insulation, labor, prep work, and more. Learn more about the cost factors in this guide.

Insulating your attic can massively improve your home’s efficiency and reduce electric bills. Use this guide to find out what attic insulation will cost you.

Find out the average pipe insulation cost, including material and labor prices, plus tips to save money on your project.

Read our guide to insulating your attic for energy efficiency and comfort. Learn expert safety tips, cost considerations, proper preparation, and more.

What is insulation? This behind-the-scenes home fixture will maintain comfortable temperatures in your home no matter the season. It’ll lower energy bills, to boot.

EPS versus XPS insulation—if you're going the foam board insulation route, which one is right for you? Learn the difference and how to choose.