What Adhesive Should You Use to Attach Your New Sink to the Vanity?
Make it stick with the right adhesive


The most common adhesive for sinks is waterproof silicone, which works on various materials.
Use epoxy resin or two-part epoxy for much-needed extra hold for heavy sinks.
Polyurethane and construction adhesives are easy to use and have strong adhesion.
Choose an adhesive based on your sink material and size.
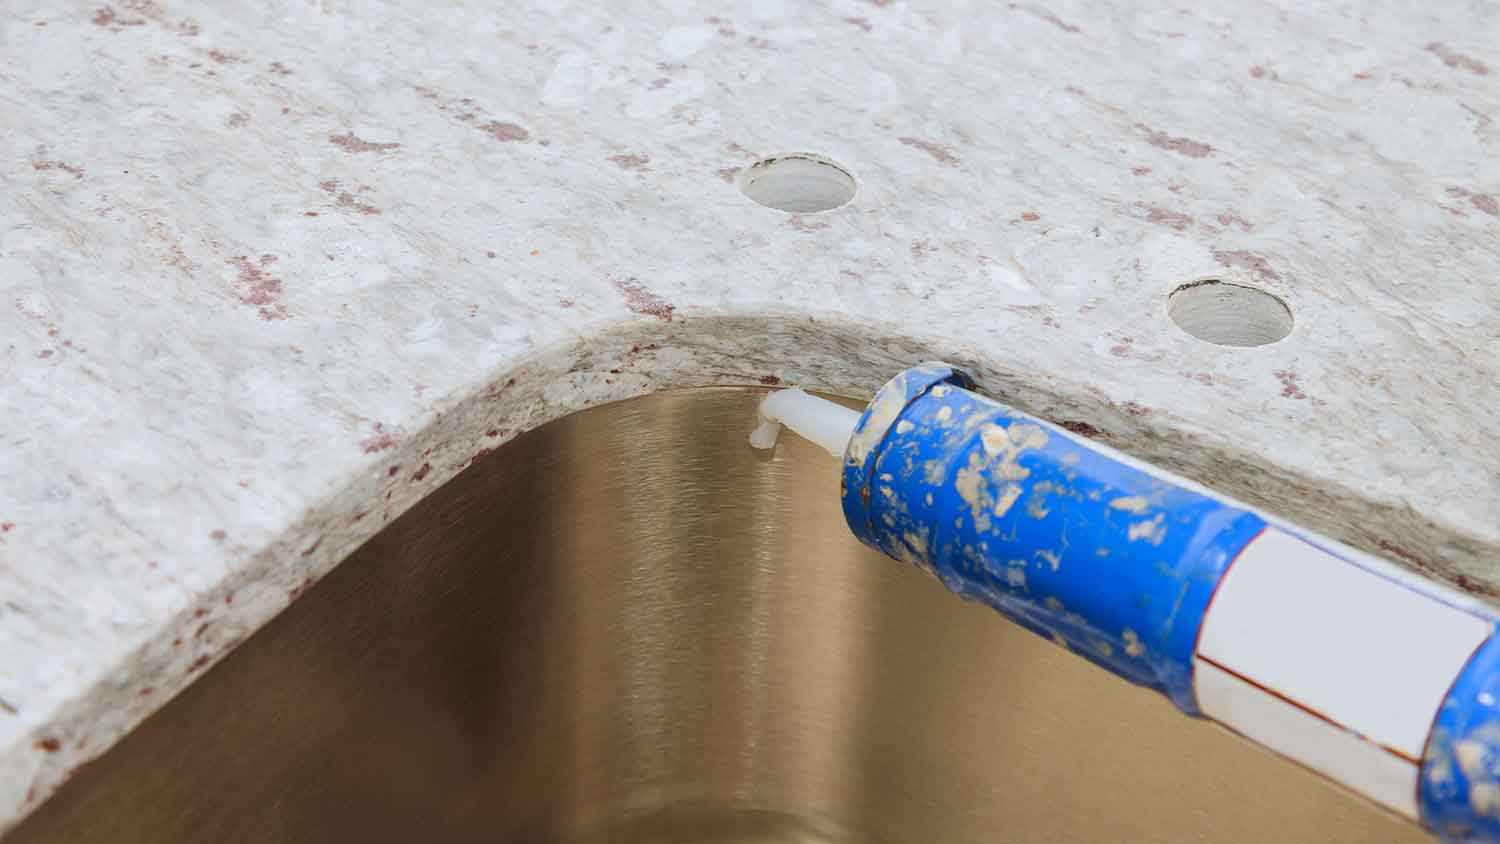
If your old, drab sink is bringing down the look of your bathroom, it’s time to upgrade. When switching out your undermount bathroom sink, you’ll use an adhesive to attach the new sink to your vanity. Choosing the right adhesive is key to a proper, long-lasting installation. Here are all the adhesive options and factors to consider when choosing one for your sink.

Types of Adhesives for Attaching a Sink to a Vanity
Before choosing one for your sink installation, find out what makes each adhesive unique.
Silicone Adhesive
Silicone caulk is the most commonly used adhesive to attach sinks to vanities because it’s waterproof, flexible, and strong. Its waterproof qualities also make it mold- and mildew-resistant, which is essential in high-moisture environments like a bathroom. Permanent flexibility also means that your caulk can withstand temperature changes, so it’s less likely to crack.
You can caulk various surfaces with silicone, including natural stone, porcelain, ceramic, acrylic, and metals. Look for a silicone caulk for bathrooms and kitchens for the best results. It dries in 30 minutes and takes 24 hours to cure.
Compared to other adhesive options for sink installation, silicone is easier to remove if you want to switch out the sink later. However, this adhesive isn’t always visually pleasing, and you can’t paint over it, so look for a close color match when shopping for a tube.
Epoxy Resin
Epoxy resin adhesives are often used for epoxy resin sinks, although they also work well for natural stones like granite and marble. Similar to two-part epoxy, this option is moisture- and chemical-resistant and offers a strong adhesion. The strength of the adhesive is what makes
it effective for both porous and nonporous heavy sinks. Keep in mind that it’s not as flexible as silicone adhesives.
It takes about 45 to 60 minutes of dry time before you can handle the sink and another 24 hours for the adhesive to cure fully.
Two-Part Epoxy
Two-part epoxy is a mixture of a resin and a hardener. The result is a heavy-duty and permanent adhesion that’s moisture- and chemical-resistant, so it’s a common supply in chemical labs or mechanical shops. Installation is straightforward but requires some finesse to create clean joints. It takes about 45 minutes of drying time before you can handle the sink, and it cures in 24 hours. Use this adhesive on wood or metal materials.
Polyurethane Adhesive
Polyurethane adhesives are permanently flexible, strong, and water-resistant. They’re also heat- and cold-resistant with low VOCs. You can use them with different materials, including ceramic, concrete, stones, and metals. They’re a go-to adhesive for a variety of construction needs. If you decide to use them for your sink, plan for a 24-hour curing time.
Construction Adhesive
Construction adhesive is a broad term covering various adhesive types, although they’re mostly polymer- or polyurethane-based. The polymer-based construction adhesive is waterproof, dries quickly, and is easy to use. Curing takes 24 hours, and you can use it on concrete, stone, wood, and stainless steel, but you can’t use it on other metals.
What to Consider When Choosing the Right Adhesive to Attach a Sink
Here are factors to keep in mind when looking for the right adhesive for your sink installation. If you’re unsure which one to use, consider hiring a sink installer near you. A pro can give you advice and handle the installation so you can have a picture-perfect vanity.
Sink and Vanity Materials
Ensure the bathroom sink adhesive you choose works for your sink and vanity material. For example, if you have a stainless steel sink, you can use epoxy or polyurethane adhesives but not polymer-based construction adhesives. Using an adhesive type that isn’t compatible with your vanity or sink means the installation will fail sooner rather than later. For the best results, brush up on how to install a bathroom sink before tackling this DIY job.
Size and Weight of Sink
While silicone caulk works for many bathroom sink types, opt for something more heavy-duty if your sink is heavier. For example, natural stone sinks like granite or marble can weigh 40 pounds or more. Depending on the manufacturer’s recommendations, heavier sinks can require epoxy resin adhesives.
You'll need to build a support frame for extra reinforcement for even heavier natural stone sinks, like large marble ones weighing 200 pounds or more.
Additionally, if you plan on installing a hefty sink, it’s vital to ensure your countertop can handle the weight. If in doubt, it’s a great idea to call in a pro to handle the job for you from start to finish, including the vanity installation. This isn’t the time to try to learn how to mount a vanity top yourself since a mistake during these steps, like choosing the wrong materials, can cause serious damage or injury.
Level of Water Exposure
Some sinks see more wear and tear and water than others, depending on the level of use and the location in the home. If you expect to use the sink in a high-traffic room or a high-moisture one like a bathroom, it’s vital that you use a high-quality adhesive.
Drying and Curing Time
Keep drying and curing times in mind when working on a tight deadline to get your kitchen or bathroom remodel done. Every adhesive requires at least 24 hours to cure, so work that into your schedule to avoid unexpected delays.


- Bathroom Remodeling
- Kitchen Remodeling
- Shower Installation
- Stair Installers
- Bathtub Installation
- Shower Door Installers
- Kitchen Design
- Bathroom Design Companies
- Storm Shelter Builders
- Pre-Made Cabinets
- Kitchen Refacing
- Bathtub Replacement
- Ceiling Tile Installation
- Suspended Ceiling Companies
- Residential Designers
- Stair Builders
- Remodel Designers
- Shower Enclosures
- Home Renovations
- Kitchen Renovations
- Garage Remodeling
- Grab Bar Installation
- Walk-In Tub Installers
- Tub to Shower Conversion
- Balcony Contractors
- How to Install a Bathroom Sink in 5 Steps
- 17 Different Types of Bathroom Sinks for Your Remodel
- Types of Kitchen Sinks: Pros, Cons, and How to Choose One
- How to Clean Any Bathroom Sink and Drain in Just a Few Minutes
- How to Install a Sink: A Step-by-Step Guide
- Average Bathroom Sink Sizes: Which Size Do I Need?
- How to Install an Undermount Sink Like a Pro
- How to Epoxy Countertops in 8 Steps
- 6 Reasons Your Bathroom Sink Is Draining Slowly and Potential Solutions
- Sink Your Teeth Into Granite Sink Cutouts


