How to Fix a Leaky Toilet Flapper in 12 Easy Steps
Your toilet’s chronic leak could be a simple fix away


- Toilet flapper
- Mineral-removing solution (optional)
- Towel (optional)
If you've been ignoring the sound of your toilet constantly running, a simple peek into the toilet bowl could show that your toilet flapper needs replacing. Old toilet flappers can hike up your water bills, making you pay more than you should. So, stop the leaking once and for all by following this guide on how to fix a leaky toilet flapper.

Inspect the Toilet Flapper
Before you run off to the hardware store for a toilet flapper replacement part, you'll first want to inspect the toilet flapper to make sure that the flapper is the problem. Remove the lid on your toilet tank, and inspect the flapper for signs of damage. If the flapper has tears or looks deteriorated, you’ll need to replace it. Then, give your toilet a flush to see if the toilet flapper lifts and seals correctly.
Clean the Flapper (Optional)
If your toilet flapper appears to be in good condition but is covered in mineral deposits, algae, or debris, then you'll want to clean the toilet flapper to see if doing so fixes the faulty seal. Use a rag and a solution that dissolves minerals to wipe away limescale.
Check the Toilet Flapper Chain
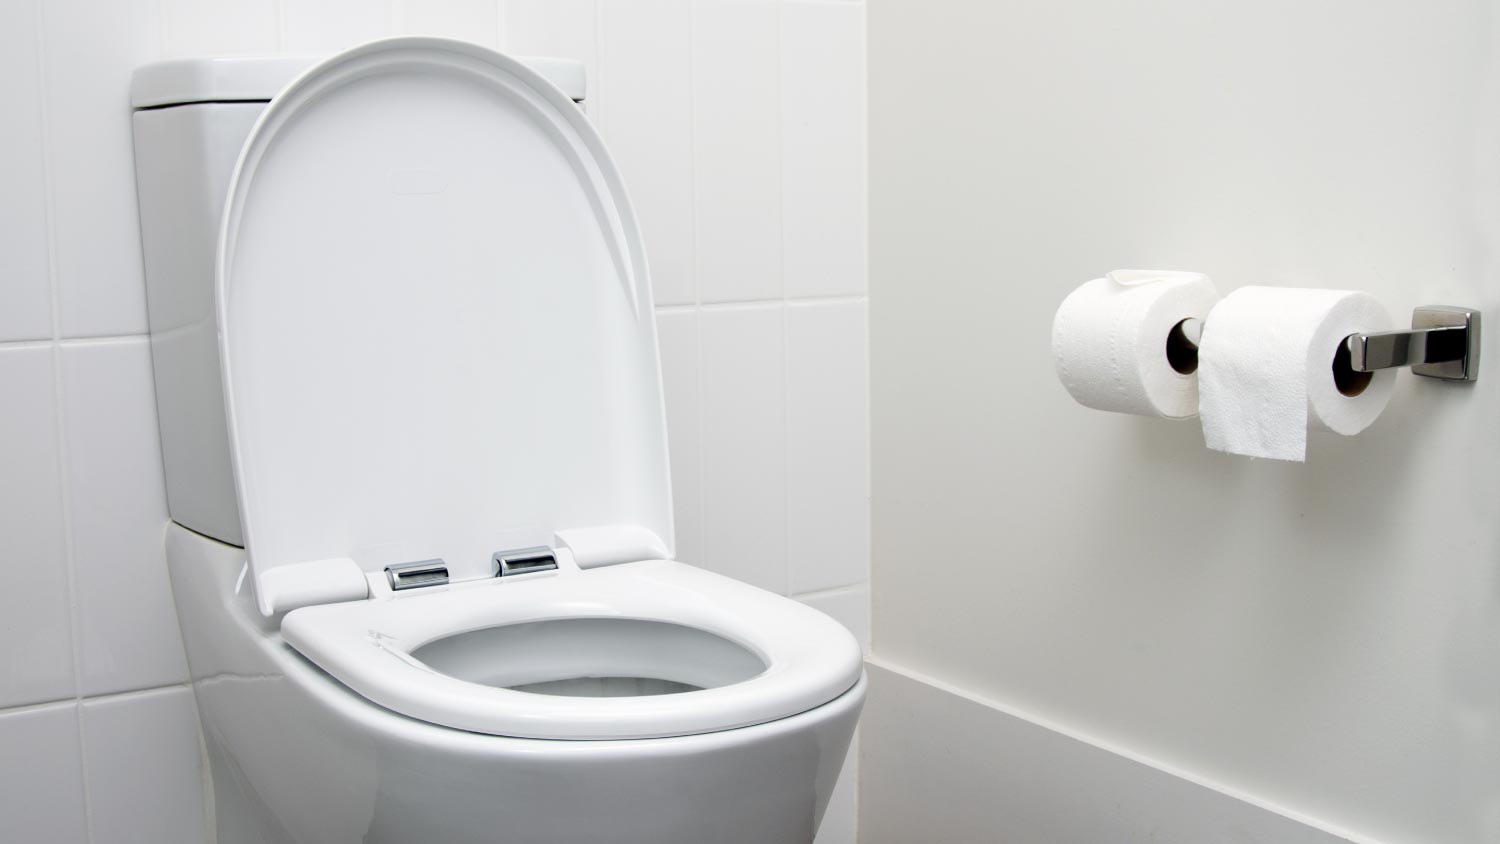 Photo: gmstockstudio / Adobe Stock
Sometimes, your toilet flapper isn't working correctly because the chain connecting the toilet flapper to the flush valve lever is faulty. This chain determines just how much the flapper lifts and shuts. If there's too much slack, your toilet flapper won't lift enough—too little slack can prevent the flapper from sealing completely. You might want to experiment with adjusting the flapper chain to see if your toilet stops leaking before replacing the flapper.
Turn Off the Water Supply
Even the most TLC in the world won’t salvage a damaged flapper. If your toilet flapper is beyond the point of saving, it will need replacing. To do this, shut off the water supply to the toilet by turning the water supply valve behind or to the side of your toilet clockwise until it can’t turn any further.
Empty the Tank
The next step is to empty the toilet tank. You can do this by holding the handle until you've removed as much water as you can from the tank.
Remove the Old Toilet Flapper
With the tank empty and ready to go, it's time to remove your old flapper. You'll need to unhook the chain from the flush lever by unhooking the clip connecting the two parts. After you've unhooked the flapper chain, you should be able to slide the flapper from its place on the overflow tube—either over a peg or tube system—and then lift it and the chain out of your tank.
Install the New Toilet Flapper
Now that you've removed the old toilet flapper, you can replace it with a new toilet flapper. Choose a toilet flapper that is compatible with your toilet’s make and model so that it fits.
How you install your new toilet flapper will depend on the type of flapper you’re replacing. If the Overflow tube uses a tube system, then you'll need to slide the flapper over the tube before connecting the new chain to the lever. Flappers that use a peg system need the ears of the flapper to go over the overflow tube pegs before you can connect the new chain to the lever.
Adjust the Flapper Chain
The flapper chain might not be ready to go straight out of the box and installation. Adjust the chain so that it has enough give without being too taut or droopy to efficiently seal your toilet tank.
Turn on the Water Supply
 Photo: Titykul_b / Adobe Stock
After adjusting the flapper chain, you can turn on the water supply and allow the tank to fill with water. Turn the toilet’s shut-off valve counterclockwise until it can’t turn anymore.
Test the Toilet
Before you wrap up your project, test the new toilet flapper to ensure that you've correctly installed it. To test it out, give the toilet a flush. Watch the toilet flapper as you flush the toilet to see if you need to adjust the flapper chain.
Make Any Adjustments
If the toilet flapper chain appears loose, try shortening the length of the chain. Conversely, if the chain looks too tight as it flushes, increase the length.
Close the Lid
Once you've correctly installed the new toilet flapper, you can consider this project a mission accomplished. Place the lid back over your toilet tank to call it a day.
DIY vs. Hiring a Pro
Fixing a leaky toilet flapper is a simple project that most home improvement lovers can do in less than an hour. However, if your toilet is old, keeps having issues, or changing out the old toilet flapper doesn't stop the leaking sound, then you might need to reach out to a toilet repair company near you for further investigation. Hiring a plumber costs between $45 and $200 per hour, so if you can DIY your toilet flapper repair or replacement, you could save this expense for a rainy day.
For more complex toilet problems, or water leaks that have caused water damage to your home, you might want to submit a water leak claim to your homeowners insurance to see if they’ll cover the repairs before you try to fix the leak.
Frequently Asked Questions
The main causes for a leaky toilet flapper include wear and tear or a broken or incorrectly installed toilet flapper chain. If your toilet flapper is torn or deteriorated, it can’t provide a proper seal to keep water from running. Meanwhile, a chain that has come loose, was moved, or just wasn’t installed right can prevent your flapper from fully closing.
If your toilet is still leaking after replacing the toilet flapper, then you may not have installed the toilet flapper correctly. Double-check that you have placed the flapper over the overflow tube correctly, and check the flapper chain is at the right length. If your toilet is still leaking, then you may have another problem on hand. For example, you may need to replace the toilet wax ring or replace the toilet fill valve if your toilet is wobbly and leaking from around the base.


- Gas Plumbers
- Plumbing Repairs
- Sump Pump Installation
- Wood & Pellet Stove Repair
- Shower Repair
- Wood Stove Services
- Emergency Plumbers
- Fire Sprinkler Contractors
- Perc Test Companies
- Toilet Repair & Installation
- Boiler Repair
- Sewer Line Repair
- Faucet Repair
- Main Drain Camera Companies
- Foundation Drain Installation
- French Drains
- Bathtub Replacement
- Subcontractors
- Storm Drain Contractors
- Affordable Plumbing
- Plumbing & Heating Companies
- Bathroom Repair Services
- Sink Installation
- Commercial Plumber
- Barndominium Builders
- Water Line Repair
- Faucet Installation
- Water Line Installation
- Leak Detection
Get our Angi-powered app


