Think you might have an underground leak on your property? Learn about main water line repair costs in Seattle to get an idea of what a fix will cost you.
“Winter is coming” is more than a Game of Thrones catchphrase


If you live in a cold climate, winter can wreak havoc on your home in many ways—including on your faucets and plumbing system. Knowing how to winterize outdoor spigot from autumn through spring each year is essential, even if you have a freeze-proof type of hose bib. This project will help prevent frozen pipes in the winter and leaks or floods in the spring.
This guide teaches you how to winterize an outdoor spigot, from draining and insulating the faucet to blowing out sprinklers. But because this project often requires working in a basement crawl space or other small enclosed area, be sure to proceed with caution. Moving deliberately and carefully will prevent any head bumps or other injuries.
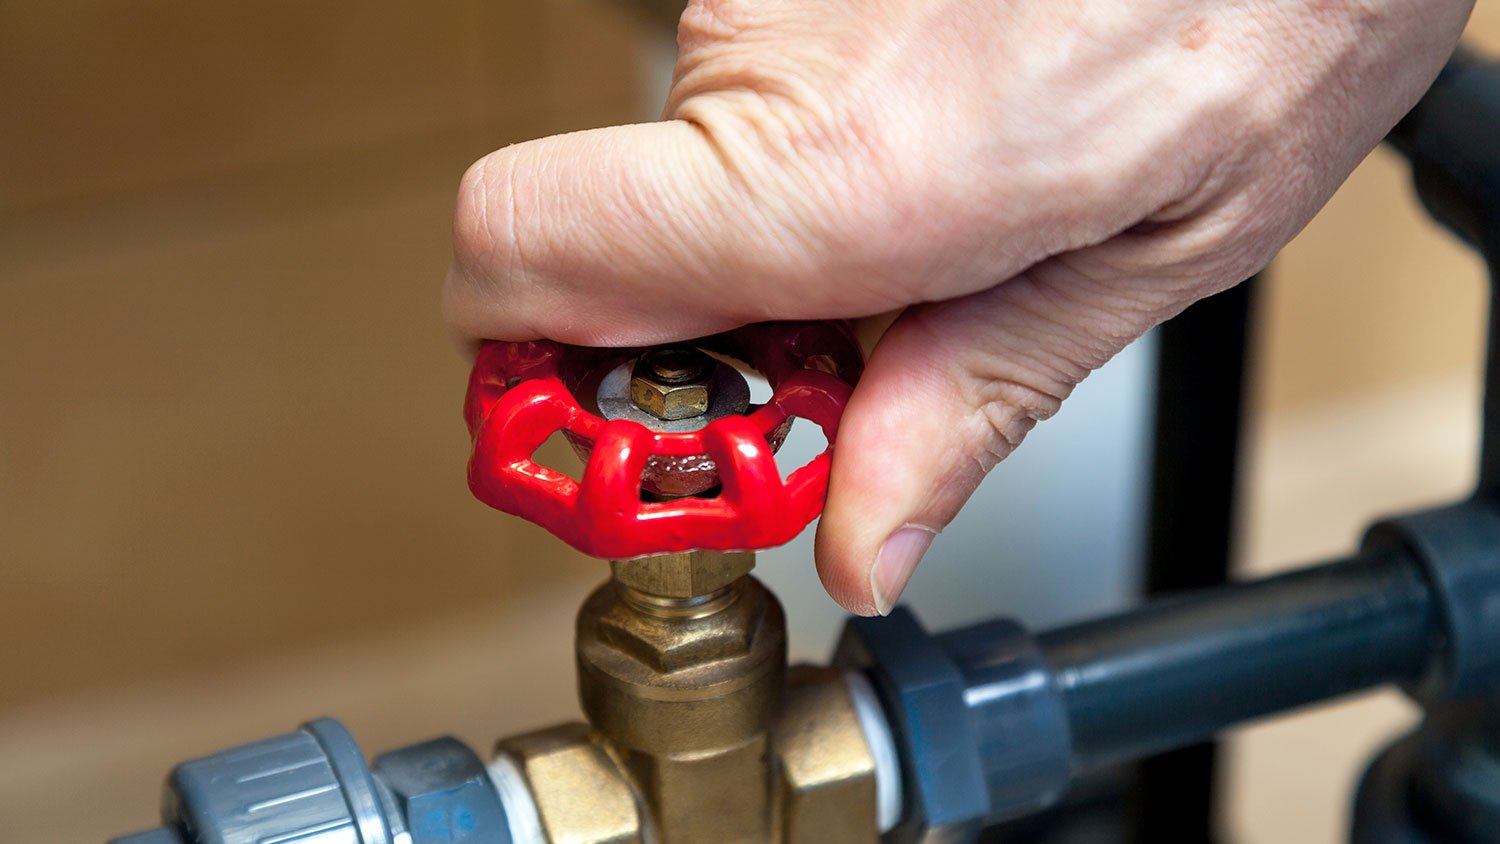
Locate the water shut-off valve for the sprinkler system. It may be outside near the water meter or well, hidden inside a faux rock on your property, or inside the sprinkler valve box. If it’s inside, it’s probably located near the water heater in a basement or utility closet. To shut it off, turn the water shut-off valve a quarter-turn, or 90 degrees until it is perpendicular to the water pipe.
Next, remove any garden hoses or other accessories, like hose extenders or stands that help work with an outdoor faucet that’s too low. Make sure to drain out any extra water from hoses, then stow these items safely away in a shed or garage for the winter.

With the water shut off, turn on the outdoor faucet. Any water that is left in the pipes will pour out. You may want to place a bucket beneath the faucet, especially if you have grass or plants nearby that you don’t want to accidentally overwater. Let the faucet drain for about three hours before you move on to the next step; this is essential, as you want to be sure all the water drains from the pipe so it cannot freeze.
If you have a freeze-proof outdoor faucet, you won’t need to wait for it to drain. Instead, move on to the next step.
If you have a lawn sprinkler system, you’ll need to either learn how to blow out a sprinkler system or hire a local sprinkler blowout company to perform this task for you. It’s best to leave this to the pros, because not only will you need to spend money to rent or buy an air compressor, but making a mistake could damage your entire sprinkler system or even lead to injury.
To blow out the sprinklers, you will need to set up smaller zones and work on blowing out one sprinkler head in a zone at a time using an air compressor. It’s important to get an air compressor that is compatible with your sprinkler system based on the pressure, measured in pounds per square inch (PSI).
Air compressors with a 40 to 80 PSI work best for blowing out sprinklers, but make sure to check your sprinkler system to determine what you need. If you use an air compressor with a PSI that’s too high, you could damage your water pipes, so proceed with caution.
Blowing out the sprinklers will take about two hours.
Now that the faucets and sprinklers are drained of any excess water, you can inspect the outdoor spigots, sprinkler heads, and other parts of the sprinkler system for any damage. If you notice corrosion, cracks, or other damage, hire a sprinkler repair pro to fix these issues before you finish winterizing your outdoor spigots.
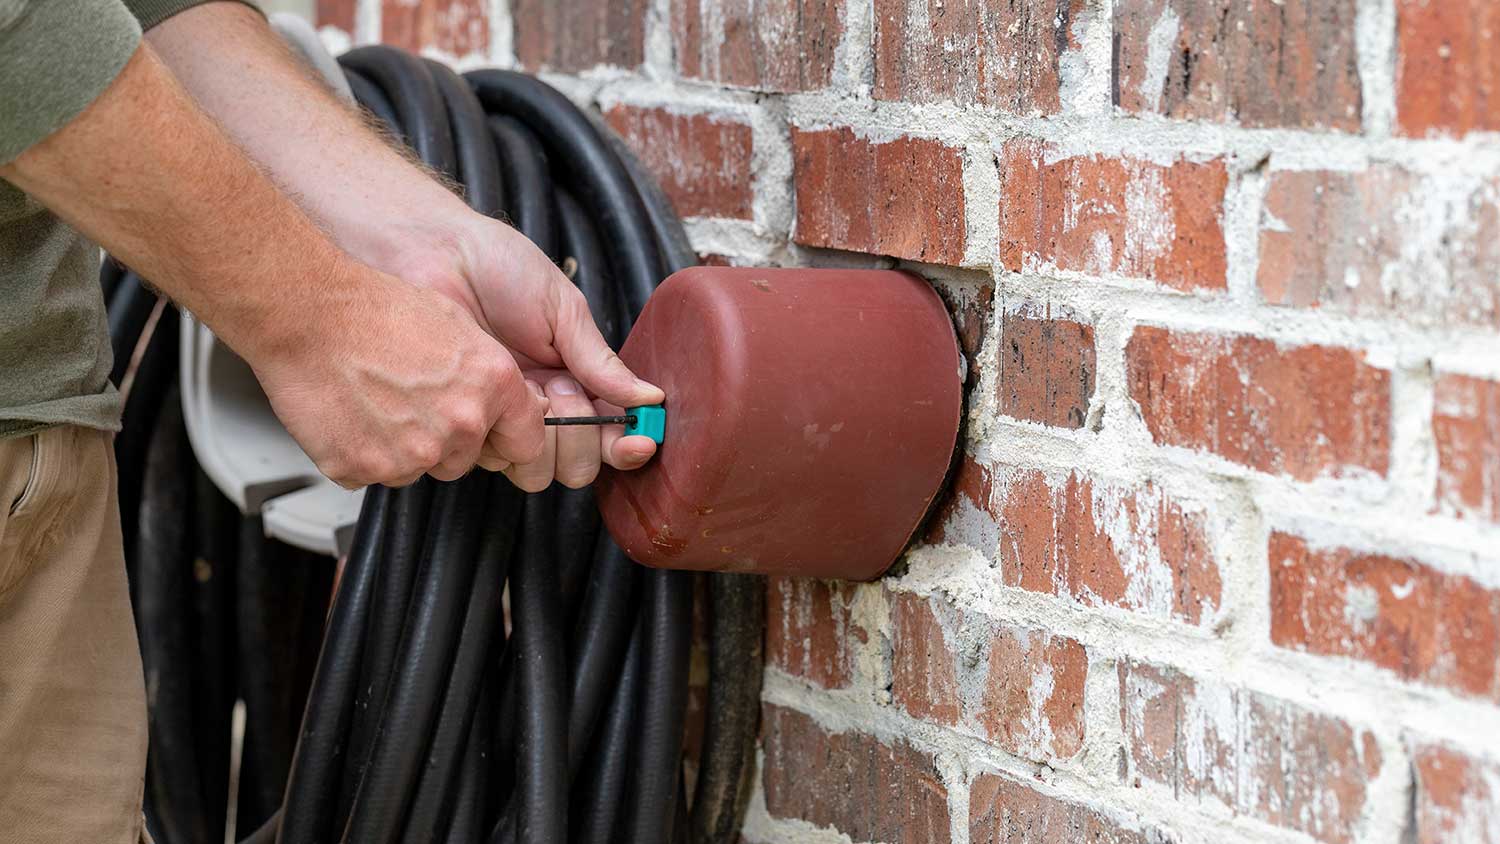
You’ll want to use an insulative cover designed specifically for outdoor spigots as the final step in winterizing your outdoor faucets. You may be tempted to grab an old towel or hoodie to wrap around the spigots, but these porous materials will absorb any rain, sleet, or snow, making it more likely for the faucet to freeze. Instead, head to a local home improvement store or shop online for a foam block or flexible nylon insulation cover, which should cost about $5 to $10 each. Outdoor faucet covers work by keeping wet weather away from the spigot and adding a light layer of insulation as a barrier against extra chilly temperatures.
If you bought a foam block cover, it has a rubber loop and an opening that will fit right over the faucet. Pull the rubber loop over the faucet and around the back of the faucet where it meets the wall. Push the foam cover over the faucet until it reaches the wall. Pull the rubber string sticking out of the front of the faucet cover until it is tight against the wall of the house.
A flexible nylon cover will open to fit over the faucet. Then, you simply pull the drawstring tight until the cover is closed securely over the faucet.
It’s best to winterize your outdoor spigots in the fall before your area experiences the first frost of the season. If you live in a particularly cold climate, you should winterize your spigots in early autumn and leave them until spring. If you have milder winters, you can wait until the freezing weather is imminent—even if that’s well into December.
To protect an outdoor faucet from freezing, you’ll spend about $5 to $10 for an insulative cover. If you have a sprinkler system that needs to be blown out and you don’t have an air compressor on hand, this project quickly becomes more expensive. Renting an air compressor costs about $30 to $60 per day, or you can buy one for $100 on the low end to over $1,000 for larger models.
Winterizing a sprinkler system costs about $60 to $130 when you hire a pro to handle it, or about $100 to $250 if you need a sprinkler blowout. If you just need to drain the faucet and cover it for the winter, you can DIY with confidence. But if you need to winterize a sprinkler system, it will be faster and more cost-efficient to hire a sprinkler blowout company, a landscape specialist, or a plumber.
From average costs to expert advice, get all the answers you need to get your job done.

Think you might have an underground leak on your property? Learn about main water line repair costs in Seattle to get an idea of what a fix will cost you.
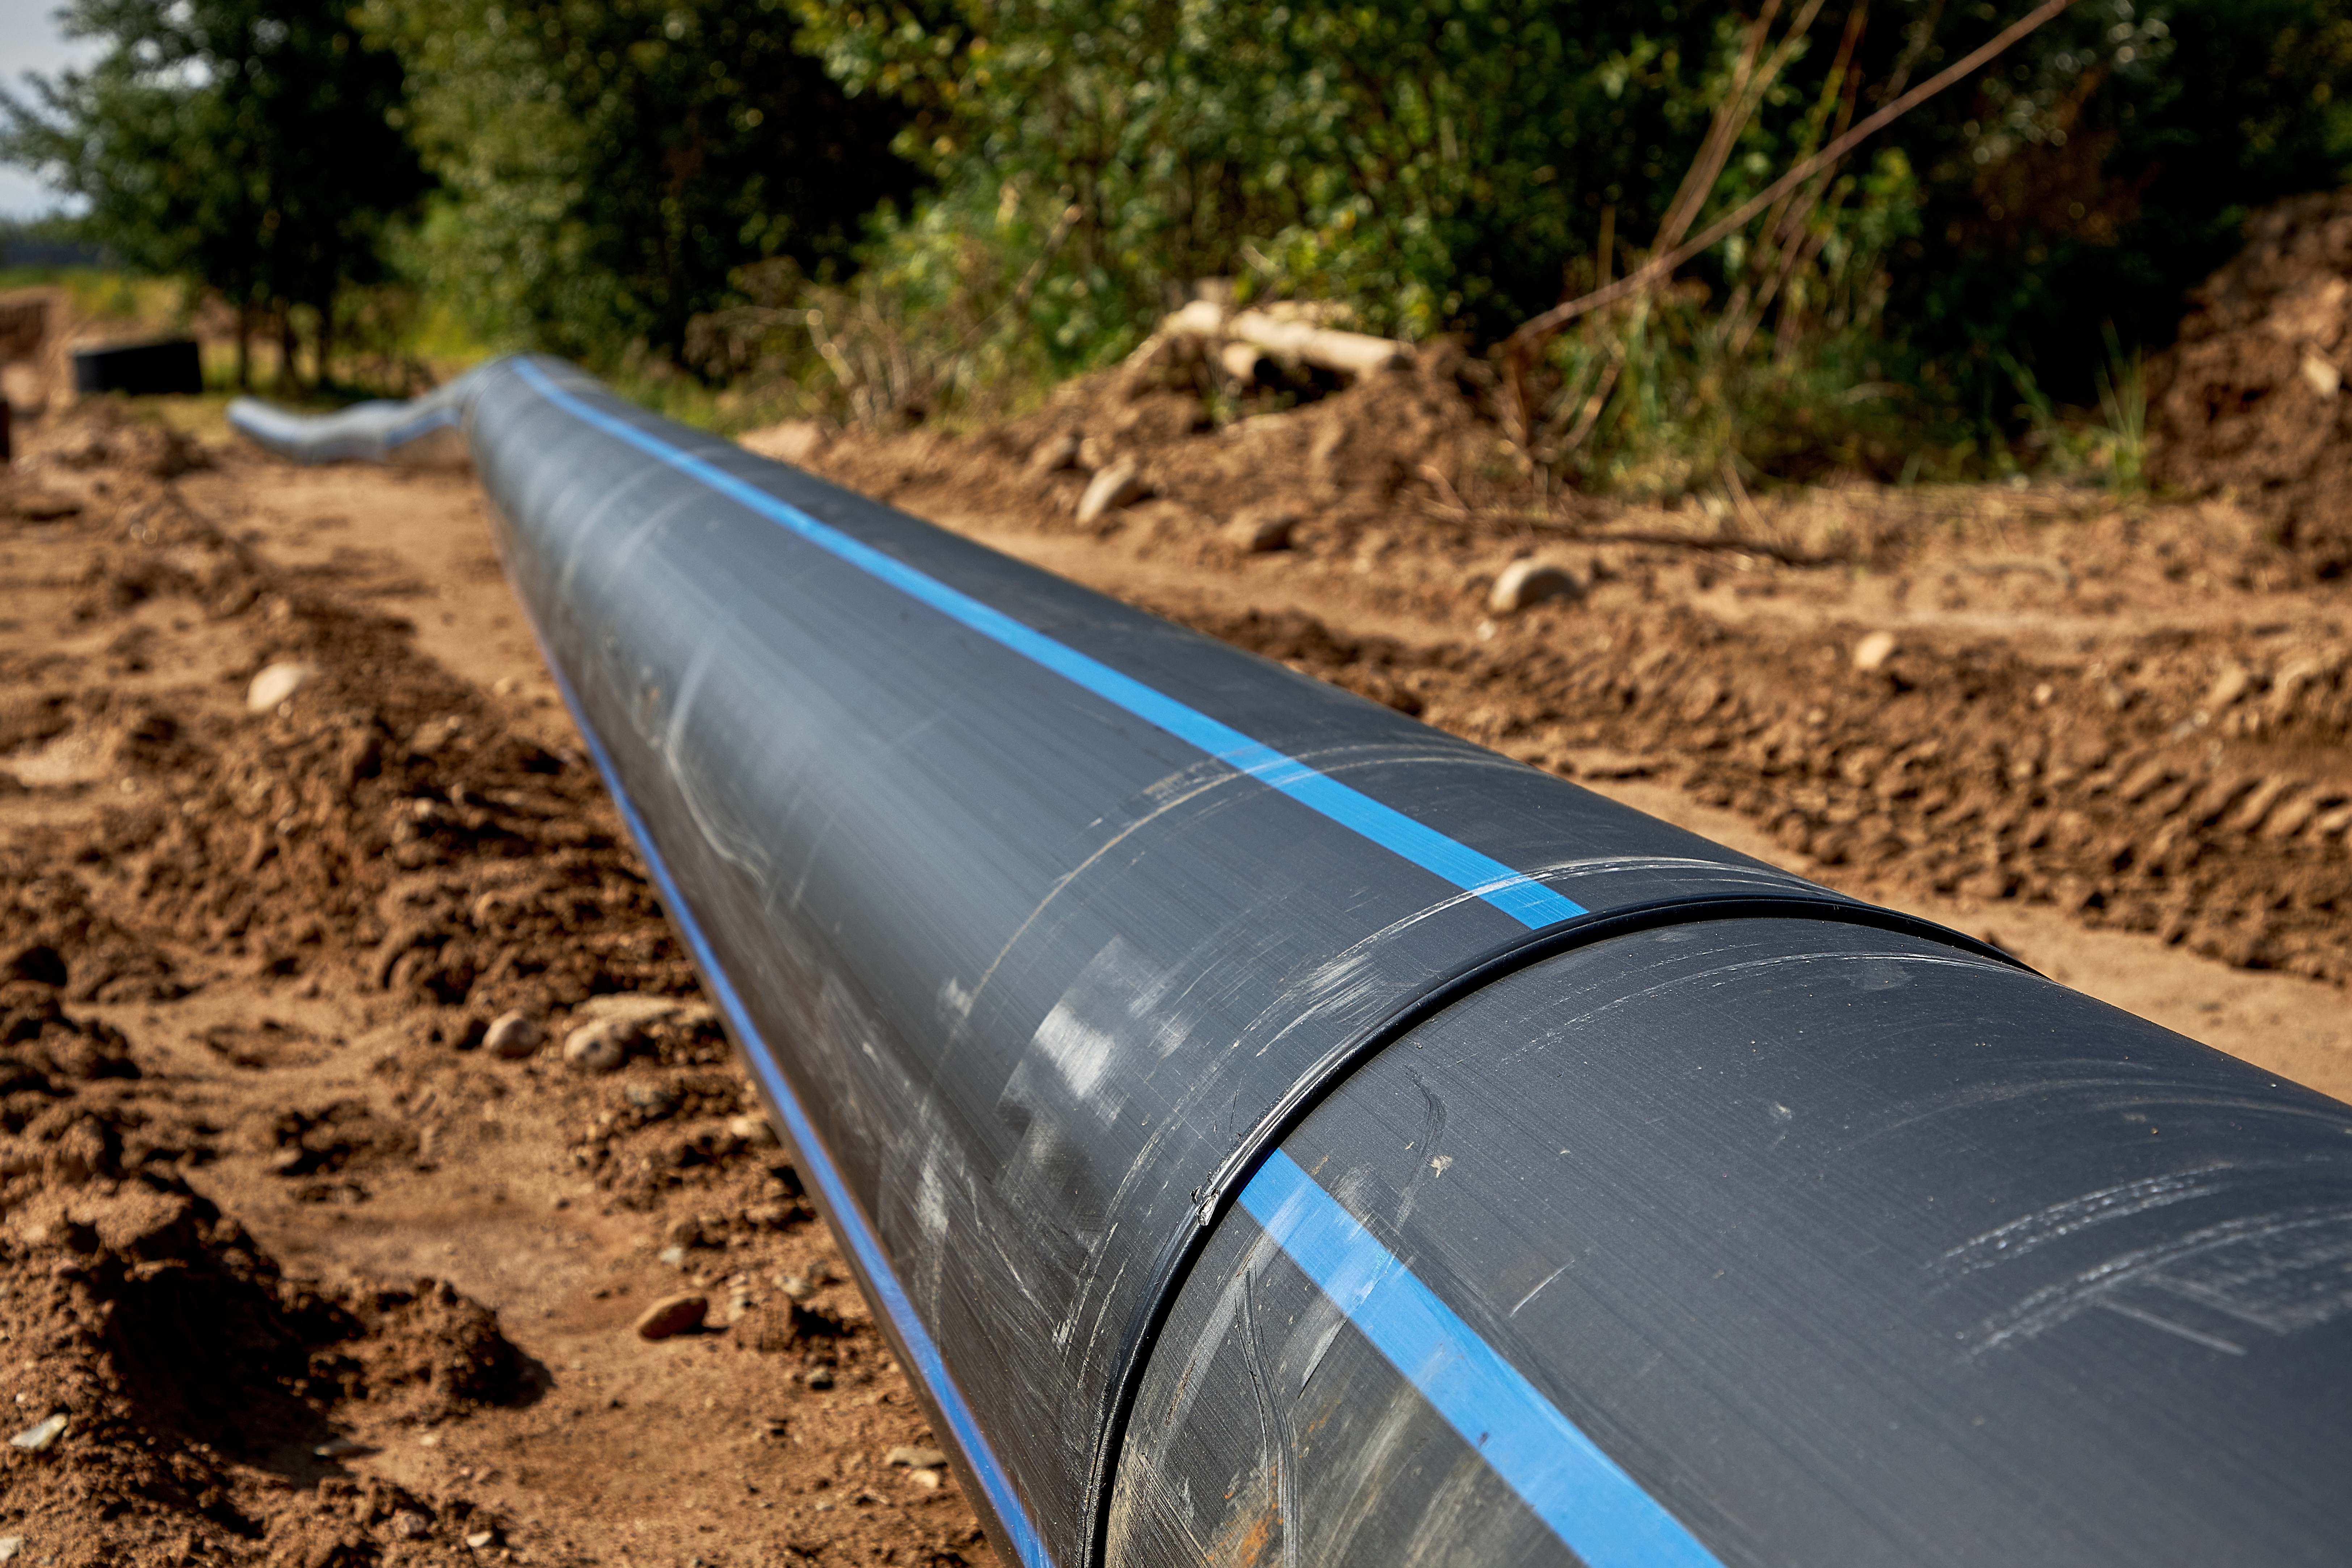
A water main replacement is an expensive and necessary repair, doubly so in an emergency. Learn all the factors that influence main water line replacement costs in Seattle.
Find out how much a plumber costs in Seattle, how factors like permits and green initiatives impact pricing, and how to hire a local pro for your project.

Learn how to remove a bathtub drain for cleaning or replacing, whether you’ve got a simple toe-touch stopper or a more complicated trip-level model.

This guide will tell you everything you need to know about different types of showerheads, from eco-friendly, low-pressure models to panel systems.

Tee, cross, wye, elbow, coupling, bushing, adapter, union, and more. Know the most common 14 types of pipe fittings and what they are suited for.