Here’s what you should expect to pay when renting an orbital, drum, vibrating, or edging floor sander—as well as where you can rent them and what else to know.
Walk the plank onto new hardwood flooring


Wondering who installs hardwood floors? Choosing the best expert for the project is the first step toward having beautiful floors that match your household needs. These skilled pros have the right tools and the attention to detail to enhance your living space with flawless flooring.
Hiring a local wood floor installer is the best way to ensure high-quality results that boost your home's ROI. These experts understand the ins and outs of complex tasks like subfloor prep, moisture management, and precision cuts for corners and edges.
Additionally, professional installers own the necessary equipment for expert results and provide warranties on their work, protecting your investment. The cost to install hardwood floors professionally ranges from $2,475 to $7,030.
This project could be satisfying for experienced DIYers adding notches to their toolbelt. Homeowners can most successfully DIY this project in a relatively newly constructed home with level floors and no subfloor issues.
However, hardwood floor installation requires extreme precision in measurements, cutting, and installation, so it is best to work with a pro. DIYers without this experience are more likely to make costly mistakes that impact the floor's durability and appearance. Doing it wrong leads to costly repairs.

If a flooring specialist isn't available in your area, your second-best choice is a general contractor—particularly one with hardwood flooring experience.
General contractors have experience managing all types of home improvement projects and have access to the talent and tools to ensure a quality hardwood floor installation. Before hiring a general contractor, verify their experience and read their reviews on Angi or ask for recommendations from friends in the area.

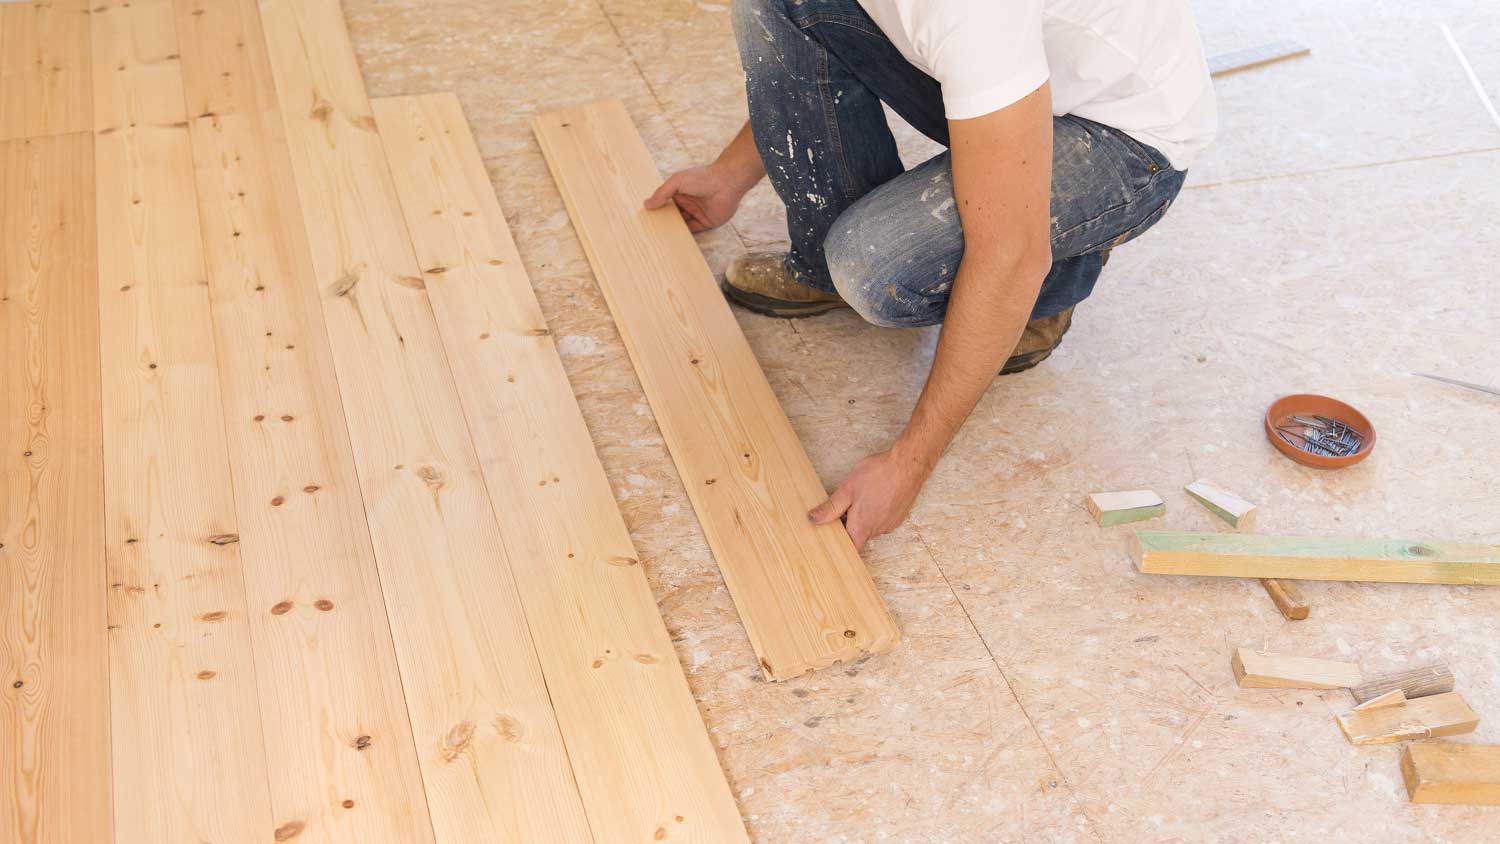
Here is an overview of the steps pros take to install hardwood floors:
Acclimate the hardwood planks to your home’s temperature and humidity levels by leaving them in the space they will be installed in for 3 to 5 days.
Inspect and clean the subfloor, ensuring it is level. If it's not, they will take steps to address the issue before proceeding.
Lay down a moisture barrier, especially in moisture-prone areas, to protect the hardwood from warping or swelling over time.
Plan how to lay out the planks to ensure a balanced, visually appealing appearance, marking reference lines to guide placement.
Measure and cut the planks for a precise fit, especially around edges and corners.
Nail, staple, or glue the planks (depending on the type of hardwood and subfloor) in rows, ensuring a tight, even fit.
Sand the entire floor if needed for smoothness, then apply a finish or sealant to enhance durability and appearance.
From average costs to expert advice, get all the answers you need to get your job done.

Here’s what you should expect to pay when renting an orbital, drum, vibrating, or edging floor sander—as well as where you can rent them and what else to know.

Hardwood floor repair costs depend on the problem. This guide breaks down common costs based on factors like the type of problem, repair method, and whether you hire a pro or DIY.

Both materials and labor determine hardwood floor installation costs. This guide breaks down all the prices you need to know before starting your new flooring project.

Can you install hardwood floors over tile? The answer is yes, if you do it the right way. Here’s everything you need to know to upgrade your floors.

Struggling to narrow down your project timeline when deciding whether to paint or refinish floors first? Here's how to figure out your next steps.

Engineered hardwood floors are an alternative to solid wood, but what if they’re showing wear and tear? We’ll help you figure out whether you can refinish them.