Before you hire a licensed electrical contractor, you should learn the cost to run electric from the road to your house so you can budget for the project.
“C” to it that your thermostat is good to go


The C-wire ensures your smart thermostat stays powered and connected to Wi-Fi.
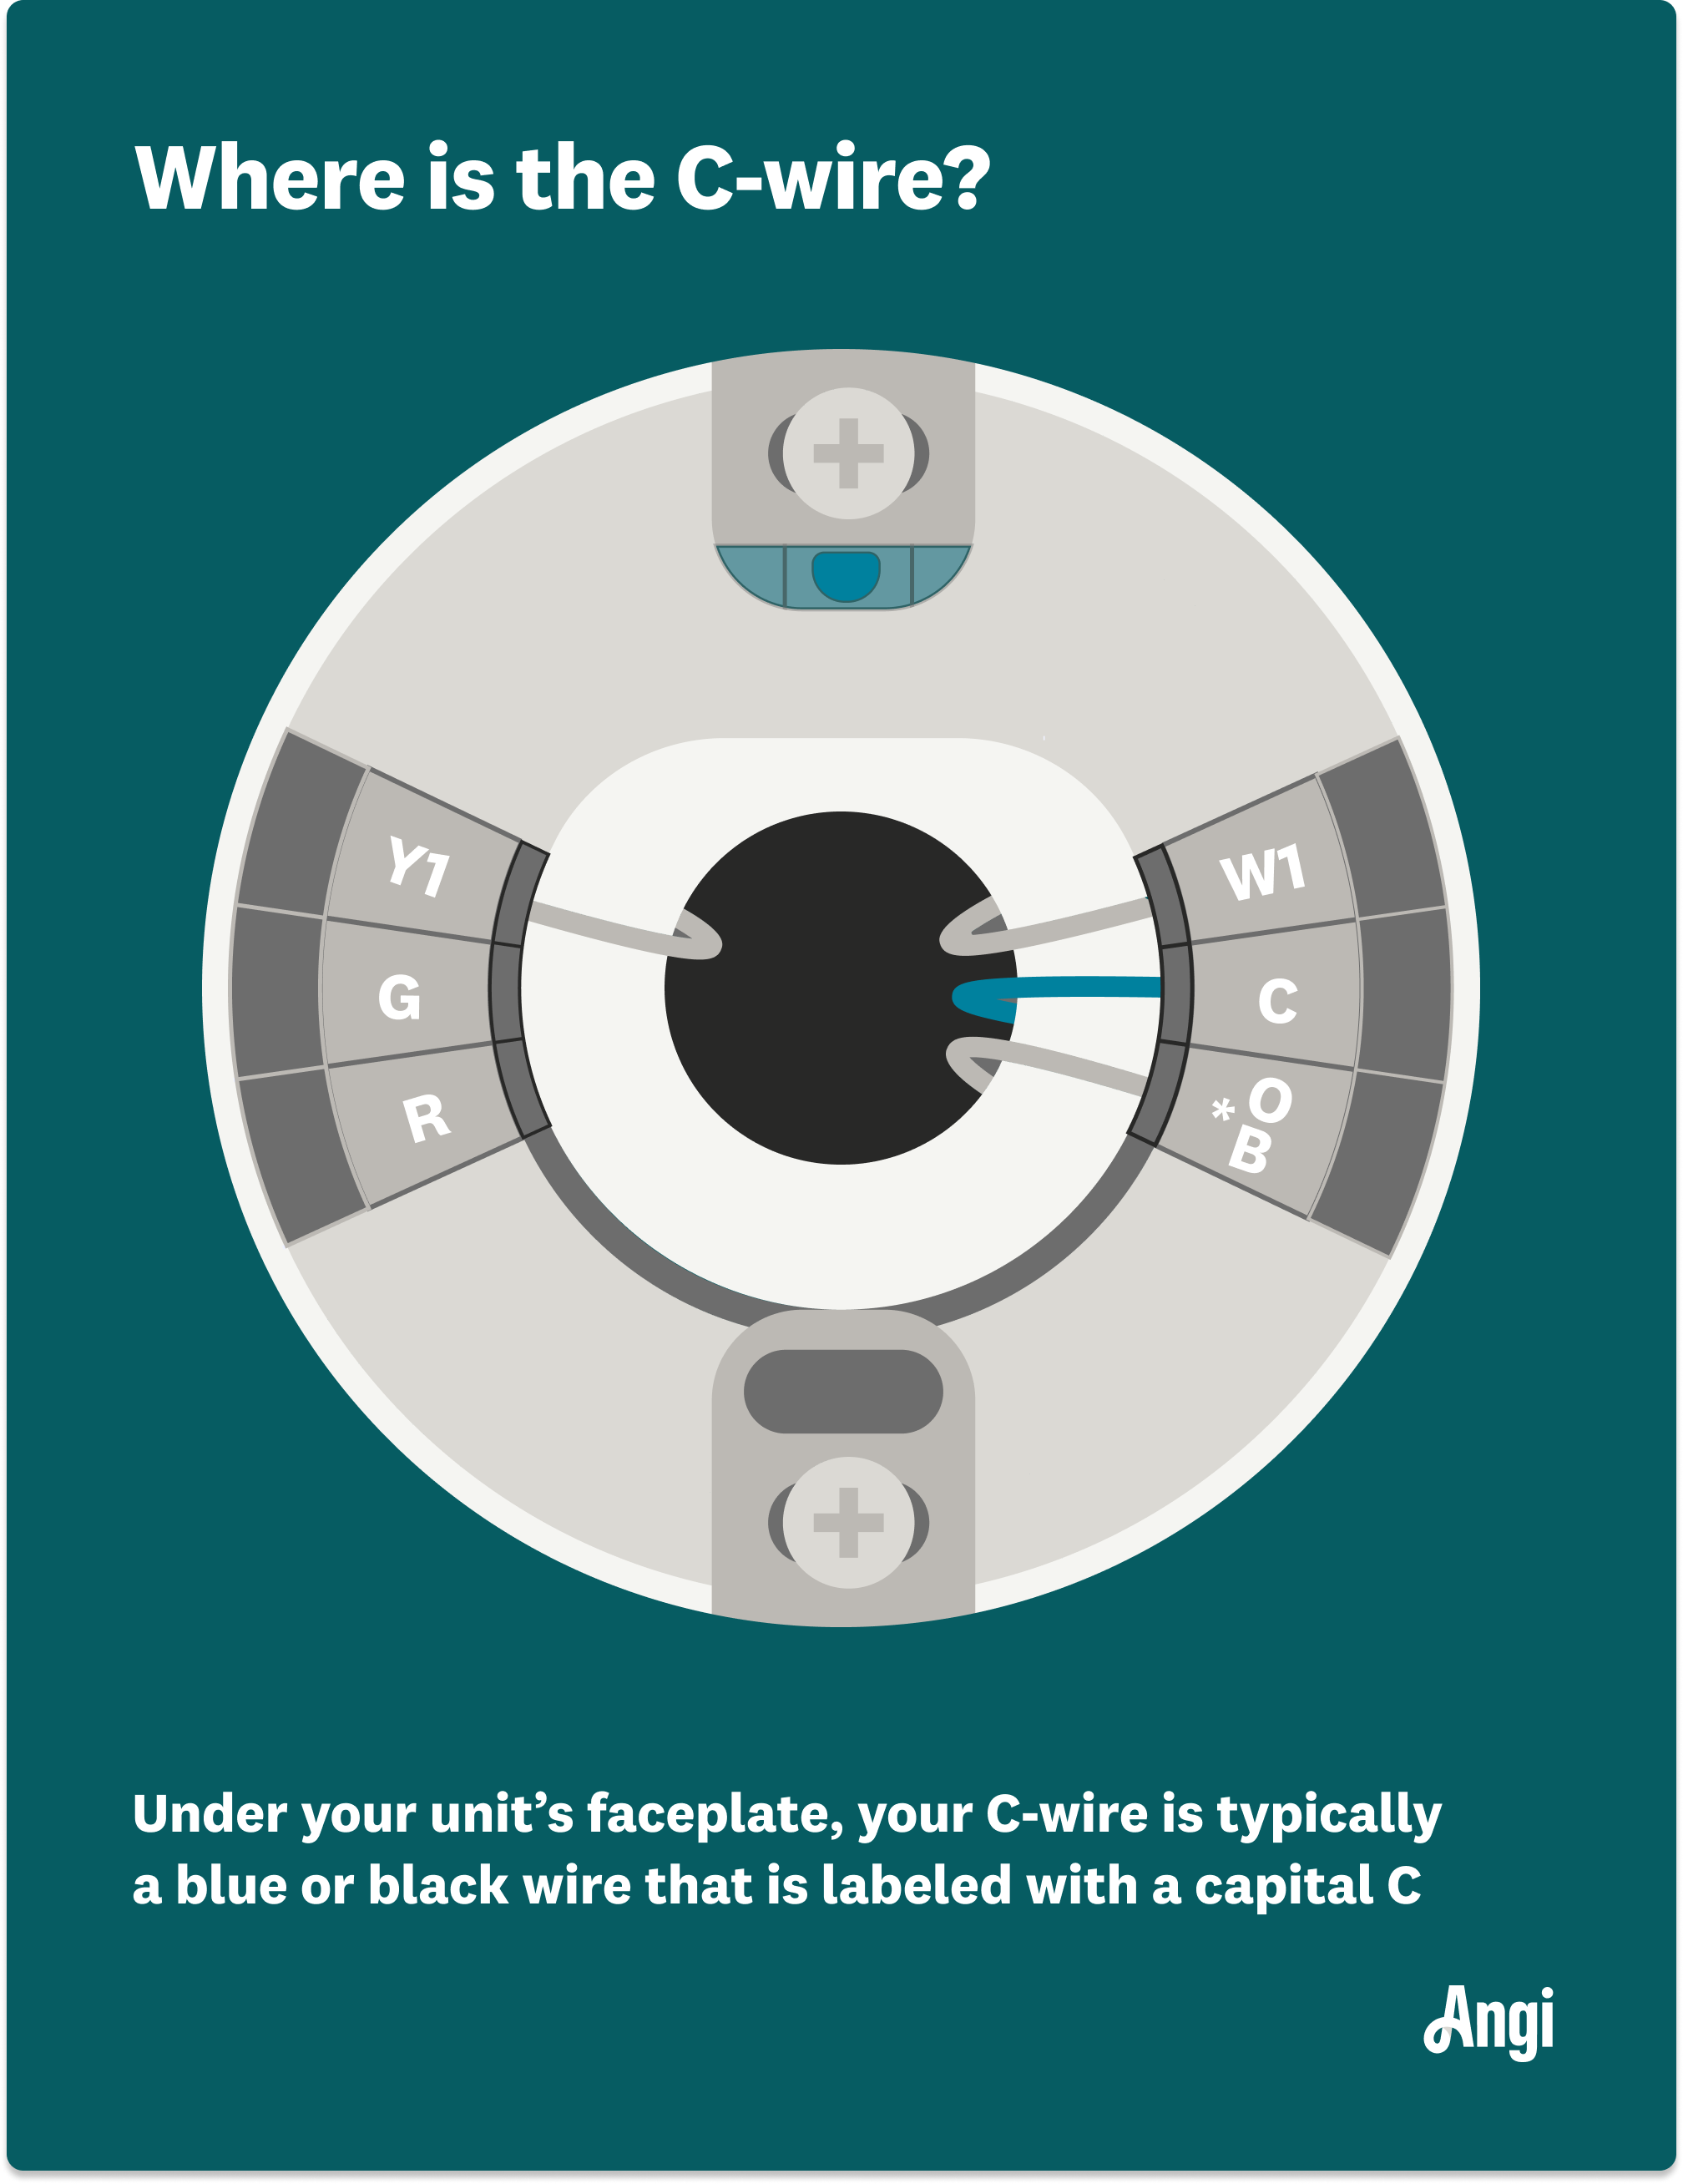
Find your C-wire by removing the faceplate of your existing thermostat.
Add a C-wire with a kit or adapter, or hire an electrician.
Use a C-wire for your smart thermostat even if the model says it's not required.
You’ll pay between $120 and $200 to install a C-wire.
If you’ve made the decision to dive into the world of smart thermostats and are trying to sharpen your DIY skills, you’ve probably already run into the question, “What is the C-wire?” Essentially, this little wire makes it possible for you to easily program and control the temperature in your home from wherever you are, 24/7. Smart thermostats need more power to function and work best when they connect to your HVAC system with a C-wire. Learn more about what the C-wire is, how to find out if you have one, and how to add one.
The C-wire, also called the common wire, is a wire that connects your smart thermostat to your HVAC control panel to provide continuous 24-volt power.
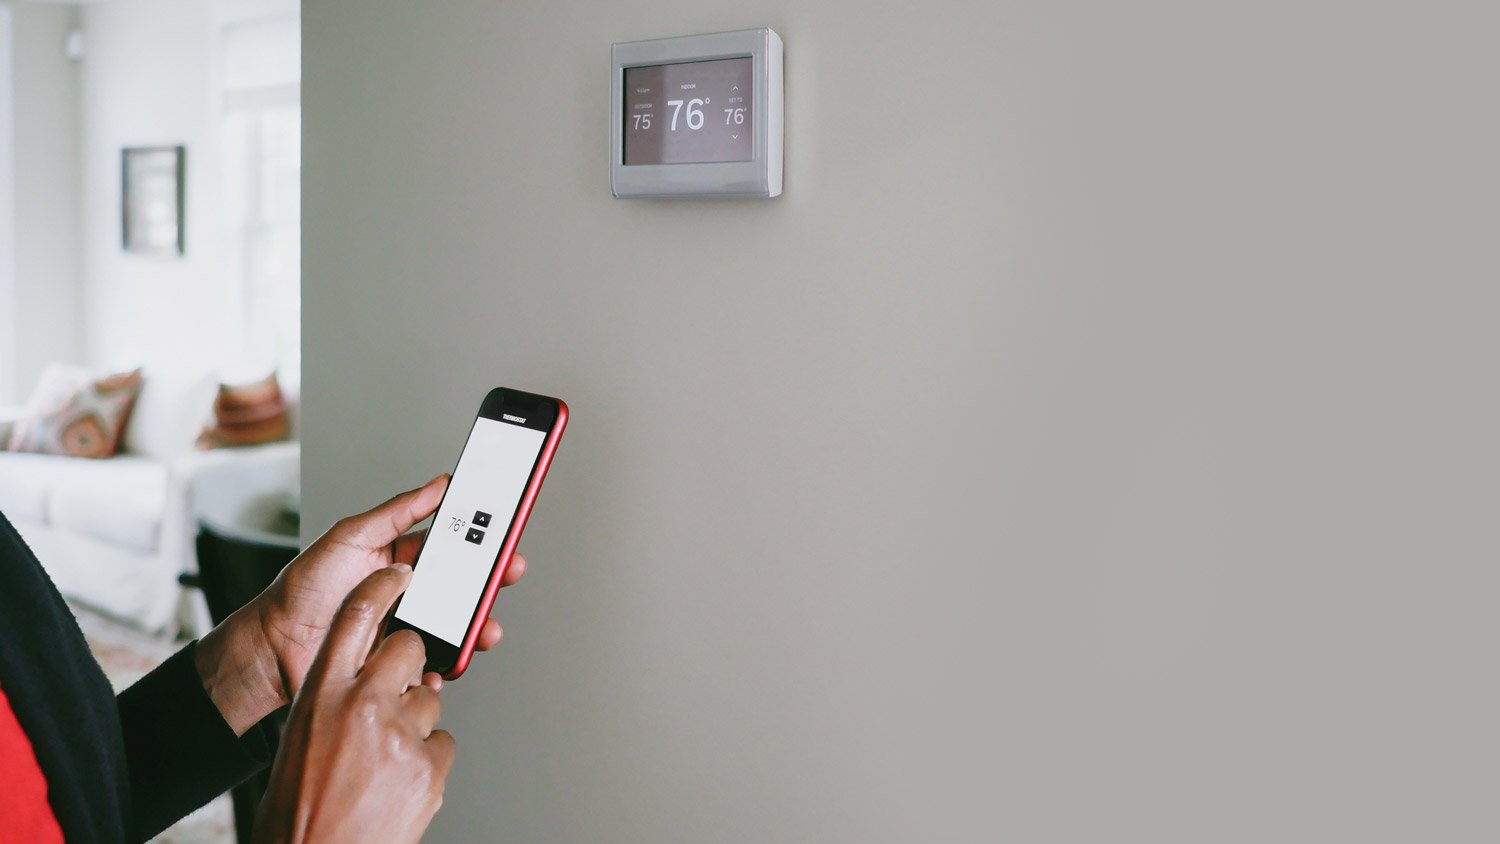
The wire helps ensure that your thermostat never loses power or Wi-Fi connection. This connection allows you to set the temperature from your smart devices no matter where you’re at and create temperature schedules that work for your lifestyle.
Most smart thermostats need a C-wire to work properly and efficiently. Even if a smart thermostat advertises that it doesn't need a C-wire, it will operate far better with one. Most newer HVAC systems have C-wires that are compatible with smart thermostats.
The C-wire on your thermostat can be any color but is often blue or black. Most often, the wire in the C-terminal of your thermostat is the same color as the wire in the C-terminal of your HVAC control panel (which you can find on the AC unit or furnace). Most HVAC thermostats use four or more wires connected to R-, G-, Y-, W-, and C-terminals.

Turn off the power to your HVAC systems at your circuit breaker or HVAC switch. Remove the faceplate of your current thermostat and look for the wire terminal that's labeled "C." If there's no wire in the C-terminal, look to see if there’s a loose wire somewhere on the unit that has a "C" label. If you don't see a wire in the C-terminal or one labeled as "C," you may need to install a C-wire.
If you’d rather not tinker with your electrical system at all, contact an electrician to check for your C-wire and safely add one for you.

A C-wire is essential for smart thermostats to ensure continuous power, touchscreen capabilities, and Wi-Fi connection. Think of the opposite scenario where the thermostat is powered by something that doesn’t provide continuous energy, like batteries. If you were to use two AA batteries to power a system’s Wi-Fi connection and touch screen, the batteries would likely only last a few days.
Even if your smart thermostat states that it doesn't need a C-wire, it’s far more efficient and cost-effective to have one. A C-wire also eliminates the need to replace batteries, which can get costly if you need to replace them all the time.
Plus, if your thermostat loses power thanks to failing batteries, you won't be able to turn on your heating and cooling systems, making for a miserable summer afternoon. With a C-wire, you can set up your smart thermostat and essentially forget about it.
The savings you can get from installing a smart thermostat often outweigh any home automation costs you’ll come across, as smart thermostats can help lower the cost of your energy bills. Not only that, but they have a ton of functions built with your comfort at the forefront.

If you don’t have a C-wire, there are a few routes you can take. We do not recommend adding one by yourself, as working with wires can be potentially dangerous for an unskilled DIYer. However, if you’ve got a bit of electrical know-how, there are some safe ways for you to add a C-wire to your thermostat. Here are the best options for C-wire installation.
If you’re lucky, you might have a C-wire tucked away in the wall. A bundle of thermostat wires could be hiding beyond what you can see simply by removing the thermostat faceplate.
Turn off your HVAC system’s power and put on a pair of electrical rubber gloves to ensure you remain safe. Remove the thermostat’s faceplate and unscrew the backplate from the wall. Gently pull the backplate and wires out from the wall.
Look for the wire sleeve, which is a tube of plastic that collects all the wires in a bundle. If there’s an extra wire taped to the sleeve or wrapped around it, you can use that as your C-wire. Reattach the backplate to the wall.
If you have experience working with electrical components, you can follow the next few steps. Otherwise, get in touch with a local pro to help you out.
Connect the wire to the C-terminal and put your front plate back on. Go to your furnace and open up the control panel. Look for the G-, R-, Y-, W-, and C-terminals, usually located along the side of the panel. Attach the C-wire to the C-terminal. Close the panel and turn your HVAC system back on.
If you don’t have a C-wire, you can buy a C-wire adapter, also called a 24V transformer. This adapter uses your existing thermostat wires and allows one of them to be used as a C-wire. It comes with a box that contains new wires that a pro can mount on your HVAC control panel. The two wires need to plug into a regular outlet near your HVAC system.
A C-wire adapter kit might come with your smart thermostat, but you can also buy one online or from a home improvement store. Follow the manufacturer’s instructions, and be sure to turn your HVAC system off before starting the project. As always, if you don’t have electrical experience, leave this one to the pros.
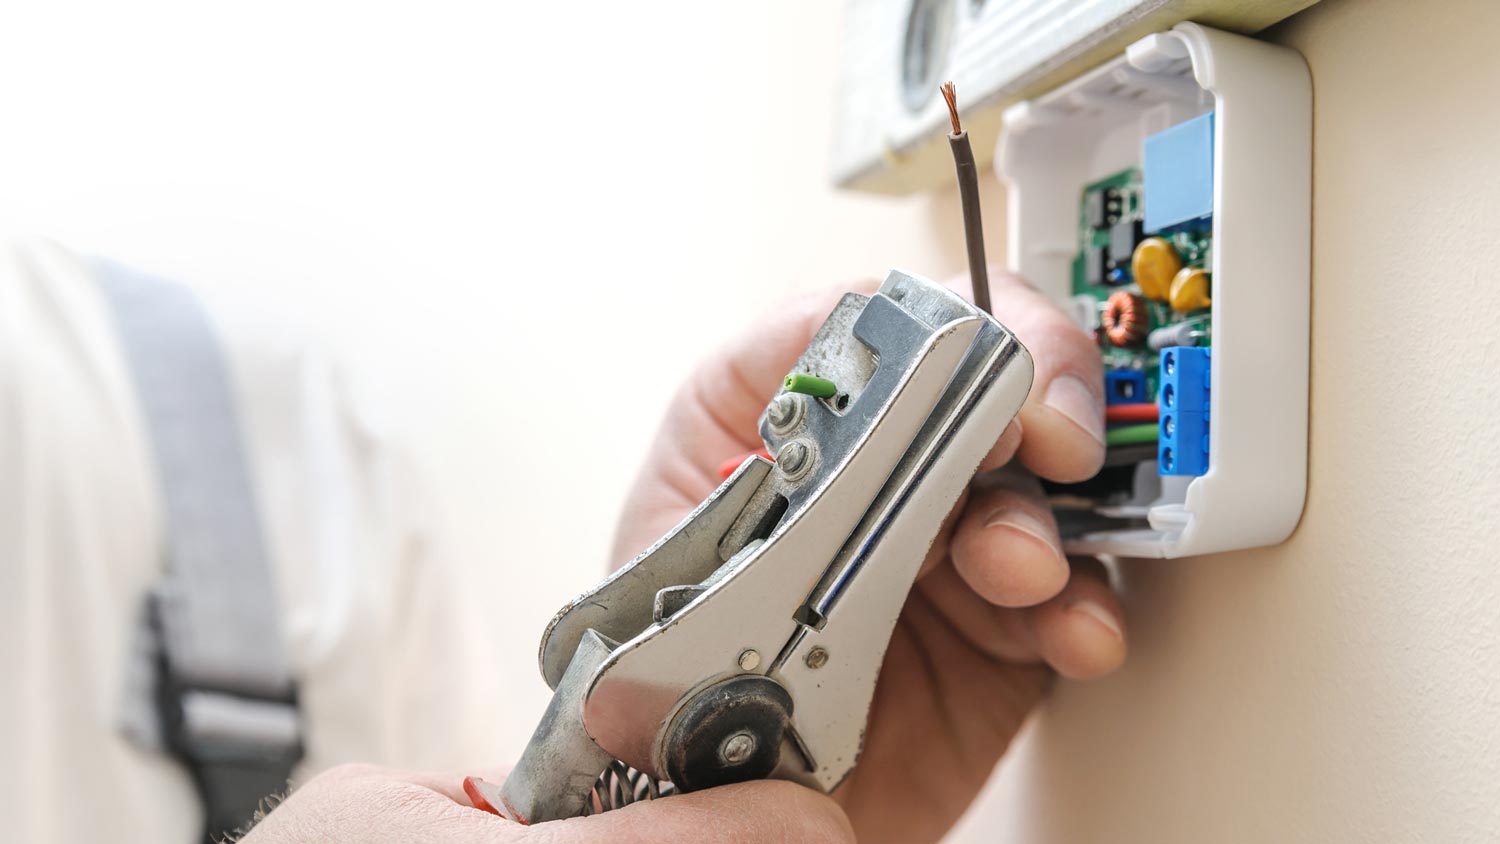
If you have a license and the confidence to work with electrical wiring, you may feel comfortable adding a C-wire. But most homeowners don’t have the expertise, as it involves running new wires through your walls and making connections at both ends.
Attempting to do electrical work without the proper training can result in physical injury by way of electric shock, damage to your HVAC system, or even house fires from improper wiring. Your best bet here is to hire a local electrician to complete the C-wire installation for you.
Instead of running a new wire, you can use an add-a-wire kit to create a C-wire for your thermostat. The kit allows you to use an existing wire and route it to power your smart thermostat. Before you begin, make sure to read all of the manufacturer’s instructions and follow them to a tee. HVAC control boards are expensive, so read carefully to avoid a costly furnace repair. But, of course, we still recommend that you hire a pro for this task.
On average, it costs $150 to install a C-wire. Homeowners can expect to pay anywhere between $120 and $200 for a professional installation. The most expensive part of the project is the labor. If you want to save on thermostat costs, consider purchasing a non-smart thermostat that works without a C-wire.
Although the wiring for a thermostat can seem complicated, you can install a C-wire if you have electrical experience. Either purchase a C-wire installation kit or use the hardware that comes with your new thermostat. However, if you’re not comfortable connecting the wiring yourself, hire an electrician to help you instead.
From average costs to expert advice, get all the answers you need to get your job done.

Before you hire a licensed electrical contractor, you should learn the cost to run electric from the road to your house so you can budget for the project.

The cost to install a 240-volt outlet varies depending on the amperage and the home’s current wiring conditions. Use this guide to budget for your next project.

Looking to size up your electrical system to cover higher usage and improve efficiency? Use this guide to see the cost to upgrade an electrical panel.

If your plugs are sliding out halfway after you insert them into the outlet, this is a fire hazard. Learn how to fix loose outlets in your home.

Your home might have a variety of electrical outlets, depending on how old the structure is and what type of appliances you use. Learn the different types of outlets, how they work, and how you use them.

Flickering lights and breaker trips can be a sign that it’s time to replace a circuit breaker. Find out the cost, safety tips, and how to replace a circuit breaker.