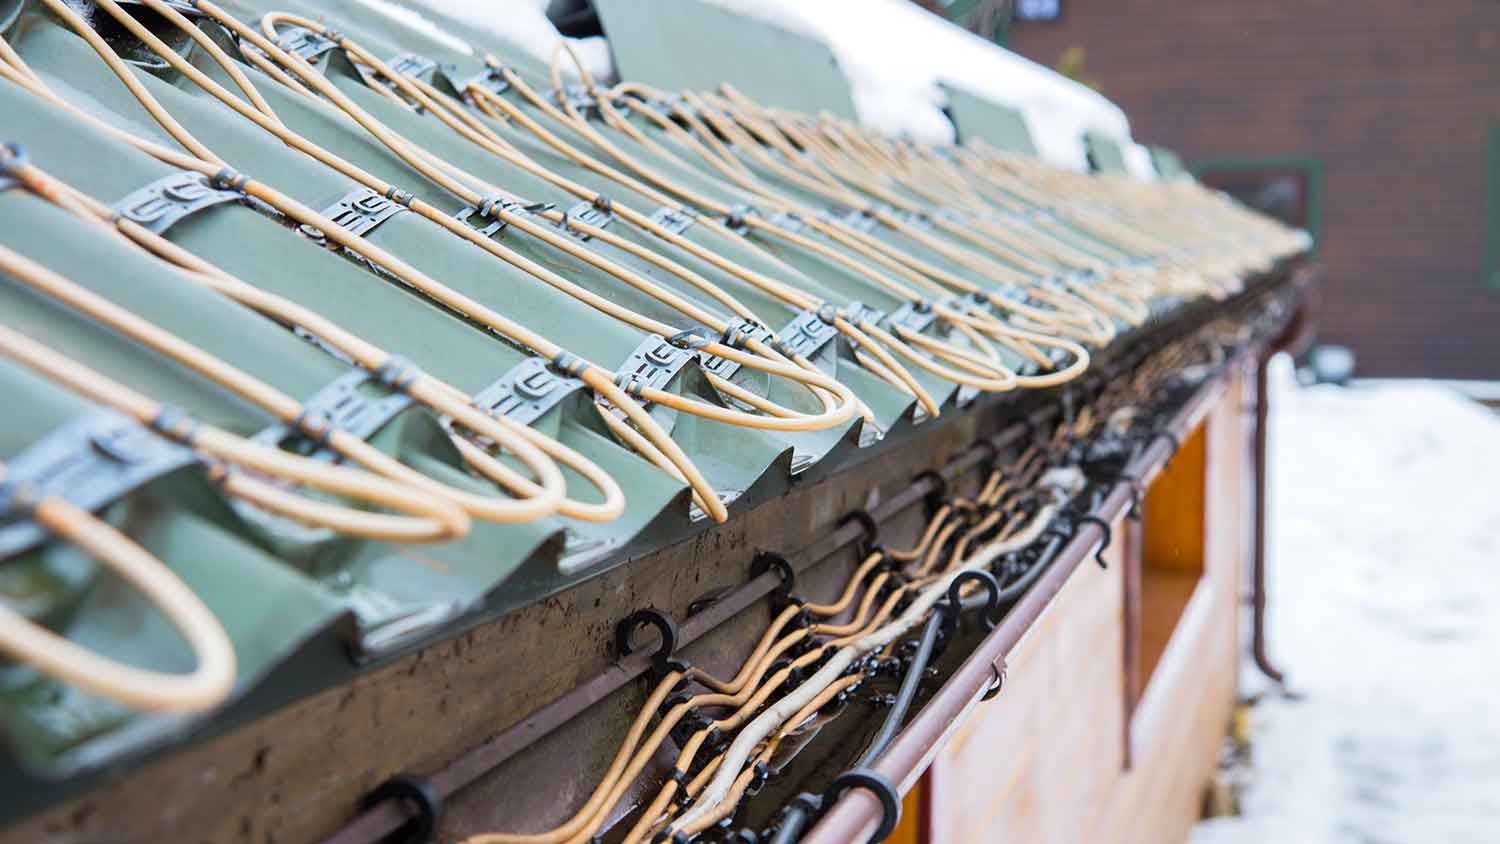
Discover the average roof heating cable installation cost, key price factors, and how to budget for your project. Learn how to save and what to expect.
A simple membrane on your roof deck can save you thousands of dollars


Ice and water shield protects your roof’s integrity.
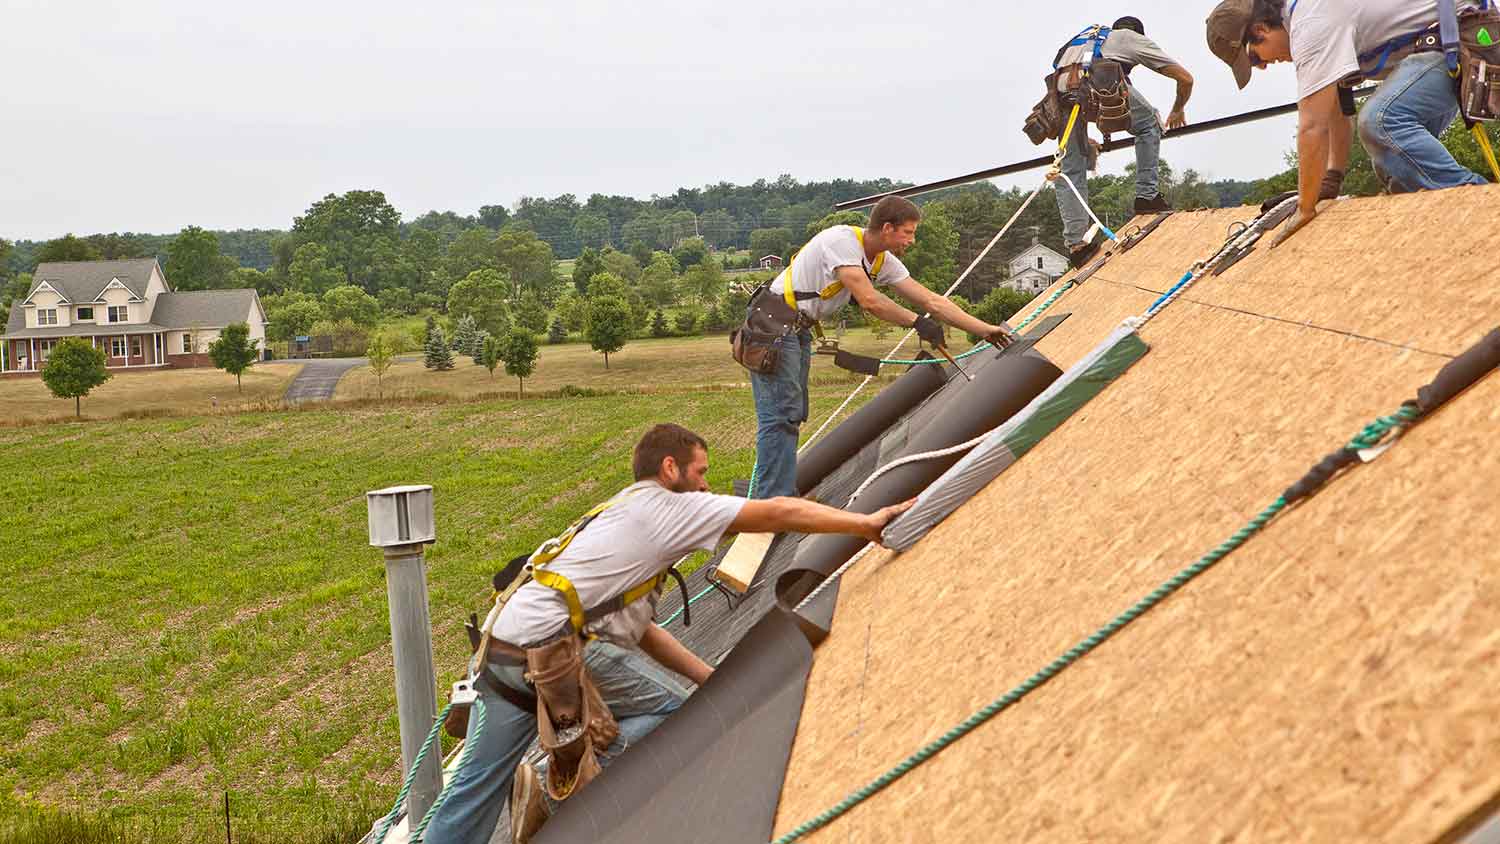
The protective membrane goes on top of the roof deck and below the roofing materials.
The self-adhesive membrane prevents extensive roof damage.
Ice and water shield costs between $4 and $5.50 per square foot installed.
Your roof is a big investment, so protecting it is crucial. Ice and water shield is integral to protecting your roof, especially if you live in an area prone to snow storms and ice dams. One major storm could ruin your roof's integrity, but ice and water shield can keep it safe.
Ice and water shield is a membrane that protects your roof's decking from damage caused by ice and water. If these melt and eventually get underneath the roofing material, it can cause damage to the roof and even the ceilings and walls inside.
With an ice and water shield, you protect your home's structure, and if a storm causes roof damage, the repairs may not be as extensive. For example, you may only need shingles replaced, instead of ripping off the entire roof for replacement because of water damage.
Giving some thought to this protective membrane (and to the best roofing materials for cold climates) will give your roof a chance at the longest life.

Ice and water shield protects the roof's decking. It is like a giant piece of tape with an adhesive backing that covers the roof's edges and any peaks or valleys susceptible to water infiltration.
The shield naturally sticks to the roof with its adhesive backing, and it self-heals when roofers use nails to install the final layer, such as shingles. This means that the membrane naturally seals around the nails, so you do not have to worry about weaknesses in those areas.
The membrane helps with winter roofing issues and any other problems experienced in areas with strong storms, aka a lot of water.
When you install an ice and water shield, you install it directly onto the roof deck, making it the underlayment for your roofing materials. In fact, the shield should be the first underlayment on the roof before installing any other materials. It is the protector between the fascia board and the first roof board, and it is the first step in winterizing your roof.
You might wonder why you would consider an ice and water barrier for the roof. First, in some areas, it is required. Check your local building code to see if this is the case, as it depends on an area's propensity for snow accumulation.
Even if it is not required, the common causes of roof leaks in the winter are all good reasons to consider it, including:
Ice dams: Accumulated snow that starts melting but then experiences extreme drops in temperature can turn the top layer into ice, trapping snow behind it. When temperatures plummet, the ice may not melt fast enough for the snow behind it to run off, causing water to leak into the roof and cause damage. It is important to know when to remove snow from the roof and to have proper protection when doing so.
Storms: If your area experiences extreme storms, your roof risks falling apart, exposing the decking. If there is not a protective membrane underneath, the decking is susceptible to water damage, as is the inside of your house.
Using the right type of ice and water shield ensures your roof’s protection. Here are the three types to consider:
Granular surface: Works well in roof valleys and is the thinnest of the three options
Smooth surface: Works well on low-slope roofs
High heat and ice water shield: Best for metal roofs as it contains cotton fibers that will not stick to the metal
The ice and water shield cost depends greatly on your area, roofing material, and type of shield chosen. However, on average, a professionally installed ice and water shield costs $4 to $5.50 per square foot.
You do not need to (and probably should not) install ice and water shields on your entire roof. Instead, focus on the vulnerable areas, such as peaks and valleys, low pitches, and chimneys. If you install it over the entire roof, you do not give the decking enough breathing room, which could cause condensation that leads to mold and mildew growth. If a professional suggests you install it over the entire roof, ensure the ventilation system is adequate to avoid the risk of mold growth.
Every manufacturer has specific instructions regarding how to install the membrane. You will generally install it over the roof deck before any other materials. Around areas like the chimney, the membrane should be installed before the flashing. But again, read the manufacturer's instructions or consider hiring a roofing professional near me to ensure it is done right.
In general, the membrane has an adhesive backing and does not need any fasteners; however, your manufacturer may suggest fasteners to keep it in place while laying it, but then they should be removed.
Ice and water shield is worth installing to protect the hefty investment that is your roof. Knowing your roof deck is protected can create peace of mind. Even if you have to pay for roof snow removal cost or ice dam removal, the shield can protect your roof and its decking, ensuring you do not need a complete roof replacement. Get to know a roof cleaning expert near you who can help in emergencies—but take precautions to protect your roof, too.
From average costs to expert advice, get all the answers you need to get your job done.

Discover the average roof heating cable installation cost, key price factors, and how to budget for your project. Learn how to save and what to expect.

Roof raking can help prevent damaging ice dams from forming. Learn more about roof raking, how and when to do it, and other ways to prevent ice dams.

Knowing the signs of an ice dam on your roof can help prevent serious damage. Learn what to look for to spot a problem early.

Should I remove snow from my roof? This is a common question for homeowners during the colder months. Find out when and how to tackle the job safely this winter.

Wondering how to prevent icicles on roofs? While you can't keep it from snowing, you can take steps to keep the icicles at bay. Find out how.

In areas that see heavy snowfall, understanding how to install snow guards on a metal roof is important for protecting people, property, and the roof itself.