How much does a plumber cost in Los Angeles? Learn what impacts plumbing costs in the City of Angels and how to hire the best plumber in LA for your project.
Don’t be a drip and ignore your leaking faucet


A worn-out washer could cause a dripping faucet.
Many of these dripping faucet issues can be fixed by a DIYer.
A leaking faucet can cause problems, including pest infestations.
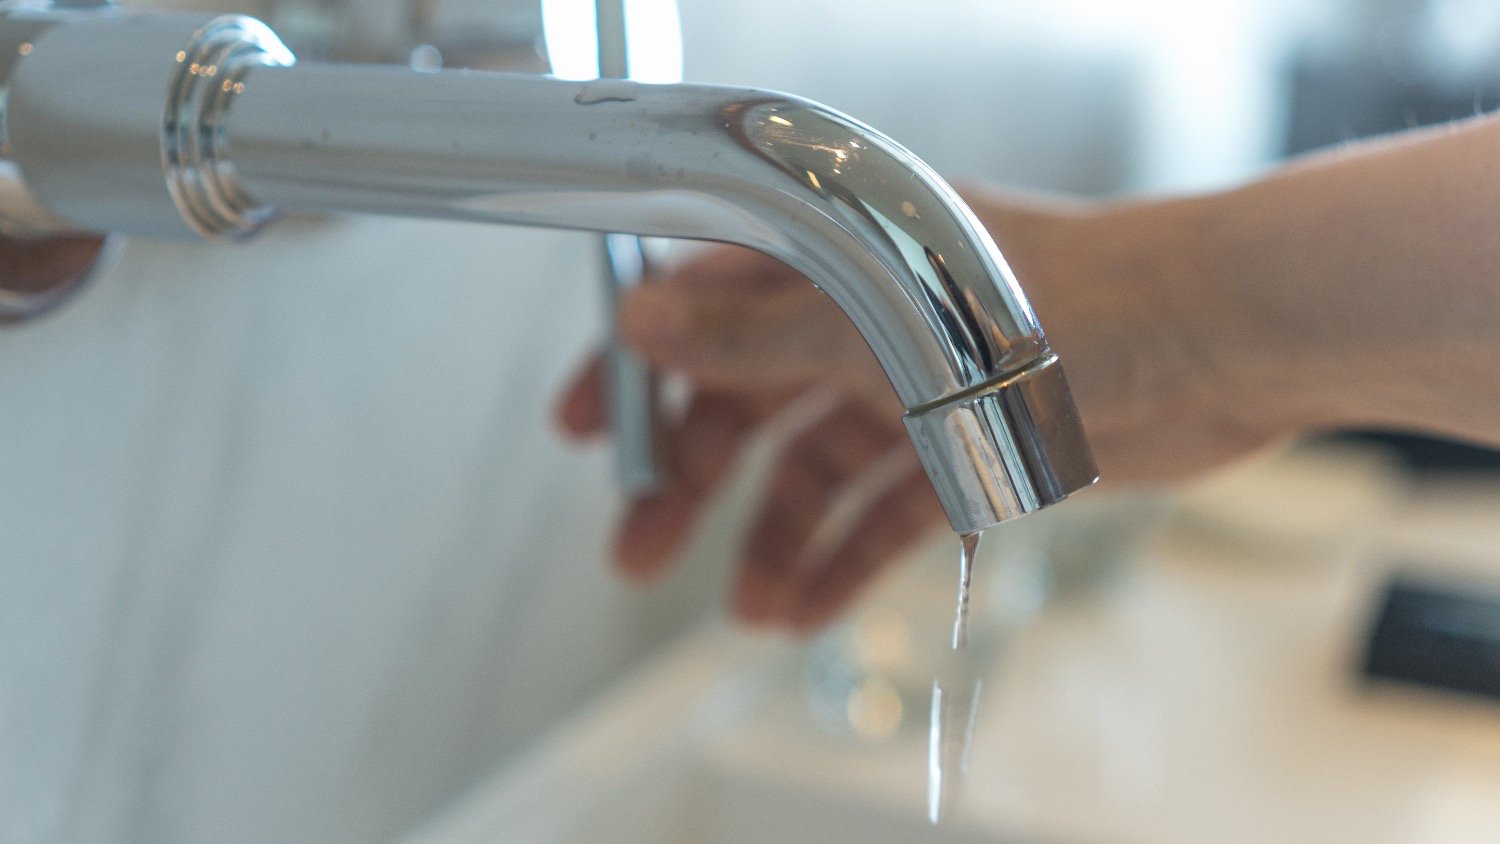
A slightly leaking faucet that drips constantly might not seem like a big deal. But in addition to being somewhat irritating, a dripping faucet can increase your water bill and damage your faucet beyond repair. This guide will explain the six main causes of a dripping faucet, how to address them, and when to call a pro.
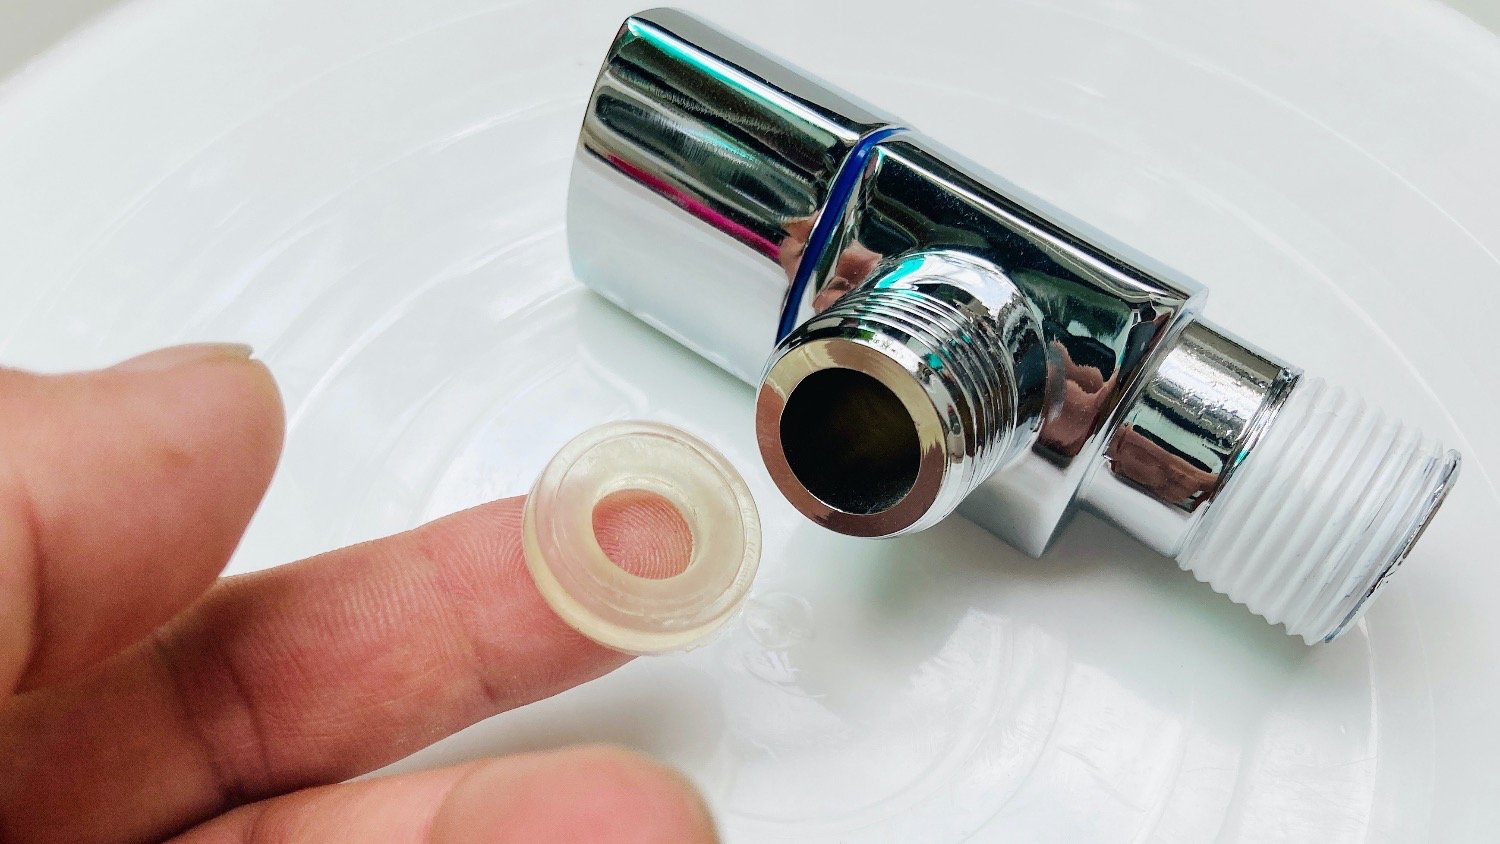
The washer is an essential part of your faucet, providing a tight seal that prevents water from leaking out when the faucet is turned off. However, the washer can wear out quicker than the other components of your faucet—and if it does, you’ll see your faucet drip even when it’s tightly turned off. Sometimes, an incorrectly installed washer can also cause a faucet to leak.
Turn off the water supply valve under the sink, then cover your drains with a drain cover, towel, or old clothing. Remove the faucet handle, packing nut, and stem to access the washer. Check for corrosion or other wear and tear and replace it with a new washer if it looks worn out. Repeat the process in reverse to put the faucet back together, then test it to ensure the dripping has stopped.

An O-ring helps ensure the faucet handles stay in place. But after years of daily use, they can become loose or worn out and prevent the faucet from forming a tight seal, causing it to drip.
Replacing an O-ring uses the same process as replacing a washer. Turn off the water, cover the drains, and remove the faucet. The O-ring sits just above or below the faucet body. Check to see whether the O-ring looks corroded and replace as needed. Otherwise, try tightening the part and putting the faucet back together to see if that solves your dripping problem.
The valve seat on a compression faucet works with the washer to create a seal and stop leaks. But over time, it can become corroded or worn out, damaging the seal and causing the faucet to drip. You can remove some valve seats and replace them when this happens. Others require an entire faucet replacement to stop the dripping. A kitchen faucet costs around $160 to $370 to replace.
Shut off the water and cover the drains. Remove the faucet handle, then the compression valve. Use a seat wrench (an L-shaped tool) to remove the valve seat. Inspect it for corrosion or debris buildup and clean out any dirt from the part. Install the replacement valve seat, then put the faucet back together and turn on the water to check that the dripping has resolved.
A faucet with two handles will have a cartridge in each handle to regulate the water flow. Over time, these cartridges can wear out and lose their ability to cut off the flow when the handle is closed.
A leaking faucet cartridge needs to be replaced. To do this, turn off the water and remove each tap from the faucet to expose the cartridge. Remove the old cartridges and install the new ones, using plumber’s grease around the cartridge to help it slot in more easily. Replace the taps and test out the faucet to ensure no leak.

Over time, heavy use can cause a bathroom or kitchen faucet handle to loosen. If you notice that the handle wobbles when you turn it on and off, a loose connection could prevent the handle from fully closing the valve, resulting in a drip.
Turn off the water to your sink, then look for the screw to tighten the handles. Depending on your faucet, it might be easily visible or hidden under the decorative caps that say “hot” and “cold.” Use a screwdriver to tighten the screws, then replace the caps if needed.
If your faucet only drips when another fixture turns on (like a different sink or the shower), it could signal a problem with your water pressure. High water pressure not only causes your faucets to drip but can also damage your pipes, water heater, fixtures, and appliances. You may notice an increase in your water bill as well.
Installing a water pressure regulator on your main water line can help prevent high water pressure in your home. This is not a DIY-friendly job, so call a pro if you suspect you have a water pressure problem.

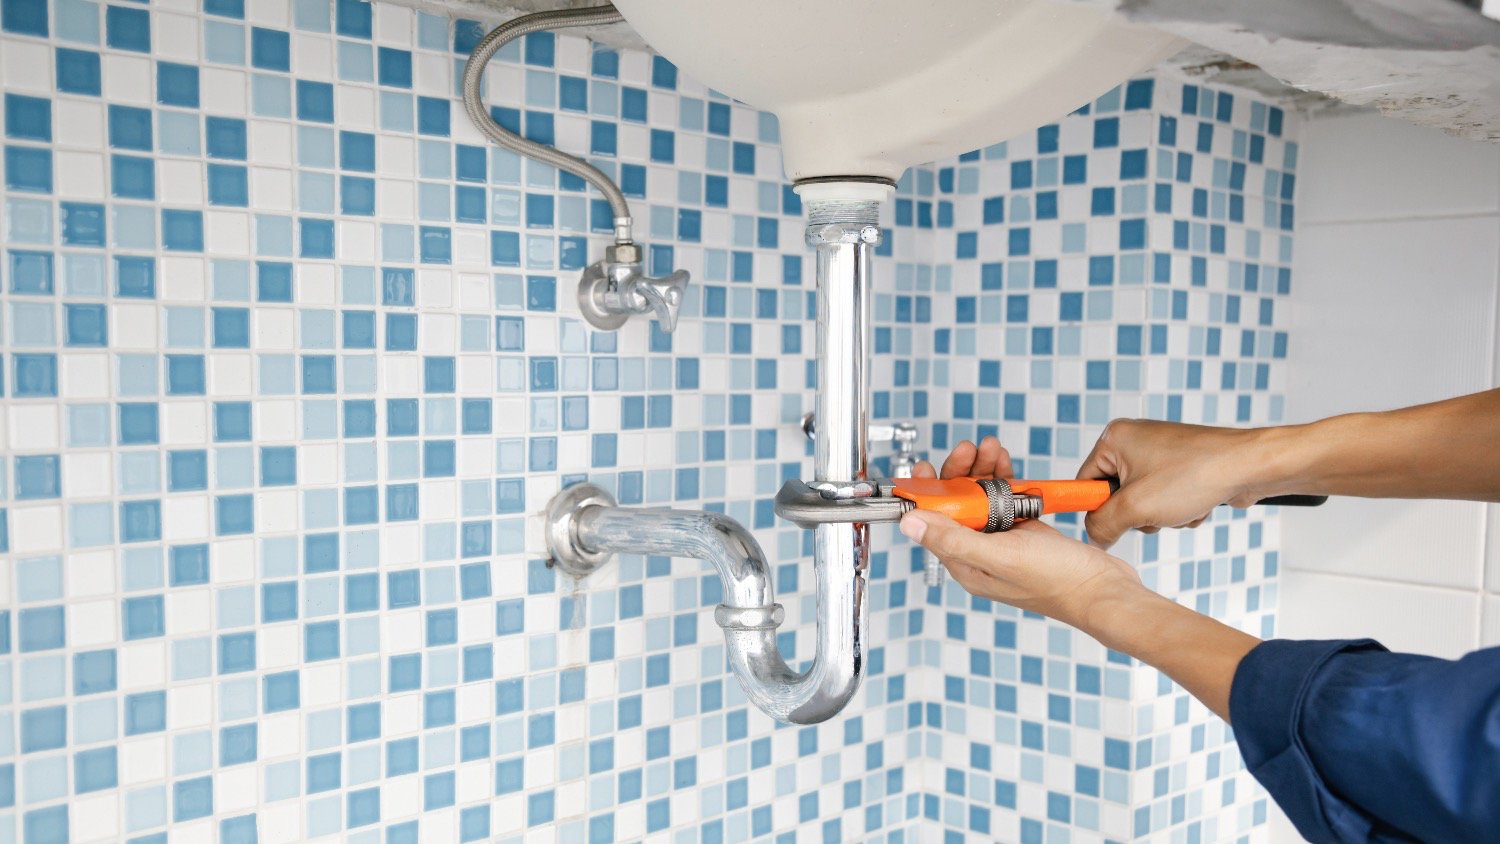
A handy homeowner with the right tools and confidence in their DIY skills can fix most leaky faucet problems. Learning how to replace a kitchen faucet or how to fix a leaky faucet is simple, even for those without extensive DIY experience. However, calling a pro is wise if you’re not confident in your abilities or are worried about accidentally damaging your plumbing.
A local plumbing repair professional can inspect your faucet and determine the cause of the dripping. Then, they can repair the issue or replace the faucet for you. If the best fix is to install a water pressure regulator, then hiring a pro is a must, as this isn’t a suitable job for a DIYer.
They were really respectful, they did the work fast, and cleaned everything and I did not even had to ask, I recommend them
First contacts with this company for 2 bathroom remodel projects. The professionalism, clear communication of what to expect, follow-up --- very excellent! Looking forward to continuing this project.
I turned to John for garage door repair, and he exceeded all my expectations. He arrived the same day he was called, and the work was done quickly and professionally. The prices he offered were very reasonable, and I particularly appreciate the free estimate he provided. Communicating with...
I recently used Concierge Home Remodeling for a bathroom renovation and I couldn't be happier with the results. Tom and his team was professional, and efficient and the final product exceeded my expectations. I would highly recommend their services to anyone looking for a quality bathroom...
I had a massive three bedroom house to pack up and move across the state This moving company had my back though Their customer service was top notch They kept me in the loop throughout the whole process Plus they were bang on schedule All my belongings made it in one piece Kudos to these...
It has been a while since we wanted to write a review. We recently sold our house, and we believe that the remodel helped to increase its value. Aviv managed our project, and he was always available to answer our questions and address our concerns. The project was extensive, involving opening...
Roman is a breath of fresh air. He comes into your home and get everything that you need done. I highly recommend him.
Services: Plumbing pipe repair, Installation, Plumbing leak detection Critical: Professionalism, Punctuality, Responsiveness Conway repaired my frozen inside and outside pipes in January. The work was done in a timely manor, however I have not been able to get all of the documentation that I...
Highly recommend these folks! I needed to do some major remodeling in my condo - knock down walls to combine bedrooms, update kitchen and bath, and new floors. I bid with about 5 different companies and decided to go with them because they were the most organized, confident, and clear - the...
We hired this fantastic contractor to build an addition to our home. It was a pretty big project and we were very careful about hiring contractor for this work. After very detailed searching we decided to go with EverGreen Construction Group. Jimmy and his team showed up on time, Jimmy...
From average costs to expert advice, get all the answers you need to get your job done.

How much does a plumber cost in Los Angeles? Learn what impacts plumbing costs in the City of Angels and how to hire the best plumber in LA for your project.

Discover what impacts main water line repair costs in Los Angeles, such as soil conditions and permits, so you can confidently plan your project.

Replacing a water main in Los Angeles is expensive, but certainly not the nation’s highest—or even California’s. Living in the Hills or on the coast can affect the total cost.

Dealing with slow-draining sinks or a full toilet clog? Use this DIY guide on how to clear clogged drains to get your drain working again in no time at all.

Is the water pressure in your shower lacking? Here are common solutions to increase it so you can enjoy your showers again.

Clogs can keep drains backed up and build up odors in kitchens and bathrooms. Learn how to use a plumbing snake, a simple solution to clearing clogs.