

Water damage restoration costs depend on the severity of the problem, the type of water, and the length of time the damage has been occurring.
Make your ceiling look like new again

After a roof leak or a burst pipe, you may notice brown spots on the ceiling, bubbling or peeling ceiling paint, or other signs of ceiling water damage. Fixing a water-damaged ceiling is something a handy homeowner can tackle on a weekend with the right supplies and know-how. Our guide walks you through how to fix a water-damaged ceiling so it looks as good as new.
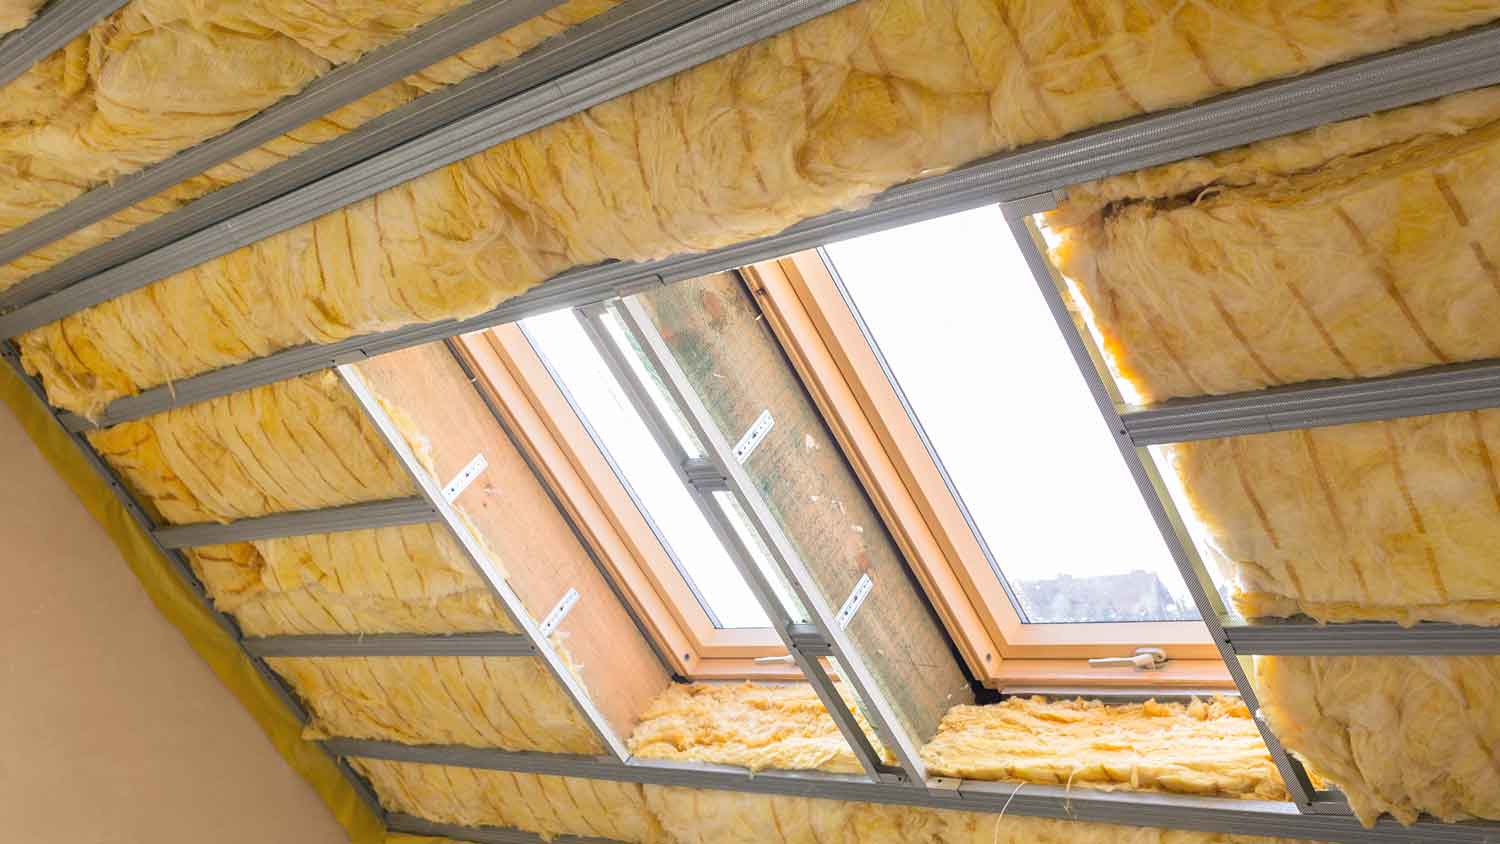
Whether you have roof damage from a storm or a leaky pipe, you’ll need to first find the source of the water damage and repair the ceiling leak before fixing your ceiling. It’s critical to stop the leak first to prevent further damage, discourage mold growth, and protect your home’s structural integrity.

Next, identify the damaged section or sections of ceiling drywall, use a utility knife to cut them out, and sand the remaining edges. Ensure you’ve removed the entire damaged section—water may be present in nearby drywall that hasn’t yet left any visible signs when you’re looking at the ceiling. Double-check that you’re left with only undamaged drywall surrounding the section you’ve removed.
(Note: the steps to repair water-damaged ceiling plaster are different, so confirm what material your ceiling is made of before getting started.)
It’s important that the area above the ceiling is fully dry before you continue, otherwise you’re sealing moisture in, which can lead to mold growth. Use fans and ample ventilation to keep air moving until the area is fully dry.
Once the area is fully dry, cut a piece of drywall to fit the section you removed. Use drywall screws to secure the new piece into the ceiling, then use drywall tape where the new drywall meets the old. Using a putty knife, apply joint compound to smooth the seam and let it dry for 24 hours or as long as recommended by the manufacturer.
When the joint compound is dry, sand it smooth. Wipe away any residue from sanding and prime the ceiling section for painting. Allow the primer to dry according to the manufacturer’s instructions, then follow with two coats of paint.
The biggest mistake homeowners make when it comes to a water-damaged ceiling is not repairing the damage fast enough. Letting water damage remain can lead to mold growth and a weakened ceiling. If the ceiling damage is extensive, it’s a good idea to call in a pro. Repairing a water-damaged ceiling costs an average of around $1,000 but can save you from a ceiling collapse and other serious damage.
Some other mistakes to avoid include:
Not letting the area fully dry before replacing drywall
Not removing all of the damaged drywall
Fixing the ceiling before fixing the source of the water damage
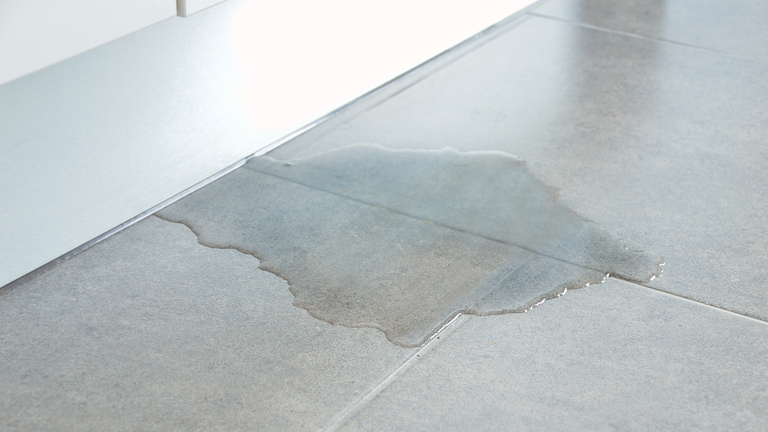
Water damage can happen in many areas, but flooring accounts for most water damage repair visits. Ceilings and roofs are the second most commonly affected area followed by walls and windows.
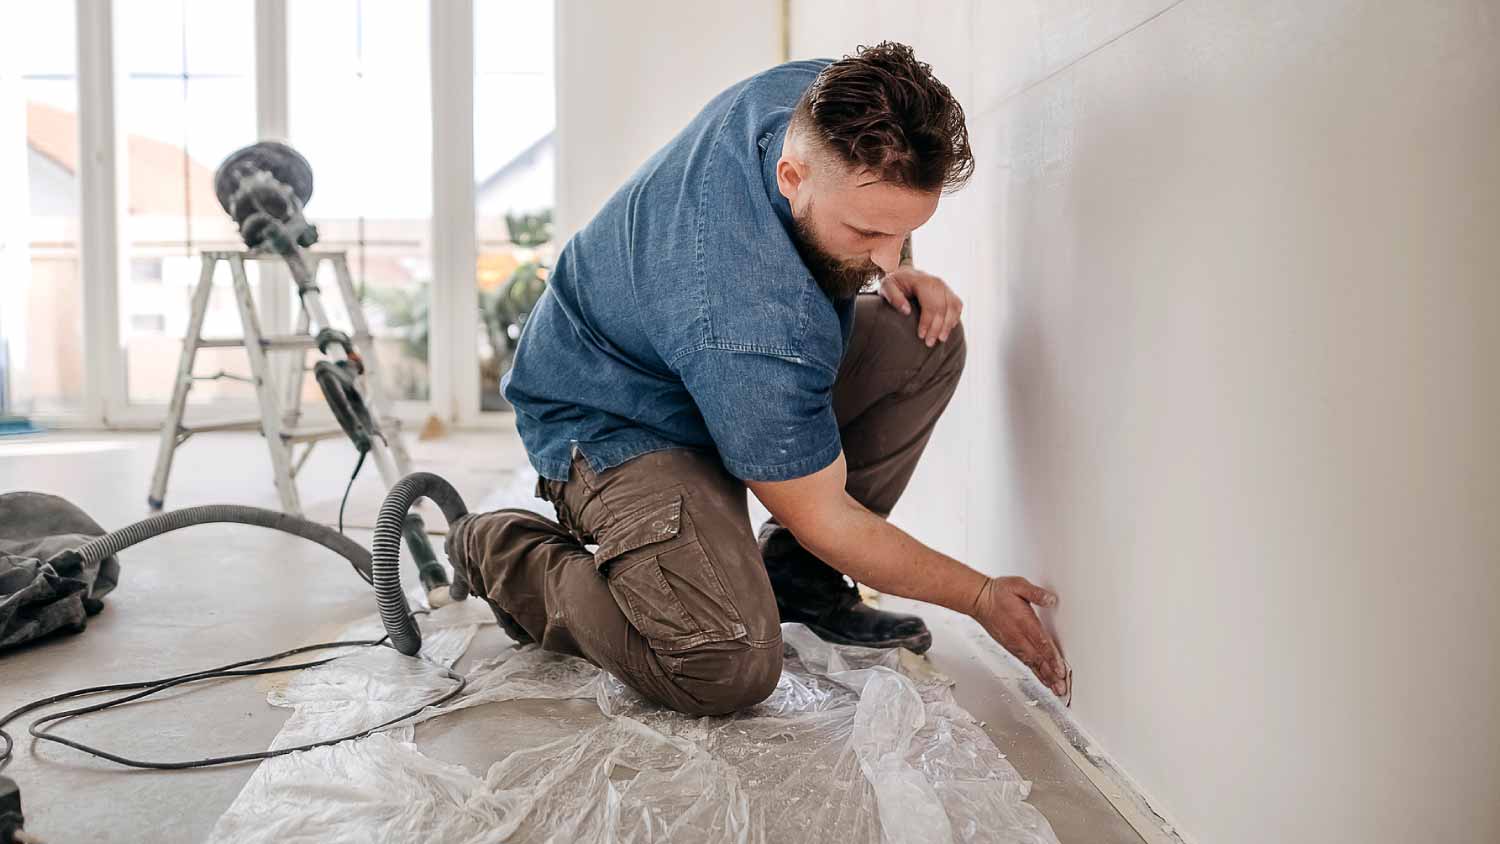
If the water damage is more extensive than a small section of ceiling, call a local water damage restoration company to assess and repair the damage. A leak can cause serious problems, so knowing who to call for water damage can help you keep your home safe and return it to its original condition.
Hire a water damage restoration pro if your home floods or the leak has been ongoing and may affect your home’s structural integrity. Water damage restoration costs depend on the severity of the problem, but it’s well worth the cost to be sure the damage is fully and properly fixed.
Positive experience. As previously stated, the replacement/repair could not be completed (no fault of the plumbing tech) b/c misinformation was rec?d by property management maintenance. Thanks to the plumbing tech for your efforts. Appreciate you!
 The Waterworks
Carpet repair done well. Scheduling was easy. Showed up on time.
As usual with ECO, tech Jordan was outstanding, very professional, very knowledgeable, and very thorough with repairs made to tankless water heaters. Very highly recommend ECO!!!
 Eco Plumbers, Electricians, and HVAC Technicians
I would recommend this company to anyone! He showed up on time, was friendly, completed a very difficult repair on our dryer vent cover, was responsive, and pricing was extremely fair and competitive. I would have him back to do any of our repairs or cleanings without hesitation!
Everything from initial contact to completion was absolutely top notch. We contacted the business during off hours to leave a message, and the owner still reached out to feel out the issue within minutes. We were scheduled and repaired within 48 hours. I cannot say enough about the...
 Supreme brick & chimney
Ace Fireplace Services came to the rescue for my chimney repair. They were quick to pinpoint the issue and worked their magic to fix it. My chimney is now in excellent shape, and I'm a satisfied customer.
 Ace Fireplace Services
On Sunday 2/26 I requested quotes via Angi from 4 refrigerator repair businesses. Northwest Appliance responded to me Monday morning (2/27) and my refrigerator was repaired by noon the same day. Great communication, they did everything they said they would. The technician had the parts on...
When we had the winter freeze, I called Quantum Waterworks Waterline & Drain Cleaning Services and within 1 hour I received an e-mail and he sent someone out the next day and he was on time, he was nice and did the job quickly and cleaned up after himself. We had a leak in our kitchen from...
On time, clean and finished fast. Windows seem sturdy and the finish is good. Caulking was done with no smudges. Would recommend.
Did a great job replacing the ice maker and water regulator on my refrigerator. He was quick and thorough, very friendly and professional. If I needed a heart transplant I'd want him to do it!!!
From average costs to expert advice, get all the answers you need to get your job done.
Water damage restoration costs depend on the severity of the problem, the type of water, and the length of time the damage has been occurring.

Read this guide to learn the step-by-step instructions and expert tips for repairing and renewing your water-damaged ceiling plaster.

Wondering who to call for a water leak in the ceiling? It depends on the source of the problem, but you’ll usually call a roofer or a plumber (and your insurance company).

When a ceiling has stains, you can follow a few steps for how to paint a water-damaged ceiling yourself—or a pro can fix the damage and paint for you, too.
Restoring water damage can be a complicated process. Use these 12 water damage restoration tips to do the job right.
Peeling paint or brown spots on your walls? You probably have water damage. Get step-by-step instructions for how to repair water-damaged drywall in this guide.