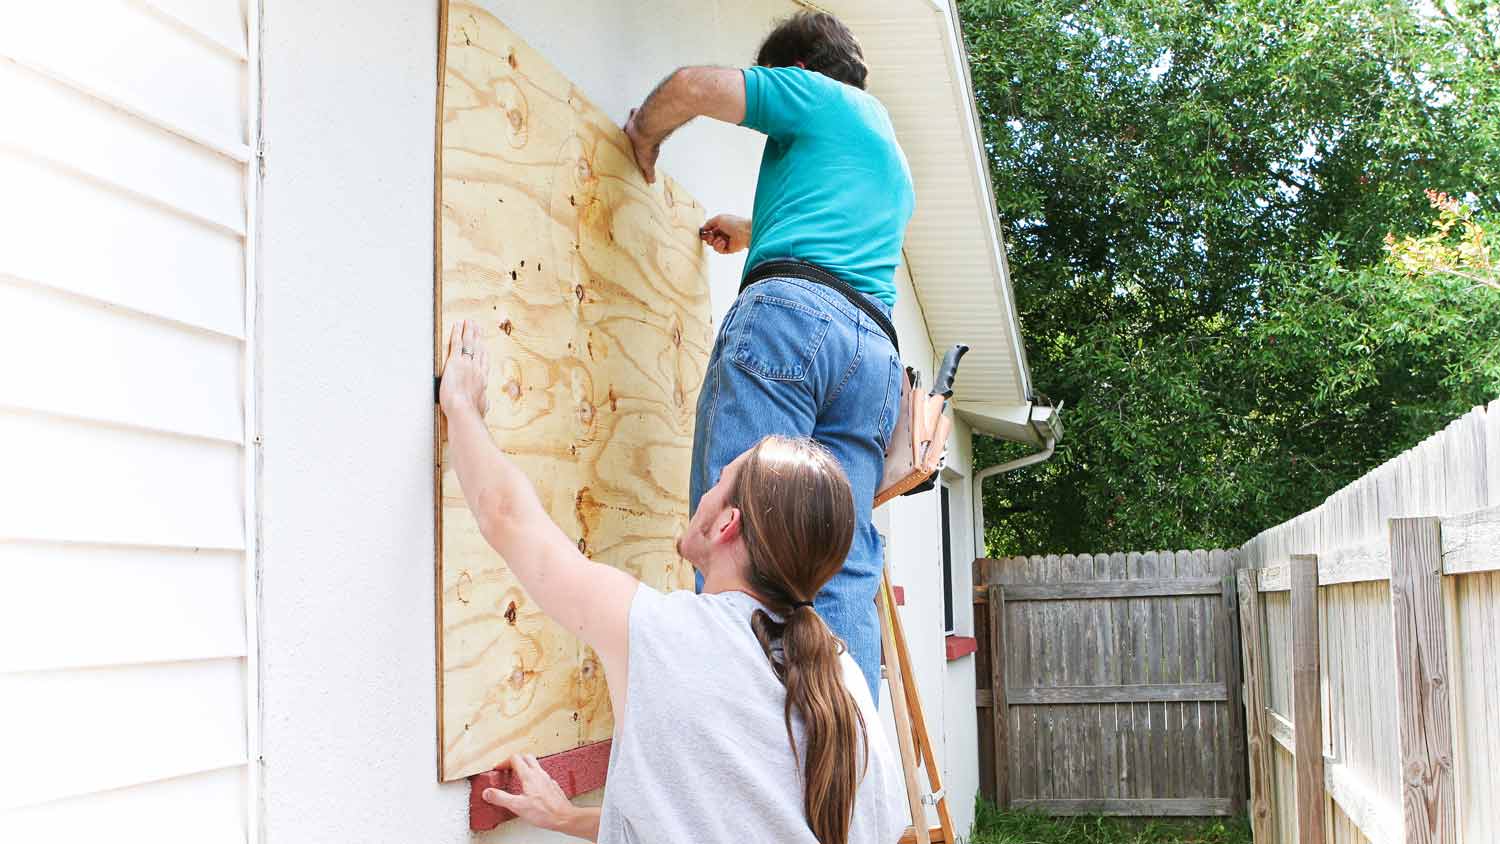
Discover storm damage repair costs, key price factors, and ways to save. Get transparent estimates to plan your home repairs with confidence.
When it comes to drilling marble, slow and steady wins the rice


If drilling into your custom, luxurious, and expensive marble surface has you feeling nauseous and overwhelmed, don’t stress. With the right tools and a steady hand, you can successfully drill through marble without breaking or cracking.
Most marble cuttings needed for a larger home renovation use a wet tile saw. However, for smaller circular cuts in your kitchen or bathroom, you'll need a drill bit to penetrate marble. Need an extra electrical outlet or room for a power cord? Here’s how to drill through marble safely.
Before drilling a hole through marble, you have to choose the right bit. These bits are easy to use with your regular drill or a hammer drill.
Similar to normal drill bits you may use for metal or wood, the diamond-tipped bit is tipped with diamond chunks. Made for dry drilling, this bit can forge holes in the hardest types of marble in seconds.
These super-strong bits are made from a compound of tungsten and carbon. They’re commonly used in industrial applications and can cut a hole through tile, concrete, masonry, and marble.
Core bits are tipped with either diamond or carbide. Core bits have a central pilot bit that holds the bit in place while the outer sections of the bit drill through marble and granite. Core bits are commonly used to make larger holes bigger than 1/2 inch.
Spade bits are weaker than regular bits and could bend under too much pressure. It's best to use this bit on soft types of marble, such as tumbled marble.
Before you start drilling, create a workspace that is free of people, clutter, and debris. Any clutter near your drilling surface may move once the drill is activated, which could cause your drill to slip.
It’s necessary to protect yourself whenever you’re doing a DIY project. Be sure to use proper protective equipment, especially when you are operating a drill. Ear protection and goggles for your eyes will help protect against any dust or debris.

Cover up the area you want to drill with masking tape. This will prevent the drill from slipping against the marble or causing scratching. Cut as close to the center of the tile as possible, as drilling near the edges increases your chances of cracking the tile while drilling down.
After marking your drilling location and choosing your drill bit, it’s time for the fun to begin. Getting started can be tricky for most people, given how smooth marble surfaces are. Use the drill bit tip to slowly scratch a small dimple on the marble surface before drilling all the way through. This spot will secure the bit and help keep the bit from skating around when you start drilling—which can be extremely dangerous.
Start slow. Place the drill bit tip in the pilot dimple and gently apply enough power to the drill. Keep the power low, and use just enough pressure to keep the bit in contact with the marble.
It will take quite some time to get through the marble, but don't rush or push on the drill too much, as this could cause the tile to crack. If the bit starts to bind, reduce pressure, and continue at a low speed until you reach your required depth.
Drilling into marble creates a lot of friction and heat that can burn out your drill bit. Use a spray bottle filled with water to keep the drill bit and hole wet and at a safe temperature. You could also dip the bit into water periodically. However, water will create a lot of thick white watery liquid, so make sure to have a towel handy to protect the surroundings.
Once you’ve drilled all the way through the marble, slowly move the drill out of the hole and away from your surface.
If using a high-pressured drill bit on your precious marble surface worries you, an experienced stone or countertop professional might be your best bet for this particular job—rather than a general contractor or handyman.
From average costs to expert advice, get all the answers you need to get your job done.

Discover storm damage repair costs, key price factors, and ways to save. Get transparent estimates to plan your home repairs with confidence.

Brick walls can add character and elegance to interior and exterior spaces. Use this brick wall cost guide to see the price range for adding one to your home.

Use our guide to calculate the cost to install a stair lift in your home. Prices depend on the type of stair lift, including the seat style and other advanced features.

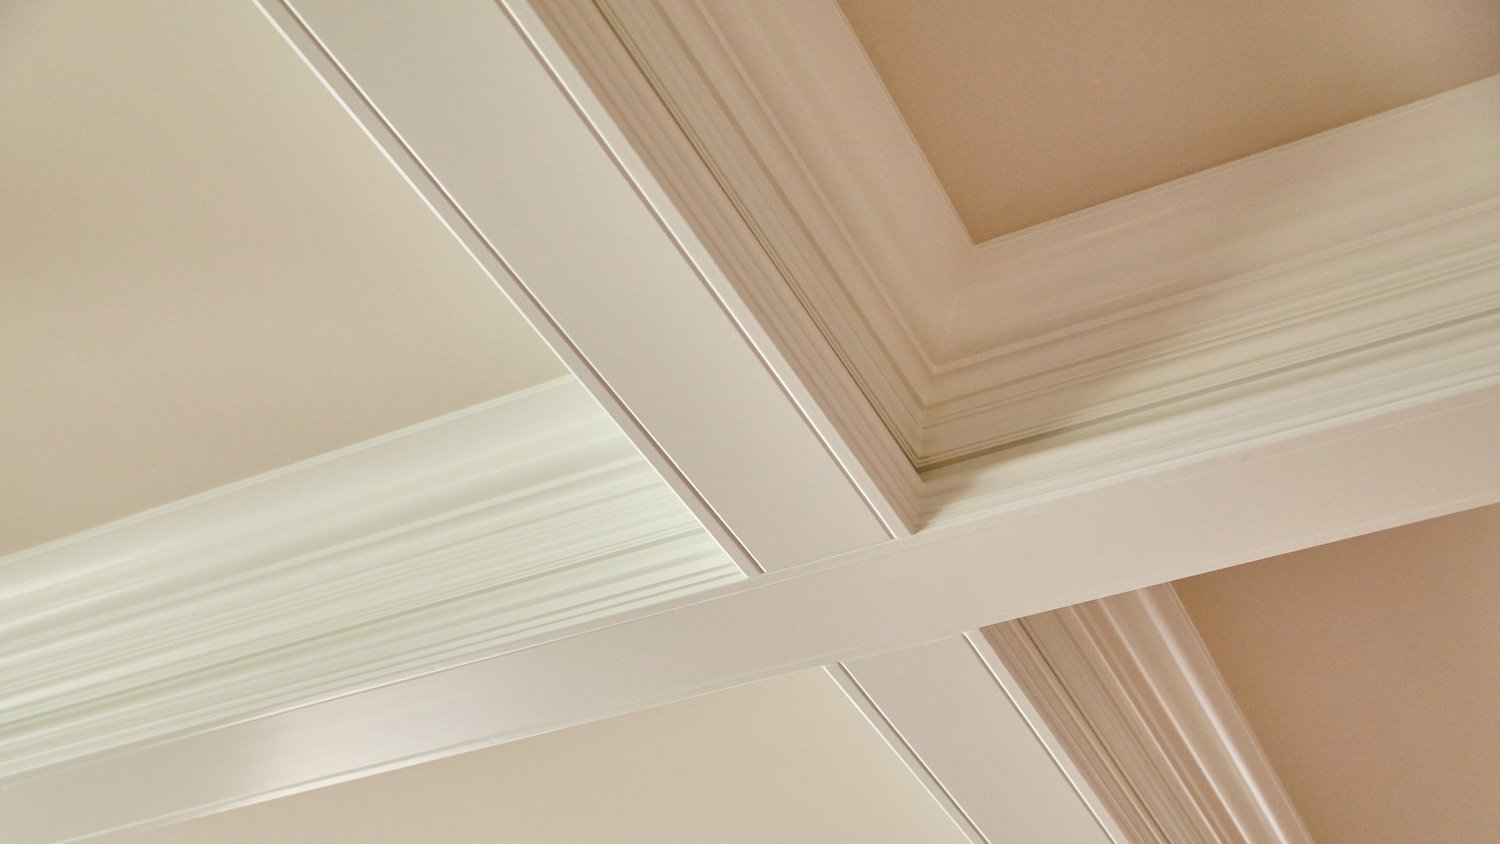
Not sure what the difference is between coffered and tray ceilings? Learn the key distinctions in design, cost, and benefits to decide which ceiling style is best for your home.

Many homeowners are unsure about tipping contractors, and if so, how much. This quick guide will help you understand whether you should tip.

A textured, or “popcorn”, ceiling was once a popular home feature. Read on to learn about what a popcorn ceiling is and why it has mostly gone out of fashion.