
How much does a glass garage door cost? The size, type of glass, and frame material will all impact what you pay.
Frustrated by a faulty garage door opener? Here are seven common problems—and how to fix them


It’s such a satisfying feeling when your garage door dutifully rolls itself open to unleash you out onto the world—and such a singular kind of frustration when it won’t. One sheet of steel and aluminum is all that stands between you and adventure, but there are lots of different reasons it might be refusing to budge.
The first step to freedom? Figuring out the problem. Here are seven common reasons your garage door may not be working, each followed with ways to troubleshoot your garage door opener so you can get moving again.
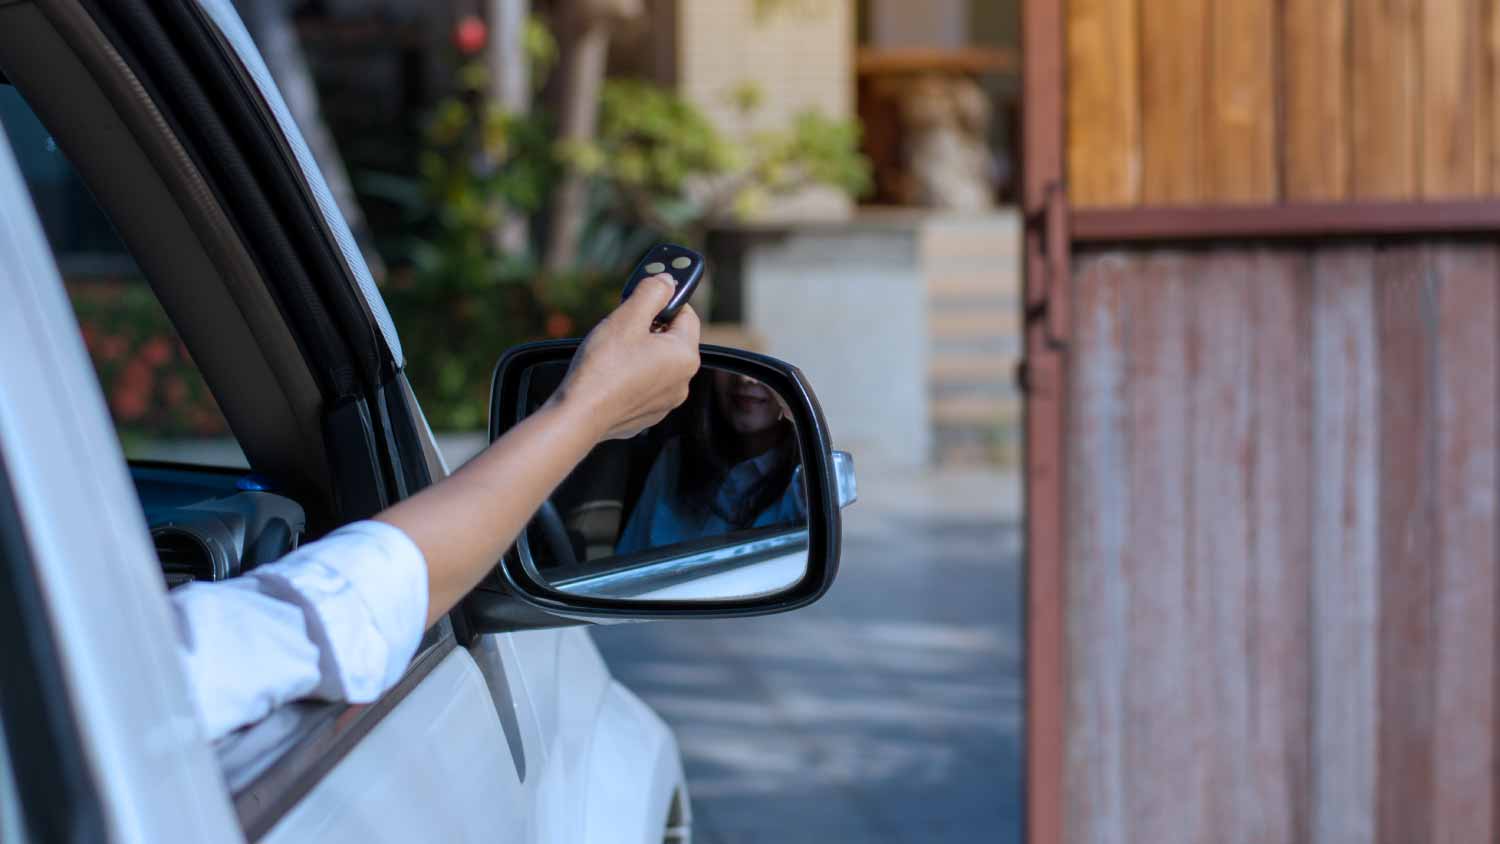
Many of us first realize our garage door isn’t opening when we’re clicking the remote we keep in our car. There are several reasons your remote may not be working.
First things first: is your garage door locked? If the door is locked, the remote won’t work, and even if you didn’t lock it, someone else in your household might have.
Check that the garage door opener’s motor is plugged in and connected to power. Usually, your motor will be plugged into a ceiling-mounted outlet, so look up.
Now that we’ve gotten the most basic fixes out of the way, double check the remote batteries. You can do this by taking them out of the remote and inserting them into another battery-operated device you know is working to test them—or simply by replacing the garage remote batteries and seeing if it now works.
If neither of these solutions has worked, the remote itself may still be the problem—which means it could require reprogramming your garage opener, or that it’s simply time for the remote to be replaced. To reprogram your remote, consult your garage door opener owner’s manual.
Maybe you’ve noticed instead that your garage door opener wall switch isn’t working. There are a few different ways to troubleshoot this problem, too.
Once again, double-check that your garage door isn’t locked or unplugged—and that the wall switch itself, if it is battery powered, has new batteries.
If all those tests pass, your problem may be with the switch itself, or its wiring. To see which, you’ll need to take the switch off the wall using a screwdriver. See that the wires are still well insulated, and if they are—while gripping the insulated parts of the wires—touch the live ends of the wiring coming from the switch to the wiring coming from the wall. If your garage door now works, you may need to replace the switch itself. If it doesn’t, the wiring may need to be reworked.
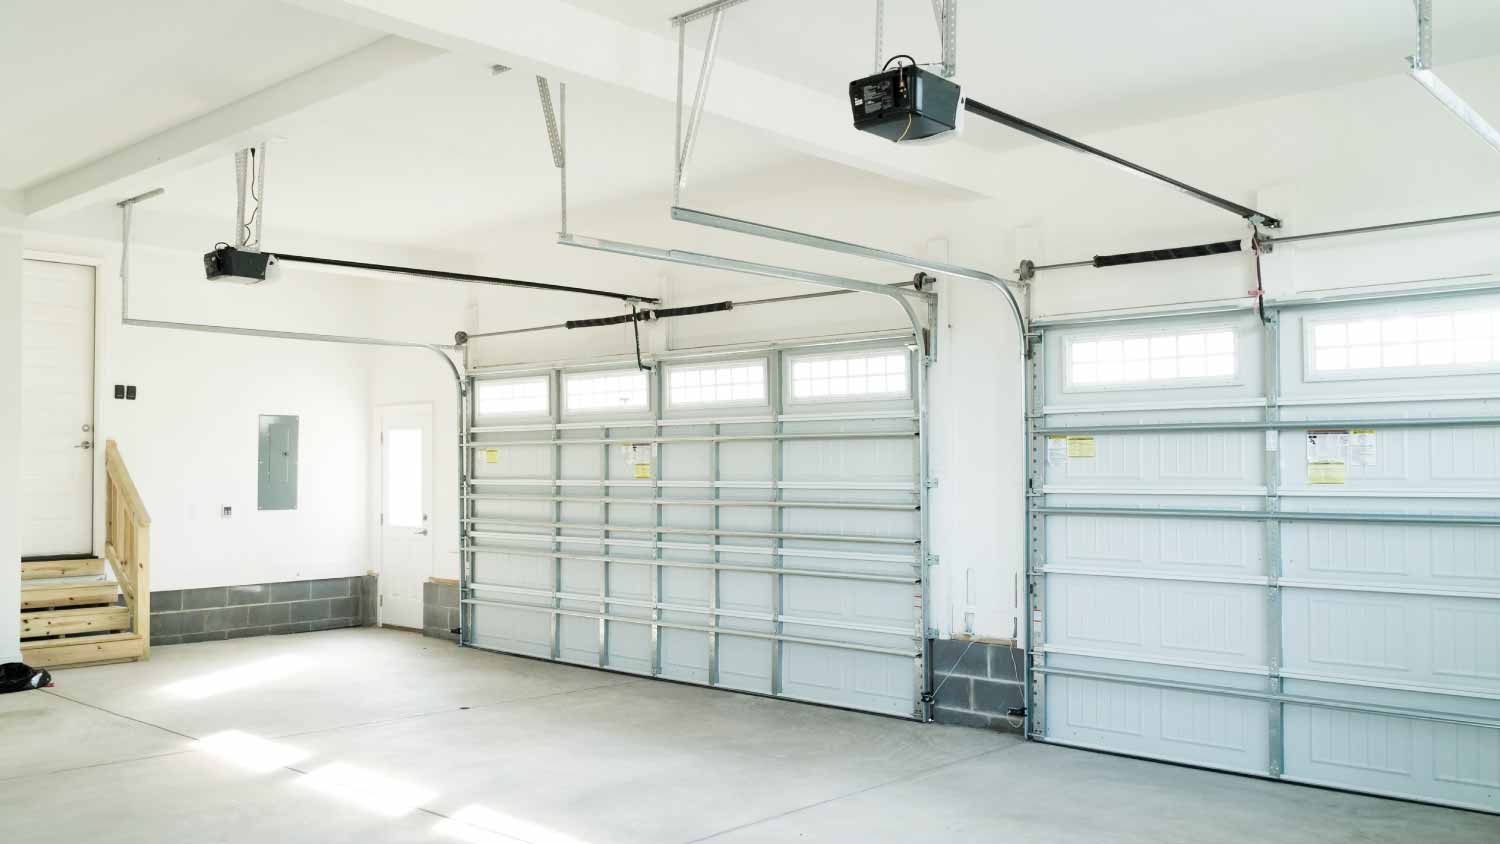
Sometimes, no matter which way you try, the garage opener simply won’t power on. Here are some ways to troubleshoot your garage door opener under those circumstances.
You guessed it: First, double-check that your garage door isn’t locked or unplugged.
To ensure that the problem isn’t the power supply, you may need to try to plug your garage door opener into a different outlet. If there’s not another outlet close enough, use an extension cord from an outlet you know is working to test and see if the problem comes down to power. If it does, you may need to do some rewiring in the ceiling outlet—or simply use this extension cord solution.
If the garage opener won’t power on even with a live outlet, the motor may have worn out or the device is otherwise defective. If your garage door opener is fairly new, it’s worth reaching out to the manufacturer to see if you can claim a warranty or initiate a return or exchange process.
If the trolley carriage—the portion of your garage door opener that does the opening—is moving, but the garage door won’t open, it’s very likely the trolley needs to be replaced. If you have some handyperson know-how, this could be a DIY fix, but it might also be a good time to call a garage door pro for help.
The good news? Replacing a part generally costs a lot less than replacing the whole garage door opener system: depending on your model, you can expect to pay between $20 and $50.
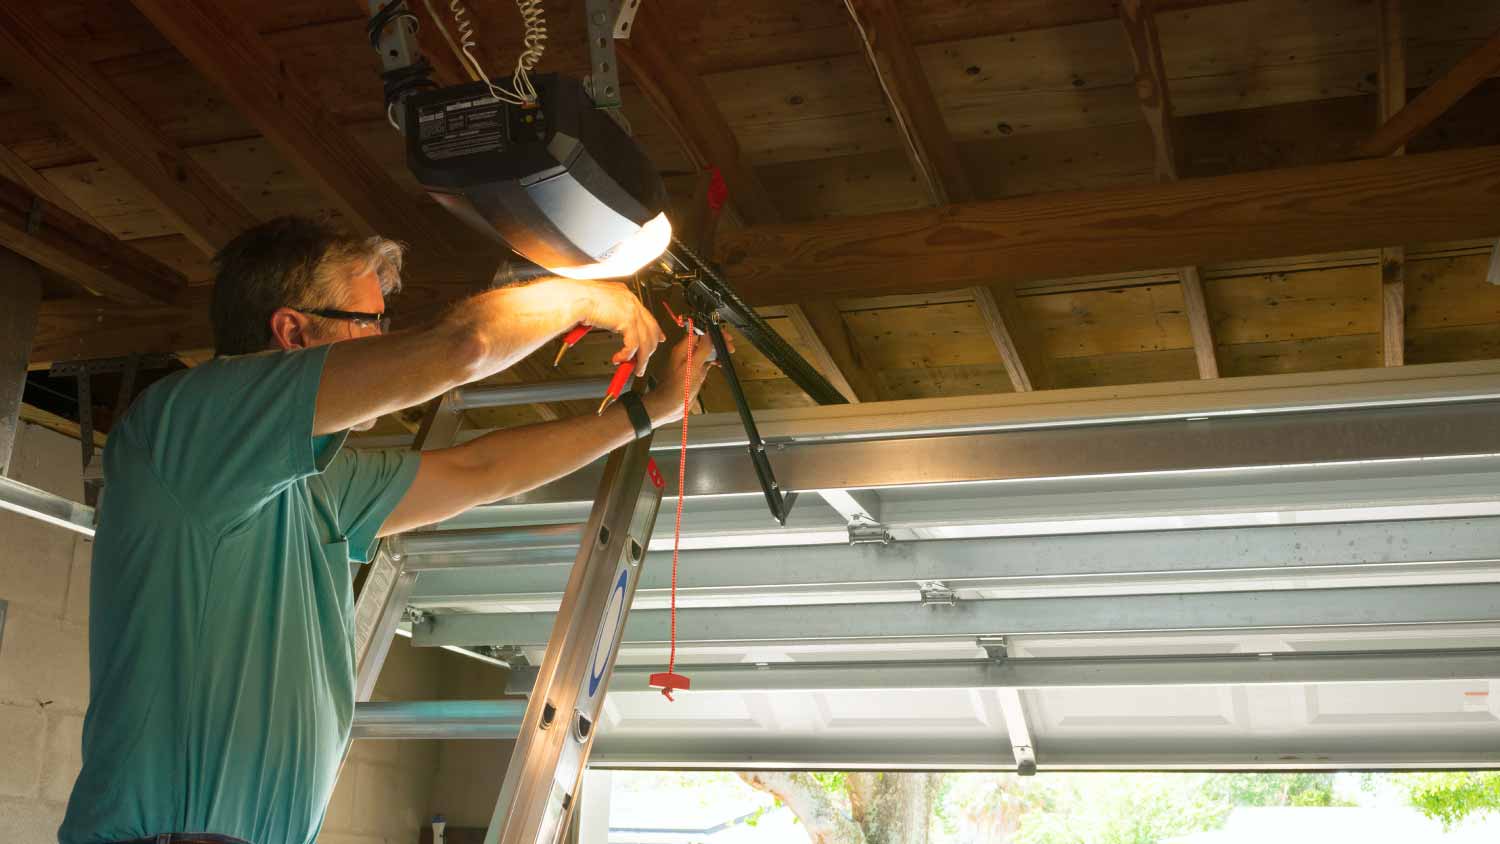
Maybe your garage door opener is working—but stops short of opening the garage door all the way up. And unfortunately, unlike in a game of horseshoes, “almost” doesn’t count when it comes to getting out of (or into) your garage. Here are some items to double-check.
Your garage door chain might be loose. Fortunately, this is a DIY fix as easy as finding and tightening the right bolt.
If you check your chain and see it’s nice and tight, your limits might be off. The garage door limits are the mechanism that ensures the door stops in the correct position when it opens and closes, and it can be adjusted if you’re willing to open the motor and find the right screw. (We’ve said it before and we’ll say it again: Consult your owner’s manual.) If you’re not ready to get that friendly with your equipment, no problem—for a professional, it should be a simple process.
Did you know that your garage has eyes? Photo-eyes, that is: sensors that use a projected beam of light to ensure that nothing’s in the way of the closing door. These sensors are a safety feature that signals the motor to immediately stop running if there’s an obstacle—like a wheelbarrow or your little nephew. If your door is opening or closing only partially, your photo-eye sensors may need to be cleaned, or realigned to ensure they’re directly facing each other.
If your garage door won’t close—or closes only partially—there are a few suspects to track down.
Just like when your garage door won’t open all the way, the problem might have to do with the photo eye sensor or the limits. If you skipped item #5 on this list, scroll back up to read more about how to troubleshoot these issues.
Another problem that might cause your garage door to stop short of closing fully: damaged rollers. These are the metal parts that help the door to roll down. Because they’re metal, they can sometimes rust or otherwise wear out. You may be able to bring them back to life with some lithium- or silicone-based lubricant designed to work with these components, but in some instances, they may be ready for replacement.
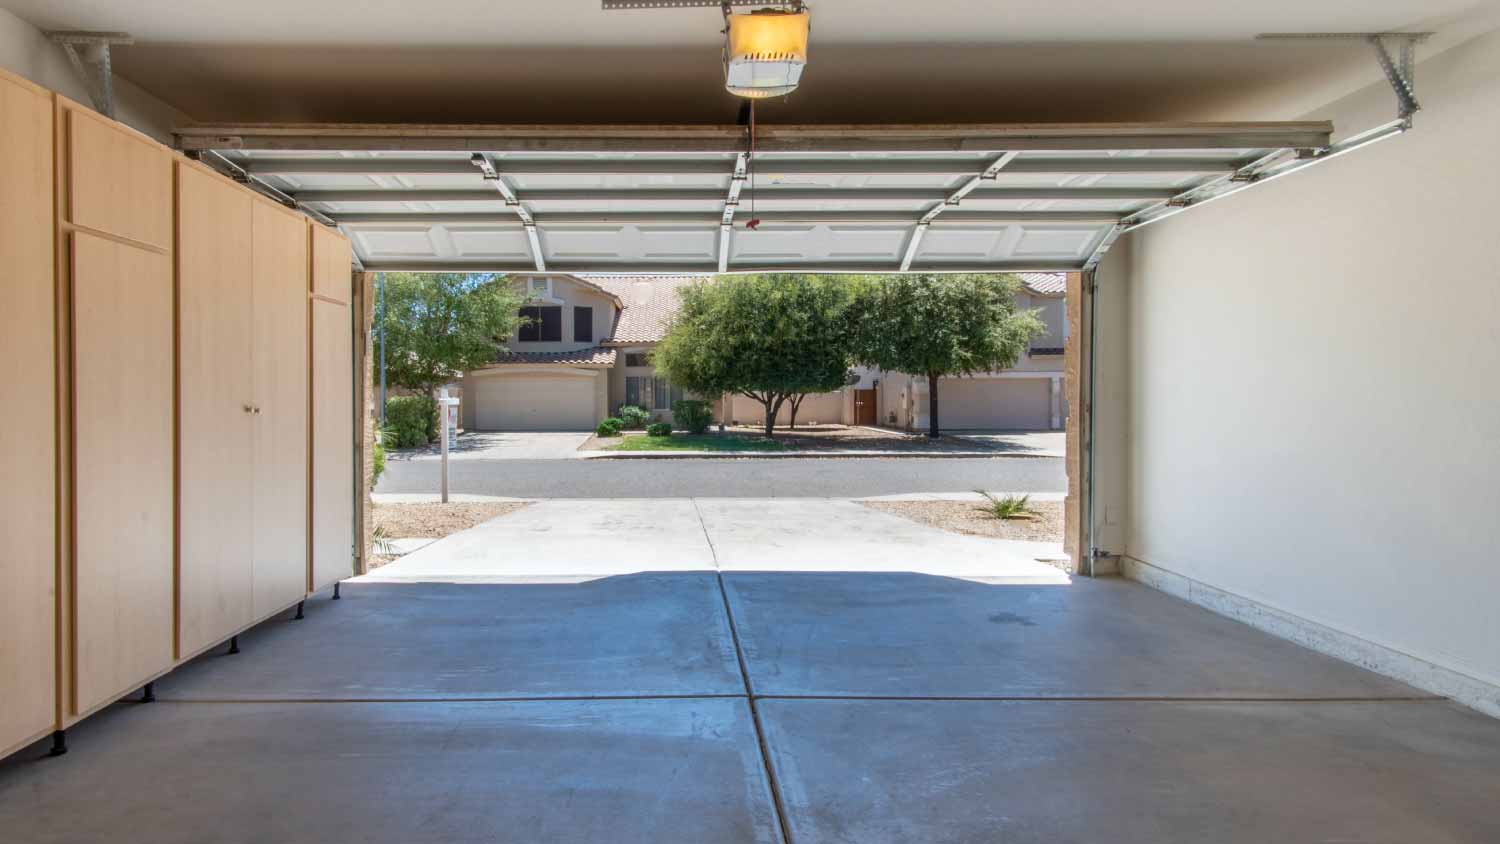
If there’s one sound you pretty much never want to hear in your home, it’s grinding. If you hear such a sound coming from your garage door opener, it very likely means it’s time to replace the main drive gear.
The main drive gear is a plastic gear that, unfortunately, is one of the most common failure points for garage door openers. Removing the old gear and installing a new one does involve breaking down the entire garage door opener motor, which is probably the most advanced fix on this list, but still DIY-able for someone with a bit of know-how. Fortunately, the gear itself is really cheap to replace: they can commonly be found for less than $10.
If you’ve come this far and you haven’t had any luck troubleshooting your garage door opener, chances are you’ll need to contact a garage door opener repair service in your area.
Along with fixing the garage door opener itself, a professional can guide you through other projects like adjusting your garage door springs, insulating your garage doors (hello new home office!), or explain the cost of replacing your garage door altogether. The sky’s the limit! Except for your garage door itself—that’s what its limit adjustment screw is for.
From average costs to expert advice, get all the answers you need to get your job done.

How much does a glass garage door cost? The size, type of glass, and frame material will all impact what you pay.
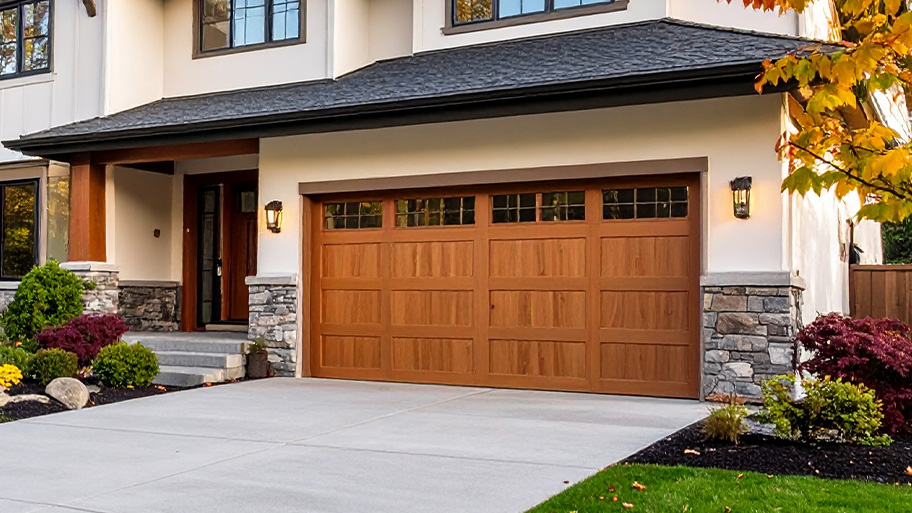
Replacing a garage door is necessary to add security and value to your home. Learn how each door type affects the total cost of this project.

Replacing a garage door is necessary to add security and value to your home. Learn how each door type affects the total cost of this project in Columbus, OH.

Not sure who to call to install a garage door opener? The right person for the job is someone with experience in all garage door-related areas.
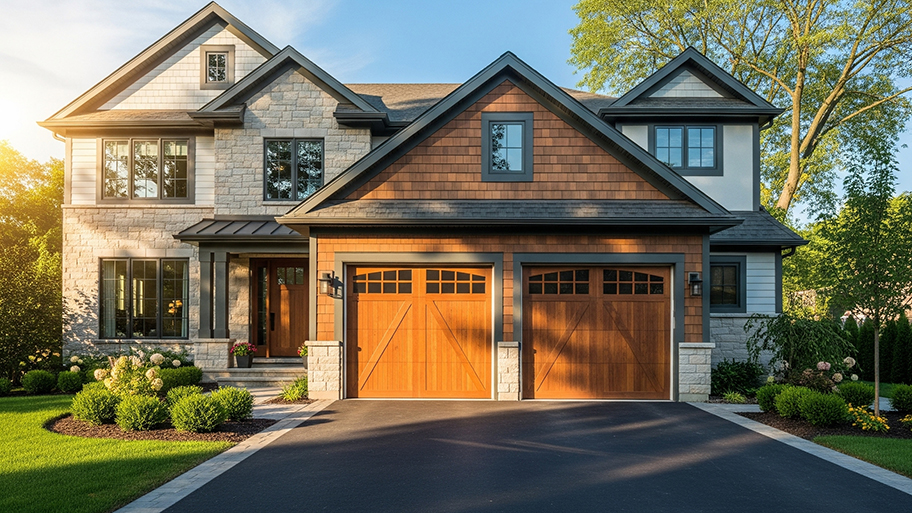
Use this guide to standard garage door sizes to pick out the right door for your new construction or garage renovation.

If you want to install or replace your garage door, your contractor will need some information first. These garage door questions will get you started.