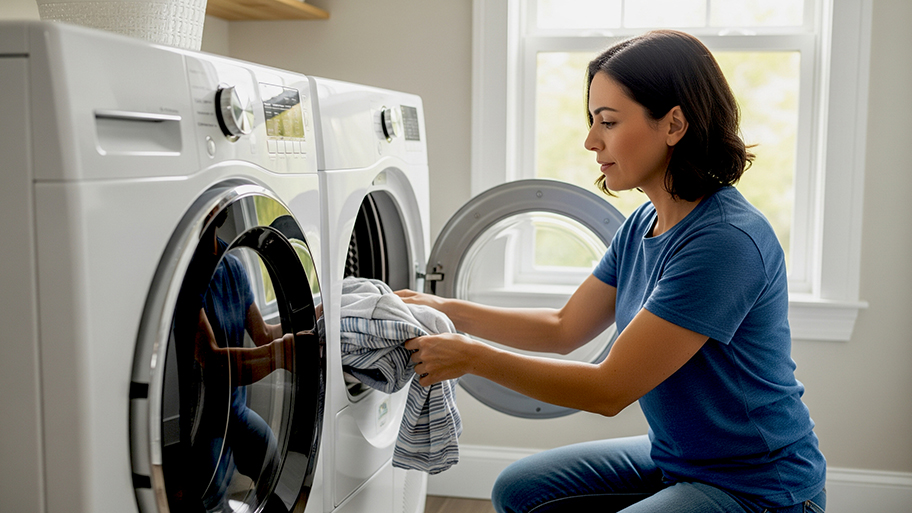
Replacing a dryer belt costs more than just the part unless you can DIY it. The labor cost can easily surpass 90% of the product cost, so if you are handy with tools, try it yourself first.
Please, just read the manual, okay?


Upgrading your appliances is an exciting event. The installation, though? It’s a whole different ball game when your starting lineup consists of plugs, cords, hoses, and outlets. And why are there always too many screws in the box? With the right tools and knowledge, installing an appliance can be simple—fun, even. Here are some tips to help you get a DIY appliance installation right the first time.
Stop! Before you buy any appliance, measure. Then measure again. If you feel like measuring a third time, we won’t judge. The perfect appliance is one that fits where you need it (including when the door swings open). Refrigerators, for example, should have room to open to at least a 135-degree angle to access the drawers or change the water filter. If you’re buying online, review the product specs, and if you’re going to the store, bring them with you.
You may want to shove it in a drawer with all the other manuals, but give it a look-through before you send it off to the island of lost things. The manual is your installation lifeline, and reading it will ensure you don’t void any warranties. Improper installation—even missing one small detail—can completely void some manufacturer warranties.
Doors might be the most finicky aspect of a DIY install. Measure your home doorways and hallways to confirm that you can maneuver the appliance through your home to its final location. You may need to take the doors off of an appliance (like a refrigerator) to get it into the kitchen, and it’s best to know this before strapping it onto the dolly.

If your appliance requires tools for the installation, make a list of what you need beforehand, such as new plugs, pipes, or vents. You’ll almost certainly want to grab a level, wrenches, screwdrivers, a tape measure, and a hammer. The instruction manual for your new appliance is a good place to find what tools you’ll need, and some companies have this information listed on their websites.
Most newer electric appliances are energy-rated for efficiency, which means they’ll actually require a lower wattage. Most (but not all) appliances will not need any new circuits, but check the wattage rating on your new appliance just to be sure. If you do need a new circuit, the best thing to do is consult an electrician near you to install the right circuit for your needs.
Before installing any appliance, turn off the utilities related to your project, whether it’s the gas, water, or electric. Once you’re confident that your appliance is connected properly, you can turn the power source or water back on.
Leveling your appliance isn’t just for convenience, it’s for function. An unlevel washing machine, for example, can leak and cause water damage. Dishwashers and refrigerators have adjustable legs to help level them even on uneven ground. Use an air-bubble level to get your appliances positioned correctly.
When swapping out an old appliance for a new one, it’s a good idea to have a plan in mind for the old one. If you’re having your new appliance delivered, some stores offer a takeaway service as part of the cost of the new appliance or for a fee. Your trash service might offer curbside pickup if you arrange for it ahead of time. Do your research early so you’re not stuck cramming multiple machines into the corner of your garage.
Though DIY-ing projects can be very gratifying, there is no shame in calling in a professional—especially if there’s an issue of safety. Many appliances are in place for a long time before they’re moved, so they can mask a broken baseboard, water damage, or even a broken electrical or gas line that needs professional repair. If the installation starts to feel overwhelming, it’s okay to stop and call in the experts. A local handyperson can get you back on track.
From average costs to expert advice, get all the answers you need to get your job done.

Replacing a dryer belt costs more than just the part unless you can DIY it. The labor cost can easily surpass 90% of the product cost, so if you are handy with tools, try it yourself first.

Whether or not the cost of installing a pot filler is worth it depends on your kitchen needs. Learn why the faucet itself is often the least expensive factor.

Get a clear estimate for stove repair costs. Learn what impacts pricing, compare repair vs. replacement, and find tips to save on your next stove repair.

Ready to upgrade your kitchen with a new stove? Review the pros and cons of these common types of stoves to find the right one for your cooking needs.

Calibrating your oven is usually a simple task you can do in less than an hour. Read here to learn how, no matter what type of oven you have.

Whether a small or deep scratch, follow these simple steps to remove scratches from stainless steel to keep your appliances shining.