
Forget the spa. Steam showers bring the luxury right into your home. This guide will help you budget steam shower costs—no matter the specs.
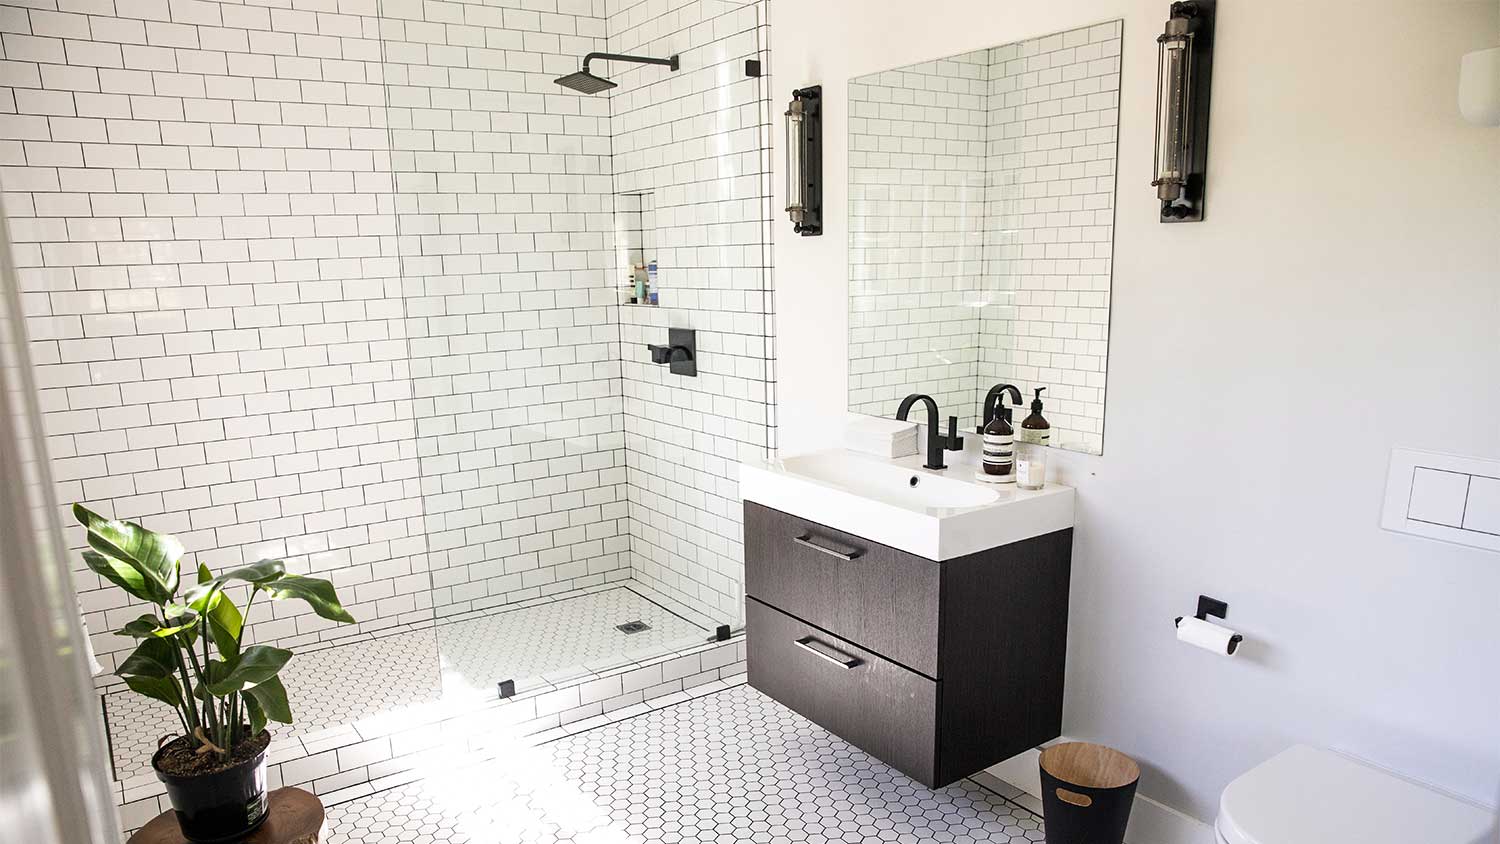
Suds up in spa-like luxury with a bespoke design

After a long, stressful day, nothing beats stepping into a shower that is made literally for you. But shower building isn’t a task for a remodeling rookie, and it gets even trickier when you want to ditch the kits and go with a bespoke design. Understanding how to build a custom shower will help you plan your project precisely to bring your spa-like dreams to life.
Are you squeezing your custom shower into an awkward space, or do you want a luxurious walk-in setup? Before you buy your tools, supplies, and materials to start the build, plan the layout and decide on the design. Then there’s the practical prep work. Are you moving drainage and pipework or making structural changes? You might need to apply for a building permit and hire a licensed plumber and electrician to handle the difficult, non-DIY parts of the project.
You’ll also need to rip out the old shower or tub and remove the tiles and drywall to give you a blank canvas to build your new custom shower. Factor in the cost to hire a dumpster or put in place alternative plans to ditch the debris safely, and don’t forget to turn off the water supply before getting stuck in with the installation.

When you don’t want the expense and hassle of hiring plumbers or electricians, plan your custom shower setup to use the existing pipework and electrical. However, the current pipework must still connect the shower drain to the drainage pipe.
When and how you do this depends on whether you incorporate a shower pan or a tiled floor. Often, you do part of the assembly before fitting the shower base or floor tiles and complete the job once the tiles or pan are in place. Follow the manufacturer’s instructions for the drain assembly kit you select.
Lopsided shower base levels can cause drainage issues, pooling water, mold buildup, and leaks. If you're using a shower pan, improper levels cause instability that can result in cracks. You might need to use shims—roofing felt works wonderfully—or add a layer of mortar to level a shower pan.

Applying a waterproof sheet or liquid membrane to the subfloors helps to prevent damage if the shower pan, base, or surrounding seals spring a leak. It also pays to apply a waterproof membrane to the walls and any wooden framing and cement board panels.
Apply the shower waterproofing generously a few feet outside the shower area to prevent damage from splashes or overflows.

Installing a shower pan is more straightforward than building a walk-in shower base. However, a tiled concrete mortar base often looks more stylish and streamlined than a prefabricated acrylic or fiberglass pan.
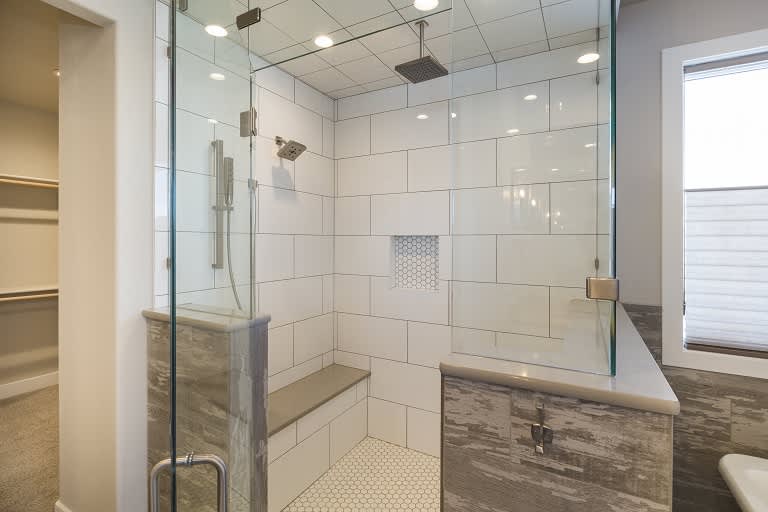
If you opt for a custom base, you’ll need to decide if you want a curb or curbless design. A curb design uses a barrier to keep the water in the shower area, and it’s easier to install. Curbless showers allow you to ditch the door, creating a feeling of openness. However, the design requires the shower base to be lower than the rest of the bathroom floor, with a slope of 1/4 inch per foot to 1/2 inch per foot (2% to 4%) toward the drain.
The framing of your custom shower will depend on the design, shape, and materials you select. Sometimes waterproof fiber cement boards need to be screwed to the stud framing. Space the studs to accommodate your faucet and showerhead, and use additional horizontal bracing to secure these fittings.

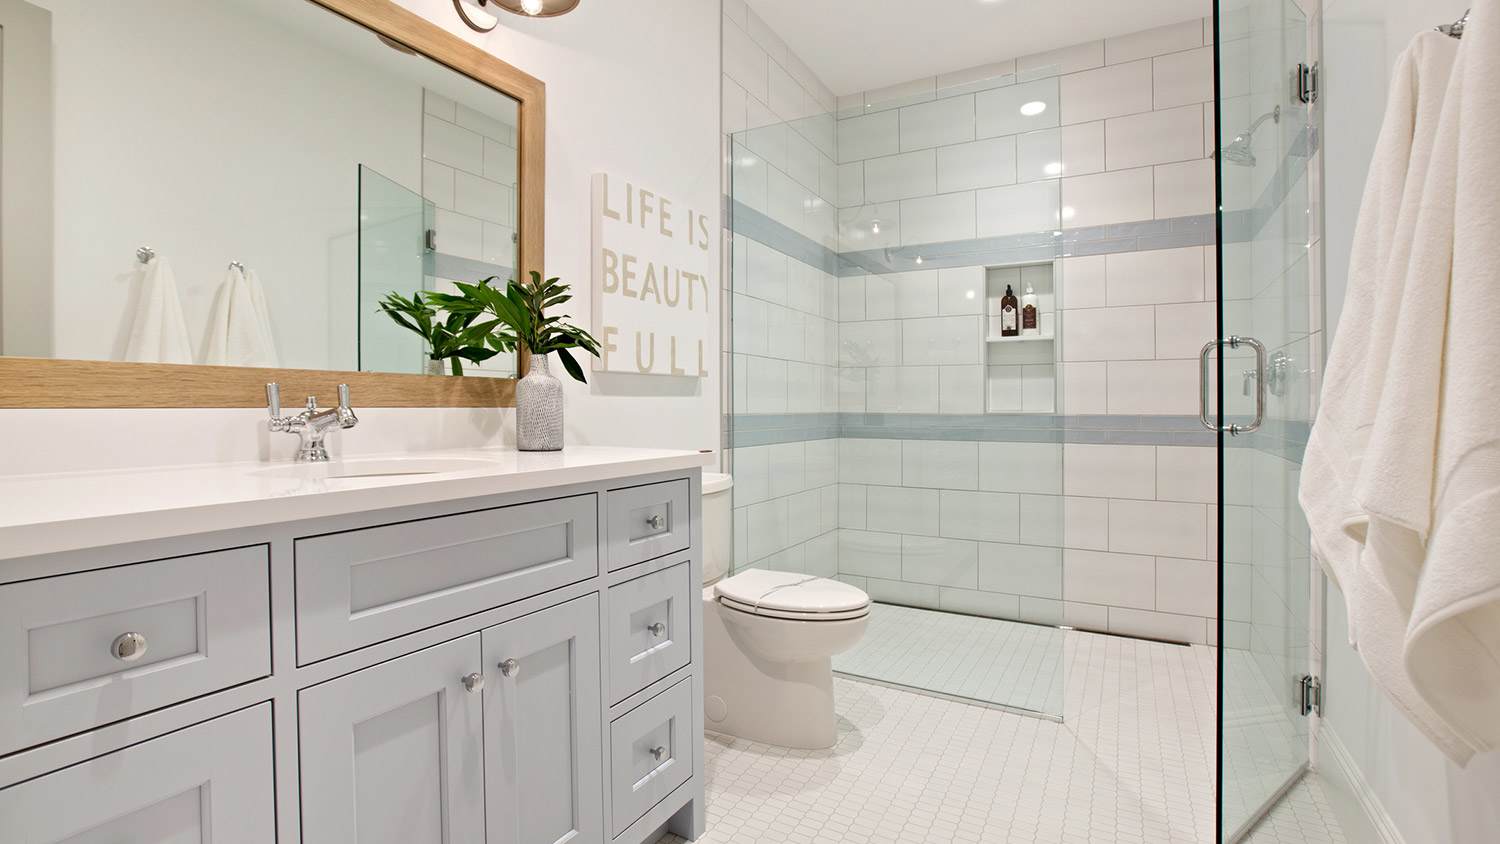
When planning your shower tile installation, consider size and material, and test the layout before setting them with adhesive. Large tiles can make a small bathroom seem bigger, but they’re more challenging to cut and fit. Ceramic is often considered the best tile type for bathroom floors, but stone and porcelain are popular alternatives.
Laying tiles involves prepping and spreading mortar, setting the tiles using tile spacers, filling the joints with grout, and sealing once the grout sets.

Now’s the time to fit the showerhead, faucet, and shelves. The beauty of building a custom shower is that you can get creative with design and fixtures. There’s a wide range of showerheads to choose from, including smart models, rain showers, and water-conserving low-flow models.

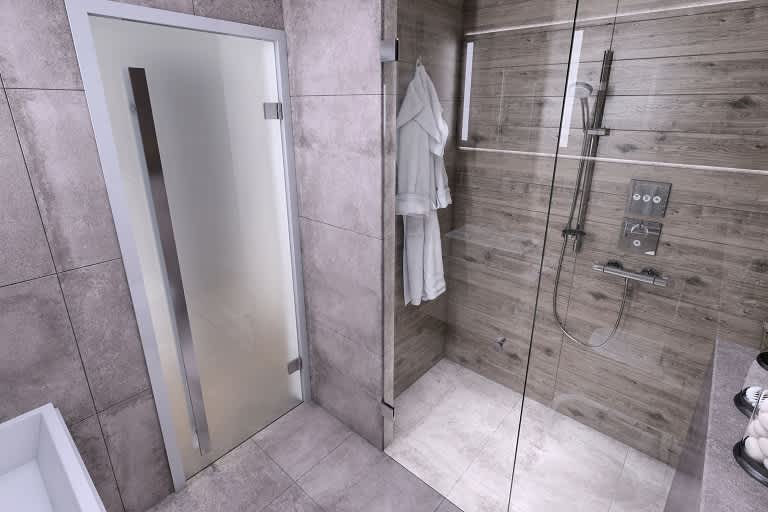
If you haven’t gone for a doorless custom shower, now’s the time to add one. The manufacturer’s installation instructions depend on the type of shower door you select. Most shower door installations involve cutting the interlocking jamb pieces to size, affixing them to the shower stall and door, and installing a base track and seal at the base of the door.
Building a custom shower isn’t an easy feat, but it’s possible with the right planning and skills. Part of prepping for the job should include learning about the common mistakes that you need to avoid. Here are the main ones to look out for:
Improper drainage: Your shower must have a sufficient slope toward the drain, or you’ll have standing water, which can cause flooding.
Not waterproofing: While there are showers that boast easy installation directly onto studs, you should still waterproof behind them to avoid mold growth.
Wrong tile type: Depending on your shower design, choosing the right tile is key to easy cleaning and a long-lasting shower tile installation.
Not enough ventilation: Installing a bathroom fan that’s not powerful enough for your space can quickly lead to mold and mildew buildup.
Low-quality fixtures: If you’re looking for long-lasting fixtures, avoid the least expensive ones on the market with plastic parts. You don’t have to go upscale, but look for midrange options.

The average cost to remodel a shower is $7,000. You can save big by taking on this task yourself, but it isn’t a project for DIY novices. It’s even more challenging when you opt for a custom design rather than assembling a prefabricated kit. Unless you’re used to working on big home remodeling projects, it might be better to leave the job to a professional shower installer near you.
Poor plumbing, tiling, and fixture installation can lead to costly mistakes, such as mold and mildew problems, leaks, and structural damage. Even if you are confident enough to build the shower, hiring a licensed local plumber or electrician is essential if the project involves changes to the plumbing or electrical.
Simple plumbing DIYs like unclogging a drain are perfect for homeowners, but taking on a major plumbing project has risks. An incorrect installation could lead to leaks and extensive damage to your home. With your safety and wallet in mind, consider hiring a licensed plumber to take on complex jobs.
Jason has helped me with multiple household projects, with the most recent being new door installation. He has always showed up on time and organized and has done an incredible job! Jason is very professional and he's now my go-to for anything around my house that needs to be fixed or...
Cole has been handling plumbing and general contracting for our four properties over the past three years, and he’s always done a great job. Most recently, he installed a sink and countertop in our retail store where none existed before, and it turned out exactly how we needed. He’s...
 ANB Renovations LLC
1st Choice Renew is simply the best! We hired them for a complete home renovation, and they transformed our space into something truly amazing. The team attention to detail and commitment to quality were evident throughout the project. They were easy to work with, very responsive, and always...
This company went above and beyond with their work, chimney sweeps are usually pretty messy, but the clean up was spot on.!! Josh explained every thing that he was doing, and the things that he was checking to make sure the chimney was safe for me and my family. He was very professional,...
 Supreme brick & chimney
Custom Paint Jobs LLC turned our outdated bathroom into a modern masterpiece.
Excellent customer service and knowledge. I was recommend to him from my neighbour. My front door and window came in great and were installed beautifully perfectly, I m very satisfied with their excellent work, so decided to order one more big bow window for my living room. I cant wait for...
If I could give 10 stars for Kitchen Tune Up, I would. I cannot say enough good things about my experience with Kitchen Tune Up and the entire team involved in the process of my kitchen project. They went above and beyond as far as service and quality with my cabinets, paint, countertops, and...
It was wonderful working with Yordy and his team. They were very professional and are experts in what they do. They have completed the work on time, with better quality and with in fairly reasonable price. We just started with backsplash work , but liking his work, we went on to provide...
We were having 2”x 2” tile installed . There was a small installation error and the new additional replacement tile was from a different lot and the colors didn’t match. Joe assured us that he would rectify everything , which he did without hesitation. We decided to go with the 18” x 36” tile...
 CarifaTile
They work that 360 did on my kitchen cabinets is nothing short of amazing. I still cannot believe the difference from before and after. Jon and Jeff were both so incredibly professional throughout the whole process and their communications with me were constant and consistent. These guys...
 360 Painting Columbus
From average costs to expert advice, get all the answers you need to get your job done.
Forget the spa. Steam showers bring the luxury right into your home. This guide will help you budget steam shower costs—no matter the specs.
Shower installation costs depend on size, style, and materials. No matter the budget, this guide can help you plan your project and even save a few bucks.
Various factors affect the total tub-to-shower conversion cost, including the size of the area, type of shower, materials, and labor fees.
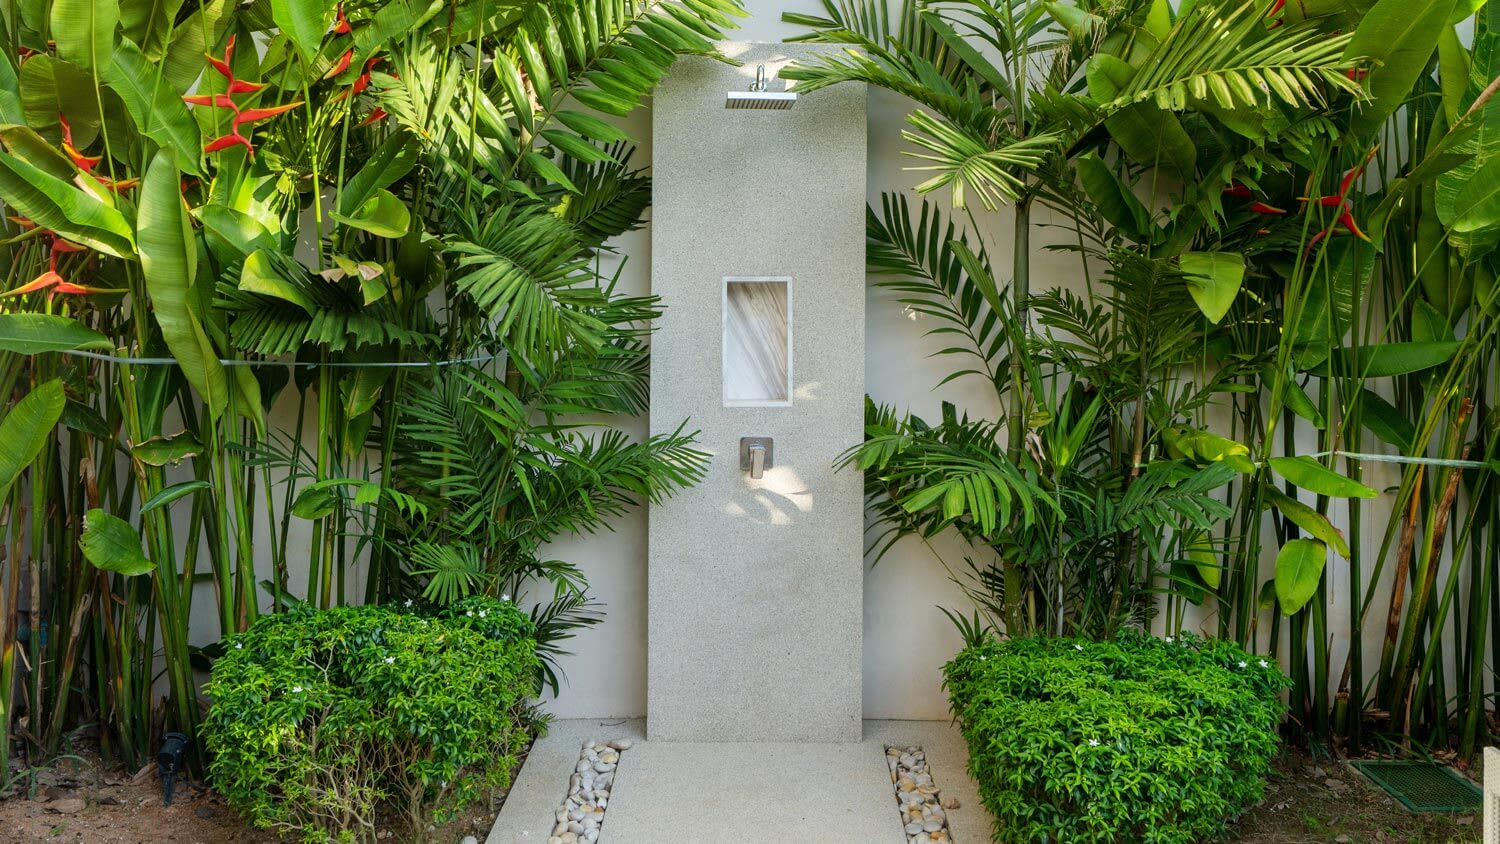
Outdoor showers let you wash up in nature and avoid tracking dirt and sand into your home. Read on for tips on how to build the ultimate shower in your backyard.
Roll up your sleeves—it’s time to remodel your bathroom. This complete step-by-step guide will show you how to build a shower base for a walk-in shower.

No shower in your 1950s-style bathroom? Follow these six tips to transform your old bathtub into a contemporary walk-in shower that you and your family can use every day. Here’s what DIYers and homeowners need to know about tub-to-shower conversions.