Your budget for moving an electrical panel depends on the type, labor, and more. Find out the average cost to move an electrical panel.
Don’t let a faulty three-way switch leave you in the dark—here’s how to fix it


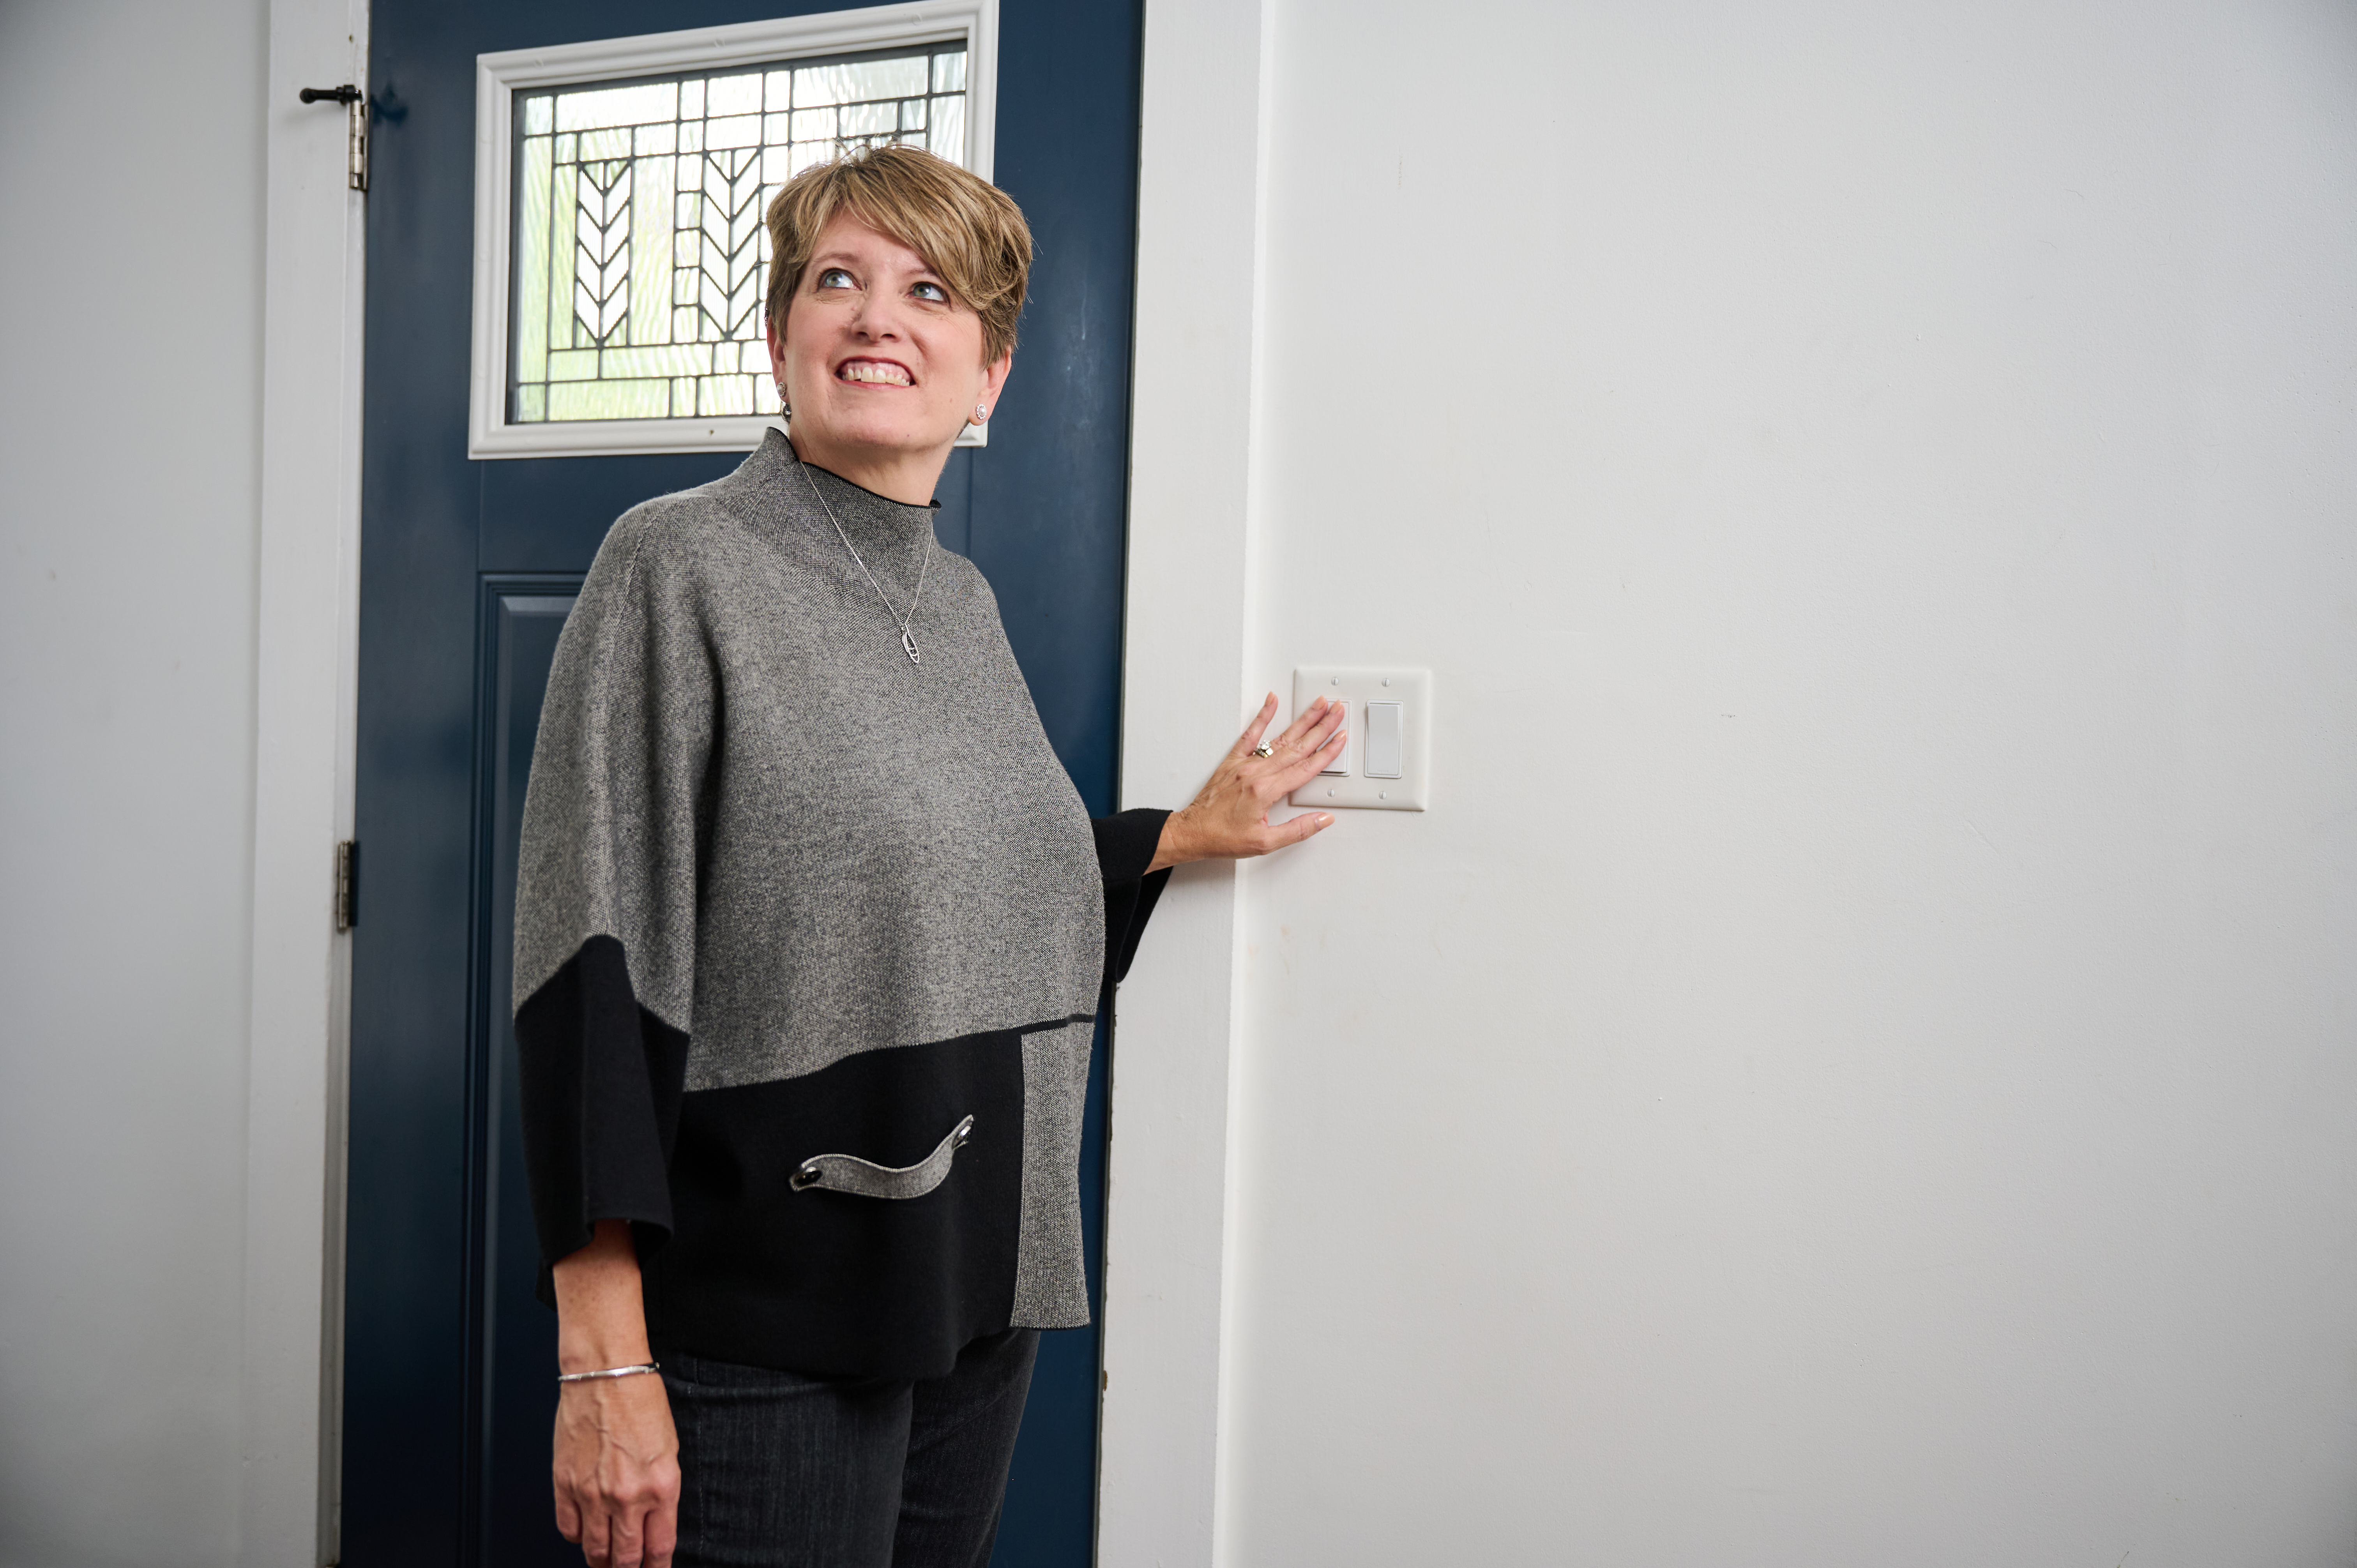
When your three-way switch only works when one switch is on, it can be frustrating—after all, no one enjoys having to shuffle through the dark to flip an electrical switch.
Luckily, there are ways to pinpoint the issue and replace or repair the switch as necessary. Here are the best troubleshooting steps to take when a three-way switch only works when one switch is on.
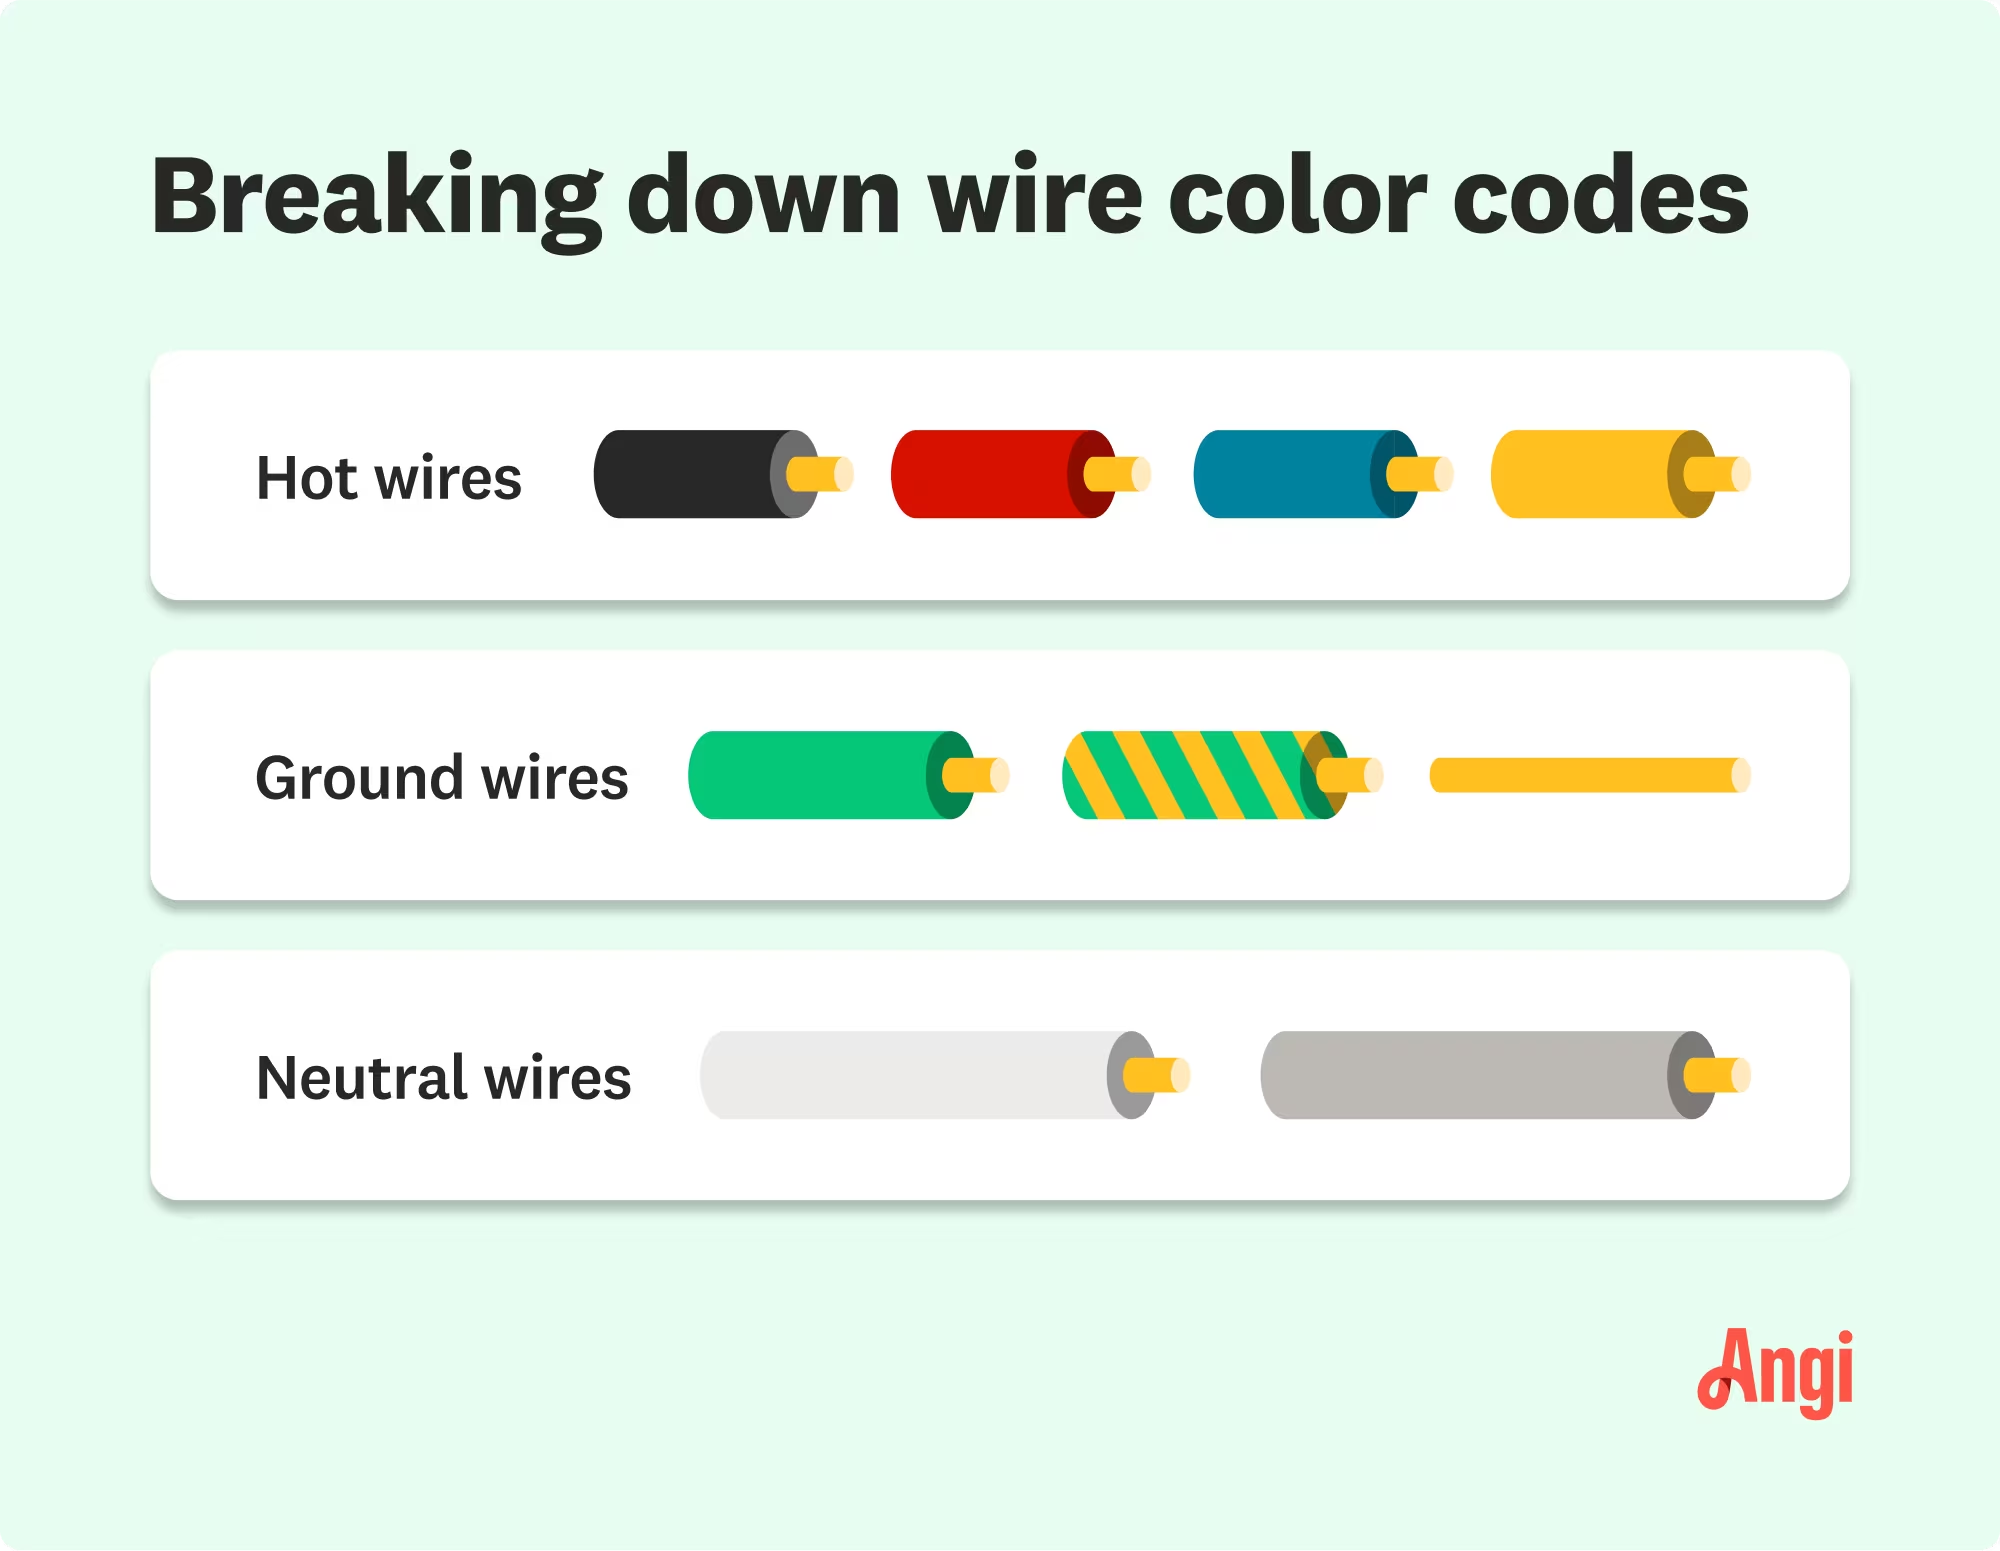
If a three-way light switch is on the fritz, there is either an issue with the electrical wiring or the switch itself. When studying and working on the wiring, note that the white wires are neutral and won’t impact the switch's function. When reassembling the switch, leave these bundled together and tuck them in the back of the electrical box.
A common issue with three-way switches is having the traveler wire and common wire mixed up, which could be the culprit. Or the switch could be worn down after significant wear and tear, indicating that it’s time to replace the switch.
This is a quality electrical company with very professional and well-trained technicians. They installed new switches, outlets and light fixtures in my 2nd floor, removing the knob and tube wiring and installing new grounded lines. I will be recommending them to all my friends and family.

Before diving into the switch-troubleshooting process, take a minute to evaluate whether you have the appropriate skills, tools, and experience to take on this wiring project.
If you feel uncomfortable or uncertain at any point during this process, or if you’re not able to correct the problem yourself, it’s best to reach out to a professional electrician. A local electrician can inspect the switches and wires to find out where the issue is. You’ll save yourself the potential hazard as well as the time and aggravation, so don’t hesitate to hire an electrician when you need one.

To safely wire a light switch or troubleshoot issues, it’s important to shut off the power at the breaker before attempting any work. Go to your circuit breaker box and shut off the power to the circuit you’ll be working on.
Once you’ve returned to the switch, unscrew and remove the cover and use a non-contact voltage meter to verify that the power is off. Touch the probe of your meter to the black screw on the switch while touching the other probe to the ground screw. Check that the voltage reading is zero. Repeat this step for each wire connected to the brass screws.
Once you've done this for all the wires and they all read zero volts, it's safe to touch them and begin troubleshooting.
Before you remove any wires from the switch, it’s a good idea to label all your wires according to their location. Use pieces of electrical or masking tape to color code or write labels on each type of wire.
Don’t forget to snap a quick picture of the wiring set-up to reference when reassembling the switch. If you end up needing to replace the switch, then you’ll be wiring them exactly as they were. If you discover an issue with the wiring rather than the switch, then you can check your photo to avoid wiring it the same way again.

The first thing you should do when troubleshooting a three-way switch that only works when one switch is on is to check the connections. Remove the light switch from the wall by unscrewing the face plate, storing the screws in a safe spot, and gently pulling it away from the wall.
Examine the wiring at the switch that is working properly. This switch should have three wires connected to it, including a black or red wire that is connected to the common terminal, and two other wires that are connected to the traveler terminals. Make sure that all of these connections are tight and secure by tugging on them gently.
Next, move on to the switch that is not working correctly. This switch should also have three wires connected to it. Check all of these connections to ensure they are also tight and secure.
If you spot any loose or disconnected wires, reconnect them and make sure that they are secured tightly. This step might fix the problem, but if the switch still isn’t working properly, you’ll need to check on the wiring setup or the switch itself.

When checking the wiring, you’ll notice four terminal screws: Two are brass-colored, one is black, and the other is green. To ensure proper wiring, confirm that the black and red wires come from the same cable, alongside a white and bare copper wire. These are the travelers that should be connected to the brass screws. They should be identical on both switches.
Next, you’ll see a black wire coming from a separate cable with only a white and bare copper wire. This wire should be connected to the black screw, known as the common. To ground the wires, connect the bare copper grounds together and land them on the green screw.
Once you’ve completed troubleshooting your switch’s wiring, tie your neutral white wires together with a wire nut, if needed, and carefully tuck them into the back of the box. Fold your wires into the box neatly before reinstalling the light switch and its faceplate,
Then, turn the circuit back on at the breaker to test whether the issue is fixed. If not, then you’ll need to move onto the last-resort step: replacing the switches.
The last thing you need is to get left in the dark again after you’ve already dedicated the time and energy to fixing the faulty switch. If one switch is bad, it’s likely that the other will also go bad soon enough. With that in mind, it’s always a good idea to invest in the cost of replacing both light switches rather than only the faulty one. If you need to change out multiple switches, including a three-way switch, it’s best to hire a professional electrician to complete this type of task due to its complicated and time-consuming nature.
According to data from Angi customers, 57.8% of electrical projects are repairs-based, while 42.2% are for initial installations or relocations. Call a professional electrician for any electrical problems you have or projects you’re thinking about.
The cost to replace your electrical switch professionally is typically between $10 and $40 per switch or $50 to $150 per hour. Many electricians will charge a minimum trip fee, so be sure to get an initial estimate and compare rates before you commit.
If you’re still not sure what’s going on with your three-way switch, or if it has gone bad and needs to be replaced, hiring a professional electrician near you is your best option. Attempting to DIY electrical work without experience is dangerous—hiring a pro is well worth the cost for peace of mind alone.
From average costs to expert advice, get all the answers you need to get your job done.

Your budget for moving an electrical panel depends on the type, labor, and more. Find out the average cost to move an electrical panel.

Electrical subpanels allow you to use appliances and electronics safely. This cost guide explains the important factors to consider when installing a subpanel.

Updating broken and outdated light switches isn't as tricky as you might think. We'll cover the considerations and cost to install a light switch in this guide.

Wondering how to tell if a circuit breaker is bad? There are several warning signs you should know to help keep your family, home, and electronics safe from shortages and fires. Keep reading to learn the signs to watch out for with circuit breakers.

Are there outlets not working in one room in particular? Learn what could be causing the issue and how to solve the problem.

When you want to control one light fixture from two switches—usually at either entrance to a hallway—you’ll need a three-way switch. It’s more complicated than installing a single switch, but an electrician can stall one for you easily.